Food photography used to cost hundreds of dollars per dish. A single professional shoot with a stylist, photographer, and studio rental would run $500 to $2,000 before you even touched post-production. For small restaurants, food brands, and independent sellers, that math simply doesn't work.
AI changes the equation completely.
Today, with the right prompts and the right tools, anyone can produce commercial-grade food images that look like they came from a $3,000 studio session. Not "good enough." Actually good. The kind of photos that stop the scroll, drive clicks, and convert browsers into buyers.
This article breaks down exactly how to do it.
Why Food Photos Determine Your Revenue
The 3-Second Rule on Every Platform
When a shopper lands on a product page, they decide within three seconds whether to keep reading. That decision is driven almost entirely by the lead image. On Instagram, the same rule applies even faster. The quality of your food photography is not a cosmetic detail. It's a conversion mechanism.
Studies from e-commerce platforms consistently show that high-quality product images increase conversion rates by 30% to 40% compared to average photography. For a restaurant, appetizing images directly correlate with order frequency on delivery apps. DoorDash and Uber Eats have published data showing that menu items with professional photos receive up to 70% more orders than listings with no photo.
What "Bad" Food Photography Actually Costs
Bad food photos don't just fail to attract attention. They actively damage trust. A poorly lit dish photographed on a paper plate communicates one thing to the viewer: this business doesn't care. That perception extends to assumptions about food quality, hygiene, and professionalism.
The invisible cost of bad photos shows up in:
- Lower click-through rates on delivery platforms and Google Business listings
- Reduced add-to-cart rates on e-commerce products
- Weaker performance on social media, which suppresses organic reach
- Fewer backlinks and shares from food bloggers and media
The Gap AI Now Fills
Professional food photographers have skills that take years to develop. But a significant portion of what makes their work effective comes from controllable, repeatable variables: lighting direction, composition angles, color temperature, background choice, and prop selection.
AI image generation has internalized all of these variables. When you write a well-structured prompt, you're essentially giving instructions to a system that has studied millions of professional food photographs and knows exactly what "85mm lens, f/1.8, warm volumetric side light" produces.
How AI Food Image Generation Works
Text-to-Image for Photorealistic Results
The core technology behind AI food photography is text-to-image generation. You write a prompt describing the shot, the model generates an image. The quality gap between an amateur prompt and a professional-grade prompt is enormous, which is why the prompt formula matters so much (covered below).
Models like PicassoIA Image and GPT Image 2 are trained on massive datasets that include commercial food photography, advertising campaigns, and editorial content. They understand lighting physics, material textures, depth-of-field behavior, and color grading.
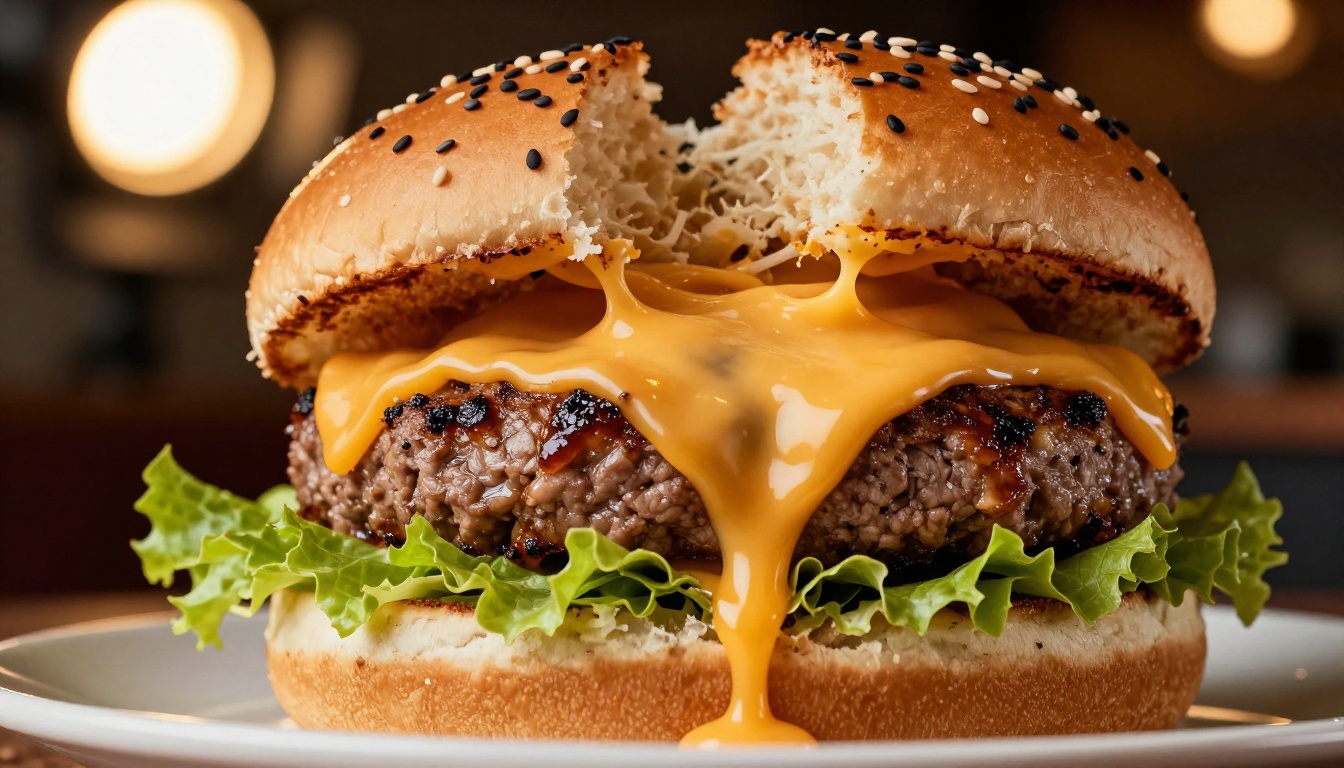
Seedream 4.5 produces sharp 4K outputs particularly suited for social media formats where fine texture detail matters. Flux Krea Dev is specifically optimized to avoid the "AI look" that makes generated images feel synthetic, making it a strong choice when realism is non-negotiable.
The Models Built for Product Shots
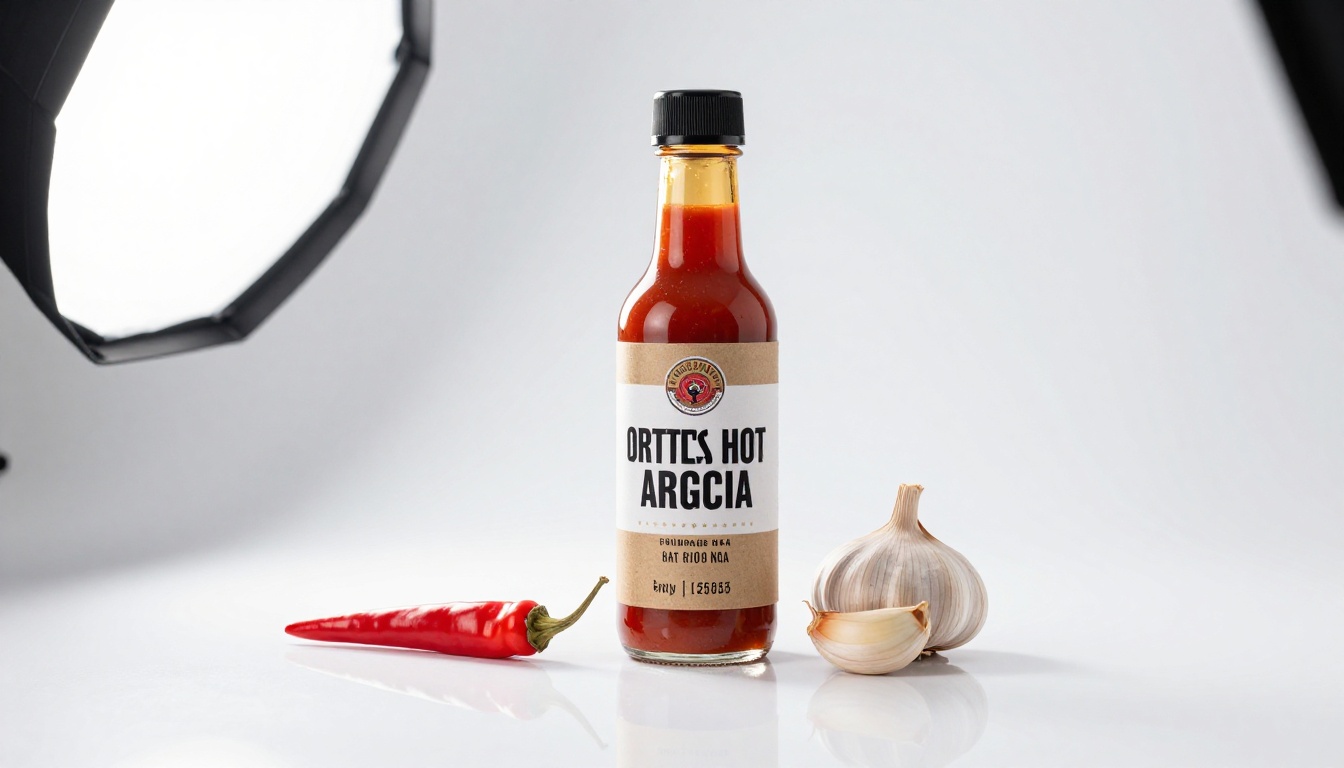
Not all food photography is editorial. Packshots, e-commerce listings, and delivery app thumbnails have specific requirements: clean backgrounds, precise shadows, controlled lighting, and sharp label detail.
For this type of work, dedicated product photography models outperform general-purpose generators:
- Product Packshot generates studio-quality product photos on clean backgrounds, directly suited for Amazon, Shopify, and delivery platform listings.
- Product Shadow adds natural, physically accurate shadows beneath products, which makes them read as real objects rather than floating cutouts.
- Product Cutout removes backgrounds with surgical precision, perfect when you need to place a dish or product onto a custom background.
- Riverflow 2.0 Refsr is built explicitly for "true-to-life product photos," with an emphasis on maintaining material accuracy and realistic surface rendering.
How to Use PicassoIA Image for Food Photography
PicassoIA Image is the platform's primary unlimited text-to-image generator. For food photography, it's the fastest path from idea to finished image.
Step 1: Open the Model
Navigate to PicassoIA Image on Picasso IA. No account required to try your first generation.
Step 2: Choose Your Shot Type
Before writing your prompt, decide what type of food photo you need. The four most commercially valuable shot types are:
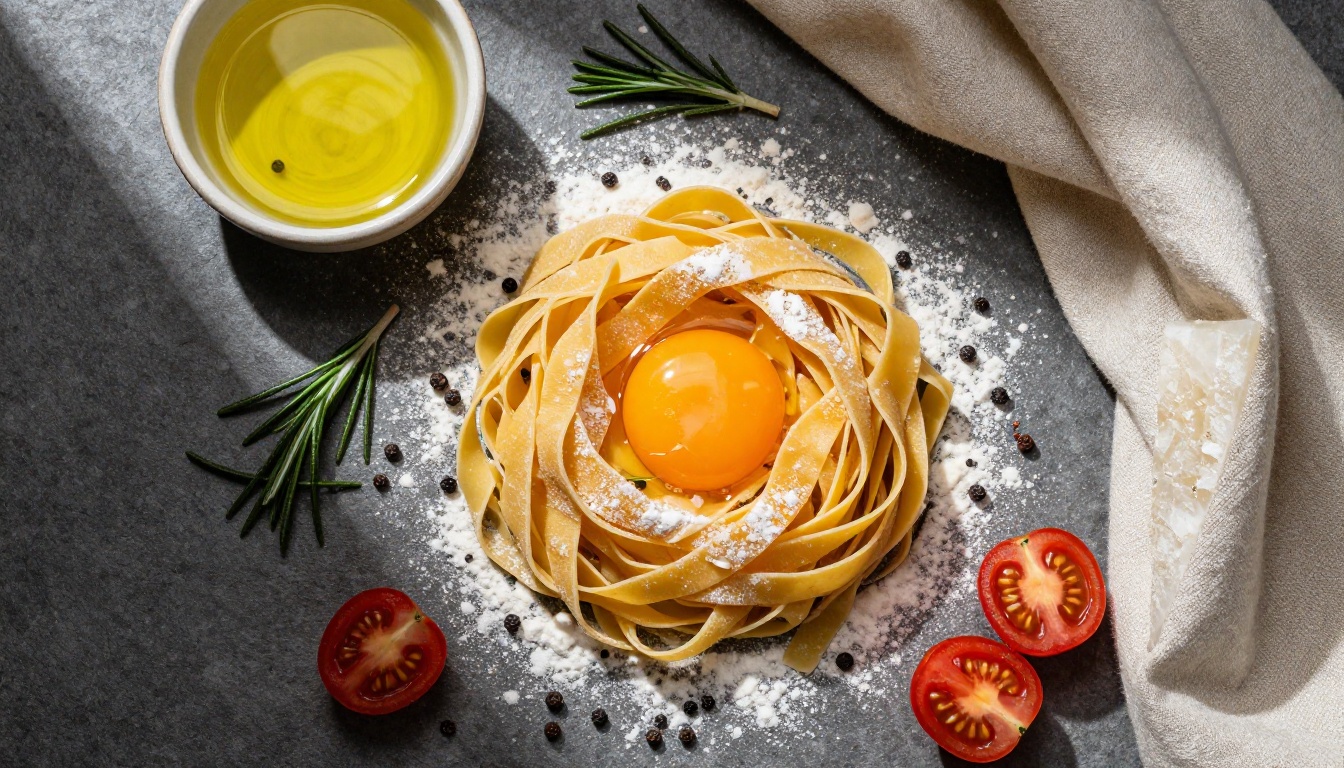
- Overhead flat lay for ingredients, recipe content, and social media
- Hero shot (45-degree angle) for plated dishes and restaurant menus
- Close-up macro for texture emphasis (cheese pulls, steam, sauce drips)
- Packshot (straight-on, clean background) for e-commerce
Step 3: Build Your Prompt
Apply the formula in the next section. Each component adds specificity that dramatically improves output quality.
Step 4: Set Aspect Ratio
For social media: square (1:1) or portrait (4:5). For delivery app listings and website banners: 16:9. For Instagram Stories and Reels covers: 9:16.
Step 5: Iterate and Refine
Generate three to five variations. Small prompt changes, particularly in the lighting description, produce significantly different outputs. Replace "soft window light" with "harsh overhead backlight" and compare the difference.
Most people write food prompts like this: "a burger on a table." That produces generic, flat results. Effective food photography prompts follow a specific structure that mirrors how a professional photographer would brief a shoot.
The Formula: [Subject + Action/State] + [Surface/Background] + [Lighting Direction & Quality] + [Camera Angle & Lens] + [Atmosphere/Texture Details] + [Style Modifiers]
Here's the formula broken down by component:
| Component | Example |
|---|
| Subject | "thick wagyu beef patty with visible sear marks and caramelized crust" |
| Surface | "weathered oak farmhouse table with natural wood grain texture" |
| Lighting | "volumetric morning light entering from upper left, soft shadow fill on right" |
| Camera | "85mm f/1.4 lens, shallow depth of field, slightly low angle at 20 degrees" |
| Texture | "fine pore texture on brioche bun, water droplets on lettuce edges catching light" |
| Style | "Kodak Portra 400 film grain, photorealistic food commercial photography, 8K RAW" |
Lighting Is Everything
In real food photography, lighting accounts for roughly 60% of what makes an image look appetizing or flat. The same principle applies to AI prompts. Vague lighting instructions produce flat, uninspiring results. Specific lighting descriptions produce dramatic, commercial-quality shots.
Lighting descriptions that work well for food:
volumetric side light from the upper left creating long soft shadowsharsh single-source studio strobe from above with fill reflector on leftwarm afternoon window light with natural bounce fillbacklit steam halo effect with foreground subject in slight shadow
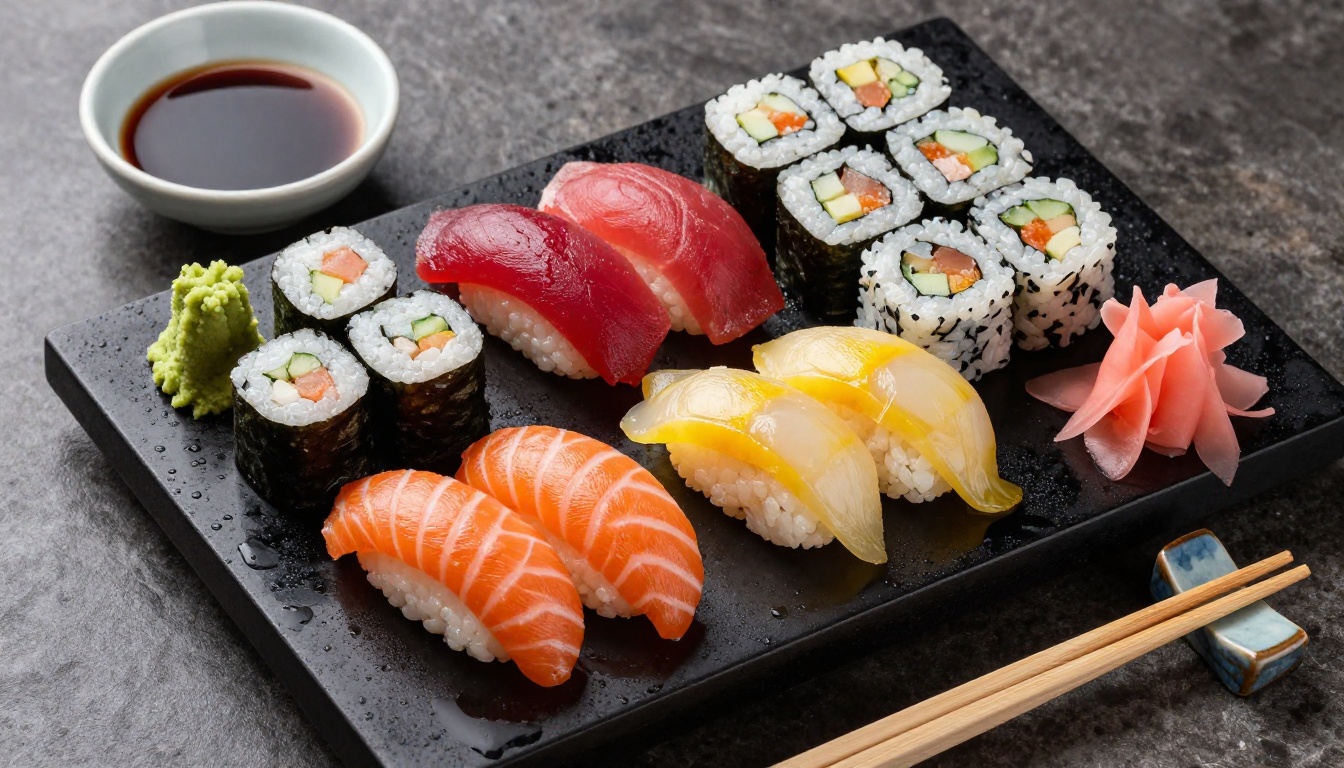
Tip: For food that needs to look warm and inviting (bread, pastries, comfort food), use "warm afternoon light" or "golden hour side light." For cold, fresh food (sushi, salads, seafood), use "cool diffused overcast light" or "bright studio softbox."
Camera Angle Reference
| Angle | Best For | Lens |
|---|
| 90° overhead | Flat lays, ingredient spreads, bowls | 35mm or 50mm |
| 45° | Plated dishes, burgers, pasta | 50mm or 85mm |
| Eye-level | Drinks, cakes, sandwiches | 85mm f/1.8 |
| Low angle (20°) | Hero shots, stacked foods, dramatic scenes | 35mm f/2.0 |
| Macro close-up | Textures, sauce drips, cheese pulls | 100mm macro |
5 Food Photo Types That Drive Sales
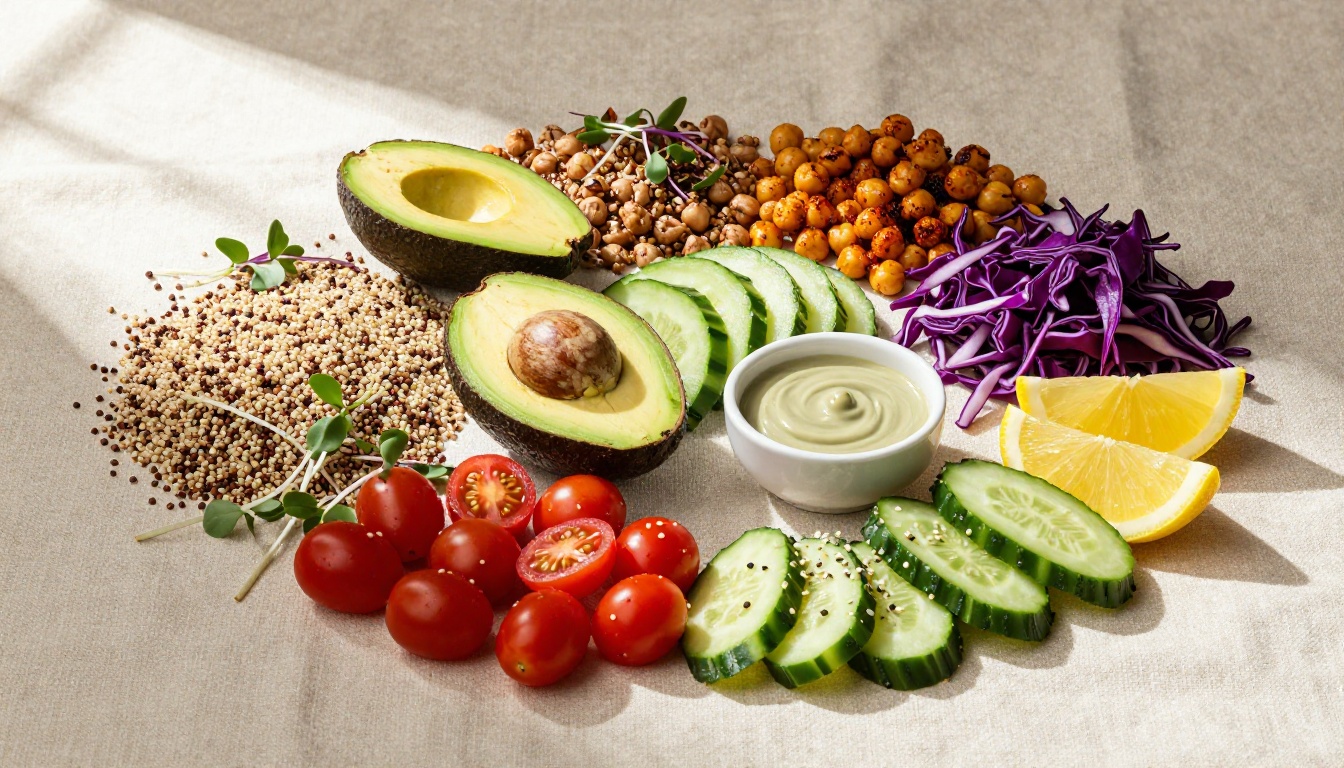
Overhead Flat Lay
The flat lay is the most shared food photo format on social media. It works for recipe content, ingredient showcases, and branded menu items. What makes a flat lay sell is intentional negative space, directional light, and surface texture contrast between elements.
For flat lays, Stable Diffusion 3 produces sharp overhead compositions with excellent handling of surface texture variation across different materials in the same frame.
Hero Shot with an Action Element
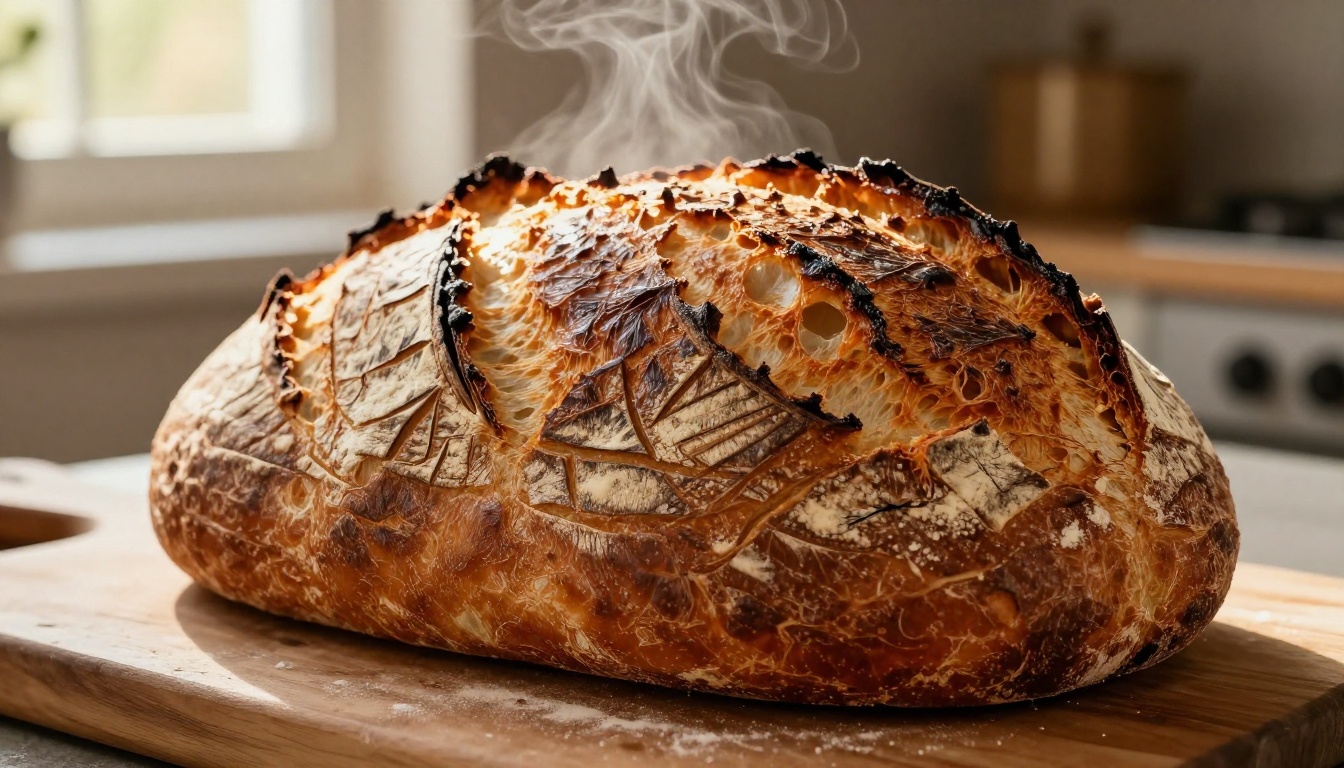
The hero shot is the workhorse of restaurant menus and food delivery apps. A single, perfectly lit dish at a 45-degree angle, with an action element (steam, sauce drip, cheese pull, or fork in motion) creates appetite appeal that static shots can't match.
GPT Image 2 handles action elements like steam and liquid motion with high fidelity. Describe the physics precisely: "thin wisps of steam rising from the center score line, backlit to create a halo effect" rather than simply "steaming bread."
Close-Up Macro Texture Shot
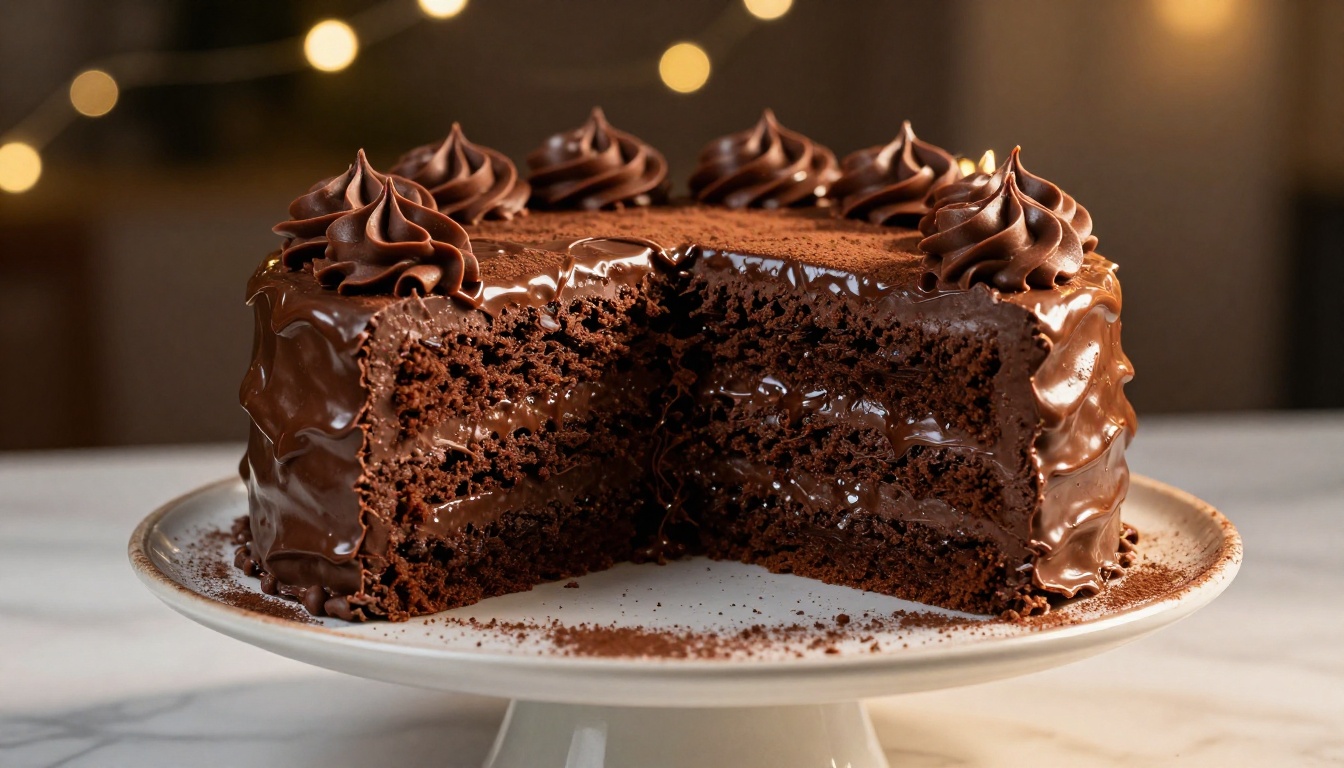
Macro shots emphasize what makes food desirable at a visceral level: the char on a crust, the gloss on a ganache, the marbling in a wagyu slice. These images communicate quality more effectively than any menu description.
Flux Schnell LoRA allows fine-tuning with custom style weights, useful when you want consistent texture rendering across an entire product line.
Lifestyle Context Shot
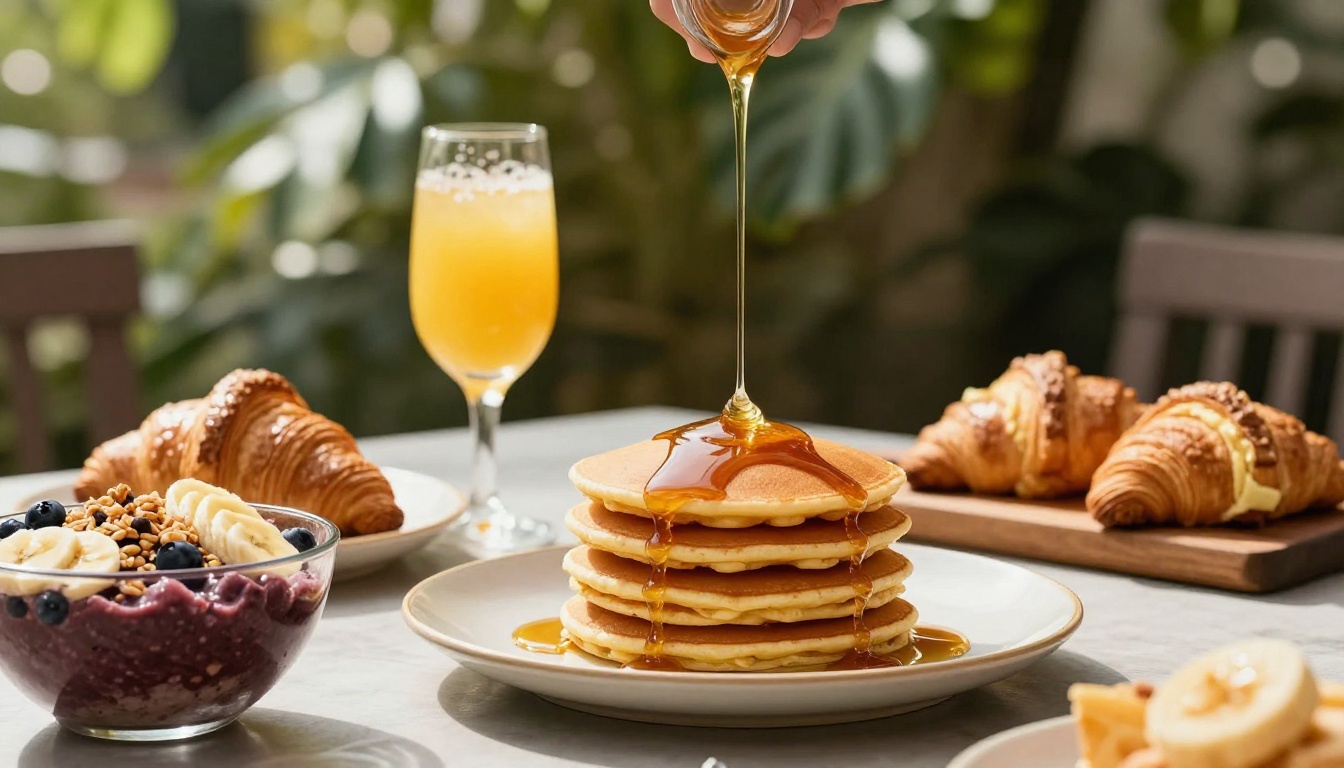
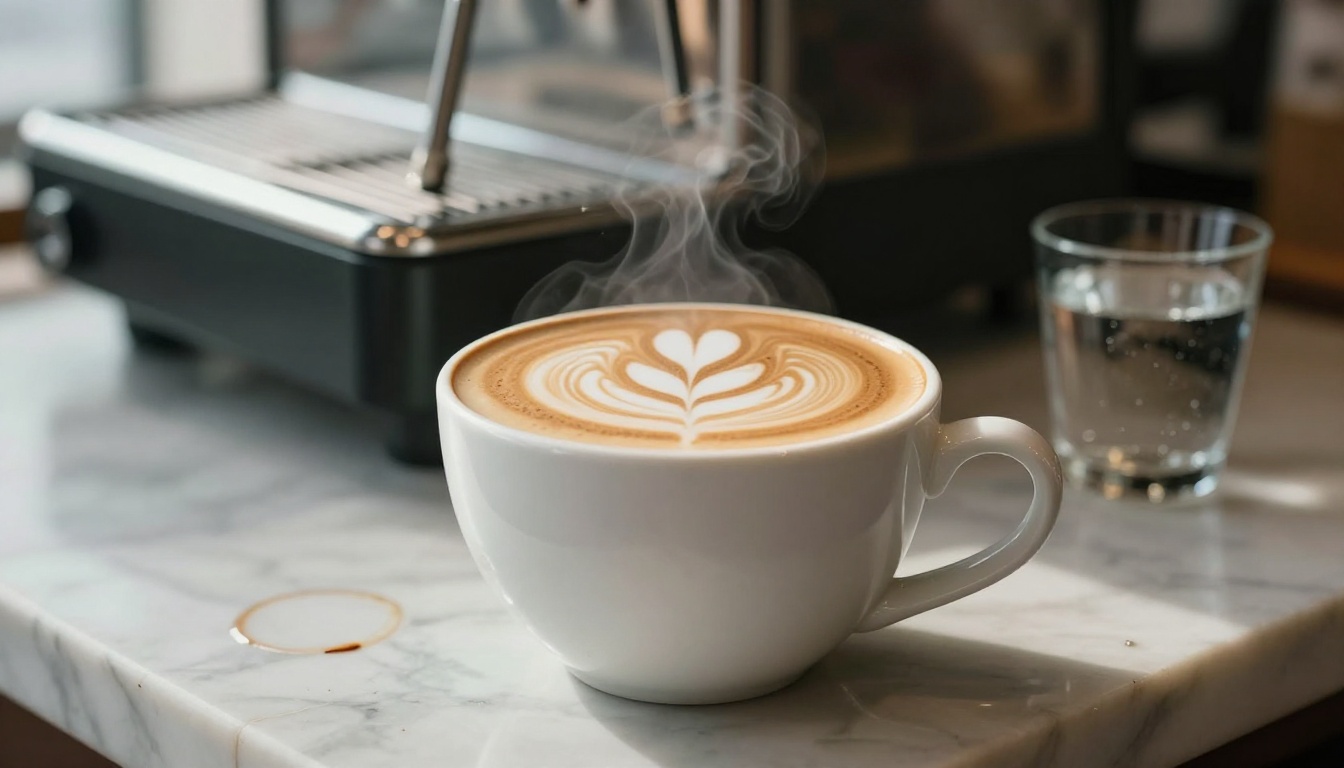
A lifestyle shot places the food in a believable, aspirational context: a brunch table in morning light, a coffee on a marble counter, a picnic spread outdoors. These images sell an experience, not just a product. The best lifestyle food photos feel like the viewer is already there.
E-Commerce Packshot
For food products sold online, the packshot is the most commercially critical image type. Clean white or neutral gray background, precise shadows, sharp label focus. Product Packshot is purpose-built for this format. Pair it with Product Shadow for physically accurate shadows that make products feel tangible rather than digitally composited.
Editing and Refining AI Food Photos
Fixing Specific Details with Inpainting
AI generations sometimes nail the composition but miss a small detail: a misshapen prop, an unwanted visual artifact on a surface, or a distorted element. Flux Fill Pro handles inpainting with exceptional quality, letting you mask a specific area and regenerate only that region while preserving the rest of the image.
PicassoIA Image Editor Pro provides an all-in-one editing environment where you can iteratively refine generated food images without switching between tools. It's the fastest workflow for getting a generated image from "almost right" to "ready to publish."
Relighting After Generation
Sometimes you generate a great composition but the lighting feels flat or wrong in tone. Qwen Image Edit Plus LoRA Relight specializes in AI-driven relighting, letting you specify a new light direction or color temperature for an existing image without regenerating from scratch. This is particularly useful when you need the same dish to appear in both warm evening lighting and cool midday lighting for different marketing contexts.
Background Swaps
Product Cutout removes the background from any food or product image with precision, preserving fine details like garnish wisps, steam, and liquid edges. Once isolated, pair with Flux Redux Dev to create image variations on different backgrounds while preserving the original dish composition intact.
Real Cost Comparison
The numbers make the case clearly:
| Method | Cost Per Image | Turnaround | Scalability |
|---|
| Professional food photographer | $150 to $500 | 1 to 2 weeks | Low |
| Stock photography | $20 to $80 | Instant | No customization |
| Freelance photo editor | $30 to $100 | 2 to 5 days | Medium |
| AI generation (PicassoIA) | Under $1 | Minutes | Unlimited |
For a restaurant with 40 menu items, professional photography represents a $6,000 to $20,000 investment. AI generation at the same quality level runs under $40 for the entire menu, and you can regenerate any image in minutes if the menu changes or a dish gets updated.
Note: Some platforms, particularly editorial food media, require authentic photography. For marketing, menus, social media, and e-commerce, AI-generated food photos are not just acceptable but increasingly standard practice among food brands.
Try It on Picasso IA
The fastest way to see what's possible is to run your first generation. Start with PicassoIA Image, apply the prompt formula from this article, and generate three variations of your best-selling dish or product.
From there, experiment with the specialist tools: use Product Packshot for clean e-commerce shots, Qwen Image Edit Plus for quick text-based photo edits, and Flux Fill Pro to fix any detail that isn't quite right.
The skill ceiling in AI food photography is how well you can describe what you want. The better your prompt, the better your result. Unlike hiring a photographer, you can iterate 50 times in the time it takes to schedule a single shoot. Every food business now has access to studio-quality imagery, and the ones using it are already pulling ahead.


