The furniture industry spends an average of $3,000 to $15,000 to produce a single professional photorealistic render of a chair. That figure accounts for the 3D artist's time, the software licenses (often $3,500 per year for tools like 3ds Max or Cinema 4D), the revision cycles, and the physical samples if studio photography is involved. AI collapses this entire pipeline into a text prompt and a few seconds of computation.
This is not a future promise. It is a present reality.
Whether you are a furniture brand trying to populate a product catalog, an interior designer communicating concepts to clients, or an independent maker visualizing a new piece before cutting a single board, AI image generation now delivers photorealistic furniture visuals with a detail level that, until recently, required a team of specialists. This article covers exactly how that works, which models to use, and a step-by-step workflow you can follow today.
Why AI Rewrites the Furniture Design Process
The Real Cost of Traditional 3D Modeling
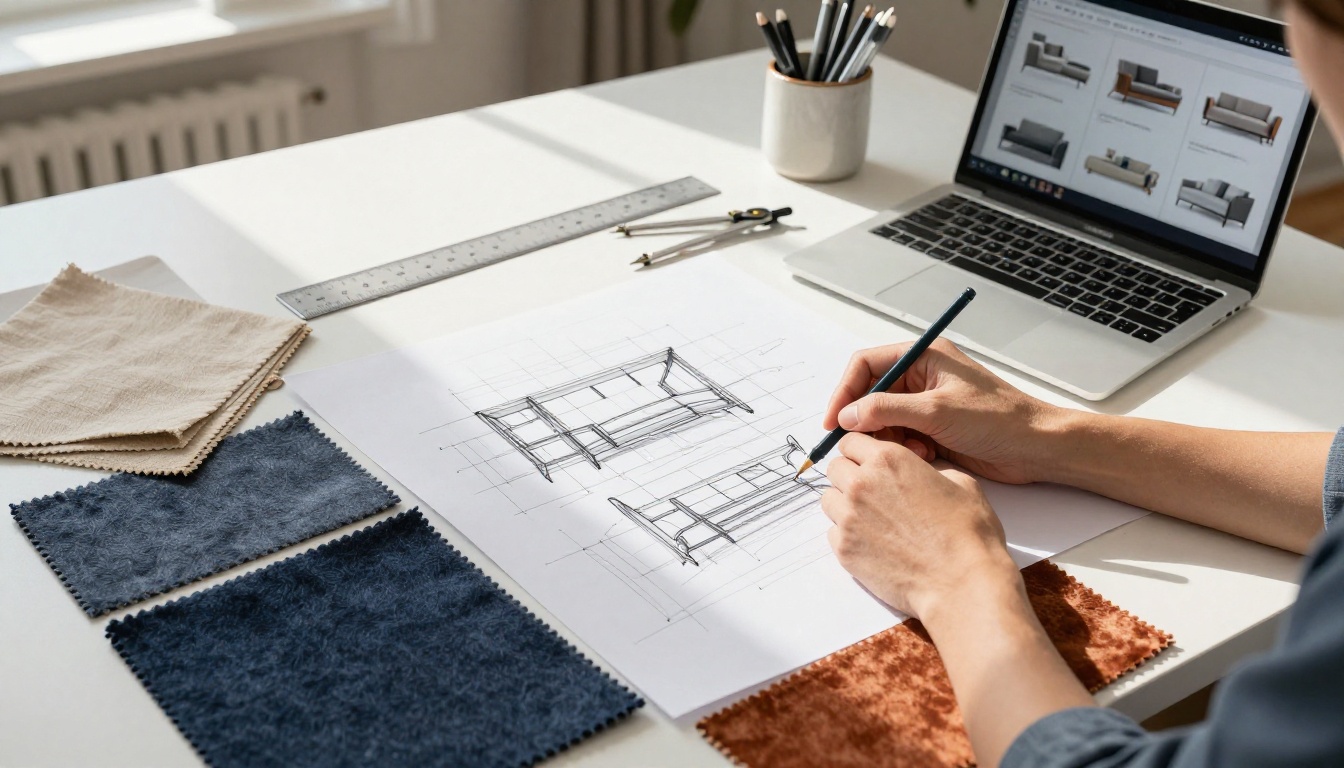
Before AI entered the picture, photorealistic furniture visualization followed a rigid sequence. A designer would produce technical drawings. A 3D artist would build the geometry, map UV coordinates, create physically-based materials, set up a lighting rig, configure a render engine like V-Ray or Arnold, and then wait hours for frames to resolve. Corrections meant reopening the scene file, adjusting geometry or shaders, and re-rendering from scratch.
The timeline for a single hero shot of a sofa could stretch across two or three working days. For a catalog with 40 SKUs, that is 80 to 120 production days, often outsourced to studios charging $200 to $600 per final image.
The bottleneck was never creativity. It was execution.
What AI Does Differently
AI image generators, specifically the current generation of diffusion models, work from natural language descriptions. You describe the furniture piece, the materials, the environment, the lighting, the camera angle, and the mood. The model renders it, not as a 3D mesh, but as a photorealistic image that is, in many cases, indistinguishable from a photograph.
💡 Key advantage: AI generates a photorealistic result in 10 to 30 seconds. A traditional 3D render of equivalent quality can take 4 to 8 hours on a high-end workstation.
The practical implication: a furniture designer can now test 20 different colorways, 10 different material treatments, and 5 different room contexts for a single chair before deciding which version goes into production. That kind of rapid iteration was previously impossible without an enormous budget.
What You Can Actually Create
The range of outputs that current AI models produce for furniture is broader than most people expect. These are not vague concept sketches. They are photorealistic assets that function in real commercial contexts.
Photorealistic Product Shots
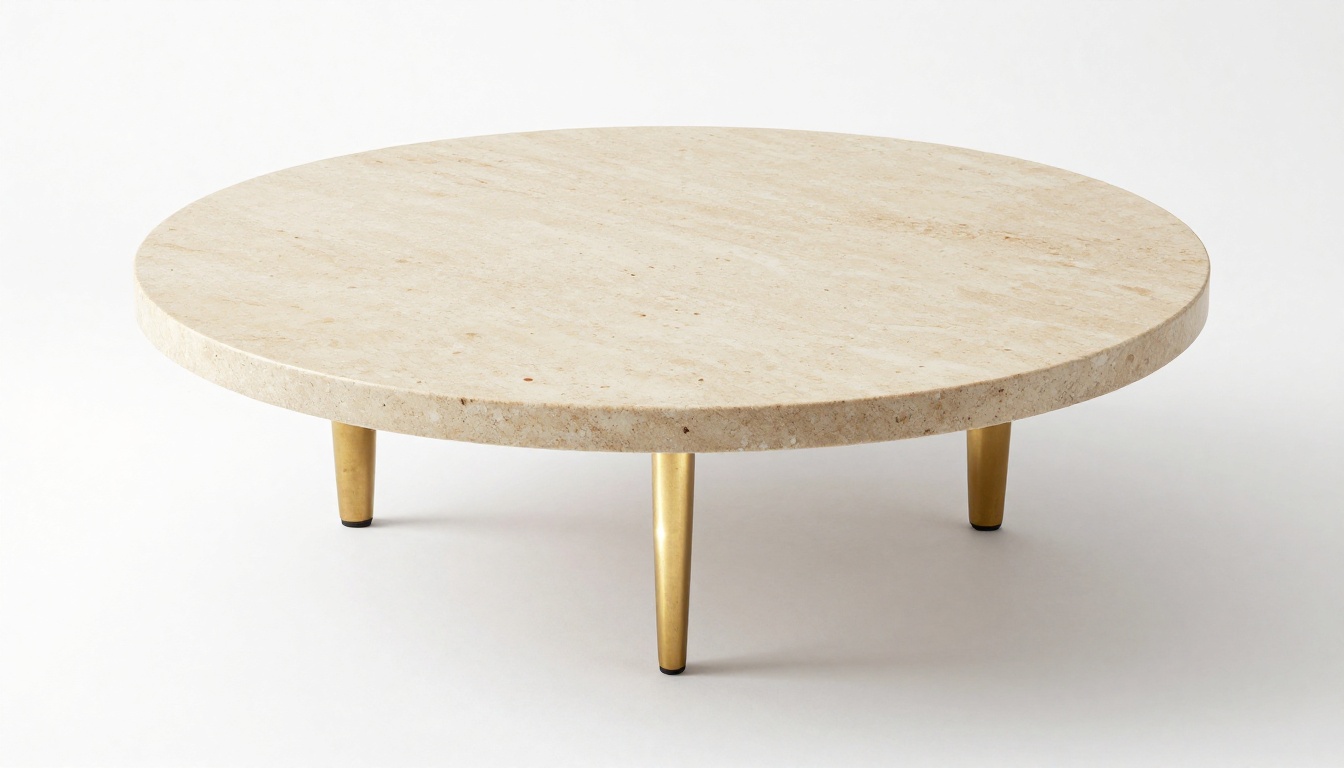
A product shot on a clean white or neutral background, showing the full piece from a three-quarter angle with accurate shadow and surface reflection. This is the bread-and-butter output for e-commerce product pages, and AI handles it with precision.
You can specify:
- Exact materials (solid walnut, brushed brass, honed travertine, bouclette fabric)
- Lighting setup (single strobe from camera right, soft fill from left)
- Surface details (visible grain, stitching, patina, fingerprints for realism)
- Camera position and lens (70mm f/8 for full depth, 50mm f/1.4 for background blur)
Lifestyle Scenes and Room Settings
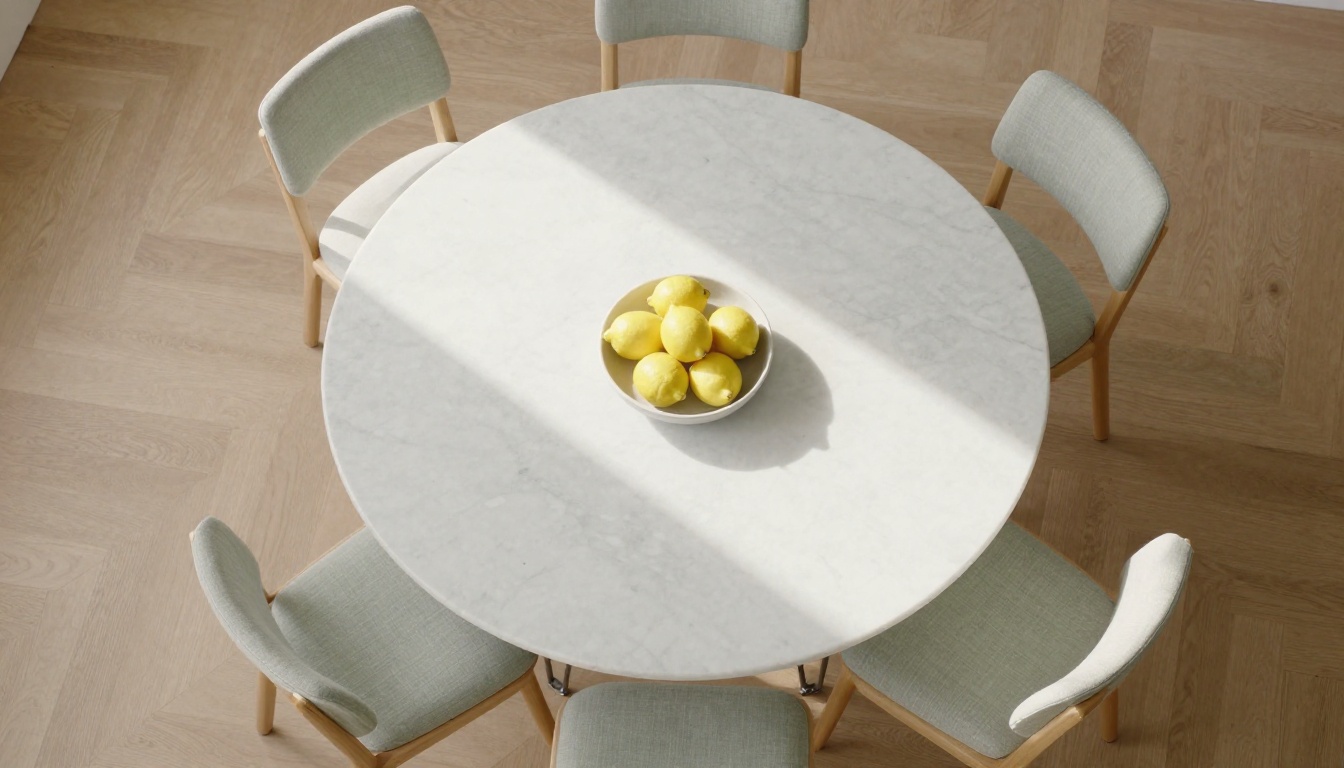
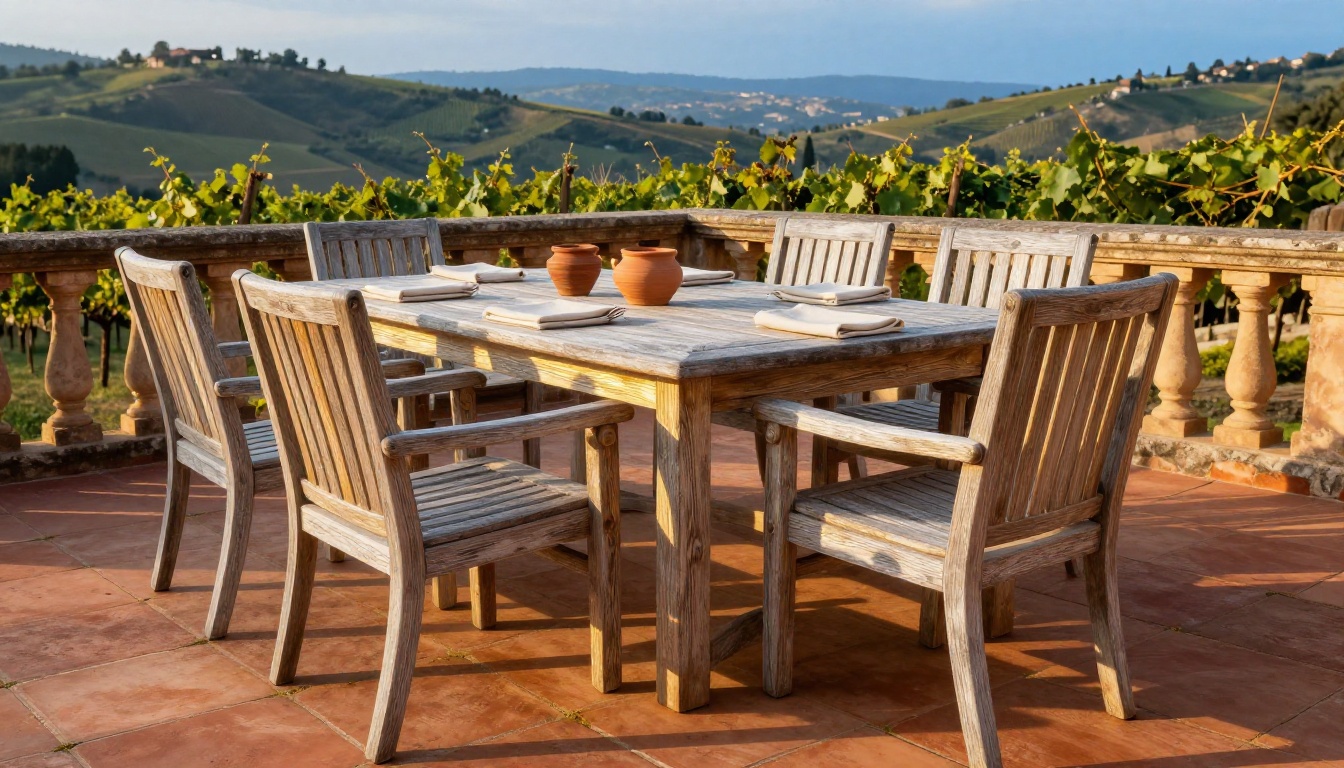
Beyond the isolated product shot, AI generates full room environments where the furniture lives: a sofa in a sunlit living room with a specific flooring type and wall color, a dining table on an outdoor terrace at golden hour. These context images tell the emotional story of a piece in ways that a white-background shot cannot.
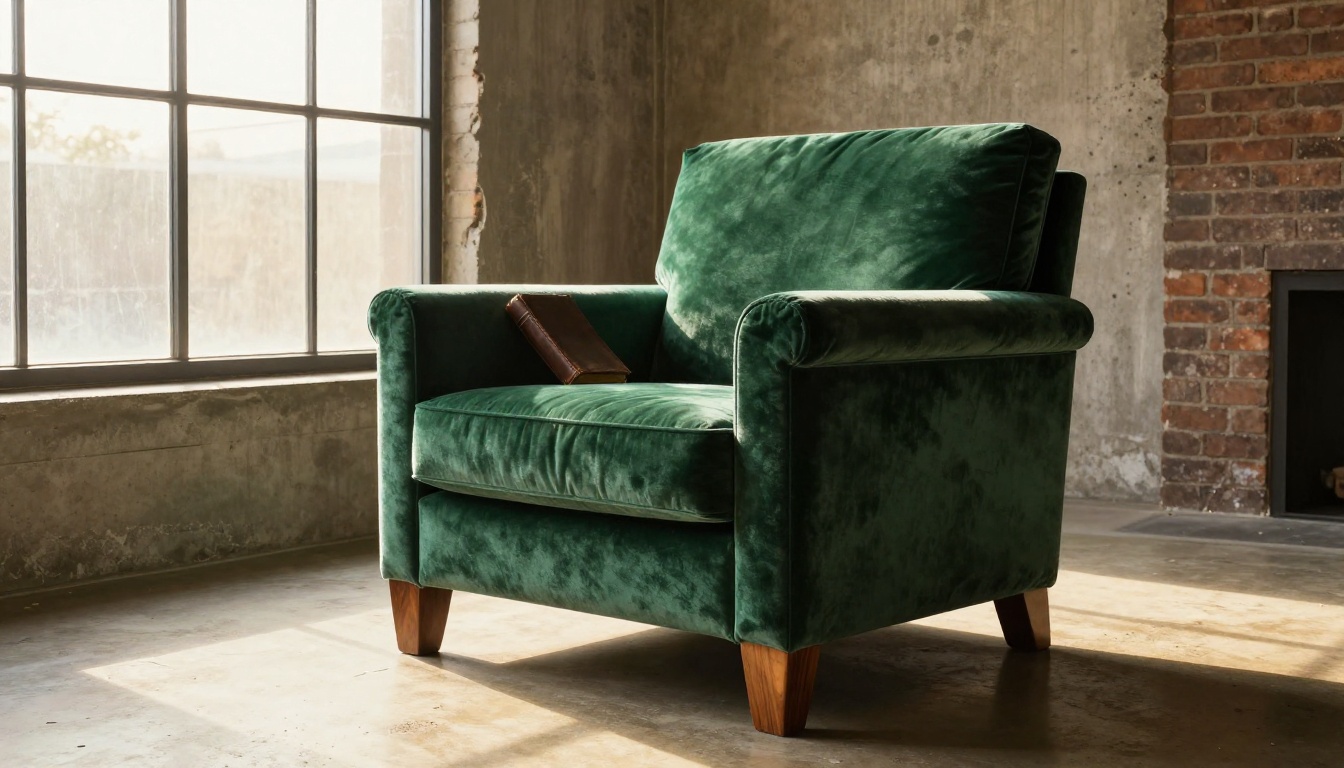
The detail level is extraordinary. You can specify the floor material (herringbone parquet, polished terrazzo, aged terracotta tile), the window type (steel-framed industrial, linen-curtained floor-to-ceiling), and even atmospheric details like dust motes suspended in the morning light.
Joinery Details and Material Studies
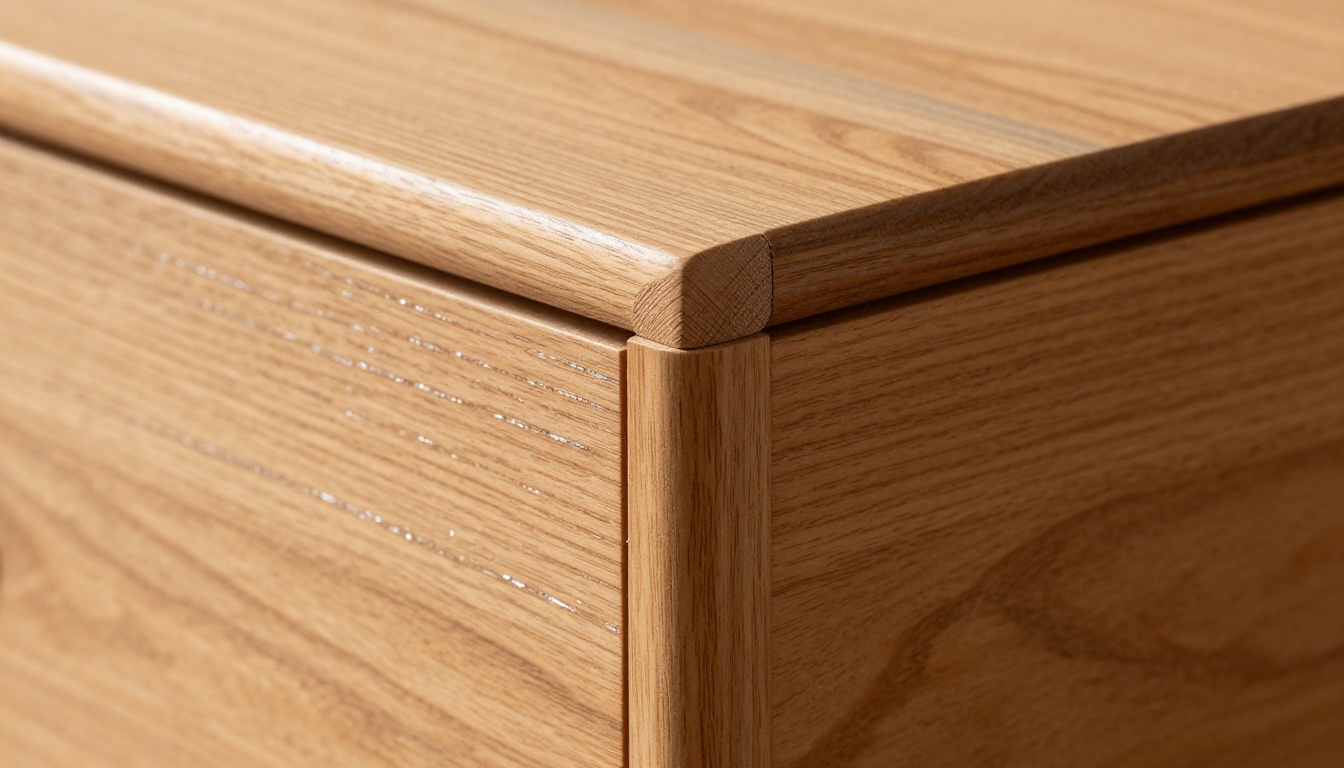
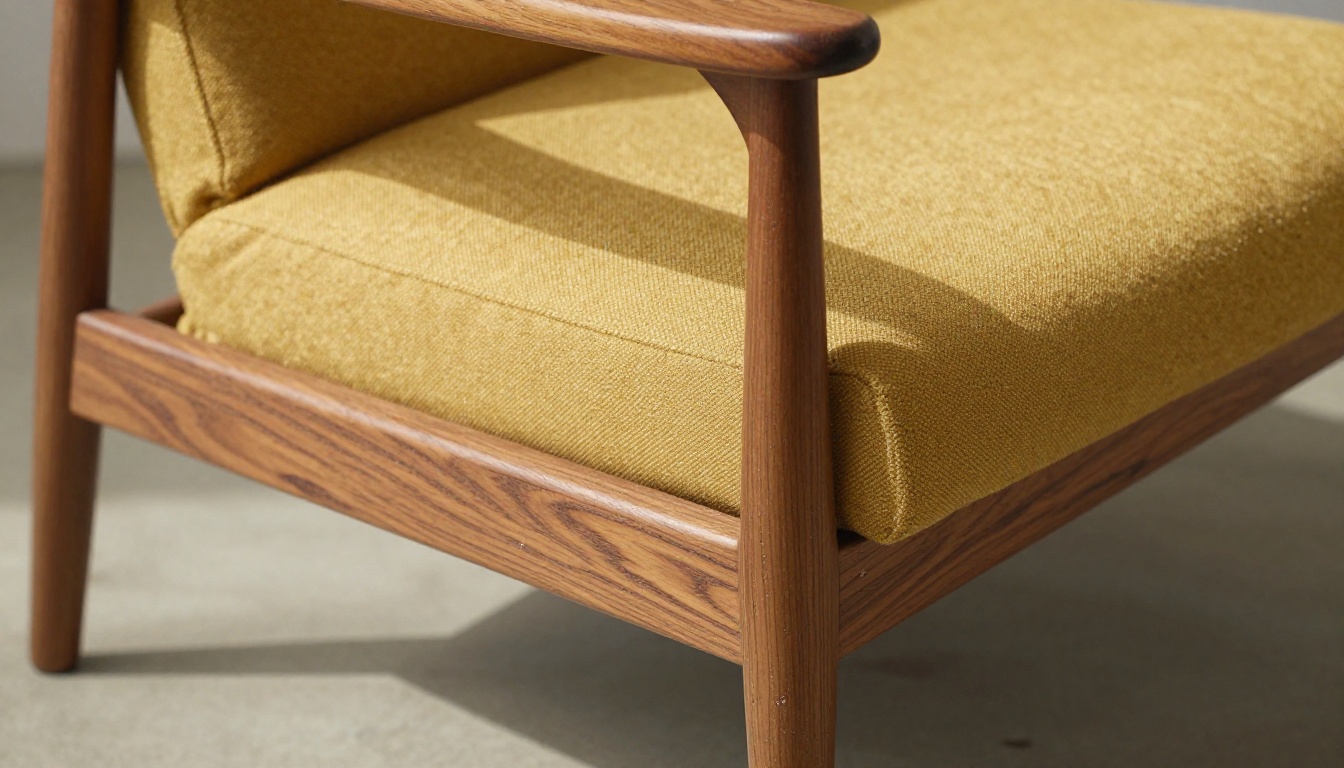
Close-up detail photography is one of the most underused categories in furniture visualization, and it is where AI particularly shines. A tight macro shot of a dovetail joint, the texture of a hand-rubbed oil finish, the nap direction of a velvet upholstery. These images communicate craftsmanship at a granular level that builds product confidence and reduces purchase hesitation.
💡 Tip: Use detail shots in product descriptions alongside hero images. They reduce customer uncertainty about material quality and are consistently associated with lower return rates in furniture e-commerce.
The Right AI Models for Furniture Work
Not every AI model produces the same quality of result for furniture visualization. The models that perform best are those trained on high-quality photography datasets, with strong understanding of materials, lighting physics, and spatial relationships.
Here is a comparison of the top-performing options available on PicassoIA:
| Model | Strength | Best For |
|---|
| Flux Dev | Photorealism, material fidelity | Hero product shots, lifestyle scenes |
| Flux Pro | Maximum detail, prompt adherence | High-resolution catalog images |
| Stable Diffusion 3 | Creative flexibility, style range | Concept exploration, moodboards |
| Recraft v4 Pro | Print-ready output, clean lines | Catalogs, client presentations |
| Flux Depth Pro | Depth-aware editing | Room scene refinement |
| Flux Canny Pro | Structure control | Consistent furniture shape across variants |
Flux Dev for Photorealistic Results
Flux Dev is the go-to model for furniture visualization that needs to look like photography. Its training emphasizes material accuracy: wood grain behaves like wood grain, velvet catches directional light with the correct nap sheen, polished metals show realistic reflections. For most furniture applications, this is the starting point.
Flux Pro for Maximum Detail
When the output needs to withstand printing at large format (such as a printed catalog or a billboard), Flux Pro adds an extra layer of micro-detail resolution. The prompt adherence is also notably stronger, meaning the specific material and composition details you describe are more accurately represented in the output.
Stable Diffusion 3 for Creative Concepts
Stable Diffusion 3 brings a different strength to the table: creative range. If you are in early concept mode, exploring different aesthetic directions before committing to a final design, SD3's flexibility produces a broader variety of interpretations per prompt. It is less about photographic accuracy and more about generative breadth.
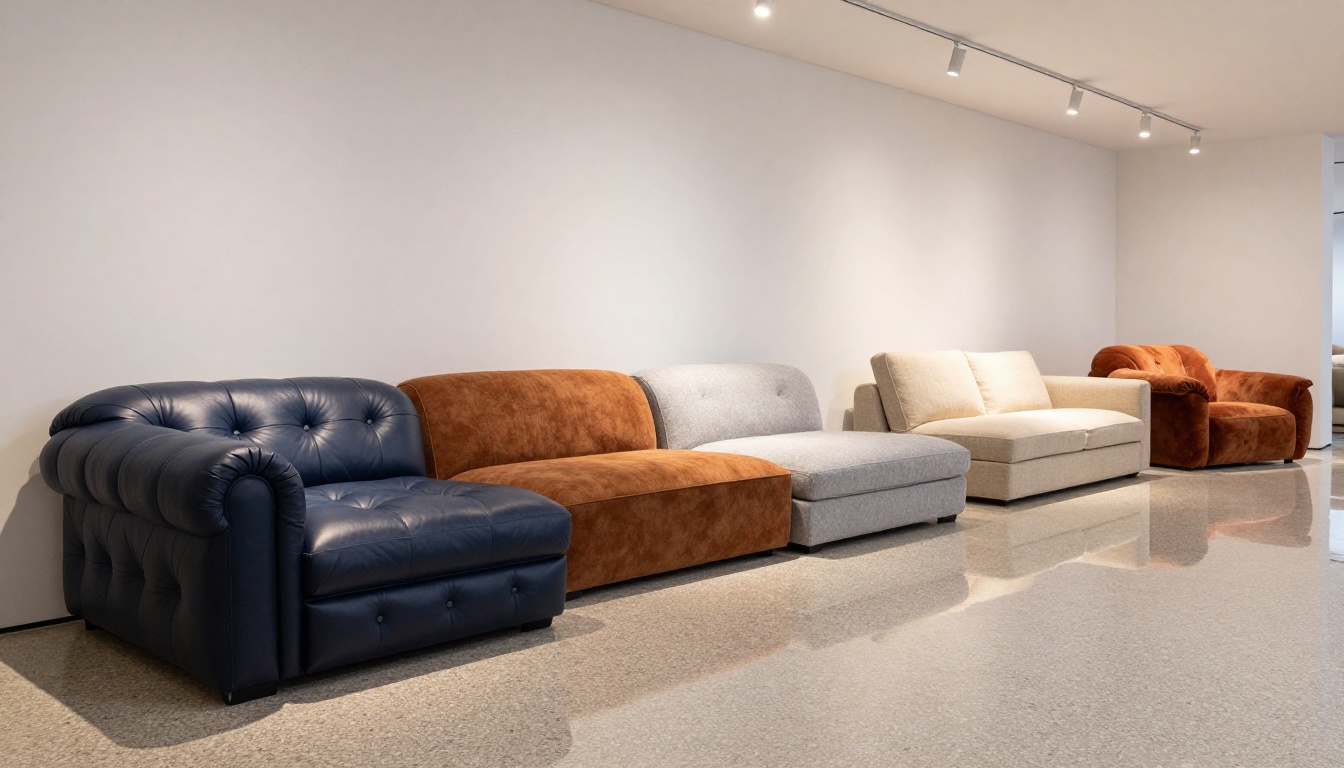
Recraft v4 Pro for Catalog-Ready Assets
Recraft v4 Pro produces clean, print-ready outputs with particularly precise edge rendering. For furniture with geometric forms (tables, wardrobes, shelving systems), the straight lines and sharp angles are rendered without the softening artifacts that some other models introduce.
Writing Prompts That Actually Work
The difference between a mediocre AI furniture image and a genuinely convincing one almost always comes down to the prompt. Vague prompts produce generic outputs. Specific, layered prompts produce images that look like they came from a professional studio.
The Furniture Prompt Formula
Structure every furniture prompt in five layers:
- Subject: The piece itself, material, construction method, color
- Environment: The room type, floor material, wall treatment, supporting props
- Lighting: Source direction, quality (hard or soft), color temperature, time of day
- Camera: Height, angle, lens focal length, aperture
- Film aesthetic: Film stock reference, grain level, color profile
Example prompt for a dining chair:
"Close-up of a handcrafted mid-century walnut dining chair, seat upholstered in mustard boucle, tapered legs, shot from seat level at 30-degree angle, direct morning light from left creating strong grain shadows, 100mm macro lens at f/2.8, background concrete floor blurred to grey bokeh, Kodak Portra 400 film grain, photorealistic RAW 8K, no digital art"
3 Mistakes That Kill Your Results
Mistake 1: Generic material descriptions. Writing "wooden chair" produces a generic result. Writing "solid fumed white oak, wire-brushed surface, ash-grey tones with brown undertones" produces a specific, believable piece.
Mistake 2: No lighting specification. Without a lighting description, the model defaults to flat, directionless studio lighting that looks artificial. Always specify the light source direction, quality, and color temperature.
Mistake 3: No camera information. Camera angle and lens focal length dramatically affect how furniture reads. A 24mm wide-angle shot makes a sofa look grand and architectural. A 100mm shot emphasizes material texture. Specify both, every time.
💡 Pro tip: Add "film grain consistent with Kodak Portra 400" to any furniture prompt. It immediately pushes the result away from the sterile look of typical AI images and toward the warmth of analog photography.
How to Use Flux Dev on PicassoIA
Flux Dev is available directly on PicassoIA. No API keys, no local GPU, no installation. Here is the full workflow from first prompt to final asset.
Step 1: Choose Your Model
Navigate to the Flux Dev page on PicassoIA. This model runs entirely in the cloud, so your device specifications are irrelevant. You pay per generation, not per month, which makes it practical for both occasional and high-volume use.
Step 2: Write Your Furniture Prompt
Use the five-layer formula described above. Be specific about the material, construction, lighting, and camera. Start with a hero three-quarter angle shot as your first generation, since this gives you the most information about how the model is interpreting your piece.
Recommended settings:
- Aspect ratio: 16:9 for lifestyle scenes, 1:1 for isolated product shots
- Quality: Maximum (non-negotiable for commercial use)
Step 3: Refine with Depth Control
Once you have a hero image, use Flux Depth Pro to make targeted edits while preserving the overall composition. This is particularly useful when you want to change the room environment while keeping the furniture exactly as it appeared in the first generation.
For controlling the structural outline of the piece across multiple generations (useful when you need consistent shape across a catalog), switch to Flux Canny Pro, which uses edge detection to hold the geometry stable while allowing material and lighting variations.
Step 4: Perfect the Product Shot
For isolated product shots on white backgrounds, generate the piece with Flux Pro and specify a plain white sweep background in your prompt. The key is adding an explicit shadow description so the furniture appears grounded rather than floating.
Shadow prompt addition: "soft natural drop shadow beneath the piece, grounding it to the white surface, no background objects"
Real Workflows for Real Results
The technical capability only matters when it fits into a workflow that produces output on deadline. Here are three proven workflows for different use cases.
The E-Commerce Catalog Workflow
Objective: 40 product hero shots with consistent styling.
- Write a master prompt template with fixed environment, lighting, and camera parameters
- Swap only the furniture description between products
- Generate each piece with Flux Pro for maximum detail
- Apply Flux Canny Pro on any pieces that need shape corrections
- Export and upload directly to your product catalog
Time estimate: 2 to 4 hours for 40 SKUs. Traditional 3D: 40 to 80 business days.
The Client Presentation Workflow
Objective: Show a client what their custom furniture will look like in their actual space.
- Photograph the client's room with your phone
- Use Flux Depth Pro to generate the furniture into the existing space while preserving room depth
- Generate 3 to 5 variations showing different finishes or upholstery options
- Present as a PDF with annotated material specifications
💡 Client confidence impact: Clients who see photorealistic furniture visualizations in their actual rooms approve orders at a significantly higher rate than clients who see only swatches and technical drawings.
The Moodboard Workflow
Objective: Define the aesthetic direction of a new furniture collection before any physical prototyping begins.
- Generate 20 to 30 diverse pieces using Stable Diffusion 3 with deliberately varied prompts
- Identify which aesthetic directions resonate with the collection's intended audience
- Narrow to 5 to 8 pieces and regenerate with Flux Dev for higher photorealistic fidelity
- Build the final visual brief for craftspeople or manufacturers from these images
The Furniture Types That Work Best
Not all furniture categories produce equally strong AI results. Here is an honest breakdown based on current model capabilities:
| Category | AI Output Quality | Notes |
|---|
| Sofas and upholstered seating | Excellent | Fabric and cushion detail very strong |
| Tables (wood, stone, metal) | Excellent | Surface texture rendering outstanding |
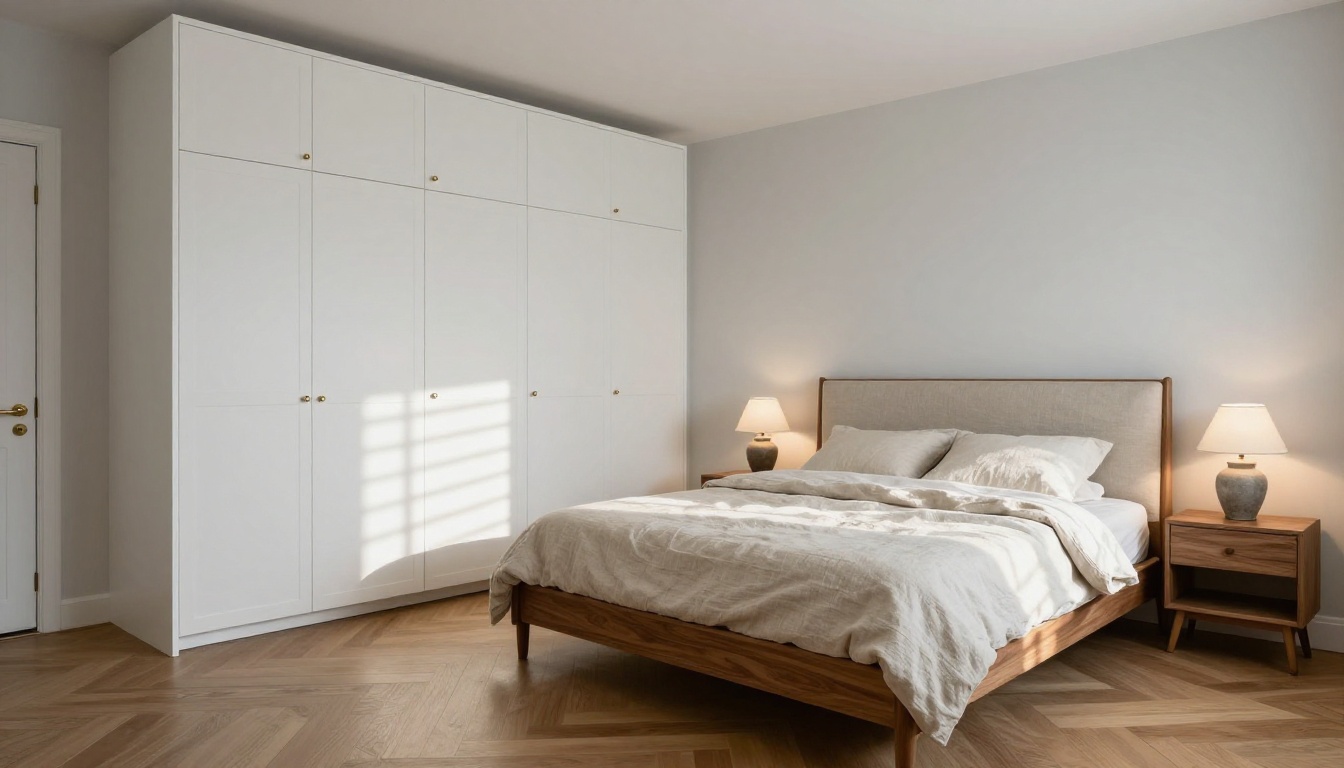
| Wardrobes and storage units | Very good | Geometric accuracy best with Recraft v4 Pro |
| Lighting fixtures | Good | Metal reflections accurate, glass varies |
| Upholstered beds | Very good | Headboard and linen detail particularly strong |
| Outdoor furniture | Excellent | Weathering and patina effects are realistic |
| Kitchen cabinetry | Good | Benefits from Flux Canny Pro for line accuracy |
| Wicker and rattan | Variable | Complex weave patterns can simplify in some models |
Building Visual Consistency Across a Catalog
One aspect of AI furniture generation that is often overlooked is its role in brand visual identity. When you establish a fixed set of parameters for lighting, camera position, and color grading, and apply them across every product in your catalog, you create cohesion without a single photoshoot.
This is what the best furniture brands achieve with physical photography: a consistent lighting setup, a consistent background material, a consistent camera height. AI applies the same discipline at zero marginal cost per product.
The parameters worth standardizing:
- Camera height (60cm for dramatic low-angle, 100cm for natural eye level, 160cm for architectural)
- Light source direction (camera left for most pieces, raking light for texture emphasis on grain)
- Film stock reference (Kodak Portra for warm, Kodak Ektar for saturated, Ilford HP5 for cool)
- Background material (white sweep for e-commerce, poured concrete for contemporary, linen for natural)
💡 Save your prompt template: Once you find a lighting and camera combination that matches your brand aesthetic, save it as a reusable text template. Every new product prompt gets this template appended, ensuring visual consistency across your entire catalog without additional effort.
Start Creating on PicassoIA
The barrier to professional furniture visualization no longer exists. The technology is available, the models are capable, and the workflow takes minutes rather than weeks.
PicassoIA gives you direct access to Flux Dev, Flux Pro, Stable Diffusion 3, Recraft v4 Pro, and a full suite of editing tools including Flux Depth Pro and Flux Canny Pro. Everything runs in the browser, with no installation required and no GPU needed on your end.
Write your first furniture prompt today. Describe the piece, the materials, the light direction, the camera angle. Generate it in 15 seconds. Iterate on it. Try a different material, a different room, a different time of day. The cost of experimentation is now effectively zero, and every iteration brings you closer to the exact visual that represents your work at its best.
The only thing left is to start.


