Glitch effects have gone from an obscure digital art subculture to one of the most recognizable visual languages in photography, music video production, and brand identity. The fractured pixels, RGB channel splits, and corrupted scan lines that once required hours of manual Photoshop work can now be produced with AI in under a minute. This is not about filters. It is about a completely different approach to visual distortion, one where the AI interprets your intent and builds the effect from the image data outward.
Whether you are a photographer looking to add character to a portrait series, a motion designer needing fast iteration on visual styles, or a brand creative trying to stand out in a saturated feed, AI-generated glitch effects deliver a creative return that traditional tools simply cannot match for speed and flexibility.
What Makes Glitch Art Visually Powerful
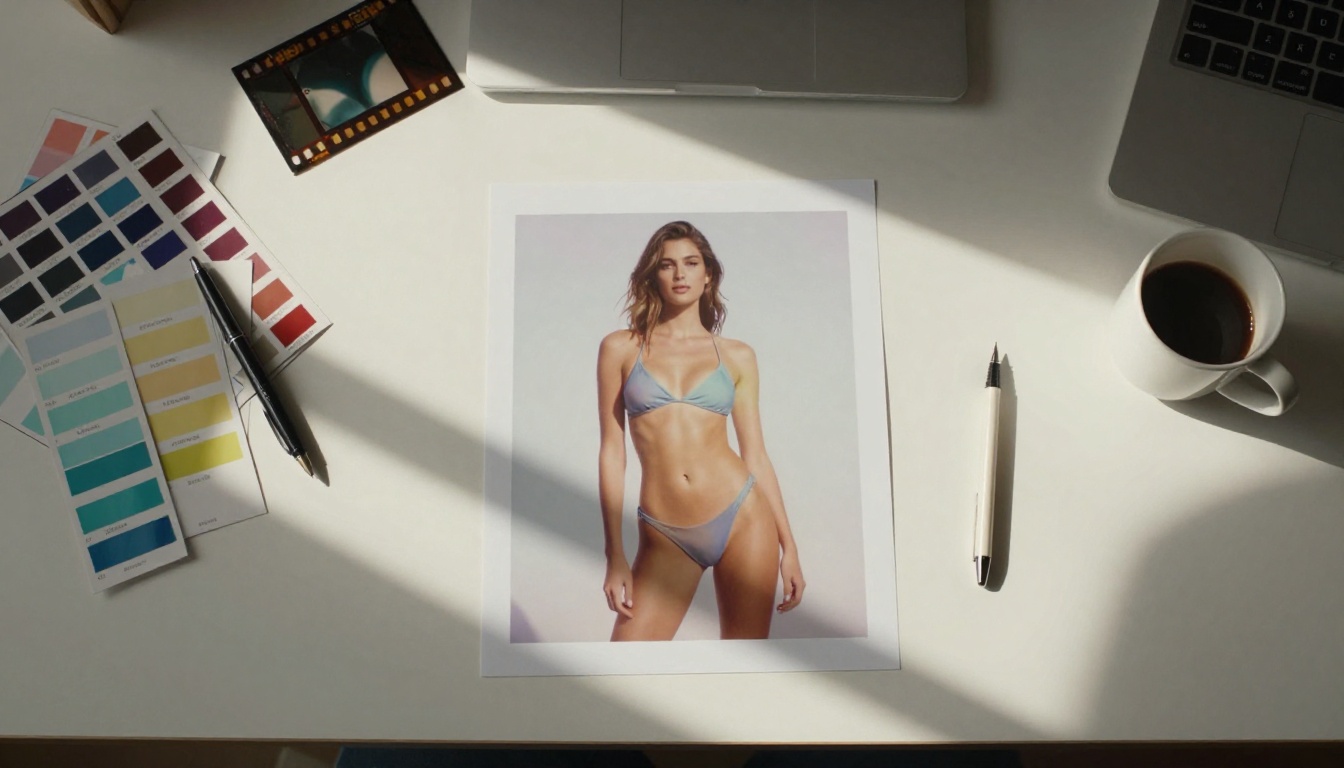
There is a specific tension in glitch art that makes it arresting. The viewer expects coherence but receives something broken, and that gap is where the emotional weight lives. It signals that something is happening beneath the surface of the image, which is why it resonates so strongly in contexts where rawness or intensity matter.
The Psychology of Controlled Chaos
The human visual system is wired to detect anomalies. A perfectly exposed photograph registers as clean and resolved, but introduce a horizontal scan shift or an RGB desync and the brain immediately flags it as important. Glitch effects exploit this by creating low-level perceptual alerts that hold attention longer than a clean image would.
The operative word is controlled. Random destruction looks like a mistake. Intentional glitch, where the distortion respects the composition and subjects, looks like craft. This is exactly where AI excels: it does not apply chaos uniformly but responds to the structure of the image, concentrating distortion in ways that feel authored.
When a portrait has its RGB channels split so that the eyes remain sharp while the edges of the hair and clothing dissolve into color fringing, that is not random. That is the model reading the semantic weight of the image and applying distortion accordingly. Traditional effects tools cannot do this because they operate on pixels, not meaning.
Why Brands and Creators Are Using It Now
Fashion editorials, album artwork, streetwear lookbooks, and social media campaigns have all absorbed glitch aesthetics into mainstream visual language over the past several years. Part of the reason is the democratization of the effect itself. You no longer need to know how to manually separate RGB channels in After Effects or write pixel-sorting scripts in Python. AI tools handle that translation layer entirely.
The other reason is speed of iteration. In a content-driven market where a brand might need 40 to 60 unique creative assets per month, the ability to produce high-quality glitch-styled imagery in seconds rather than hours is not a luxury. It is a production requirement. Creatives who can operate at that speed with consistent quality are in an entirely different category.
💡 Tip: The most effective glitch art keeps one element of the image perfectly intact. A sharp eye, a clean background stripe, or a focused object acts as an anchor that makes the distortion feel intentional rather than accidental.
The Core Glitch Effects You Need to Know
Before working with AI tools, knowing what you are asking for matters. Glitch art is not one effect; it is a family of distinct visual techniques, each with different applications and aesthetics. Matching the right technique to the subject and intended use is what separates polished work from noisy experiments.
Chromatic Aberration and RGB Splits
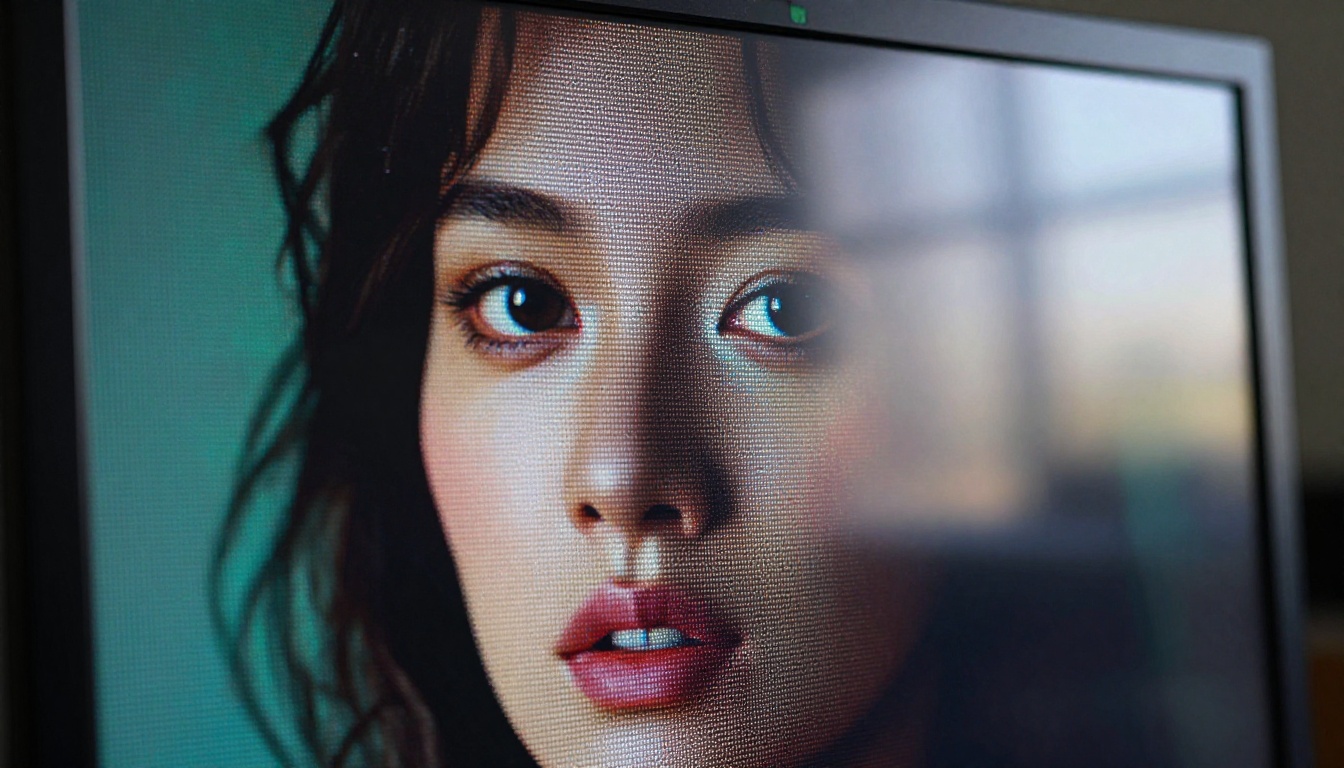
Chromatic aberration is the optical effect where different wavelengths of light focus at slightly different distances, causing color fringing at high-contrast edges. In glitch art, this is exaggerated dramatically: the red, green, and blue channels of an image are offset from each other, creating a rainbow-fringe separation that reads as both technical and cinematic.
This effect works particularly well on portraits because the face provides enough structural information for the brain to still read the subject even when the channels are pulled apart significantly. A 20-pixel split across a full-resolution portrait looks subtle but professional. A 50-pixel split looks aggressive and editorial. Either can be right depending on context.
Pixel Sorting and Data Moshing
Pixel sorting rearranges pixels within horizontal or vertical bands based on brightness or color values. The result looks like the image is melting in one direction, with sharp edges dissolving into long color streaks while other areas remain intact. It was originally a creative coding approach but AI models can now replicate and extend it based on text prompts alone.
Data moshing is a related approach that exploits video compression artifacts. Frames bleed into each other as if the codec has lost its reference frame, creating fluid motion blur between unrelated images. When applied to stills, it produces a temporal ghosting effect that suggests movement within a static frame, which is highly effective in fashion and editorial work.
VHS Static and Scanline Overlays
The VHS aesthetic pulls from analog video artifacts: horizontal tracking errors, color bleeding between channels, and the faint scanlines of CRT display technology. These effects carry strong nostalgia associations and are frequently used in fashion photography and music visual content for exactly that reason. The analog grain and slight color desaturation that accompany VHS-style effects add a tactile quality that purely digital distortion lacks.
Double Exposure and Ghost Frames
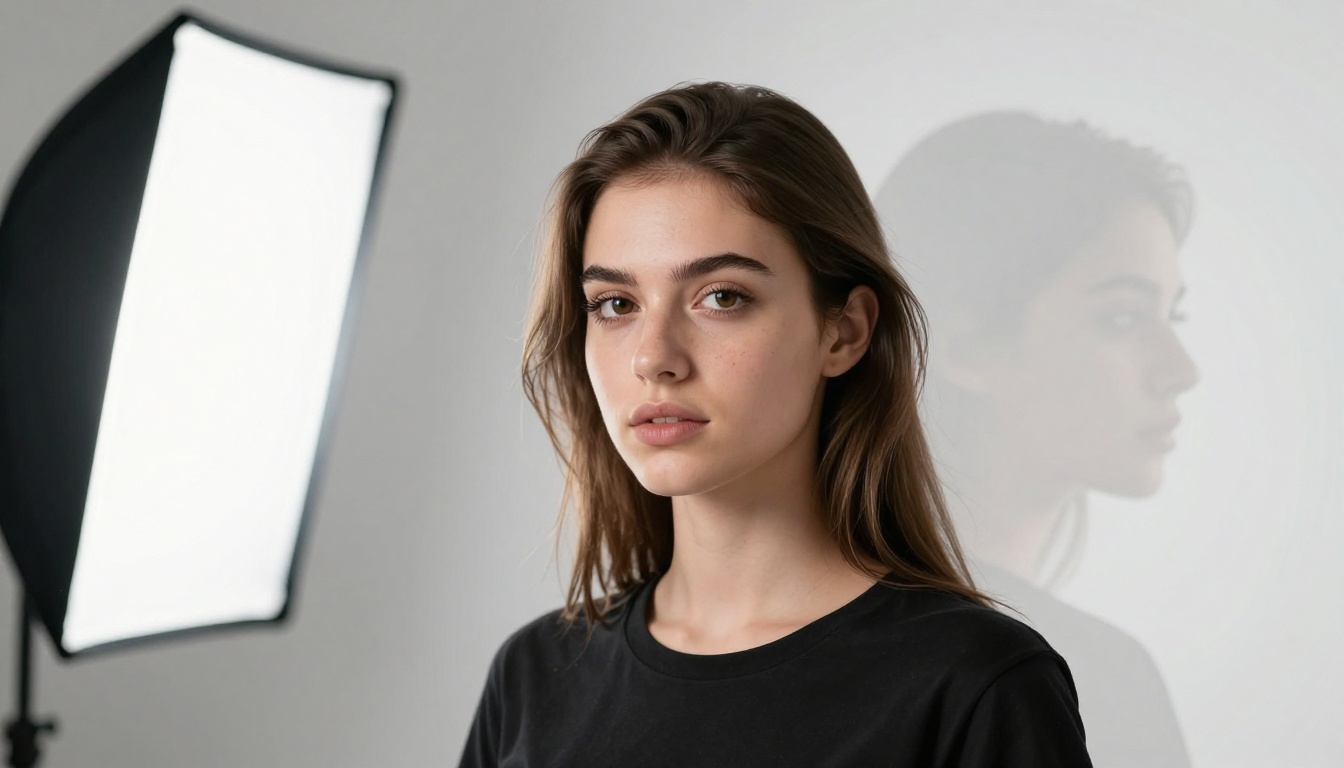
Double exposure blends two separate images within a single frame, creating a transparent overlay where both subjects are partially visible. As a glitch-adjacent effect, it is used to suggest fragmented memory, duality, or corrupted signal. The ghost frame variant applies this more aggressively, producing offset copies of the main subject at reduced opacity.
| Effect | Visual Character | Best Subjects | Difficulty |
|---|
| Chromatic Aberration | Color fringing, edge splits | Portraits, close-ups | Low |
| Pixel Sorting | Melting streaks, color bands | Landscapes, full-body | Medium |
| VHS Static | Analog noise, scan lines | Any | Low |
| Double Exposure | Ghosted overlay | Portraits, architecture | Medium |
| Data Moshing | Frame bleed, motion blur | Action shots, video stills | High |
How AI Changes the Equation
Traditional glitch workflows require specialized software, scripting knowledge, or hours of manual layer work. AI collapses this into a prompt or a click, but more importantly, it changes the creative direction itself: instead of specifying exactly how to apply the effect, you describe the result and the model figures out the execution.
From Hours to Seconds
A pixel-sorting pass on a high-resolution image in traditional software can take anywhere from 20 minutes to several hours depending on the complexity of the algorithm and the file size. AI models can generate a finished glitch-styled output from a text description in under 60 seconds. That speed shift does not just save time; it changes how you ideate. Iteration becomes cheap enough to try five different approaches before committing to one.
This has significant implications for client work. Showing three glitch treatment options in a 15-minute creative review used to require days of pre-production. With AI tools, those options can be generated during the meeting itself, which shifts the entire nature of the creative conversation from approval-seeking to collaborative exploration.
What AI Actually Does Differently
Traditional effects are deterministic: you set parameters and get a mathematically predictable output. AI is generative: it interprets the semantic content of the image alongside your prompt and produces an output that is stylistically coherent rather than algorithmically correct. This means an AI-generated glitch effect on a portrait will tend to concentrate distortion on semantically less important areas like background and clothing while preserving the eyes and primary subject detail, even if you did not explicitly request that behavior.
The tradeoff is control. When you need pixel-perfect repeatability across a batch of images for a production pipeline, traditional tools offer more precision. When you need fast creative output with high visual impact across varied content types, AI wins by a significant margin on both speed and quality.
💡 Tip: Combine AI-generated glitch effects with a super-resolution pass afterward. The upscaling step smooths over any over-distorted areas while preserving the intentional artifacts you want to keep.
Text-to-Image Models for Glitch Aesthetics
The fastest way to create glitch effects with AI is through text-to-image generation, where you describe the end result rather than editing an existing file. This approach is ideal for creating original glitch-styled artwork from scratch, bypassing the need for a base photograph entirely.
Prompting Strategies That Work
The quality of your output depends heavily on how you construct the prompt. Glitch effects require specific technical vocabulary to communicate clearly to the model:
- Use "chromatic aberration" for RGB split effects
- Use "pixel sorting artifact" for melting color streak effects
- Use "VHS tracking error" for analog noise effects
- Use "double exposure" for ghost frame overlays
- Add "high detail, RAW photography, 8K" to push photorealism
- Specify your subject clearly before describing the effect
Example prompt structure: [Subject description] + [photographic context] + [glitch effect type] + [quality modifiers]
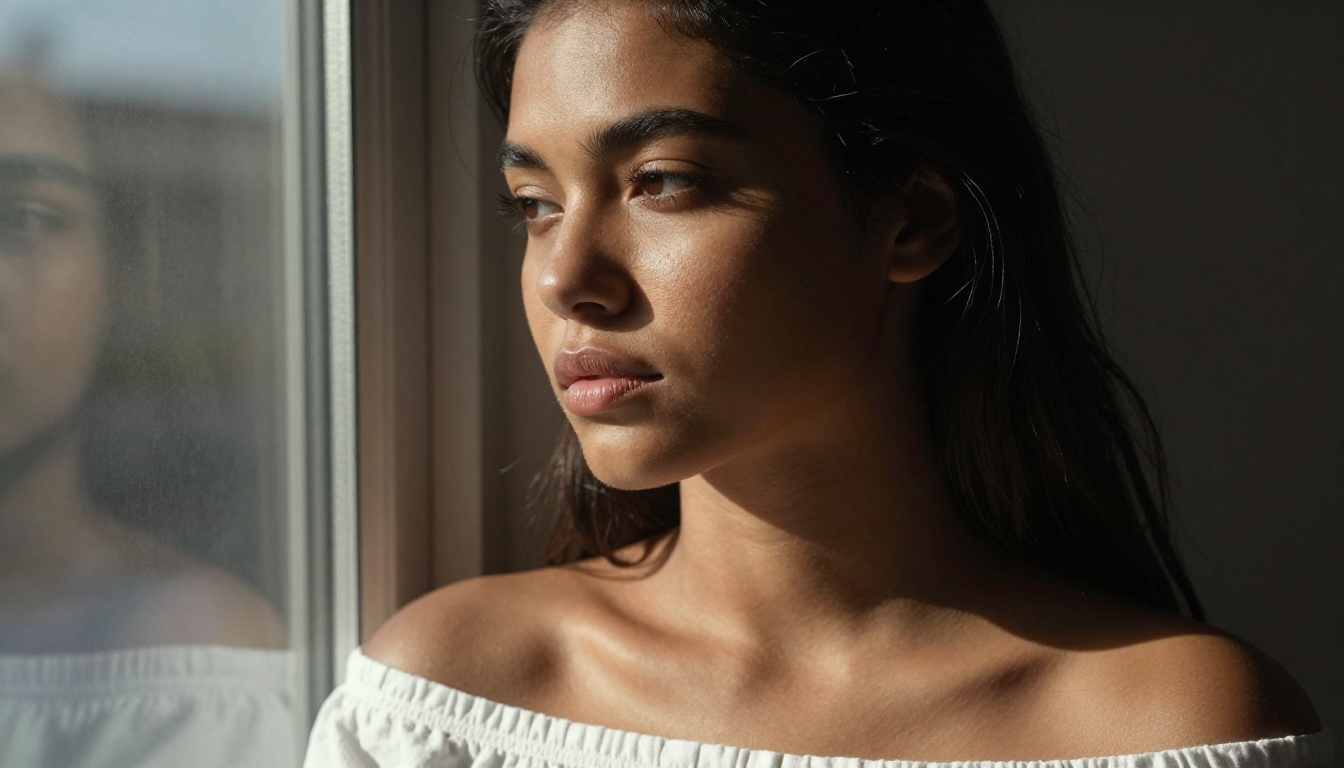
A working example: "Close-up portrait of a woman, studio lighting, 85mm f/1.4, chromatic aberration with RGB channel split, pixel sorting artifacts along the left edge, Kodak Portra grain, photorealistic, 8K"
Parameter Tips That Actually Work
Most AI image models expose a handful of parameters that significantly affect glitch output quality. Knowing which ones to adjust, and in which direction, saves a lot of regeneration time:
| Parameter | Effect on Glitch Output | Recommended Setting |
|---|
| Steps | More steps = cleaner base, less raw artifact feel | 25-35 for glitch work |
| CFG / Guidance | Low guidance produces more chaotic results | 6-8 for controlled glitch |
| Seed | Fix seed to iterate on same base image | Lock it during refinement |
| Aspect Ratio | 16:9 suits horizontal glitch scan artifacts | Use for wide compositions |
💡 Tip: Lower guidance scale values produce more unexpected, organic distortion. If the output looks too clean and polished, drop the CFG value by 1-2 points and re-generate to introduce more artifact character.
Using Video-Editing AI for Motion Glitch
Glitch effects do not have to stay in static images. Some of the most striking applications are in short-form video content, where temporal distortion adds another dimension to the visual language and creates effects that still photography simply cannot replicate.
Frame-by-Frame Distortion
Motion glitch works on a different principle from image glitch: instead of corrupting pixel data within a single frame, it introduces inconsistencies between frames. The result is a visual stutter, bleed, or warp that feels like the signal is failing in real time. This is exceptionally effective in music videos, short films, and social media reels where the disruption mirrors emotional or narrative intensity.
The challenge with motion glitch is maintaining enough consistency across frames that the distortion reads as intentional rather than simply broken. AI models handle this temporal coherence problem better than traditional codec manipulation approaches because they model the motion as a continuous signal rather than frame-by-frame.
Tools Worth Your Time
For video glitch work on PicassoIA, several models cover different parts of the production pipeline:
Lucy Edit 2 from Decart allows text-based video editing, meaning you can describe a stylistic transformation and have the model apply it across an entire clip. For glitch work, prompts like "add VHS tracking artifacts" or "apply chromatic distortion to motion areas" produce strong results without frame-by-frame manual work.
Gen 4 Aleph by Runway is built for recut and restyle operations on existing footage. It applies aesthetic transformations while maintaining temporal coherence, which is exactly what motion glitch requires. The model handles the tricky problem of keeping the distortion consistent across frames rather than flickering randomly between them.
Wan 2.7 Videoedit handles text-driven video transformation at high visual quality. For glitch-forward content, it responds well to descriptions of analog artifacts and temporal distortion. The model is particularly strong with footage that already has strong edge contrast, which gives the distortion algorithm clear boundaries to work with.
Kling o1 handles text-directed video rewrites with strong style control, useful when you want to apply a specific glitch aesthetic consistently across multiple clips for a cohesive project.
After generating your glitch video content, running it through Real ESRGAN Video ensures the final output holds fine detail at full broadcast or web resolution without softening the intentional artifacts you added.
Workflow for a Full Glitch Project
Putting all of this into a repeatable process saves time and produces more consistent results than approaching each project from scratch. Here is the sequence that works across image and video applications.
Step 1: Source Your Base Image
The starting image matters more than most people assume. Glitch effects work best on images with strong compositional anchors: a clear subject, defined edges, and enough tonal range for distortion to read clearly. High-contrast portraits, architectural photography with strong geometric lines, and landscapes with defined horizon lines all respond well.
If you are generating from scratch with text-to-image, describe the base image first and the glitch style second. The model needs to know what to corrupt before applying the corruption. A prompt that leads with the subject, lighting setup, and photographic style before introducing glitch vocabulary will produce a more coherent result than one that leads with the effect description.
Step 2: Choose Your Distortion Style
Match the distortion type to the content and intended use:
- Portraits for social media: Chromatic aberration and subtle RGB splits read clearly at small sizes and do not lose their impact when compressed for feed display
- Music video thumbnails: Heavy pixel sorting with VHS overlay creates maximum visual impact at the resolution it will actually be seen
- Brand photography: Light data moshing adds texture without overwhelming the product or losing brand recognition
- Editorial fashion: Double exposure and ghost frames add conceptual depth that works for print layouts
The instinct to apply every effect at once is worth resisting. Glitch art with one dominant technique applied well reads as intentional. Multiple competing techniques applied simultaneously read as noise, not craft.
Step 3: Refine and Upscale
After generating your glitch output, run it through an upscaling pass to bring any soft areas back to crispness while preserving the intentional artifacts. Clarity Pro Upscaler handles photorealistic upscaling with strong edge preservation, ideal for maintaining the sharp boundaries that make chromatic aberration and RGB splits readable at large print or display sizes.
For images where you want to add fine surface texture detail while upscaling, Crystal Upscaler is optimized for portrait work and brings out subtle textures that make the photorealistic elements feel tangible against the distorted areas. The combination of glitch distortion and crisp upscaled fine detail is one of the more striking contrasts you can produce with this aesthetic.
Mistakes That Kill the Effect
Knowing what to avoid matters as much as knowing the right approach.
Too Much Distortion Kills the Effect
The most common error is over-applying the distortion. When 80% of the image is corrupted, the viewer's eye has nothing to anchor on and the remaining 20% of clean information cannot do its job. The ratio to aim for is closer to 30% distorted, 70% coherent.
This is especially important in portraits where the eyes need to remain readable. A face with distorted hair and clothing but sharp eyes reads as a deliberate creative decision. A face where the eyes themselves are heavily corrupted loses all emotional connection and becomes unpleasant to look at rather than interesting.
Wrong Base Image Selection
Flat, low-contrast images respond poorly to glitch effects. The distortion has nothing structurally interesting to corrupt and the result looks muddy rather than intentionally broken. Start with images that have strong edges, clear subjects, and significant tonal variation.
Images that are already heavily processed before the glitch treatment are also problematic. Over-filtered base images compound the distortion in ways that produce incoherence rather than interesting artifacts. The model needs clean visual information to generate compelling distortion patterns from.
💡 Tip: Source your base image in the highest resolution available. More pixel data means the glitch algorithm has more material to create interesting distortion patterns, and the final output holds detail better after upscaling.
Start Creating on Picasso IA
The fastest way to see what AI-generated glitch effects can do for your work is to start creating directly. Picasso IA has the full production stack: text-to-image generation for creating glitch-styled originals from scratch, video-editing models for applying temporal distortion across motion content, and super-resolution tools for refining output to print or broadcast quality.

Start with a portrait. Describe your subject clearly, specify chromatic aberration with RGB channel separation, add photorealistic quality modifiers, and generate. The first output will tell you immediately what the model responds to in your prompt. From there, iteration is fast. Change one element, regenerate, compare.
The creative ceiling for glitch art made with AI is genuinely high. The tools are fast enough to support real creative exploration, powerful enough to produce professional-quality output, and flexible enough to cover everything from subtle photographic distortion to heavy editorial treatments that would have required a specialist compositor just a couple of years ago.
The only way to find your version of this aesthetic is to start making things.


