Particle effects are one of those visual elements that separate a flat, sterile image from a photograph that feels lived-in and real. Dust catching afternoon light. Pollen drifting across a portrait. Sand skimming a beach surface. These micro-details carry enormous emotional weight, and for years they required either exceptional timing in the field or expensive post-production software. AI image generators have changed that completely.
Understanding how to create particle effects with AI is not just about typing the word "particles" into a prompt. It requires knowing how particles behave in physical space, how light interacts with suspended matter, and how to communicate those nuances to a model in language it can interpret. This article breaks down exactly how to do that, from prompt structure to upscaling the final output.
Why Particles Change Everything
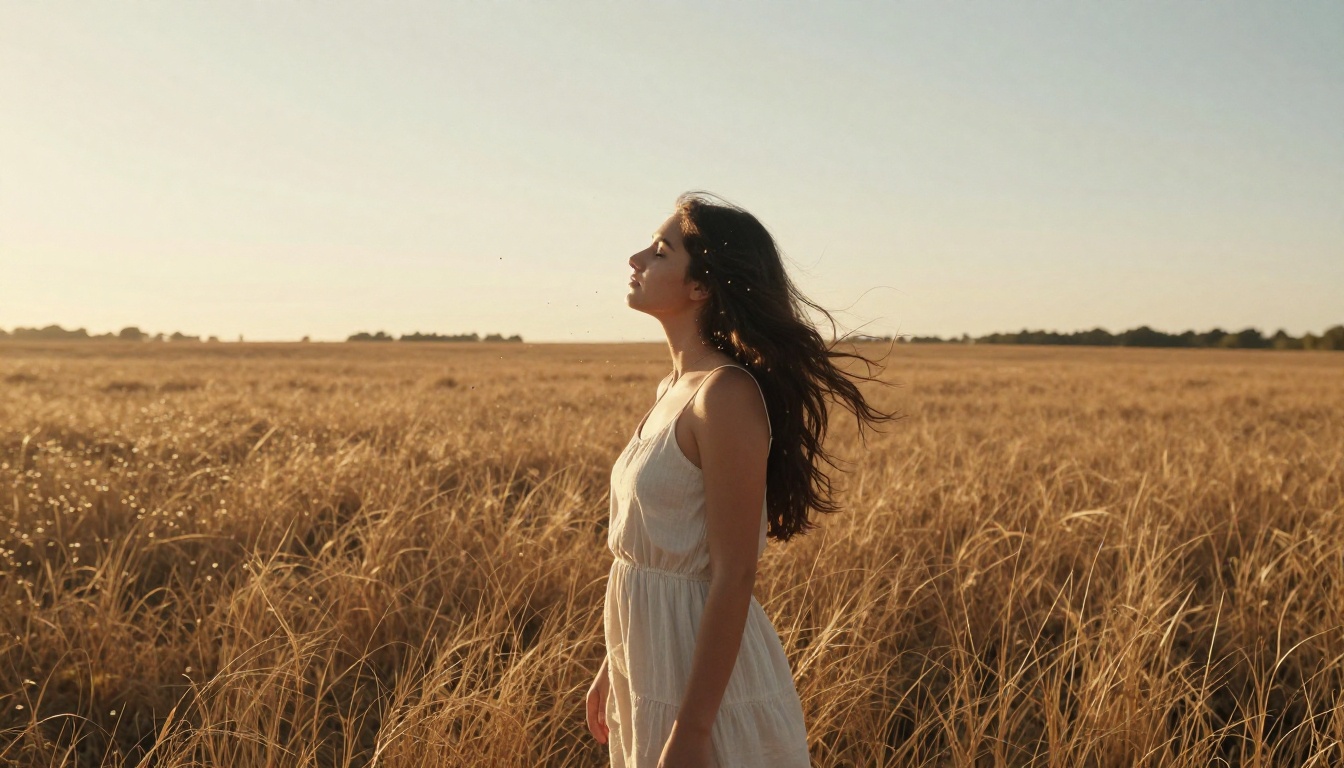
A photograph without environmental particles can feel clinically clean, too perfect. Natural spaces are full of airborne matter. Pollen clouds hover over meadows. Sea spray atomizes into fine droplets. Flour and spice dust catch kitchen light. These are the invisible elements that tell the brain a space is real and inhabited.
Once you start creating particle effects with AI, you gain access to this sensory layer on demand. You choose the type, density, distribution, and lighting of particles without needing to own a pollen field or a coastal location.
The Physics of Floating Particles
Particles behave according to size, weight, and ambient air movement. Lighter particles, like pollen or fine dust, drift slowly and catch directional light easily. Heavier particles, like sand or leaf fragments, fall in visible arcs and bounce on impact. This distinction matters enormously when writing prompts, because AI models trained on real photography have internalized these behaviors. When you describe a scene with physical accuracy, the model generates physics that match reality.
💡 Tip: Describe particle behavior in your prompt, not just particle presence. "Dust motes drifting slowly in still air" reads very differently to a model than just "dust in the air." The behavioral description triggers learned physical patterns from real photography datasets.
What AI Does That Cameras Cannot
Traditional cameras require perfect conditions to photograph particles well: strong directional light, a dark background, and a fast shutter speed. Even then, you are at the mercy of wind and timing. AI image generators can:
- Place particles exactly where they serve the composition
- Control density from a single floating grain to a dense cloud
- Set lighting direction independent of the main scene light
- Distribute particles at any depth in the frame simultaneously
- Render particle-surface contact with physically correct shadows
This is creative control that film photography simply cannot offer on demand.
5 Particle Types AI Renders Best
Not all particle effects perform equally across AI models. Some types have stronger training data behind them and produce consistently convincing results.
| Particle Type | Best Lighting Setup | Optimal Subject Pairing | Depth Behavior |
|---|
| Pollen and seed fluff | Warm backlight or sidelight | Portraits in nature | Soft, distributed evenly |
| Fine dust | Single directional shaft of light | Interior scenes, skin contact | Concentrated in light beam |
| Sand grains | Low-angle golden hour | Beaches, desert scenes | Falls and bounces on impact |
| Water mist and droplets | Diffused soft light | Shorelines, morning fog | Hovers and disperses slowly |
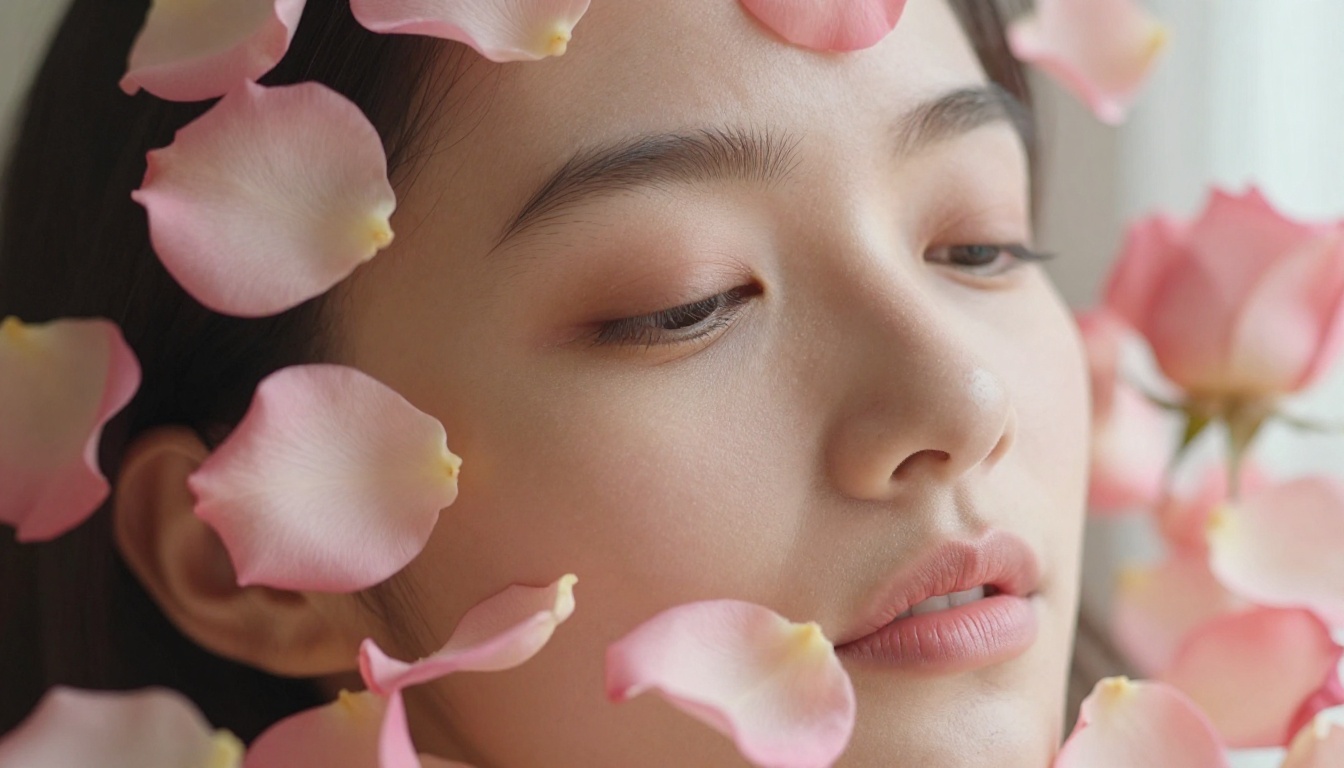
| Flower petals and leaf fragments | Overcast or soft window light | Portraits, fashion | Falls in natural arcs |
The most reliable of these five is water mist because it has an enormous photographic dataset behind it. Morning fog photography, surf photography, and steam photography have all contributed training data that makes AI excel at mist particle rendering. For portrait work, pollen is the most emotionally resonant choice because of its strong association with warm natural settings.
Prompt Architecture That Actually Works
The single biggest mistake people make when trying to create particle effects with AI is treating particles as an afterthought. They write a complete scene description and then add "with particles in the air" at the end. This produces weak, incidental results that look like a flat overlay.
Effective particle prompts treat the particles as a central compositional element, not a modifier tacked on at the end.
The Five-Part Particle Prompt
Part 1: Particle Identity
Be specific. "Fine dry sand grains" is better than "sand." "Dried grass seeds and natural pollen" is better than "particles." Specificity activates more precise learned behaviors from the model's training data.
Part 2: Trigger Event
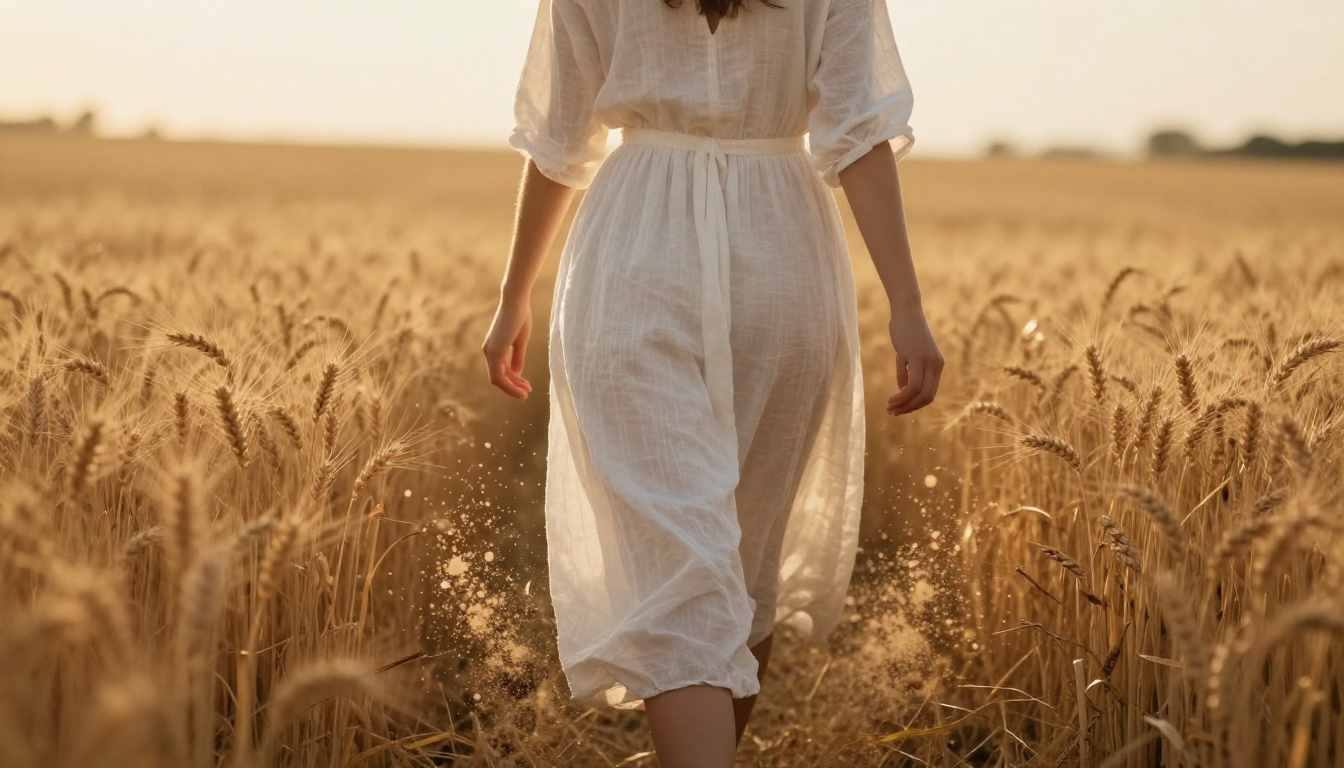
What set the particles in motion? A breeze, a footstep, a falling object? "Particles dislodging from disturbed wheat stalks" creates a causally grounded scene that feels real because the model can infer the full physical chain of events.
Part 3: Lighting on the Particles
Describe light hitting the particles separately from the general scene light. "Particles catching volumetric backlight from directly behind the subject, each grain individually lit" tells the model to render each particle as a lit point in three-dimensional space.
Part 4: Depth Distribution
Specify where in the frame particles are sharpest and where they blur. "Particles in sharp focus near the subject, dissolving into soft bokeh at the frame edges" gives compositional control over how depth tells the story.
Part 5: Camera and Lens
Certain lenses favor particle visibility. An 85mm-135mm telephoto compresses background depth and makes bokeh particles feel lush. A 105mm macro lens reveals individual grain textures on skin surfaces. A 35mm lens distributes particles across the full scene for wide environmental shots.
Common Mistakes That Kill the Effect
Flat, ambient light: Particles need directional light to become visible. A scene lit with soft, even light from all sides will lose its particles in the mid-tones. Always specify backlight, sidelight, or a shaft of directional light when particles are the focal element.
Uniform distribution: Writing "lots of particles everywhere" distributes them uniformly and looks artificial. Real particle photographs show density gradients: more concentrated near the source, thinning as distance increases.
No physical grounding: Particles that float for no apparent reason feel digital. Ground them in a physical cause: a breeze, a footstep, water movement, or a falling object.
💡 Tip: Add the phrase "micro-shadows cast by individual particles on surrounding surfaces" to prompts involving hard directional light. This forces the model to render particles as three-dimensional objects with physical mass, not flat overlays.
Light Is the Particle's Best Friend
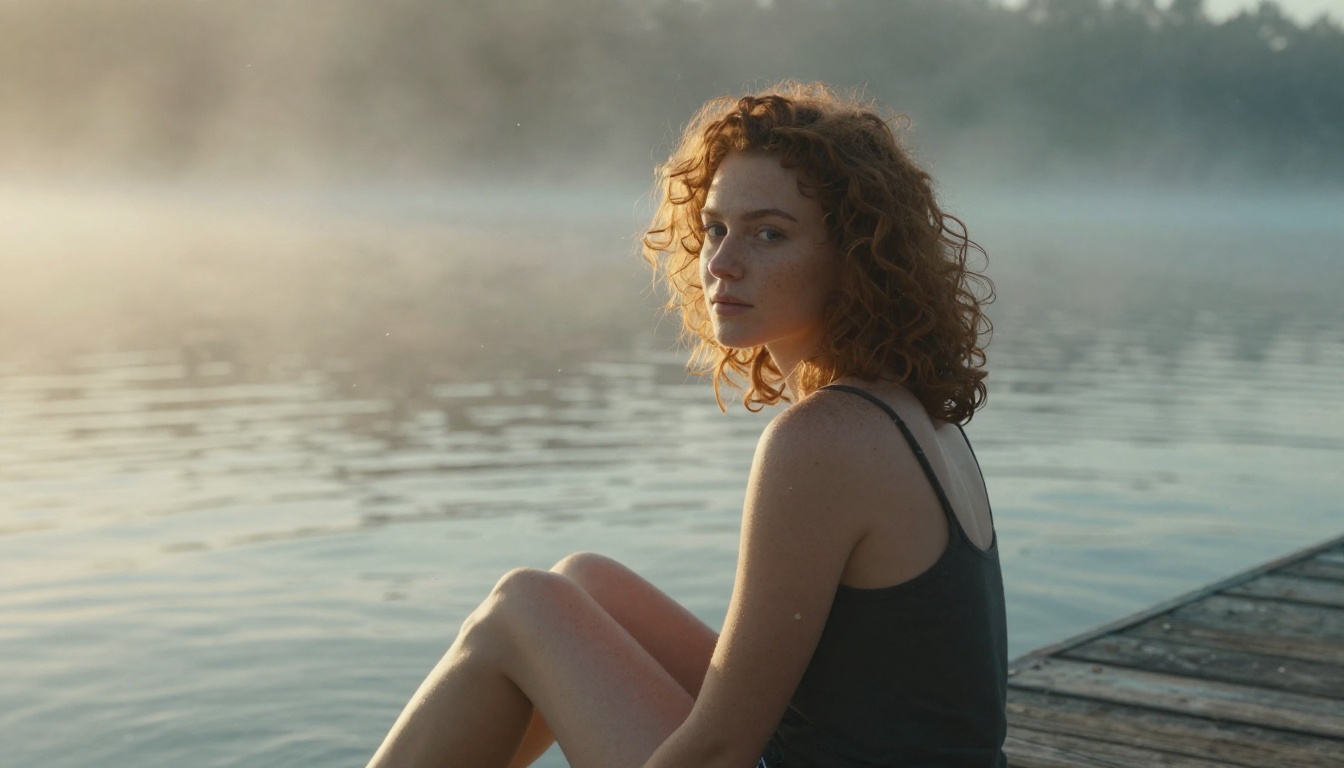
Light determines whether your particles are visible at all. A backlit dust scene is dramatic and cinematic. The same scene with flat frontal light renders the particles invisible against the background. This is not a minor detail; it is the most critical variable in AI particle photography.
Volumetric vs. Diffused Light
Volumetric light is directional and concentrated, like a beam of sunlight through a window or a shaft through tree canopy. It creates a visible curtain of illuminated particles. This is the most dramatic effect and the one most strongly associated with cinematic particle photography and AI particle simulation.
Diffused light is the opposite: soft, spread evenly from a wide source like an overcast sky or a large softbox. Diffused light makes particles visible through their physical mass and translucency rather than through reflected light points. This works better for dense, heavy particles like petals or leaf fragments because it reveals their interior color and structure.
💡 Tip: For fine dust and mist, choose volumetric every time. For petals and leaves, diffused light reveals translucency and texture rather than turning them into bright points against a dark background.
Light Direction by Particle Type
- Backlight (behind subject): Best for dust, pollen, mist. Creates a glowing rim effect around particle clouds and separates them from the background.
- Sidelight (45 to 90 degrees from camera): Best for sand and debris. Shows texture and physical mass of individual particles.
- Top light: Works well for falling particles like petals, reinforcing the natural arc of gravity.
- Shaft light (single directional beam): Most dramatic for floating dust motes, creating a visible beam with particles caught inside it.
Particles on Skin and Fabric
One of the most compelling AI particle applications involves placing particles in direct contact with a subject's skin or clothing. Sand on a shoulder. Pollen dusting a forearm. Mist condensing on fabric weave. These contact points are where the effect feels most convincingly real.
Contact Is What Sells the Illusion
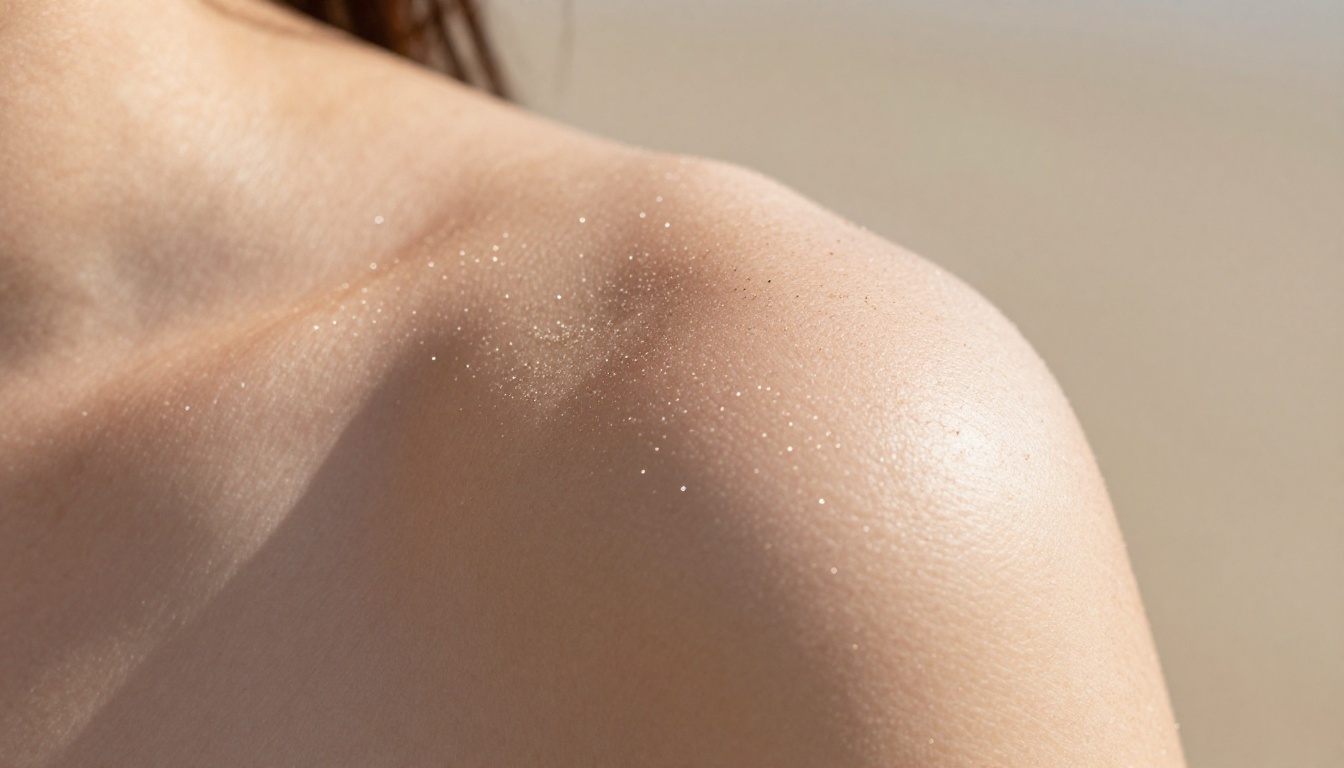
When particles make physical contact with a surface in an image, the physics constraints become visible: some grains sitting still, others still in motion, micro-shadows from each grain on the skin surface beneath. These details are what separate a convincingly real particle scene from something that reads as digitally composited.
To achieve this in prompts, describe the contact explicitly: "Fine sand grains resting on bare skin, some in sharp focus, micro-shadows visible on the skin surface below, a few still caught in mid-air above, photographed at macro range."
This level of description activates the model's understanding of particle-surface interaction and forces physically coherent rendering.
Film Grain Reinforces Particle Realism
Film grain and particle effects have a natural relationship. Film grain is itself a particle structure at the photographic level. When you add a specific film stock specification to your prompt (Kodak Portra 400, Fuji Provia, Ilford HP5), you signal to the model that the entire image should be rendered with micro-texture. This texture then extends naturally into the particle elements, making both look consistent and organic rather than having smooth AI areas contrasting with gritty particles.
💡 Tip: Always pair particle prompts with a film stock specification. "Kodak Portra 400 film grain" is the most reliable choice for warm, skin-toned outdoor scenes. For cooler or more dramatic shots, "Ilford HP5" provides a grittier, higher-contrast texture that pairs well with dark backgrounds and high particle density.
These three formulas produce reliable results when creating particle effects with AI. Each is built around a specific environmental particle type and a tested lighting setup.
Portrait with Pollen
The subject stands in a natural setting at golden hour. Natural pollen or grass seeds drift around the face and shoulders, backlit so each particle becomes a bright lit point. The face receives softer ambient fill from the front. This is the most emotionally resonant of the three formulas because it plays directly into warm, intimate portrait photography.
Prompt elements: golden hour backlight from behind, natural pollen and seed fluff, 85mm f/1.4, medium close-up, Kodak Portra 400 film grain, particles sharpest near face.
Beach with Wind-Lifted Sand
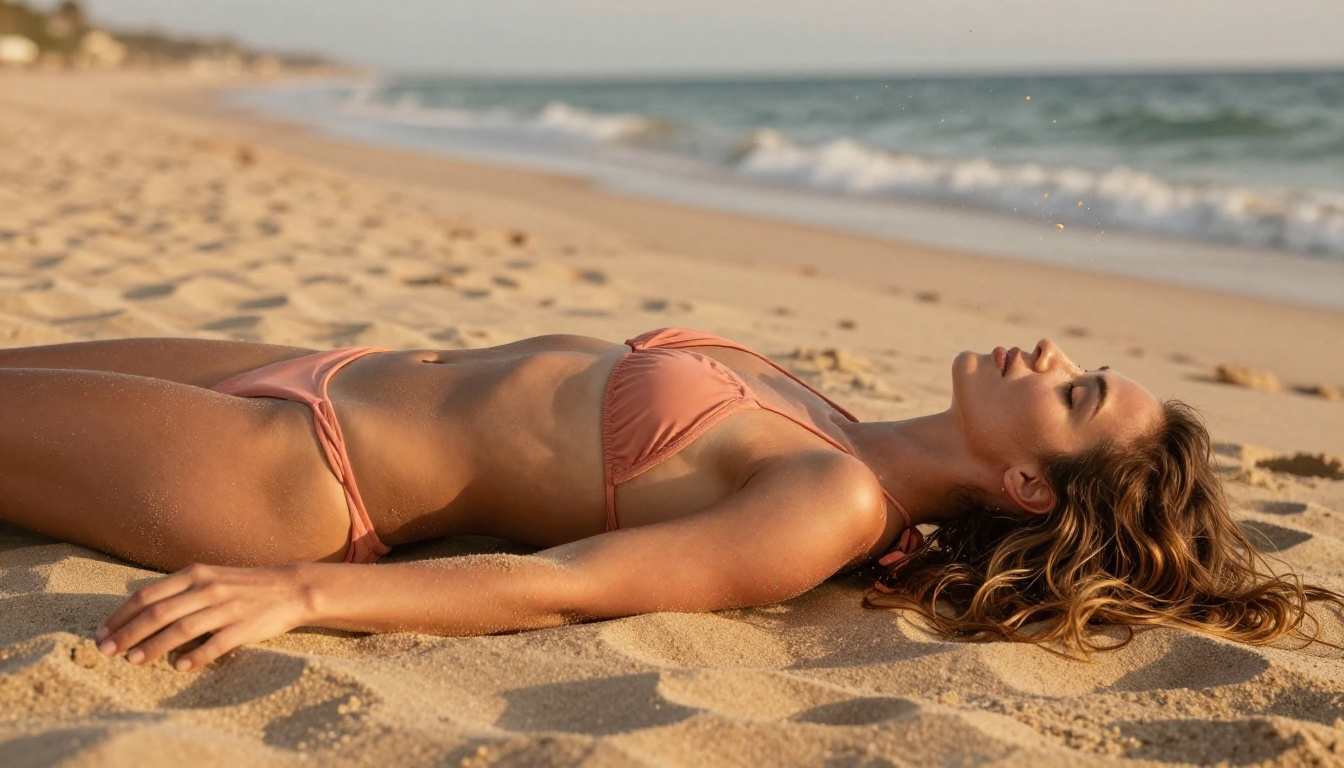
A low-angle ground-level shot of a beach scene. A gentle wind lifts fine dry sand from a nearby dune. Golden hour sidelight illuminates each grain individually. The subject is placed in the mid-ground, providing scale while the sand effect dominates the sharply focused foreground.
Prompt elements: low-angle ground-level shot, golden hour sidelight, fine dry sand grains, sharp focus in foreground transitioning to soft bokeh, 50mm f/2.0, warm amber and coral palette.
Autumn Leaves as Falling Particles
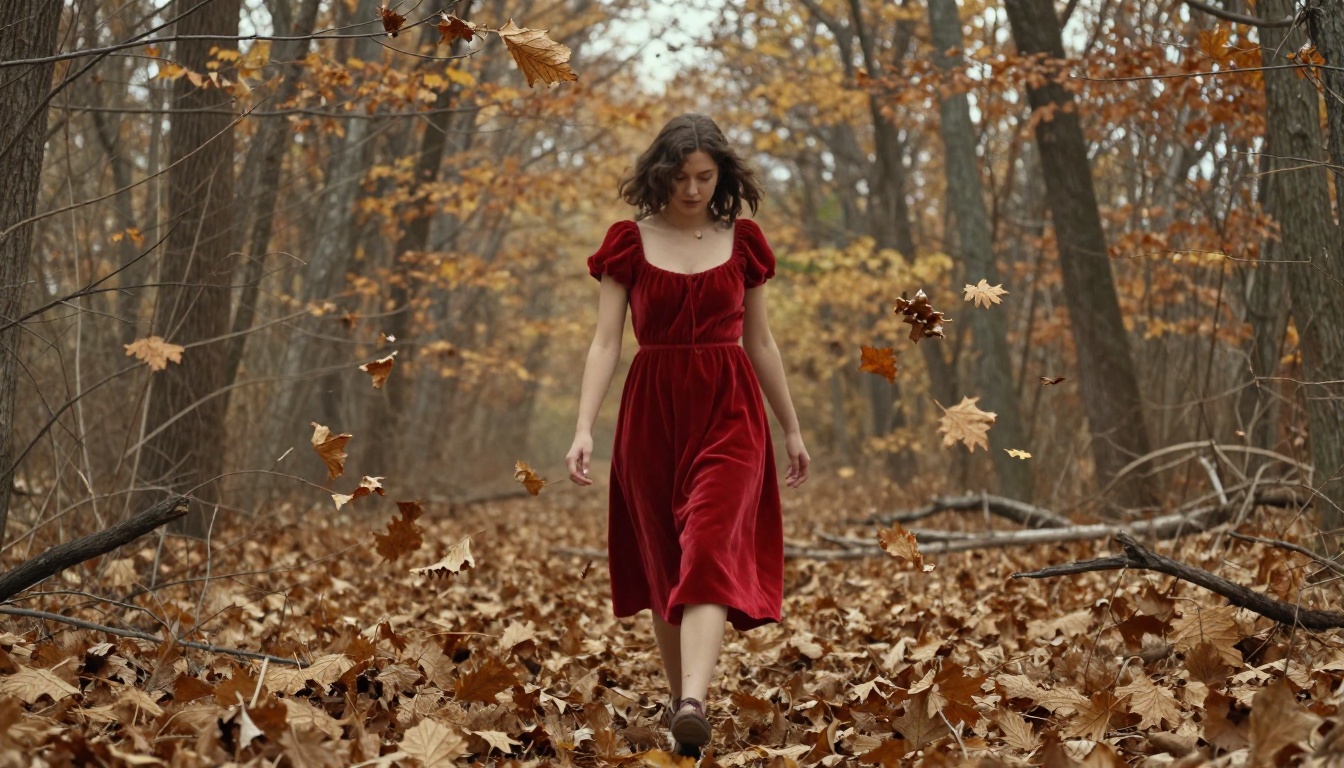
Dense woodland in autumn, a subject walking through the frame. The motion of their passage dislodges leaves and bark fragments, which swirl and fall around them. Overcast soft light reveals the warm texture and translucency of each leaf.
Prompt elements: autumn woodland setting, overcast diffused daylight, leaves dislodging from branches, three-quarter angle from slightly behind, 85mm-135mm telephoto, burnt sienna and ochre palette.
Upscaling Reveals Particle Detail
Particle effects benefit from upscaling more than almost any other image type. Individual grains, droplets, and seeds contain texture details that standard-resolution AI outputs compress or smooth over. Running a finished particle image through a dedicated upscaling model reveals the micro-texture within each particle and the shadow it casts on surrounding surfaces.
Clarity Pro Upscaler is particularly well-suited for particle images because it sharpens fine-grain detail without over-smoothing. It preserves film grain texture while improving the edge definition of individual particles.
For portraits where skin and particles must both look sharp, Crystal Upscaler works exceptionally well by prioritizing face and skin detail while allowing the particle elements to sharpen in context with the subject.
For maximum resolution for print, Image Upscale by Topaz Labs offers up to 6x enlargement while maintaining the micro-texture that makes particles look photorealistic.
For fast web-quality passes, Real ESRGAN delivers reliable 4x upscaling free, well-suited for social media and digital content where speed matters.
In-Prompt vs. Post-Generation: When to Use Each
There are two moments to introduce particle effects: during image generation via the initial prompt, or after the image exists via inpainting. Each approach has distinct advantages depending on how much control you need over placement.
| Approach | Best For | Limitation |
|---|
| In-prompt generation | Maximum physical realism, particles integrated with lighting from the start | Less precise placement control |
| Inpainting a specific region | Adding particles to one zone only without changing the rest | Requires careful mask and prompt |
| Full scene regeneration | Changing particle type or density significantly | Loses the original subject composition |
For most workflows, in-prompt generation gives the most convincing results because particles are rendered as part of the initial physical scene, with lighting and shadow consistent from the very first render. Inpainting works well when an existing image just needs a touch of atmospheric particles added to one corner or background zone without disrupting the main subject.
Start Creating Your Own Particle Scenes
The fastest way to internalize what works is to take one of the three formulas above and generate the same base scene with three different particle types and lighting setups. Compare the results side by side. Note what the model does differently when you switch backlight to sidelight, or swap pollen for mist. The patterns become clear quickly.
Picasso IA gives you direct access to powerful AI image generation with no setup required. Start with one of the formulas above, paste it into the text-to-image prompt field, and see photorealistic results in seconds. Then push the output further with a pass through Real ESRGAN or Clarity Pro Upscaler to reveal every particle detail at full resolution. The gap between knowing what you want and being able to produce it has never been smaller.