If you have ever tried to sell a product online without a decent photo, you already know the cost. Buyers scroll past blurry images, skip flat lighting, and close tabs on anything that looks like it was shot in a hallway. The photo does more heavy lifting than the price tag or the description combined. And historically, getting that photo required a photographer, a studio booking, props, lighting rigs, and a post-editing session that stretched the budget further than most small brands can justify.
Nano Banana Pro cuts that entire process down to a text prompt. Type a description of the product shot you want, select your resolution and aspect ratio, and the model delivers an image at up to 4K. No studio rental, no scheduling conflicts, no waiting on a photographer to deliver finals a week later.
This article covers how the model works for product photography specifically, which product types it handles best, how to write prompts that produce usable shots, and what other tools pair well with it when you need to take the image further.
Why Product Photos Drive Real Revenue
The research on this has been consistent for years: product images are the single biggest factor in online purchase decisions. A consumer may read reviews, check specs, and compare prices, but the moment they decide to add something to their cart usually comes down to whether they can see it clearly and whether they want it.
The Gap Between Good and Good Enough
There is a significant difference between a product photo that is technically correct and one that actually sells. A technically correct photo shows the product clearly on a white background. A photo that sells shows the product in context, with lighting that makes the material look premium, at an angle that reveals the most attractive silhouette.
Most small brands and independent sellers end up with the first kind and wonder why conversion rates stay flat. The barrier was always the cost and complexity of producing the second kind at scale.
Volume Is the Other Problem
Running a product line of 50 SKUs through a professional photo shoot is an expensive and time-consuming commitment. Updating seasonal photos, creating variations for different markets, or producing platform-specific crops adds more cycles on top. AI image generation solves the volume problem without compromising on quality.
💡 Tip: Product photos in multiple aspect ratios used to require separate shoots or heavy cropping. Nano Banana Pro lets you generate each format directly from the same prompt: 1:1 for Instagram, 16:9 for banners, 9:16 for Stories.
What Nano Banana Pro Does Differently
Most text-to-image models are generalists. They handle landscapes, portraits, and abstract art reasonably well, but they were not built with commercial product photography in mind. Nano Banana Pro was designed with practical, usable output at its core, which shows in how it handles controlled lighting, clean backgrounds, and surface material textures.
4K Without the Studio Bill
The model renders at 1K, 2K, or 4K resolution. For most ecommerce platforms, 2K is more than sufficient. For print materials, catalog pages, or billboard-scale advertising, 4K output means you are not scaling up from a low-resolution base and introducing artifacts in the process.
The output arrives as a JPG or PNG with no watermarks. Both formats are immediately usable in any design tool, ad platform, or CMS without additional processing steps.
Reference Images Change Everything
The feature that makes Nano Banana Pro particularly useful for product photography is the reference image input. You can feed it up to 14 images alongside your text prompt to anchor the output to a specific visual direction.
In practice, this means you can photograph your actual product with a phone camera, upload that image as a reference, and then describe the studio environment, lighting, and composition you want the model to generate around it. The model uses your reference photo to understand the product's shape, color, and proportions, then constructs the described scene.
💡 Tip: Use a rough phone photo of your product as the reference image, then describe the background, lighting type, and camera angle in the prompt. You get the environmental quality of a studio shot anchored to your actual product's appearance.
Flexible Enough for Any Platform
The aspect ratio selection covers 11 presets, which matters for product photography because different platforms have different display requirements. Generating in the right ratio from the start saves the cropping and repositioning work that tends to happen later.
| Platform | Recommended Ratio | Use Case |
|---|
| Amazon, Shopify | 1:1 | Main product listing image |
| Instagram Feed | 4:5 | Square or portrait posts |
| Pinterest | 2:3 | Tall vertical pins |
| YouTube Thumbnails | 16:9 | Video thumbnails and banners |
| Instagram Stories | 9:16 | Full-screen story ads |
| Facebook Ads | 4:3 | News feed placements |
How to Use Nano Banana Pro for Product Photos
The workflow is straightforward. Here is the sequence from start to usable image.
Step 1: Open the Model
Go to Nano Banana Pro on PicassoIA. No account setup or API configuration required. The interface is entirely browser-based and free to use.
Step 2: Write Your Product Prompt
The prompt is where most of the control lives. Be specific about the product itself, the surface or background, the lighting direction and type, and the camera angle. Vague prompts produce generic results. Specific prompts produce usable shots.
Weak prompt: "A bottle of perfume"
Strong prompt: "A glass perfume bottle with a gold cap on white Carrara marble, soft diffused overhead studio light at 45 degrees, 85mm f/1.4 lens, Kodak Portra 400 tones, photorealistic 8K"
The model responds to specificity. The more detail you include about material, lighting, and composition, the closer the output lands to what you need.
Step 3: Add Reference Images
If you have existing photos of your product, upload them in the reference image field. Even a rough phone photo gives the model a visual anchor for the product's shape, color, and proportions. You can upload up to 14 images to give it more visual context when you need tighter control over the output.
Step 4: Choose Resolution and Aspect Ratio
Select the resolution based on intended output:
- 1K: Social media thumbnails, mockups, fast previews
- 2K: Standard ecommerce listings, digital ads, most web uses
- 4K: Print materials, large-format digital displays, high-resolution catalogs
Then select the aspect ratio based on where the image will appear. For most product listings, 1:1 is the safest default. For marketing banners and ads, 16:9 or 4:3 gives you more horizontal space to work with.
Step 5: Generate and Iterate
Click generate. The model returns results within 30 to 60 seconds depending on resolution and complexity. If the first result is close but not quite right, adjust the prompt and regenerate. Small changes, like specifying "warm tungsten rim light" versus "cool studio strobe," produce noticeably different results.
💡 Tip: Keep a record of prompts that produced strong results. Reuse and slightly vary them for different products in the same line to maintain visual consistency across your catalog without starting from scratch each time.
Product Types It Handles Best
Not every product type has the same prompt requirements. Here is how to approach the most common categories.
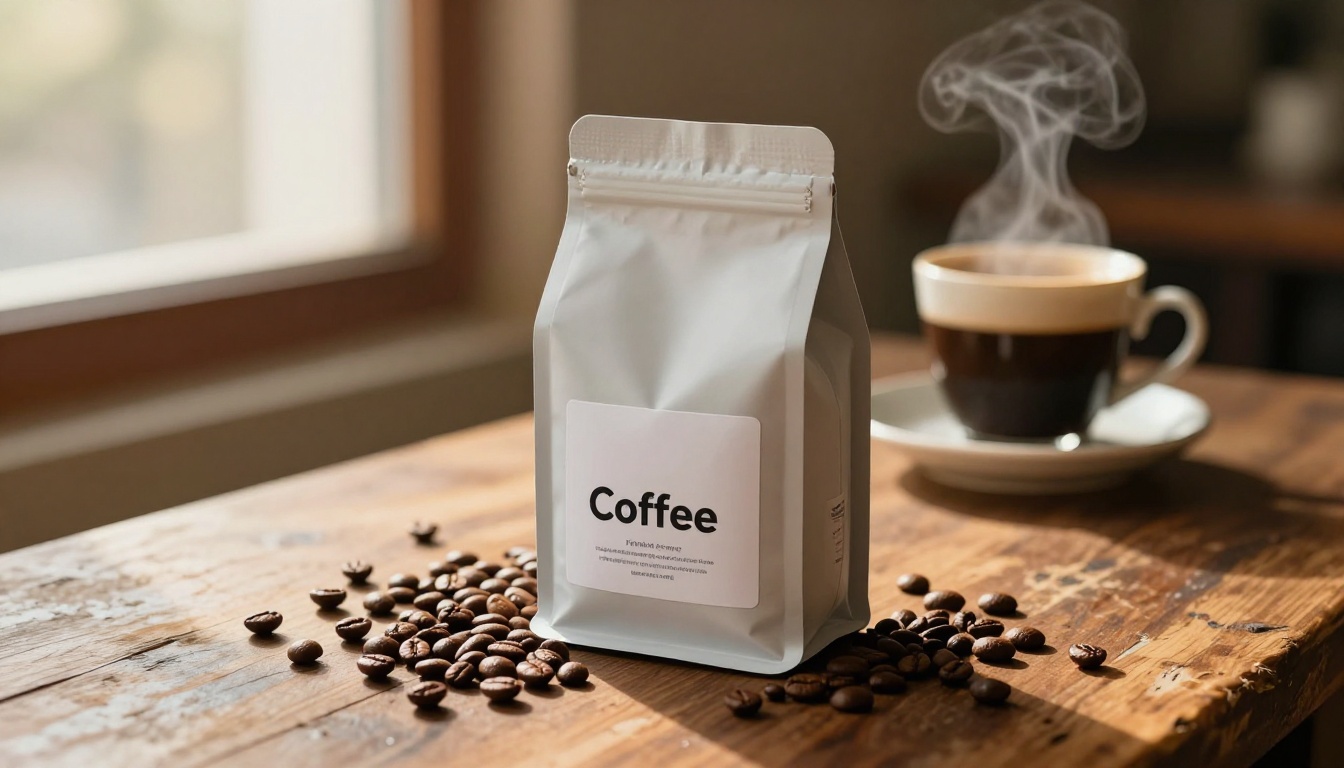
Packaged Goods and Bottles
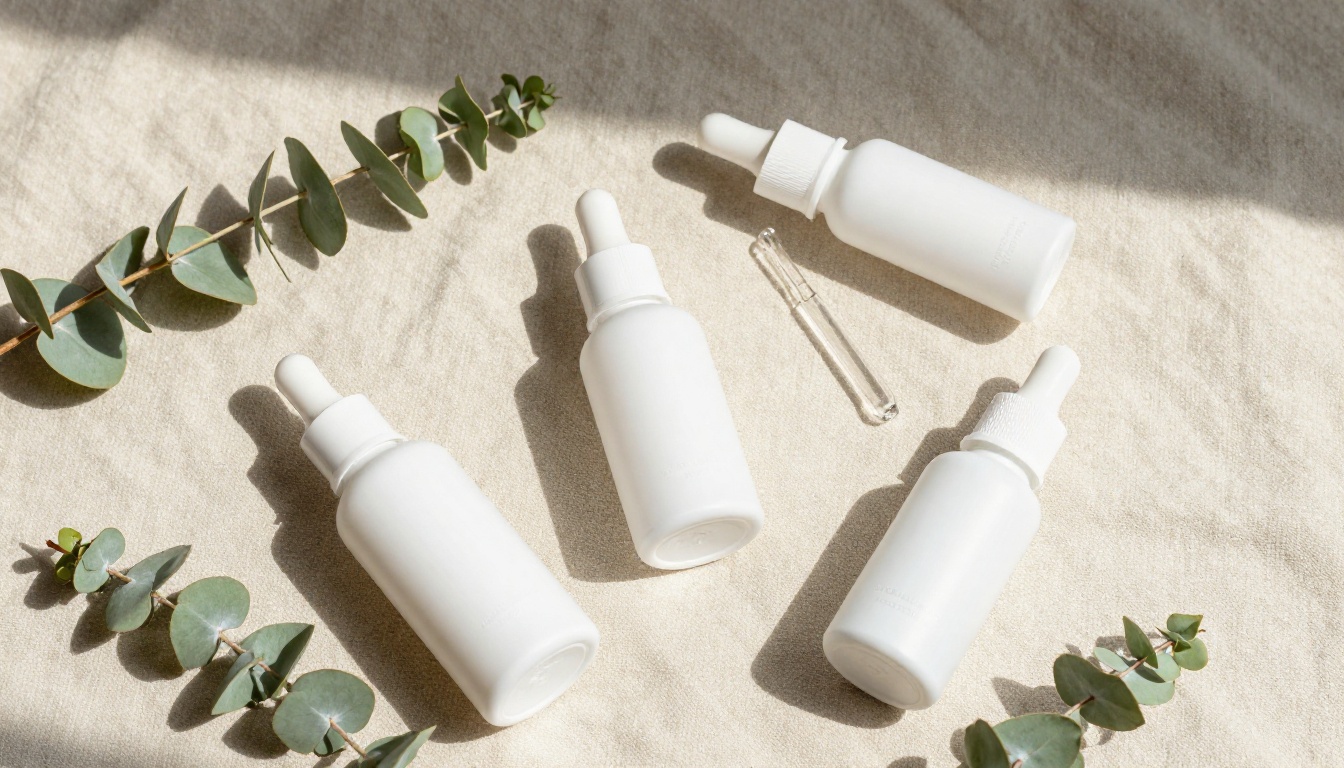
Bottles, cans, boxes, and pouches photograph well because they have defined shapes and surfaces that respond predictably to described lighting. For glass bottles, always mention light refraction and the fill color of the liquid. For matte packaging, describe the surface texture (paper grain, soft-touch coating) so the model renders it accurately rather than defaulting to a generic smooth surface.
Useful prompt elements: "glass bottle filled with amber liquid, internal light refraction visible, gold metallic cap with fine knurling, white marble surface, soft overhead softbox at 45 degrees"
Fashion and Accessories
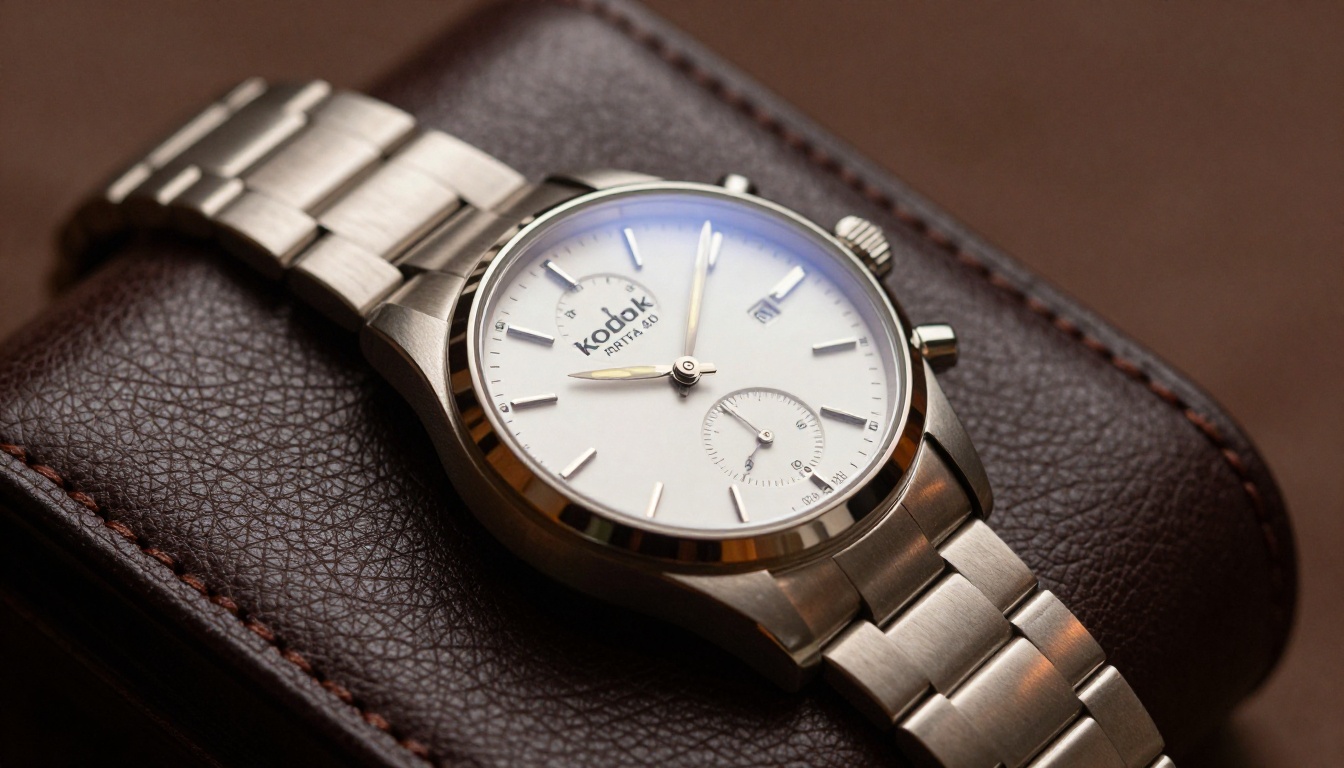
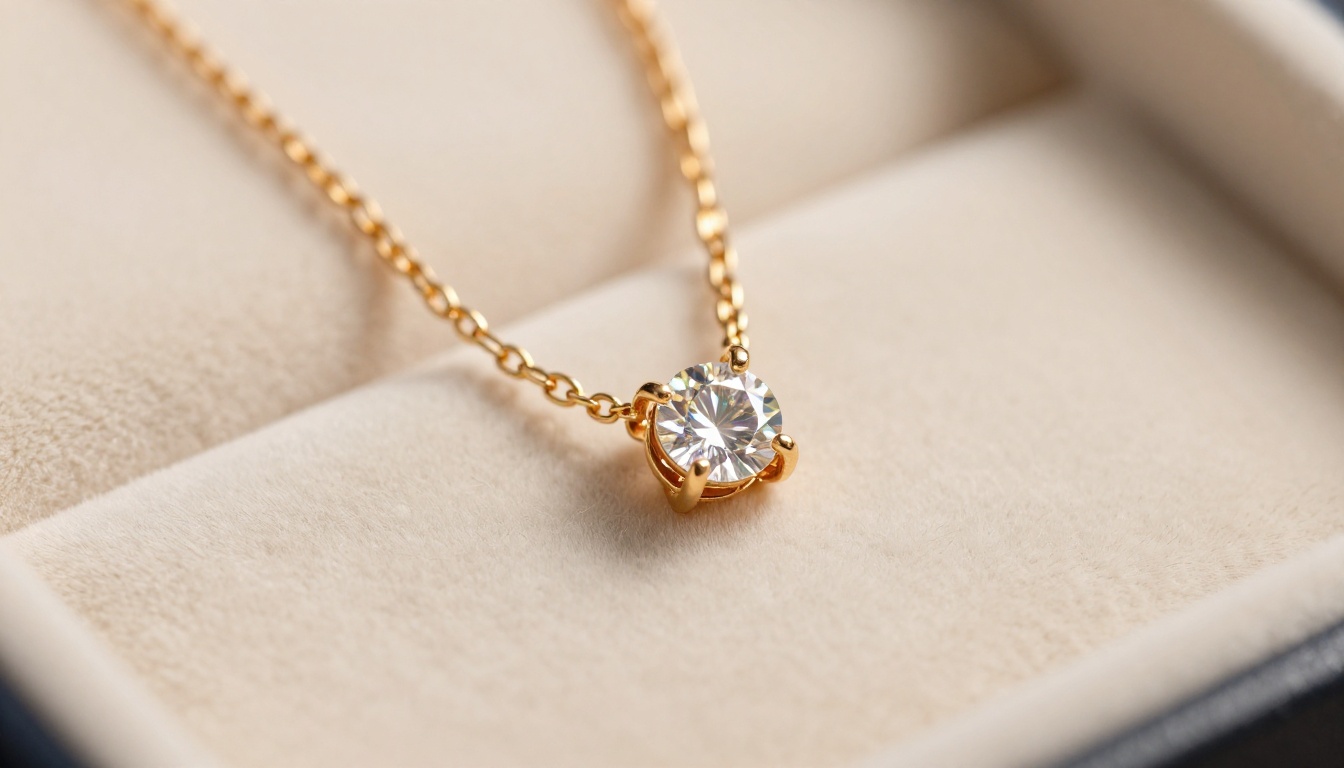
Shoes, bags, and jewelry involve more surface variety: leather grain, fabric weave, metal hardware, and gemstone facets all require specific language to render accurately. For leather goods, include "visible grain," "stitching detail," and "hardware catches rim light." For jewelry, describe how light interacts with the stone or metal, the number of facets if applicable, and the mounting style.
Electronics and Gadgets
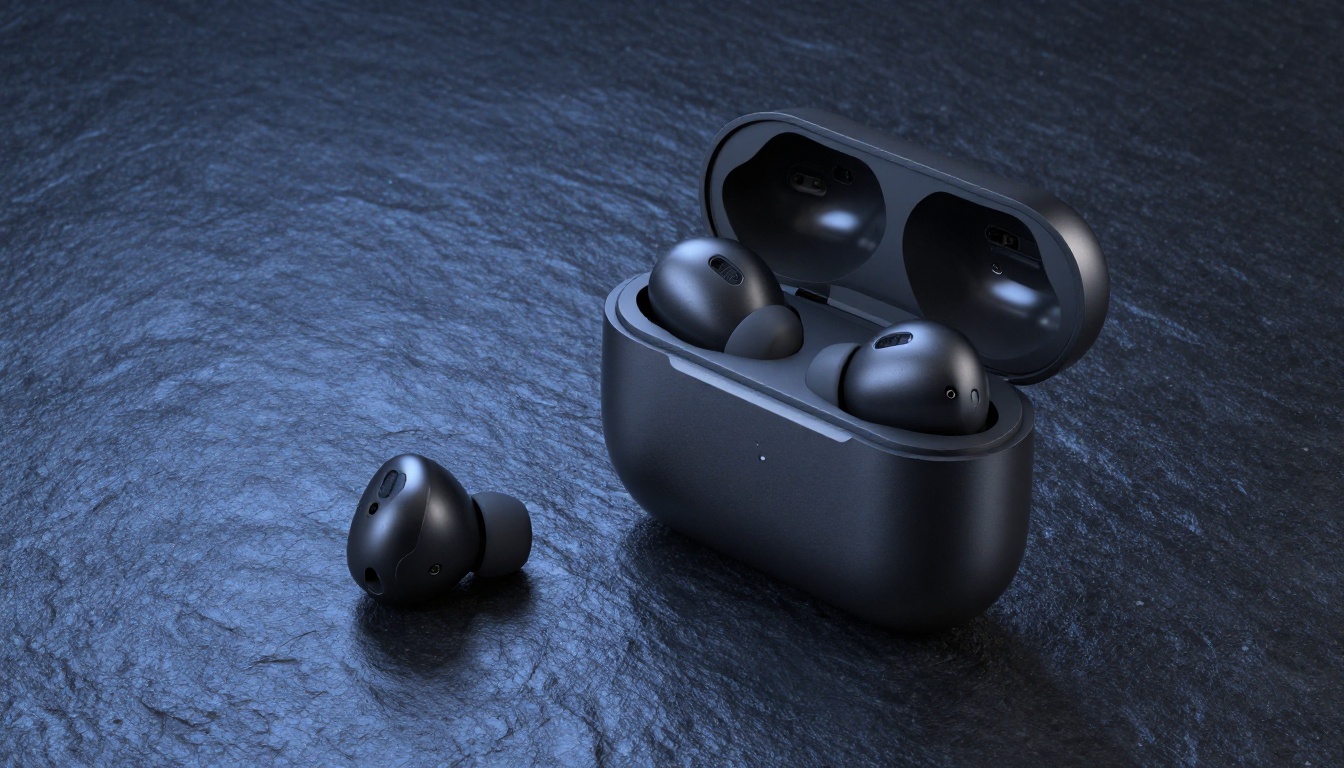
Tech products benefit from clean, minimal backgrounds with cold or neutral studio lighting. Dark slate or matte gray surfaces work better than white for dark-colored electronics, since white-on-white loses edge definition. Describe the finish accurately: brushed aluminum, matte plastic, glossy glass, and anodized metal each behave differently under described lighting conditions.
Food and Beverages
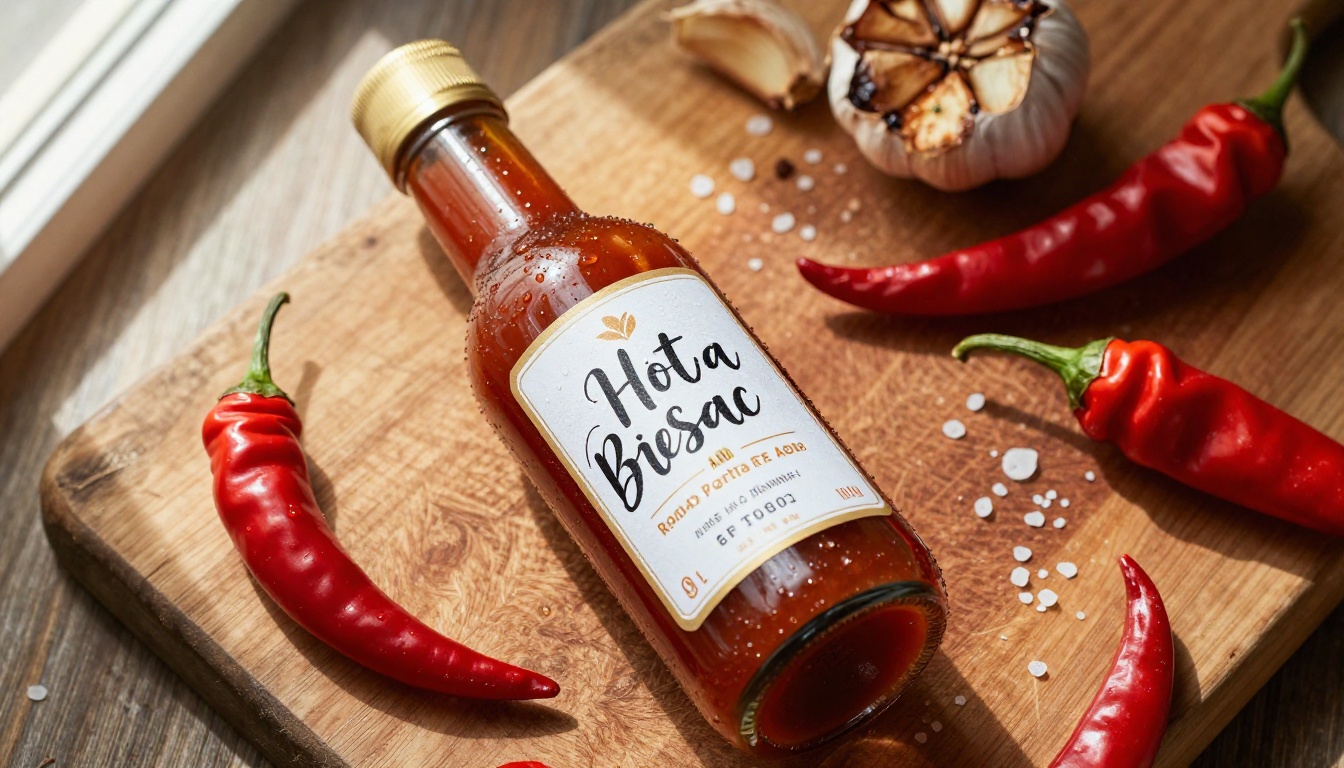
Food photography prompts should include the surface material (wood, marble, ceramic tile), the surrounding props (whole ingredients, herbs, spices, utensils), and the light source direction. Natural window light descriptions work particularly well for food. Always mention condensation droplets for cold drinks and rising steam for hot ones. These details are what separate a convincing food shot from a flat render.
Writing Prompts That Actually Work
The prompt is the primary creative input. Getting it right matters more than any other variable in the workflow.
The Anatomy of a Strong Prompt
A reliable product photography prompt has four components:
- Subject: What the product is and what it looks like (material, color, shape, surface finish)
- Environment: The surface, background, and any props or context objects
- Lighting: The type of light (natural window, studio strobe, tungsten), direction (left, overhead, rim), and quality (hard, soft, diffused)
- Camera: The lens focal length and aperture that shapes the depth of field and perspective compression
Putting them together: "A matte black glass candle jar with a raw wood lid on a white marble surface, single stem dried pampas grass beside it, diffused natural light from the left at mid-height, 85mm f/1.8 lens, photorealistic 8K, film grain"
Common Mistakes to Avoid
Being too generic. Phrases like "beautiful product photo" or "professional shot" do not give the model enough to work with. Describe what professional means for your specific product category.
Skipping the lighting. Lighting is what separates a flat image from one that reads as premium. Even a short lighting description, like "soft overhead light with a fill from the right" or "warm tungsten rim light at 45 degrees," makes a meaningful difference in the final output.
Requesting too many elements at once. A single product with a clear background and specific lighting produces better results than five products arranged in a complex scene with many props. Simple, focused compositions generate more reliably at high quality.
💡 Tip: For visual consistency across a product line, write one base prompt with all the environmental and lighting details locked in, then swap only the product description between runs.
Nano Banana Pro handles image generation, but a complete product photography workflow sometimes needs additional steps.
Editing and Refining Generated Images
If you want to adjust a generated image, such as swapping the background color, removing a prop, or changing an element in the scene, PicassoIA Image Editor Pro handles inpainting and editing workflows. Load your generated image, describe the change you want, and apply targeted edits without regenerating the whole shot from scratch.
Creating Variations for A/B Testing
When you have a generated image you are happy with and want to produce close variations for A/B testing or multiple platform formats, Flux Redux Dev takes an image as input and generates visually consistent variations. Useful for creating multiple angles, background color versions, or seasonal variations of the same product shot.
Training a Style for a Full Catalog
If you are producing product photography for a single brand with a specific visual identity, P Image Trainer lets you train a custom LoRA on your reference images. This anchors the visual style so every generated image in the collection maintains consistency without requiring a complex prompt each time.
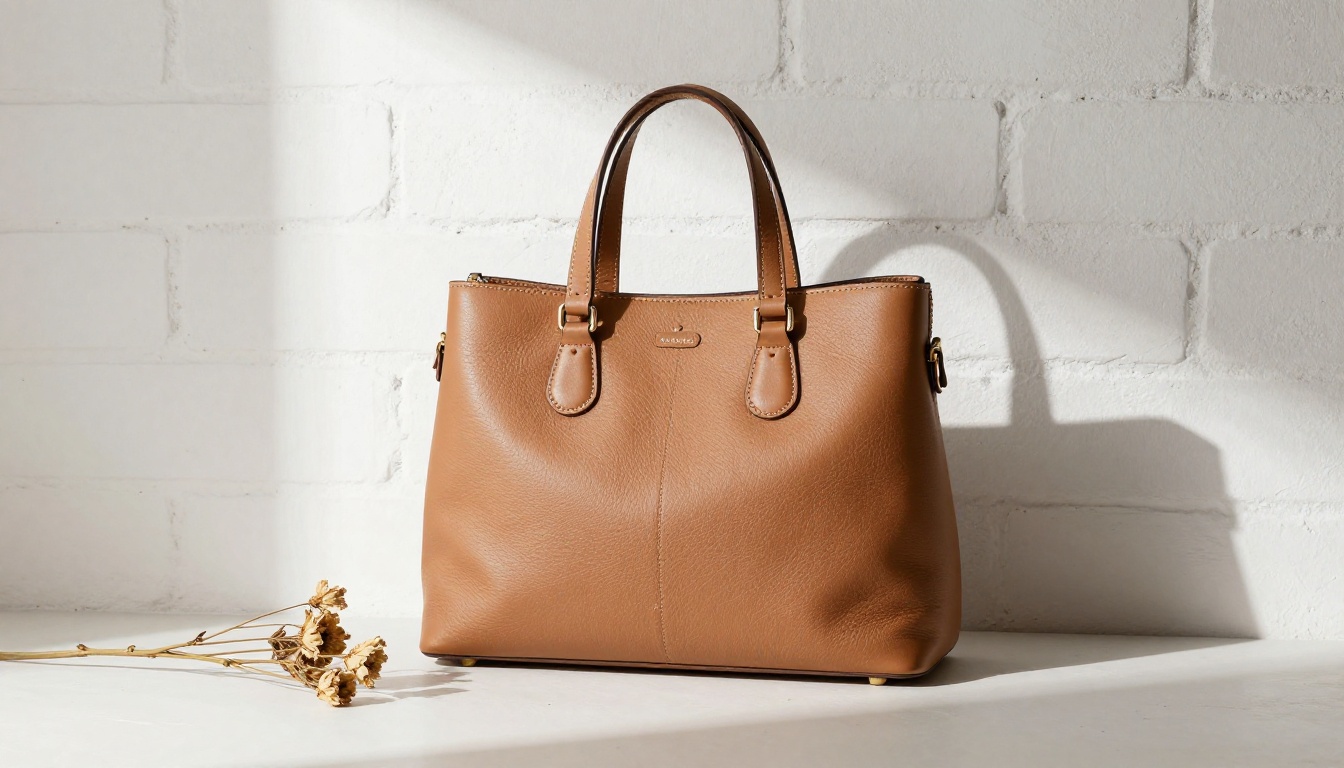
What to Expect from Your First Session
The first few images you generate will likely need prompt iteration. That is normal and expected. Plan for two or three generations per product shot as you dial in the prompt language that works for your specific product category.
Once you have a prompt formula that produces strong results for a category, the workflow accelerates significantly. A batch of 20 product photos for an accessories line, for example, takes well under an hour once you have the base prompt pattern working and the aspect ratios set.
The 4K resolution output means you are not starting from a low-quality base and trying to rescue it in post. The images arrive at a resolution that is immediately usable for most ecommerce and marketing purposes, with no upscaling or sharpening required.
Your Next Product Shot Starts Now
The workflow described here is available right now without any subscription or API configuration. Open Nano Banana Pro, write a description of the product shot you want, and generate. Start with a single product on a clean surface with a specific lighting description, review the result, and refine from there.
For brands that need to move fast, the ability to go from product description to a 4K photo in under a minute is a real operational advantage. For independent sellers who cannot justify studio photography budgets, it puts visual quality within reach that was previously inaccessible.
Write your first prompt, generate your first shot, and see how close it lands on the first try.


