Science fiction used to cost millions to put on screen. Today, you can create a photorealistic alien landscape, a deep-space nebula, or a tense space station interior in under a minute, for free, directly from a text prompt. The shift is not incremental. It is a complete rewrite of how sci-fi visual content gets made, and the tools available right now are already professional-grade.
This article breaks down exactly how to create sci-fi scenes with AI visual effects that hold up to scrutiny: what makes them work, how to prompt for them correctly, which models produce the best results, and how to push your outputs from decent to cinematic.
Why Sci-Fi Scenes Are Hard to Get Right
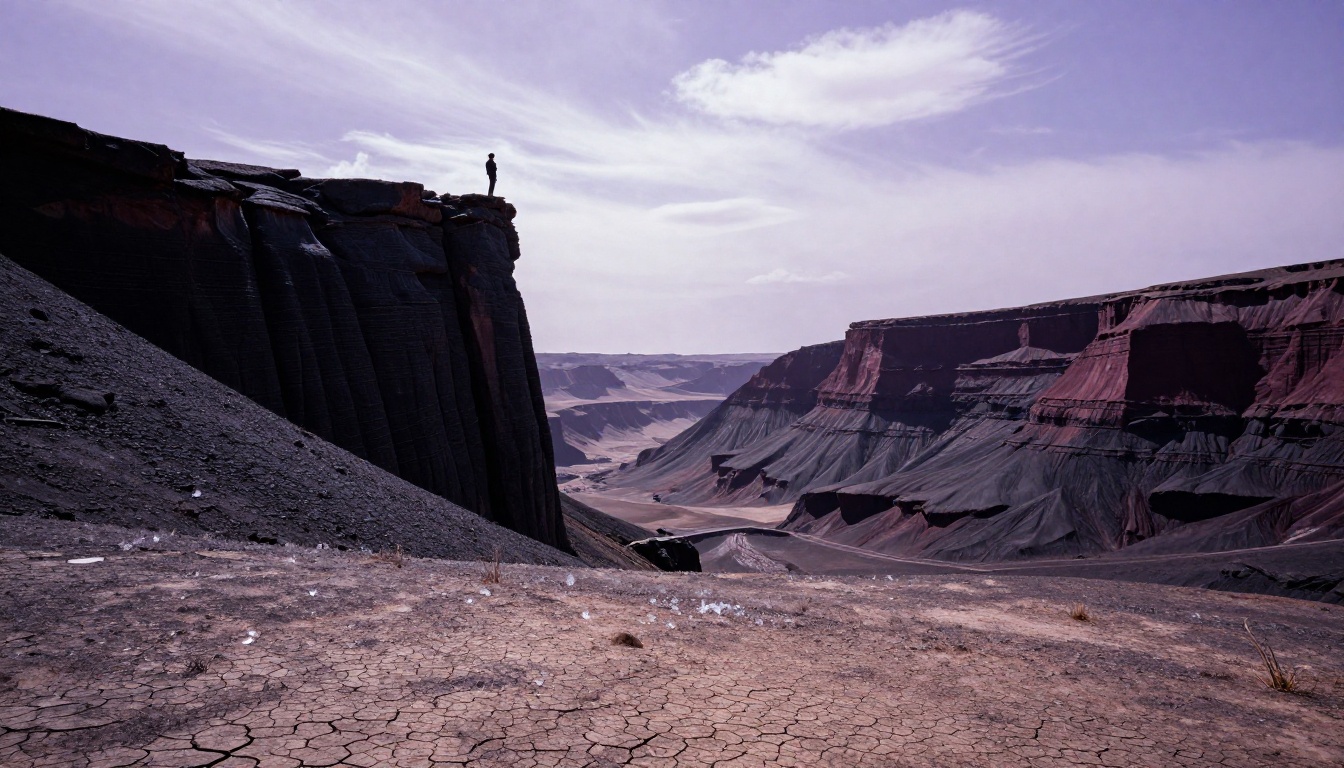
Sci-fi imagery sits in a strange zone. It needs to feel real, follow physical laws of light and gravity, and simultaneously show something that does not exist. That tension is what makes it hard. Poorly executed sci-fi AI images look fake for specific, diagnosable reasons, and understanding those reasons is the first step toward fixing them.
The Gap Between Imagination and Output
Most people typing sci-fi prompts ask for "a spaceship in outer space" or "an alien planet." The model obliges, but the result feels flat or generic. The problem is not the model. It is the prompt. Sci-fi photography works like actual photography: it requires attention to light direction, surface texture, atmospheric haze, lens choice, and compositional intention.
💡 Tip: Think of yourself as a cinematographer, not a concept artist. Every word in your prompt is a camera or lighting decision.
What Breaks the Illusion
The most common realism killers in AI sci-fi imagery:
- Symmetric compositions that look posed, not observed
- Absent atmosphere: real planets have haze, dust, and light scatter
- Generic lighting: single overhead light with no direction or quality specified
- No human scale reference: without a figure or object of known size, space feels small
- Over-clean surfaces: real spacesuits, rocks, and equipment are worn, dusty, and imperfect
When you address each of these in the prompt, the output changes dramatically. A rock surface described as "iron-oxide dust particles settled into every surface crease" photographs completely differently than "a red rock." Both describe the same object. Only one produces a cinematic image.
Scene Types You Can Build Right Now
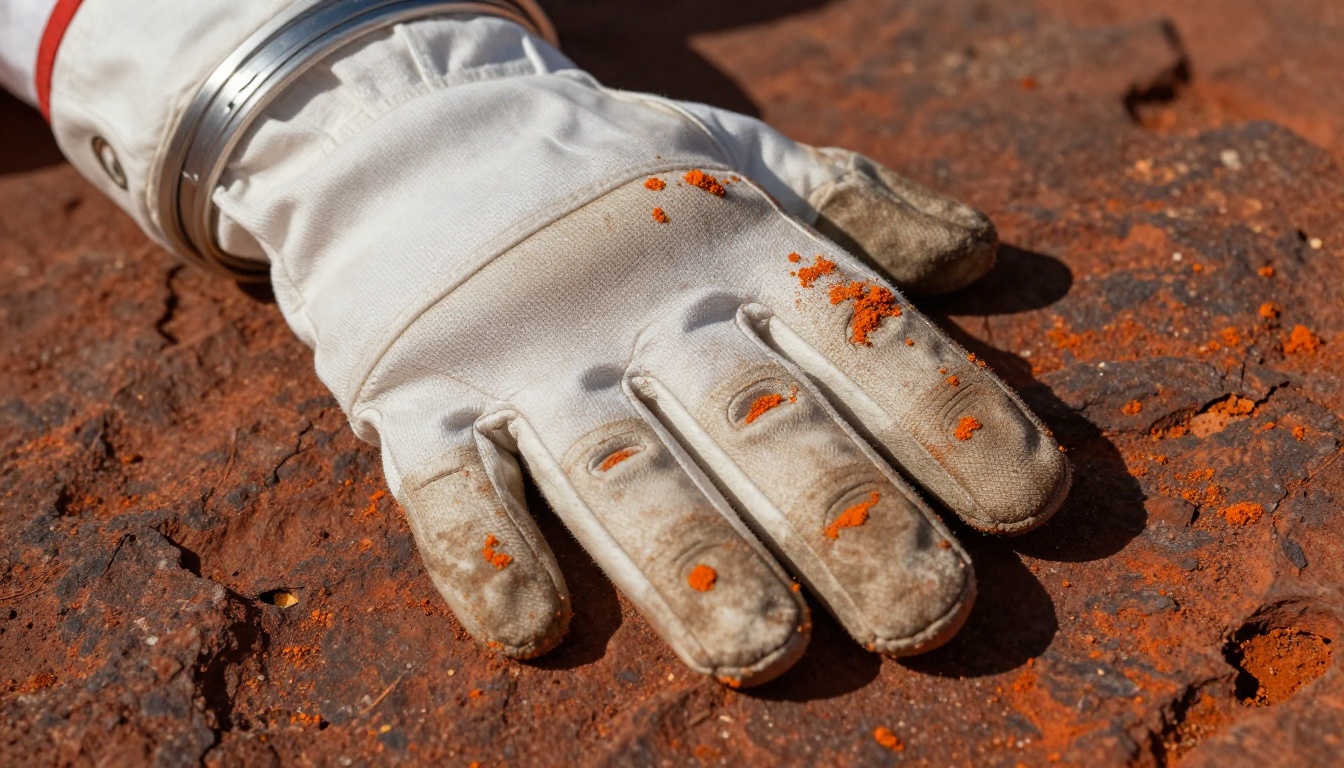
The range of sci-fi scenes achievable through AI visual effects today is broader than most creators realize. Here is a breakdown of the main categories, what works best in each, and the specific language that produces strong results.
Deep Space and Nebula Photography
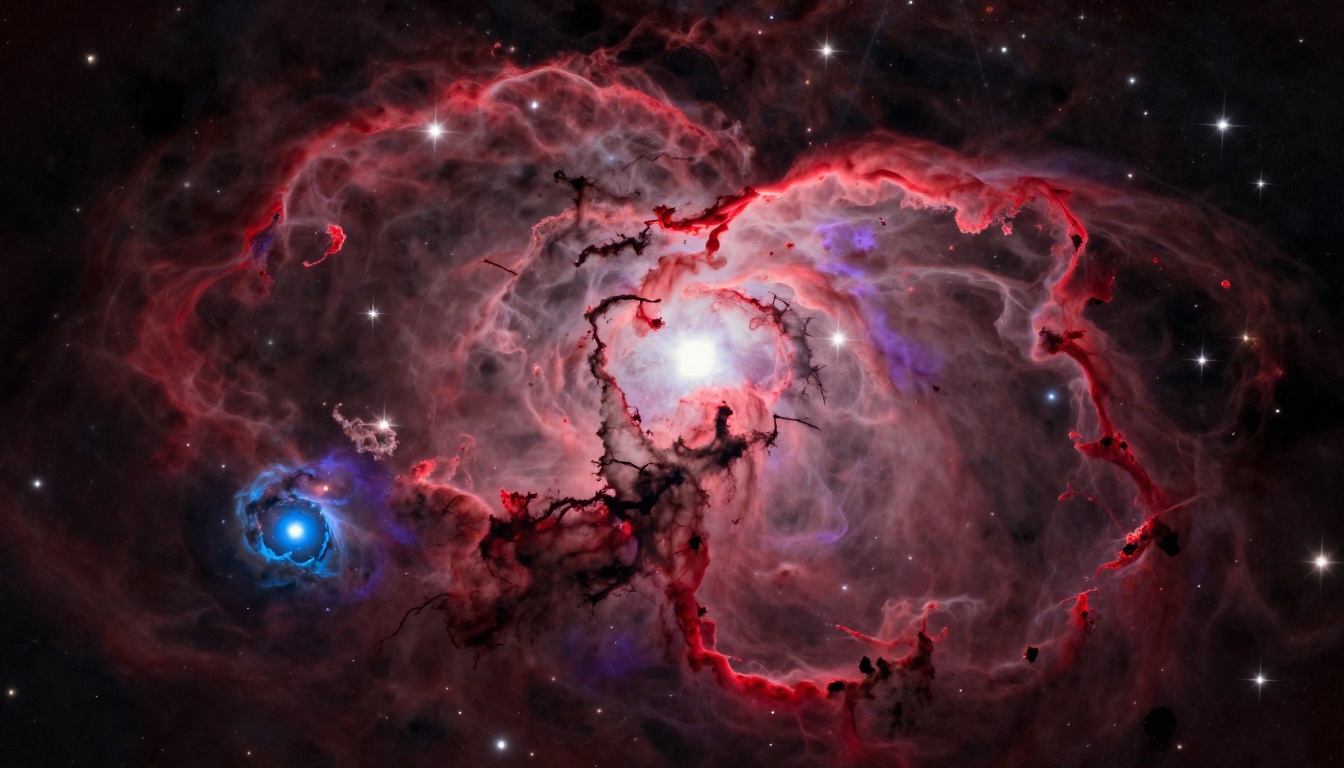
Nebulae, star fields, and deep space imagery work exceptionally well because they are based on real astronomical photography. Hubble-style imaging has a specific aesthetic: long exposures, ionized gas clouds in crimson and violet, dark dust lanes cutting across the nebula face, and diffraction spikes on bright foreground stars.
When prompting for nebula imagery, reference scientific imaging language:
- "emission nebula with ionized hydrogen clouds in deep crimson"
- "long exposure astrophotography, Nikon D810A, ISO 3200"
- "diffraction spikes on bright foreground stars, dark dust lanes"
Alien Planet Surfaces
This is the richest category for AI sci-fi generation. Real desert landscapes, volcanic rock fields, salt flats, and lava plains already read as alien when photographed correctly. Add a distant planet in the sky, adjust the sky color slightly, and the scene transforms entirely.
Key elements for convincing alien surfaces:
- Specific mineral content: "iron-oxide dust," "sulphur crystal deposits," "obsidian rock formations"
- Correct atmospheric color for the planet type
- Geological logic: layered sediment, erosion patterns, rock types consistent with the environment
- Atmospheric haze on distant features
Space Station and Habitat Interiors
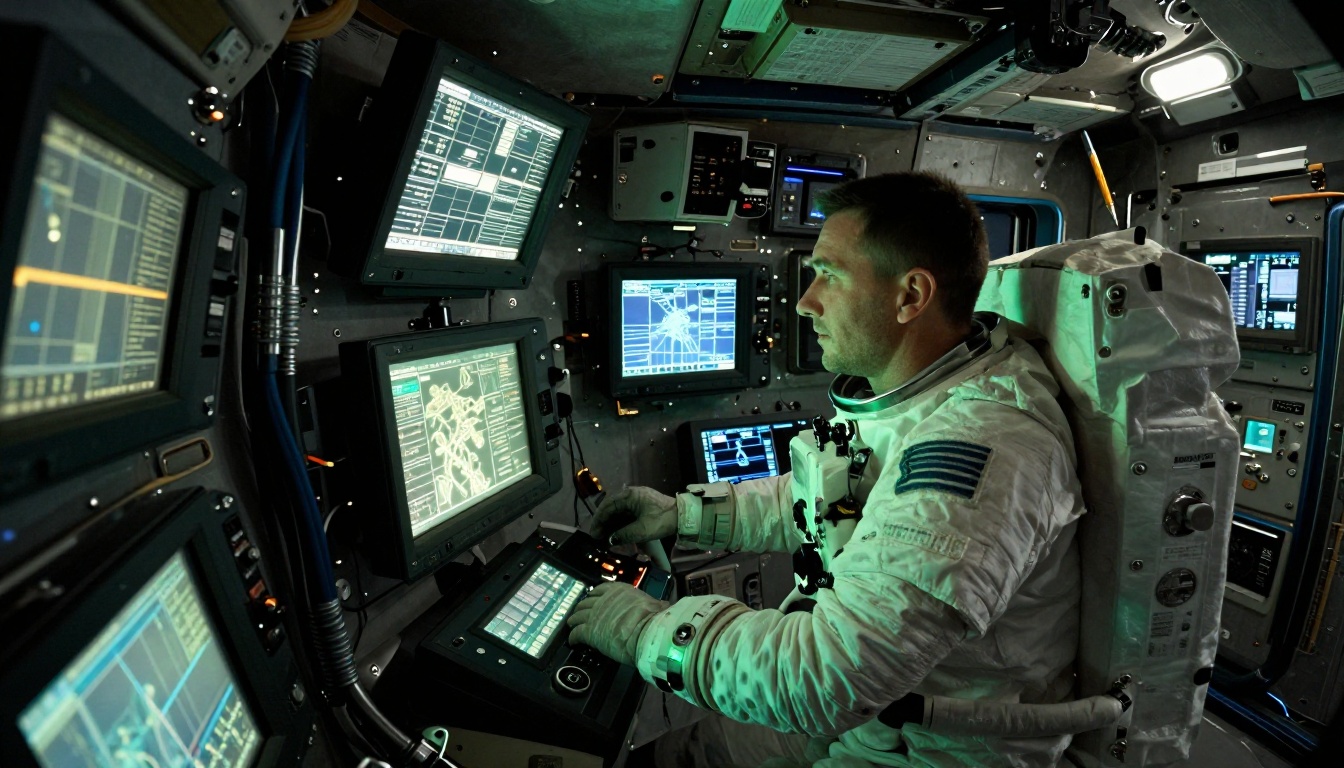
ISS-accurate interior photography is one of the most underused categories in AI sci-fi creation. Cramped corridors, equipment panels, cable conduits, monitor screens, and floating objects in microgravity create an immediately cinematic feel. The lighting is critical: real space station interiors use practical light from screens and small fixtures, creating colored shadows and dramatic contrast against dark backgrounds.
Cosmic Events and Phenomena
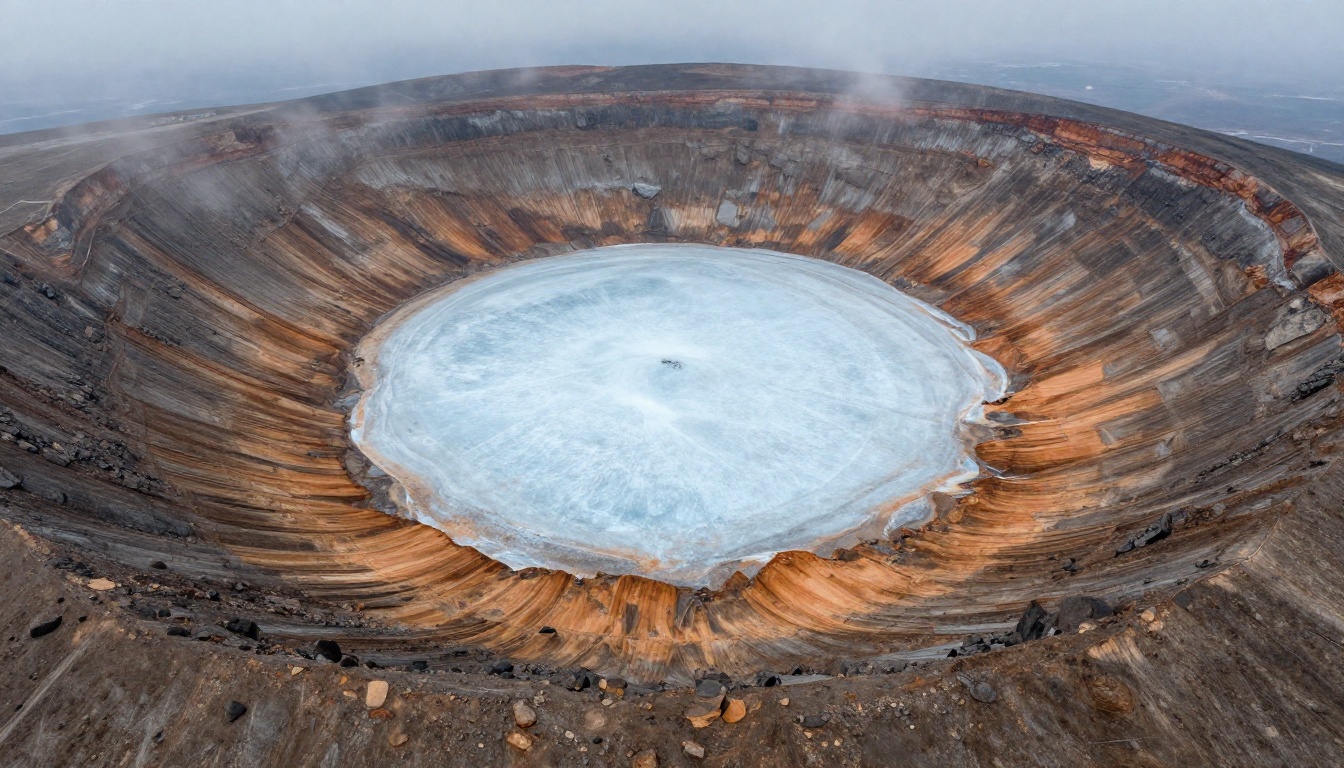
Impact craters viewed from orbit, planetary ring systems seen from the surface, binary star sunsets, and atmospheric storms seen from high altitude all photograph differently depending on perspective and atmospheric conditions. Aerial and orbital viewpoints require different prompting strategies than ground-level shots. Specifying altitude and atmospheric thickness changes the color palette and contrast dramatically.
How to Write Prompts That Actually Work
The difference between a forgettable AI image and a frame-worthy sci-fi photograph comes down to prompt structure. Good prompts are not necessarily longer; they are more specific in the right areas.
The Anatomy of a High-Quality Sci-Fi Prompt
A strong sci-fi prompt operates in five layers. Address each one and the output is consistently cinematic:
| Layer | What to Specify | Example |
|---|
| Subject | Who or what, doing what | "lone astronaut facing away, looking upward" |
| Environment | Location, surface, sky details | "rust-red rocky plateau, dusty amber sky, fractured earth" |
| Lighting | Source, direction, quality | "volumetric backlight from twin stars, golden dust particles" |
| Camera | Lens, aperture, film stock | "Canon EOS R5 85mm f/2.8, Kodak Portra 400 grain" |
| Texture | Surface detail, atmosphere | "micro-weave spacesuit fabric, layered sedimentary formations" |
Lighting Details That Change Everything
Light is the single most powerful variable in sci-fi photography. The same alien landscape looks completely different depending on whether the sun is at the horizon, casting long warm shadows and filling the air with volumetric dust, versus directly overhead, where everything flattens out and loses drama.
For sci-fi scenes, these lighting setups produce the most cinematic results:
- Twin stars at horizon: warm amber, long parallel shadows, volumetric dust in the air
- Overcast diffused light: flat, grey, analytical, suited for crater surveys or scientific documentation
- Practical screen light only: blue-green cast, tight contrast, cramped and tense atmosphere
- Night with Milky Way: cold blue moonlight, high ISO grain, infinite depth of field into stars
💡 Tip: Always specify the exact light direction: "from the left," "from low angle right," "backlight from the horizon." Models read these instructions precisely and the results reflect it.
3 Prompt Mistakes That Kill Realism
1. Using style words instead of technical words. Saying "cinematic" or "epic" is vague. Instead, specify the camera, lens, and film stock. "Shot with Canon EOS R5, 85mm f/2.8, Kodak Portra 400 film grain" tells the model exactly how the image was captured. The output reads as photography, not illustration.
2. Skipping the atmosphere. Planets have atmospheres. Even thin ones create haze on distant mountains, color the sky, and scatter light differently at different altitudes. Always include atmospheric conditions: "thin atmosphere haze," "volumetric dust particles," "low atmospheric pressure creating muted sky colors."
3. Describing what you want instead of what exists. Rather than "an awesome alien planet," describe what is actually in frame: "rust-red cracked earth with crystalline mineral deposits, pale lavender sky with wispy high-altitude clouds, obsidian rock formations in the middle distance." The first is an aspiration. The second is a photograph.
Using Flux 1.1 Pro on PicassoIA for Sci-Fi Scenes
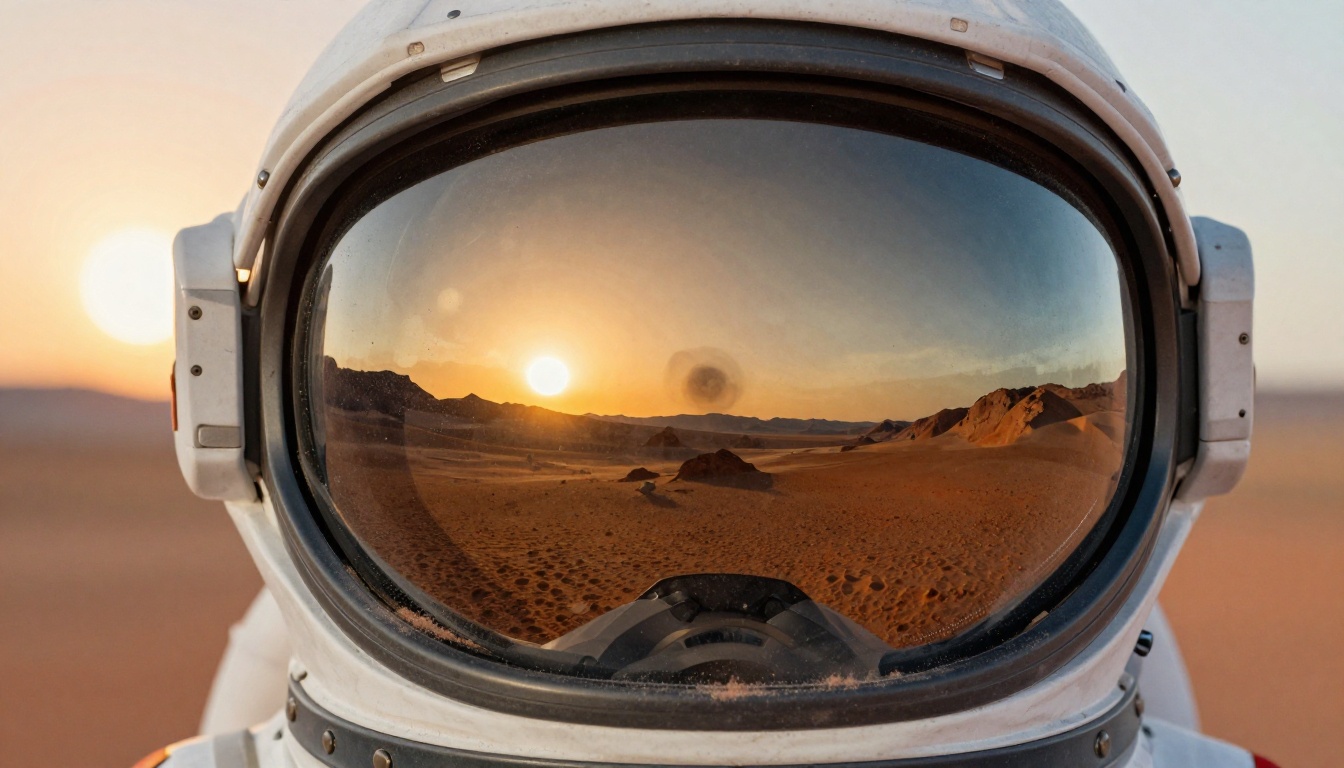
Flux 1.1 Pro is the model best suited for photorealistic sci-fi scene generation on PicassoIA. It handles complex compositional prompts with high fidelity, reads lighting instructions precisely, and maintains detail quality at large output sizes. Flux Dev works well for iterative exploration through its img2img mode, letting you refine an existing scene rather than starting from scratch each time.
Step 1: Write Your Scene Description
Open Flux 1.1 Pro on PicassoIA. In the prompt field, build your description using the five-layer structure above. Start with the subject, work outward to environment, then specify lighting, camera, and texture. Aim for 60 to 100 words in your prompt for best results.
Example prompt for an alien plateau scene:
"Lone astronaut in white pressure suit standing on rust-red rocky plateau, back to camera, gazing at ringed gas giant filling the sky, twin distant stars at horizon casting long parallel shadows, volumetric golden dust in air, spacesuit fabric showing micro-weave texture and wear, Canon EOS R5 85mm f/2.8, Kodak Portra 400 film grain, layered sedimentary rock formations, photorealistic landscape photography 8K RAW"
Step 2: Choose Your Aspect Ratio
For cinematic sci-fi scenes, 16:9 works best for wide establishing shots and landscapes. Use 3:2 for portrait-oriented character shots, or 4:3 for a documentary photography feel. The 21:9 ultra-wide option on Flux Dev creates particularly dramatic panoramic alien landscapes with a genuine widescreen cinema feel.
Step 3: Iterate with Seed Control
Use the seed parameter to lock in a composition you like. Once you have a strong base scene, adjust the prompt slightly and re-run with the same seed to iterate toward your ideal result without losing the overall composition. This is how professional workflows operate: find a good seed, then refine from there. Changing one variable at a time, such as lighting direction or surface texture, lets you isolate what each prompt element contributes.
For maximum speed during the exploration phase, Flux Schnell generates results in under five seconds with no usage caps. Use it to test prompt variations quickly before committing to a high-quality final render with Flux 1.1 Pro.
Making Your Scenes Cinematic: Scale and Perspective
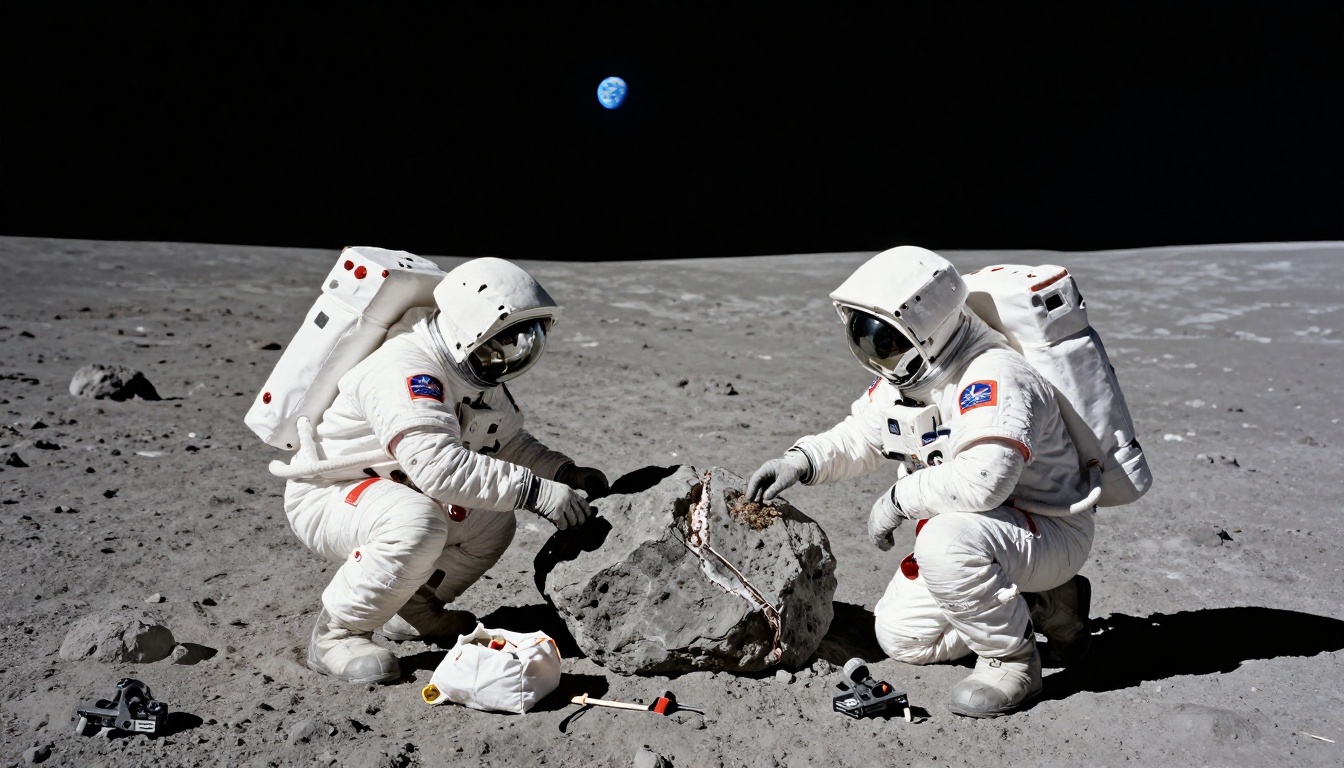
One of the most powerful compositional tools in sci-fi photography is the relationship between human figures and the environment around them. A single astronaut silhouette against a crater wall immediately communicates scale. Three figures walking single file across a volcanic plain creates narrative and depth simultaneously.
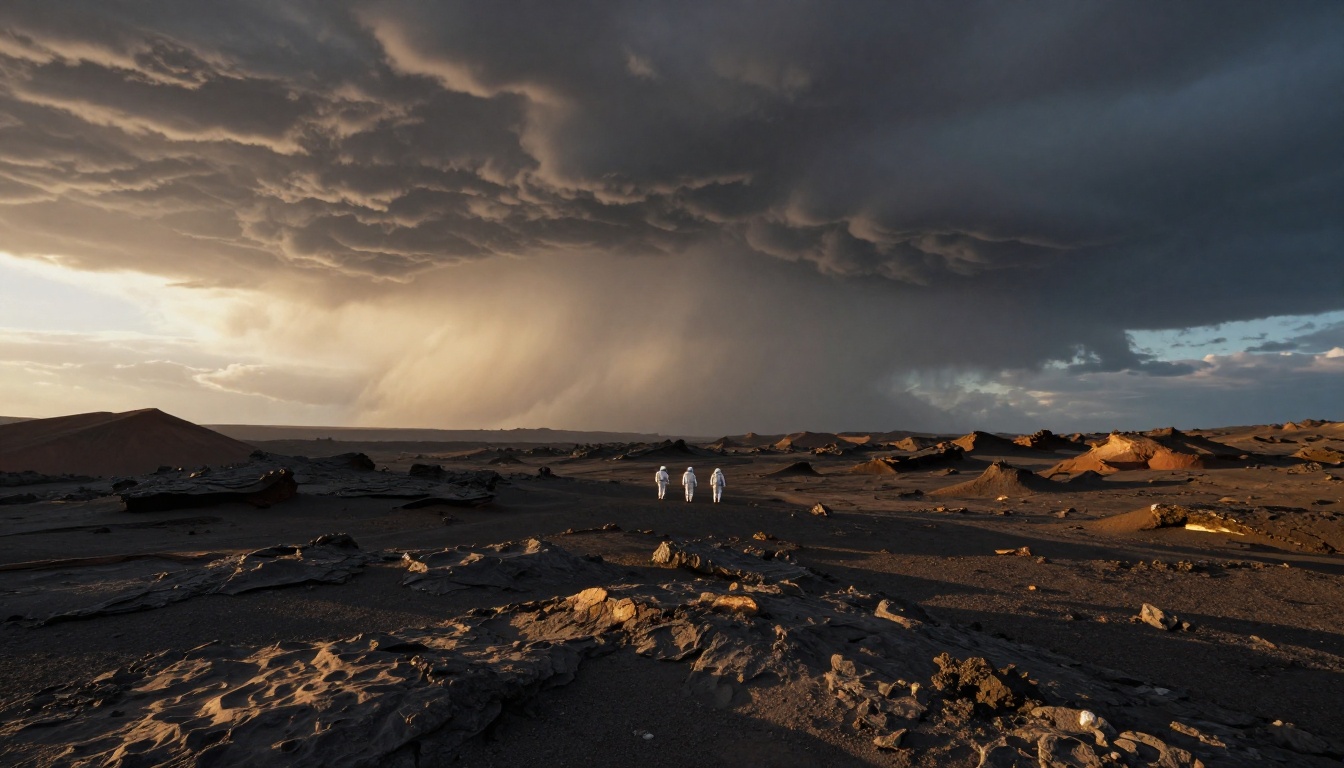
When including human figures in AI sci-fi scenes, these compositional rules produce the strongest results:
- Position figures at 1/3 or 2/3 of the frame, never dead center
- Show their backs facing into the environment, which is more evocative than faces looking at the camera
- Use silhouette when the background is the main subject and you want the figure to provide scale only
- Keep figures small in frame for epic environmental scale; large for character-driven emotional impact
- Group size signals narrative: one figure reads as isolation, two as relationship, three as expedition
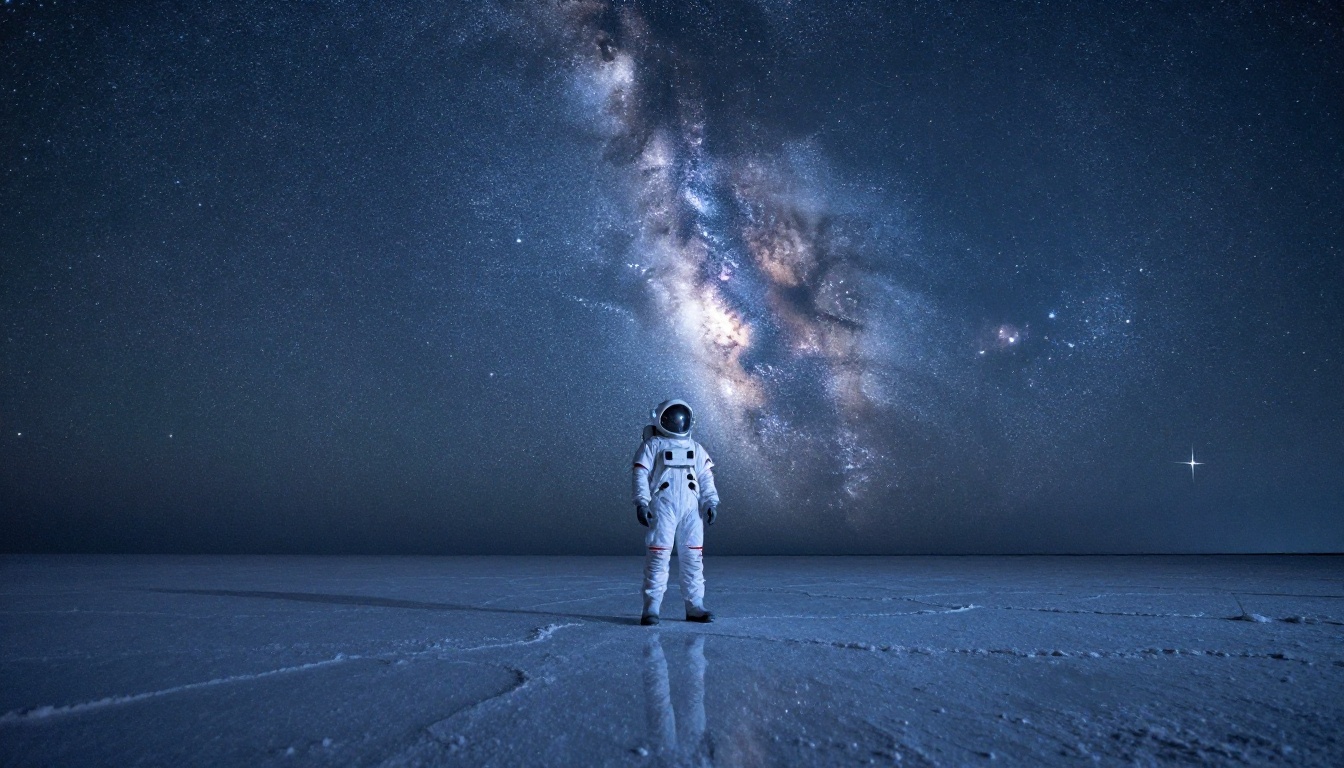
The Milky Way salt flat composition is a specific technique worth mastering. When a figure stands on a flat, perfectly still body of water or salt flat under a clear night sky, the surface mirrors the stars above. The result is a figure suspended between two infinite star fields. Prompt for it with: "white salt flat surface perfectly mirroring the star field above, figure appears suspended between two identical star fields, long exposure 20mm f/2.8 lens, ISO 3200, cold blue moonlight."
Upscaling for Print and Production Quality
AI-generated images at standard output resolution are solid for web use, social media, and screen display. For print, film production stills, editorial use, or large-format display, upscaling adds detail that was not present in the original output.
Clarity Pro Upscaler is the strongest option for sci-fi photography specifically. It adds photorealistic micro-detail, enhancing surface textures, sharpening rock formations, and clarifying distant atmospheric haze without introducing the artificial sharpening halos that cheaper upscalers produce. For faster results with very good quality, P Image Upscale delivers clean output in under a second.
When to use each upscaler:
Comparing Models for Sci-Fi Scene Work
Different text-to-image models on PicassoIA have distinct strengths for this type of content. Here is how the main options compare for sci-fi scene generation specifically:
| Model | Speed | Photorealism | Prompt Precision | Best For |
|---|
| Flux 1.1 Pro | Fast | Excellent | Excellent | Final quality renders |
| Flux Dev | Medium | Excellent | Very Good | Iteration, img2img editing |
| Flux Schnell | Very Fast | Good | Good | Rapid prompt testing |
| Ideogram v2 | Medium | Good | Good | Scenes with readable text or labels |
For most sci-fi scene work, the optimal workflow is: Flux Schnell for prompt exploration, Flux 1.1 Pro for final output, Clarity Pro Upscaler for production-ready sizing. This three-step process produces results that are indistinguishable from professional photography for most use cases.
💡 Tip: If your sci-fi scene needs text in the image, such as a mission patch, equipment label, or warning sign, Ideogram v2 handles legible in-image text better than any other model on the platform.
Start Creating Your Own Sci-Fi Scenes
Every image in this article was generated from a text prompt using AI visual effects tools available right now, at no cost, directly in your browser. There is no specialized equipment, no studio rental, no film budget involved.
The techniques covered here: layered prompt structure, precise lighting language, seed-based iteration, and super-resolution finishing, apply to any sci-fi scene you want to create. Whether you need a hero shot of a lone explorer on a distant world, a tense space station control room, or a sweeping nebula backdrop for a project, the same principles produce the same results.
Open Flux 1.1 Pro on PicassoIA, pick one scene type from this article, and build your first prompt using the five-layer structure. The first result will be imperfect. The second will be better. By the fifth iteration, using seed control to isolate variables, you will have something genuinely cinematic.
The tools are already here. The only thing left is to use them.


