Most people think making tutorial videos means buying a camera, setting up lights, recording takes, and spending hours in editing software. That assumption is quietly becoming outdated. AI text-to-video models have reached a point where you can write a scene description, hit generate, and get a polished video clip back in under two minutes. No camera required. No microphone stand. No lighting rig.
This is not about shortcuts for lazy creators. It is about removing friction from a production process that, for most people, was never the fun part anyway. The goal was always the idea, the explanation, the value inside the tutorial. AI now handles the physical production so you can focus entirely on that.
Why the Camera Setup Is Dead Weight
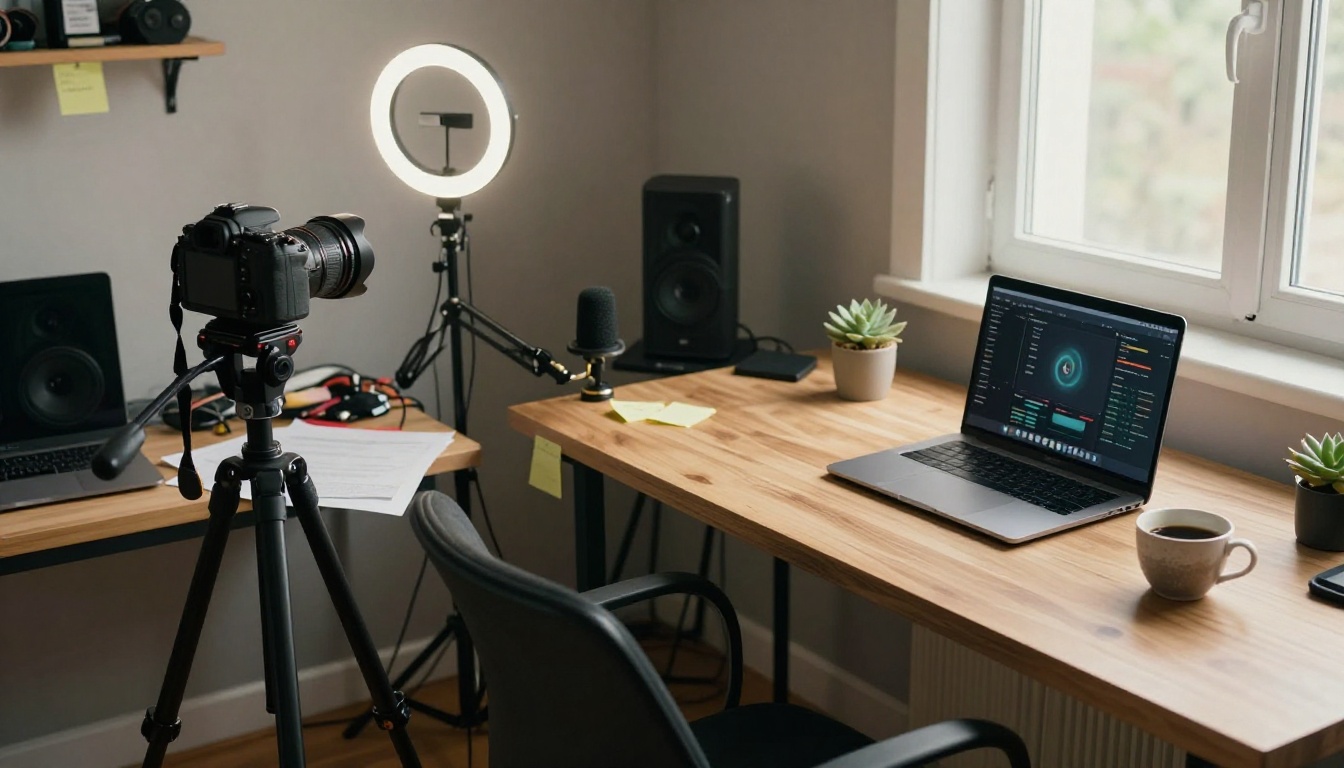
Setting up to film a tutorial video used to mean at minimum: a decent camera, proper lighting to avoid harsh shadows, a clean background, a working microphone, and the willingness to repeat the same three-minute segment six times because you stumbled over a word at the two-minute mark. For software tutorials, you also needed screen recording software and a way to sync narration with the footage.
That entire pipeline exists to solve a problem that AI removes at the root. The problem was that you needed to be physically present and visually polished to create the video. AI changes the equation entirely.
What AI Now Handles
Here is what you no longer need:
- A camera: Text-to-video models generate photorealistic scenes from written descriptions
- A microphone setup: AI text-to-speech produces natural-sounding narration with selectable voices and pacing
- A face on screen: AI avatar models create a synthetic presenter who delivers your script convincingly
- A green screen or studio: Virtual environments are generated, not built
- Multiple takes: There are no takes. There are prompts, and you iterate on prompts until the output is right.
The Production Chain, Rebuilt
The traditional tutorial video pipeline had seven steps. The AI pipeline has four.
| Traditional Pipeline | AI Pipeline |
|---|
| 1. Write script | 1. Write script |
| 2. Set up equipment | 2. Write scene prompts |
| 3. Record multiple takes | 3. Generate scenes and audio |
| 4. Edit raw footage | 4. Assemble and publish |
| 5. Add captions and music | |
| 6. Color grade footage | |
| 7. Export and upload | |
💡 The steps you skip are not minor. Recording and editing typically consume 60 to 80 percent of total tutorial production time for most creators working solo.
The 3 Pillars of Filmless Tutorial Production

There are three core capabilities you will rely on when building tutorial videos without filming. Each addresses a different part of the original production chain, and each has matured significantly in the past year.
Text-to-Video Scene Generation
This is where you describe a scene in text and receive a video clip. Modern models like Seedance 2.0 and Veo 3 produce clips with built-in synchronized audio, meaning ambient sounds, background music, and even voice cues can come directly from the generation process rather than being added afterward in post-production.
For tutorials specifically, this matters because you can describe instructional scenes with precision. "A close-up of hands demonstrating the correct way to hold a chef's knife, slow deliberate motion, soft kitchen lighting" is a prompt. That prompt becomes a usable clip. No kitchen, no knife, no hands on camera required from you.
Kling v2.6 and Wan 2.7 T2V produce 1080p output that holds up to full-screen playback on most platforms. LTX 2.3 Pro takes the ceiling to 4K. The quality floor has risen dramatically and the quality ceiling keeps moving.
AI Voice and Audio Synthesis
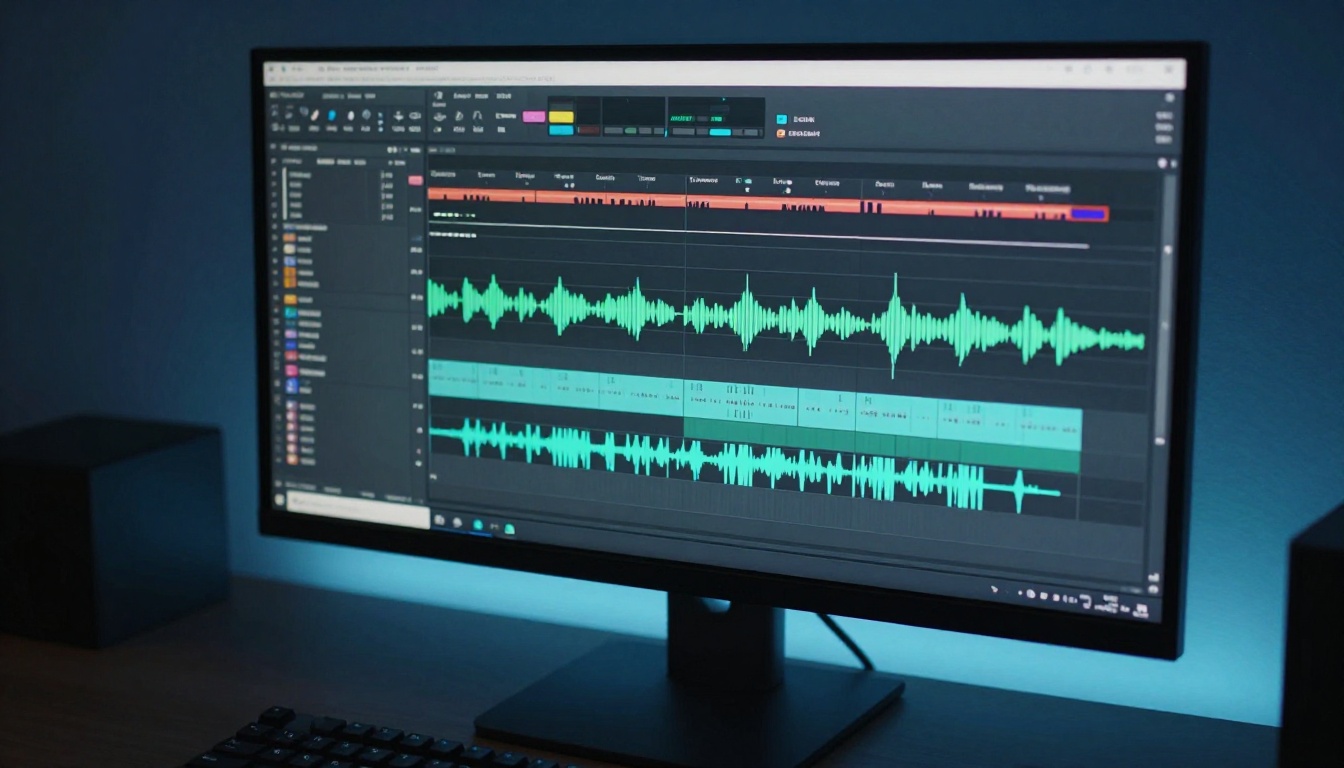
A tutorial video without clear narration is just visual noise. AI text-to-speech has solved this problem well enough that many viewers cannot distinguish AI narration from a real presenter on topics they are not intimately familiar with.
The workflow is straightforward. You write the narration script for each scene. The AI voice model generates an audio track. You sync that audio to your generated video clips. The result is a polished, clearly narrated tutorial with zero microphone setup, no pop filter, no acoustic treatment in your recording room.
PicassoIA's Text to Speech category includes voice generation models that produce natural-sounding output across multiple voices and pacing styles, allowing you to match vocal tone to your tutorial's subject matter. A calm, measured instructional pace works well for technical or educational content. A more energetic delivery fits creative and lifestyle tutorials. The voice is a parameter, not a constraint tied to your own vocal performance on any given day.
AI Avatars Without a Face on Camera

If your tutorial format benefits from a human face delivering information but you do not want to appear on camera yourself, AI avatar models address this directly. Avatar IV creates realistic talking avatar presenters that lip-sync accurately to provided audio. The avatar can wear different clothing, stand in front of different backgrounds, and deliver your script with natural head movement and gestures that feel intentional rather than mechanical.
Video Agent goes further by handling a significant portion of the production pipeline at once. You provide the script, select an avatar, set the scene, and receive a polished presentation-style video in return. For tutorial creators who want professional output without investing in the full prompt-engineering workflow, this is the fastest path to a finished product.
Writing Scripts That AI Can Actually Film
The quality of your AI tutorial depends almost entirely on how well you write the scene descriptions. This is the skill that replaces camera operating in the new workflow. It takes practice, but it follows clear patterns that you can apply immediately.
How to Structure Scene-by-Scene Prompts
Think of each clip as a shot in a traditional video. Every shot serves a specific purpose in the tutorial sequence. Your prompts should reflect that purpose explicitly rather than leaving the model to guess at the intent.
A solid tutorial scene prompt includes five components:
- The subject and action: What is being shown and what is happening in the frame
- The environment: Where this takes place and what surrounds the subject
- The camera perspective: Close-up, medium shot, overhead flat-lay, or first-person POV
- The motion quality: Slow deliberate action, quick gesture, or static hold
- The mood and lighting: Clean and instructional, or atmospheric and cinematic
Weak prompt: "Someone cooking pasta"
Strong prompt: "Medium close-up of hands adding dried spaghetti to a large pot of visibly boiling water, steam rising into the frame, warm overhead kitchen light, deliberate slow motion showing the action clearly, natural ambient kitchen sound"
The second version gives the model enough information to produce something usable on the first generation. The first version is a guess at what you want.
Prompts That Work vs Prompts That Fail
| Prompt Pattern | Result |
|---|
| Vague subject with no context | Inconsistent output, often off-topic |
| Named action with physical detail | Reliable, usable first-generation clip |
| Camera angle specified | Better instructional framing |
| Lighting described | Natural editorial quality throughout |
| Motion type described | Smooth, deliberate footage rather than erratic motion |
| End state of action described | Viewer sees the result of the step, not just the process |
💡 For tutorial content, always specify "deliberate motion" or "slow instructional pace" in your prompts. Fast or erratic motion makes individual steps hard to follow visually, which defeats the purpose of a tutorial.
How to Use Seedance 2.0 for Tutorial Videos
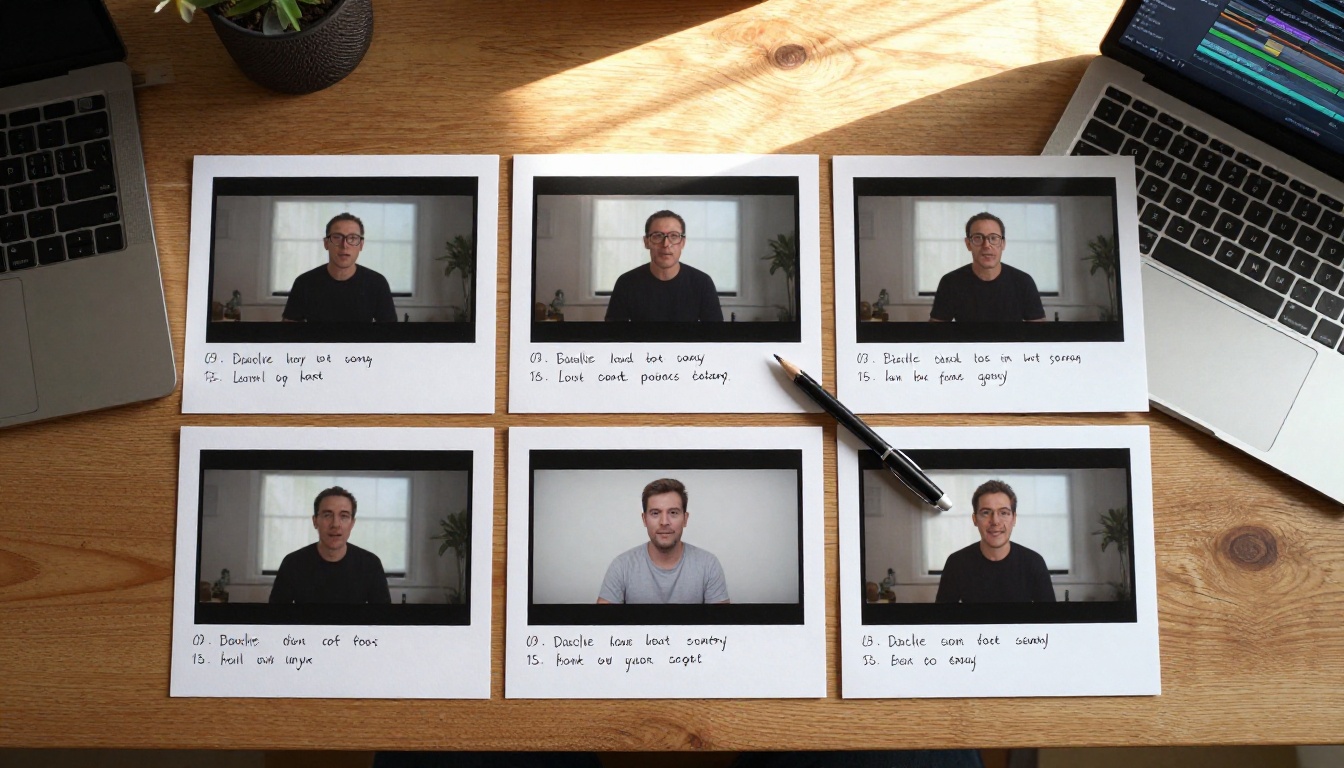
Seedance 2.0 is one of the strongest models for tutorial content because it generates clips with built-in synchronized audio. This means ambient sounds and audio cues are embedded in the clip without a separate audio production step. For certain tutorial formats, this reduces total production time considerably.
Setting Up Your First Scene
Step 1: Define your tutorial's scene list. Before opening the model, write a numbered list of every action that needs to be shown. For a cooking tutorial, this might be eight scenes. For a software walkthrough, it might be fifteen. Each item on that list becomes one prompt.
Step 2: Open Seedance 2.0 on PicassoIA. The interface accepts your text prompt directly. No external software required.
Step 3: Paste your scene prompt. Use the detailed format described above. Append the framing instruction at the end: 16:9 format, instructional framing, clear subject visibility.
Step 4: Set duration. For tutorial clips, 5 to 8 seconds per step is the practical range. It gives enough time to show the action clearly without dragging the pace for the viewer.
Step 5: Generate and evaluate immediately. Watch the clip as soon as it is ready. If the framing is off or the action is unclear, refine the prompt by adding one more specific detail. Seedance 2.0 is responsive to prompt adjustments and typically corrects issues on the second generation.
Prompt Tips for Instructional Content
- Use the phrase "step-by-step demonstration" in prompts where hands or tools perform a specific action
- Describe the end state of the action: "the finished knot clearly visible in frame" rather than just "tying a knot"
- Request neutral backgrounds unless the environment is part of the tutorial: "clean white background" or "minimal workshop bench"
- Do not describe text overlays in prompts. Captions, labels, and annotations are added in post-production outside the generation step, and including them in prompts often produces unreadable or misaligned text in the video.
Chaining Scenes into a Full Tutorial
Seedance 2.0 generates individual clips rather than a full multi-minute video in one pass. Assembly happens outside the tool. Each generated clip becomes one segment in a basic video editor where you sequence them, add the AI voice narration track, and export.
This modular approach has real advantages over traditional filming. You can regenerate a single weak scene without redoing the entire tutorial. If step 4 of 12 looks wrong, you fix only step 4. That is something traditional filming cannot offer.
Picking the Right Model for Your Tutorial Type
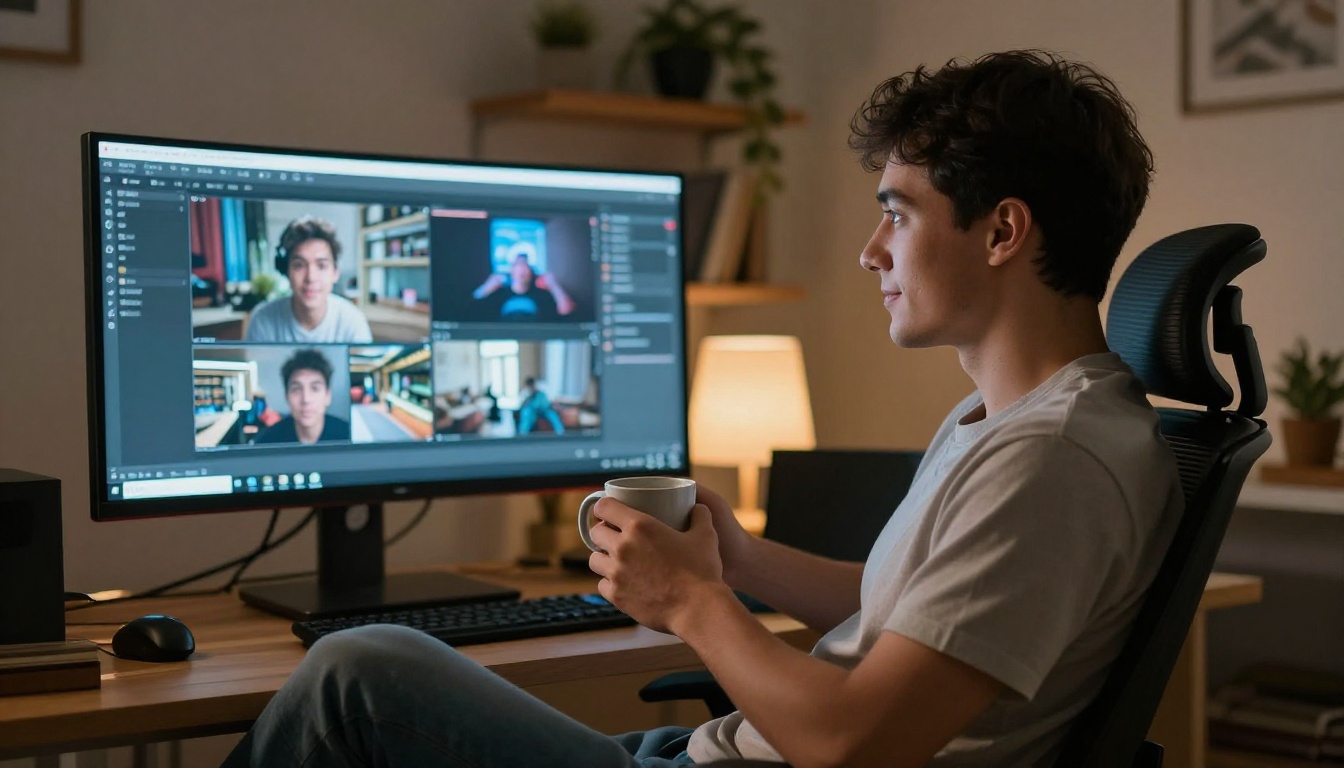
Not every tutorial format requires the same model. The best choice depends on duration, subject matter, and whether you need a presenter figure or pure visual demonstration.
Short Demos and Quick Explainers
For tutorials under 90 seconds, speed and visual consistency matter more than maximum resolution. Pixverse v5 produces clean 1080p output quickly and handles action sequences reliably. Kling v2.6 is excellent for short cinematic clips where motion quality is the primary concern.
For social media format tutorials requiring vertical 9:16 output, most of these models support aspect ratio switching directly in the interface without any external conversion step.
Long-Form Multi-Step Walkthroughs
For tutorials over three minutes, visual consistency across many clips becomes critical. Small inconsistencies in lighting tone, color temperature, or environment style across scenes break the viewer's sense that they are watching a single coherent video.
Veo 3 and Sora 2 both excel at maintaining visual consistency across sessions when prompts include consistent style descriptors. Establishing a "style anchor" in your prompts, a description of the lighting and environment that you include unchanged in every prompt for the project, produces more coherent multi-clip tutorials than varying style descriptions across scenes.
| Tutorial Type | Recommended Model | Why |
|---|
| Cooking and hands-on crafts | Seedance 2.0 | Built-in audio, excellent motion detail on hands |
| Software walkthrough | Wan 2.7 T2V | Clean interface rendering at 1080p |
| Presenter-led explainer | Avatar IV | Realistic talking avatar with accurate lip-sync |
| Cinematic product demo | Kling v2.6 | High-quality motion, cinematic output |
| 4K premium archival content | LTX 2.3 Pro | 4K resolution with sharp fine detail |
| Full polished production | Video Agent | Script-to-finished-video pipeline in one tool |
5 Mistakes That Ruin AI Tutorials
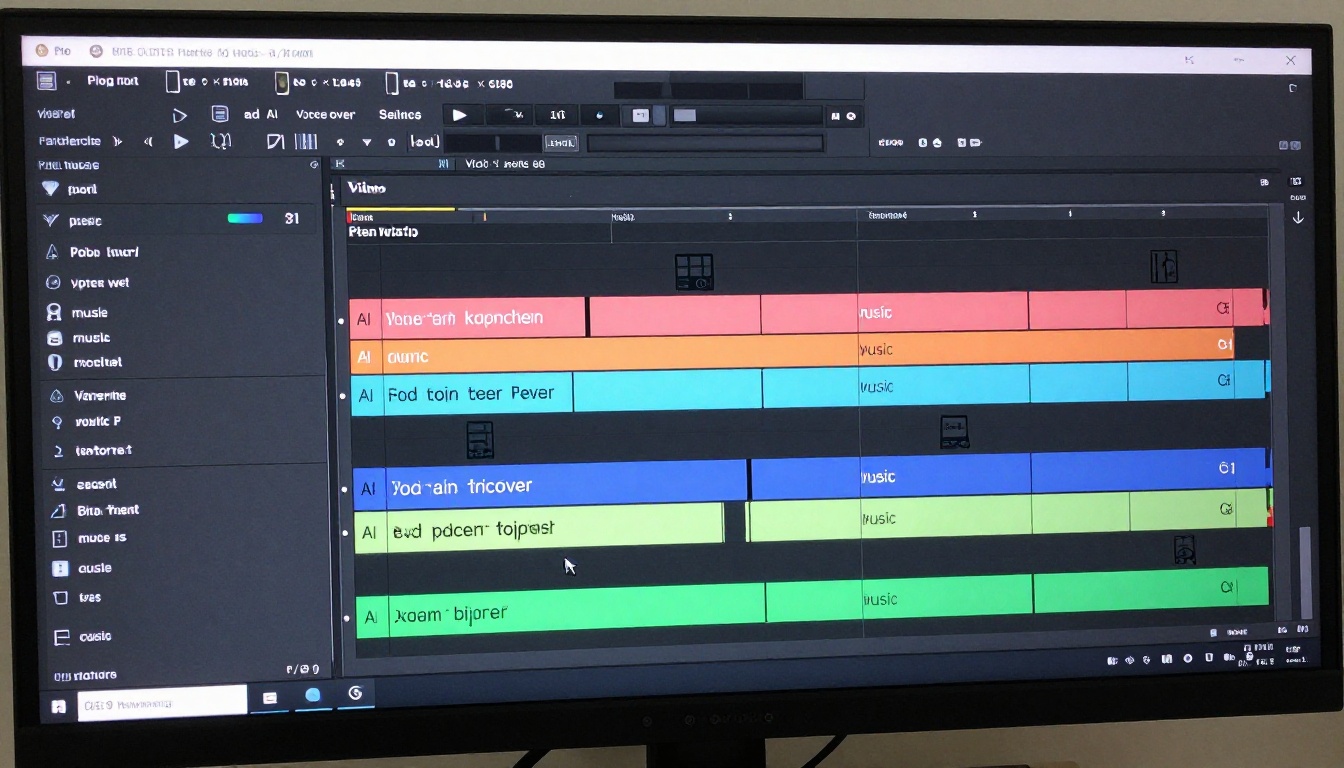
Getting strong results from AI video models for tutorial content is a skill that develops with practice. These are the mistakes that consistently produce poor outputs.
1. One-sentence prompts. Short prompts produce generic, often unusable clips. Write at minimum 30 to 50 words per scene and include all five structural components described earlier.
2. Asking for too many actions in one clip. "Show someone opening a jar, pouring into a bowl, and stirring" is three clips, not one. Split every discrete action into its own dedicated prompt. Each clip should show a single, complete action.
3. Ignoring aspect ratio. Tutorials for YouTube need 16:9. Tutorials for Instagram Reels or TikTok need 9:16. Specify the ratio in every prompt or the model defaults to whatever its baseline is, which may not match your platform.
4. Skipping the audio step. Silent AI clips look like test footage, regardless of how good the visuals are. Even a basic AI-generated voiceover track transforms the perceived quality and professionalism of the entire video.
5. Not reviewing before assembling. Generate and check every clip individually before investing time in the full assembly. One weak clip in the middle of an otherwise good sequence is far easier to fix before assembly than after the entire video is together.
💡 Treat your first generated clip as a working draft, not a finished product. Prompt refinement is where the actual craft lives in this workflow.
Build Your First AI Tutorial Right Now
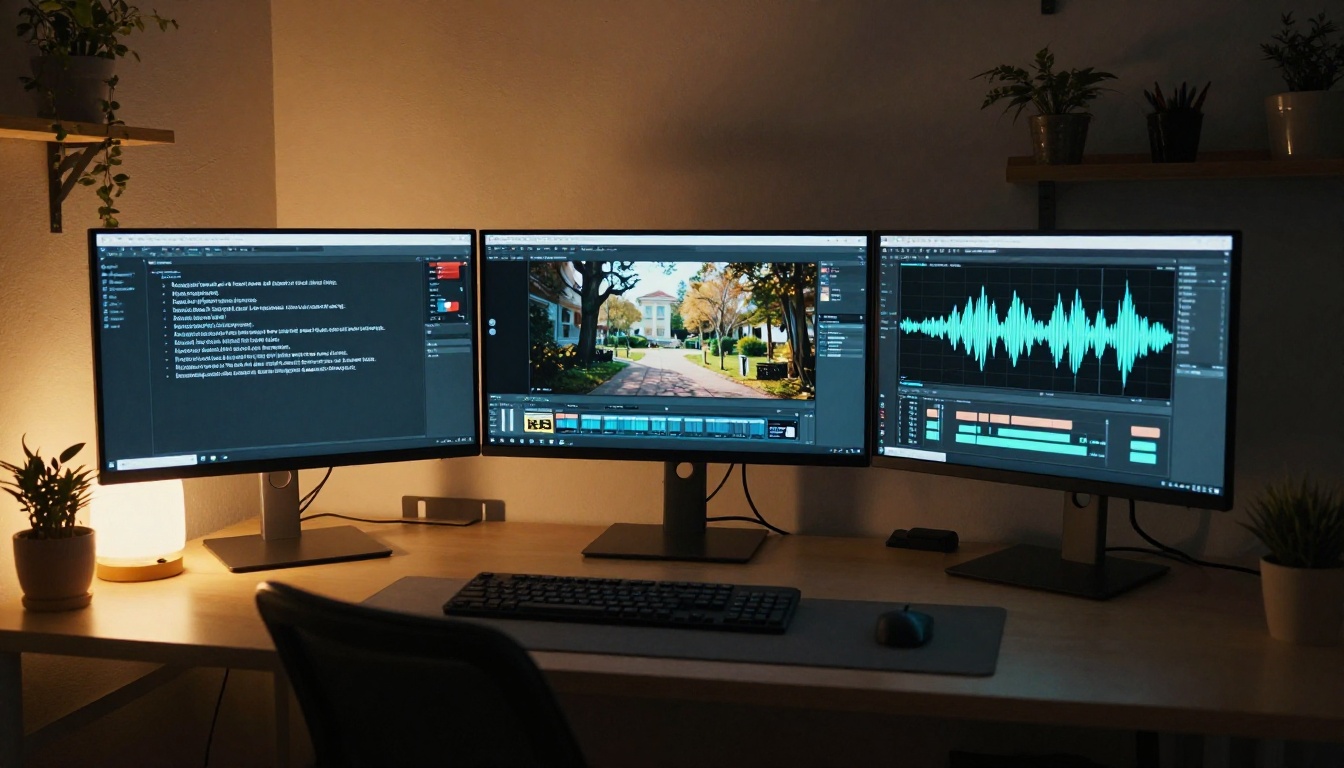
The barrier to your first filmless tutorial is lower than it has ever been. You already have everything you need: a topic you know, a script you can write, and access to the models described throughout this article.
Here is a concrete starting sequence:
- Pick a tutorial topic you can explain clearly in 8 to 12 discrete steps
- Write one sentence per step describing what the viewer needs to see
- Expand each sentence into a 40 to 50 word prompt using the five-component structure covered above
- Open Seedance 2.0 on PicassoIA and generate your first scene
- Add AI voice narration using the Text to Speech tools available on the platform
- Assemble, review one final time, and publish
The entire first draft of a 10-step tutorial can realistically be generated in under two hours. That is faster than most people can schedule a recording session, prep their space, and get through the first three takes.
PicassoIA gives you access to all of these models in one place, including Seedance 2.0, Veo 3, Kling v2.6, Avatar IV, Sora 2, and LTX 2.3 Pro, without juggling separate subscriptions or moving files between platforms. Pick your model, write your prompts, and ship your tutorial. The camera was never the point.


