Sitting through 45 minutes of raw footage to find three usable minutes used to be a rite of passage for every video creator. You scrubbed the timeline, missed the cut point, scrubbed back, missed it again. Repeat fifty times per session. That workflow is now optional, because AI can do it for you.
The technology behind automatic clip cutting has matured fast. What started as basic silence detection has grown into full scene analysis, speech recognition, and frame-by-frame content evaluation. Whether you shoot weddings, YouTube content, corporate training, or short-form social clips, the same logic applies: let the machine do the mechanical work so you can focus on the creative calls.
This article covers exactly how these AI systems work, which tools on PicassoIA handle trimming and splitting today, and how to set up a workflow that cuts your editing time down significantly.
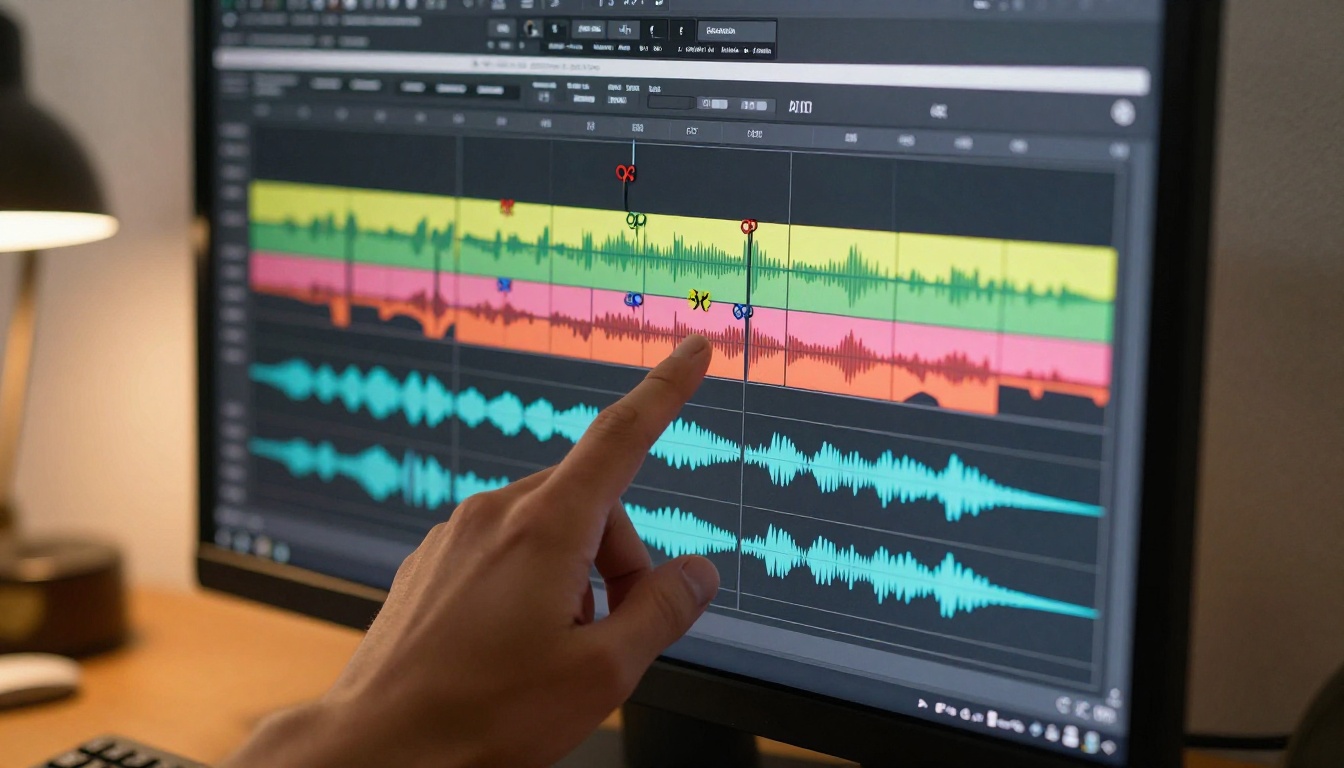
Why Manual Editing Wastes More Than Time
Every creator knows the math never adds up. A 10-minute finished video can require three hours of timeline work when done manually. That is not just a time problem. It is a creative stamina problem. By the time you have hit the same clip for the twelfth time trying to nail a cut point, your judgment about pacing is already shot.
The Hidden Cost of Frame-by-Frame Edits
When you trim manually, you are making hundreds of micro-decisions per session: where exactly does this shot start to feel slow, is that pause intentional or dead air, does the audio cut match the visual beat? Each call takes cognitive energy. Over a long session, decision fatigue sets in. Cuts get lazy. Pacing drifts.
AI trimming removes the mechanical layer entirely. It does not make creative choices for you, but it eliminates the repetitive physical grind of finding, marking, and executing every single cut point. The result is a faster session where your mental energy goes toward judgment calls, not cursor dragging.
When Silence Becomes Dead Weight
The single biggest time sink in raw footage is dead air. Pauses between sentences, the moment before someone remembers what they were about to say, the awkward gap after a take ends. In a 30-minute interview recording, you might have 4 to 6 minutes of pure silence. Manually hunting and removing each instance adds 20 to 40 minutes to your edit.
AI silence detection scans the audio waveform in seconds, marks every gap above a threshold you set, and removes them all in one pass. That single capability alone justifies the switch for anyone doing regular interview or talking-head content.
The Compounding Effect on Large Projects
A single video might only save you 20 minutes. Multiply that by three videos per week over a year and you recover over 50 hours. For a team producing daily content, the math becomes even more significant. AI clip cutting is not a convenience feature for occasional editors. It is infrastructure for anyone treating video production as a regular workflow.

How AI Actually Detects Cut Points
The system is less mysterious than it sounds. Most AI video cutting tools run two or three parallel analyses on your footage simultaneously.
Scene Change Recognition
This is the oldest and most reliable method. The algorithm compares consecutive frames pixel by pixel, looking for significant color, brightness, or composition changes. When the difference crosses a threshold, it marks a cut point. Modern models are smart enough to distinguish between a hard cut and a gradual fade, camera shake versus an actual scene change, and even motion blur from a whip pan versus a genuine transition.
Scene detection accuracy has improved substantially in recent years because the models are trained on labeled datasets of professional edits, not just random video. They have seen enough real footage to recognize what a natural cut looks like versus an artifact.
Silence and Speech Boundary Detection
Audio analysis runs separately from the visual layer. The model maps the waveform, identifies regions of near-zero amplitude, and also locates natural speech boundaries using phoneme-level recognition. This means it does not just cut on silence. It cuts at the natural end of a sentence, even when the speaker barely pauses.
The distinction matters. A pure silence detector will sometimes cut mid-breath or right before a trailing word. Speech boundary detection respects the natural rhythm of how people talk and produces cuts that feel human rather than mechanical.
Rhythm and Beat Mapping
More advanced models now analyze the rhythm of a piece. If you feed in a clip with a music track, the model can suggest cut points that align with the beat. If you feed in a talking-head interview, it can detect when a response feels complete versus when the speaker is still mid-thought. This moves AI editing from a purely structural tool into something that starts to approximate creative judgment about pacing.
How to Use Trim Video on PicassoIA
PicassoIA has direct tools built for this. Trim Video by Lucataco is the fastest way to cut a video down to an exact segment without opening a full editing application. The model is straightforward and precise.
Step 1: Upload Your Footage
Go to the Trim Video model page on PicassoIA. Upload your raw clip directly. The tool accepts most standard video formats including MP4, MOV, and WebM. There is no need to pre-convert your file unless it is in a very obscure container format.
Step 2: Set Your In and Out Points
You define the start time and end time for the segment you want to keep. This works with timestamp precision, so you can specify exact seconds. If you already know your in and out points from a rough review, this step takes under a minute.
Tip: Review your footage at 2x speed first and mark approximate timestamps in a simple text file. Then enter those into Trim Video for precise results without frame-by-frame scrubbing.
Step 3: Run and Export
Hit generate. The model processes your clip and outputs the trimmed segment. The result uploads automatically and gives you a clean file ready to use immediately. No rendering queues, no export dialogs, no software license required. The process is fast enough that you can run multiple trims back to back for batch work.
| Parameter | What It Controls |
|---|
| Start Time | Where the trimmed clip begins (in seconds) |
| End Time | Where the trimmed clip ends (in seconds) |
| Output Format | The file format for the exported segment |
How to Use Video Split on PicassoIA
When you need to break one long video into multiple segments, Video Split handles the job cleanly. It is built for creators who need to repurpose long-form content into short clips for social platforms.
Splitting by Interval
You set a clip duration and the tool divides your footage into equal-length segments automatically. This is particularly useful for content distributed across platforms with strict length limits. A 10-minute video becomes ten 1-minute segments without any manual work.
Batch Output for Short-Form Content
The batch output from Video Split is named sequentially, so your clips come out organized and ready to upload. This removes the tedious work of manually exporting and naming each segment individually. For creators producing TikTok, Instagram Reels, or YouTube Shorts from a single longer recording, this is the most direct path from one file to a full content batch.
Tip: Combine Video Split with Autocaption to add synced captions to each segment automatically after splitting. You process the full batch one clip at a time without ever opening a timeline editor.

Text-Based Editing Changes the Equation
Beyond simple timestamp cutting, a newer category of AI editing tools rewrites what is possible. Text-based video editing lets you work on footage like a document. You see a transcript, you delete words or sentences in the text, and the corresponding video frames are removed automatically.
Lucy Edit 2 by Decart takes this further. You type a natural language instruction and the model interprets it and applies the edit. Removing all pauses longer than two seconds becomes a single command rather than a manual hunt through the timeline. Wan 2.7 Videoedit similarly allows text-directed edits, with a focus on stylistic changes alongside structural cuts.
Kling o1 offers a different angle: it can rewrite video segments using text instructions, which makes it useful when you need to alter not just the cut points but the narrative direction of a piece. These three tools together represent a shift from tools that execute cuts to tools that interpret editorial intent.

Putting Clips Back Together
Trimming and splitting produce segments. At some point you need to reassemble them into a coherent piece. Video Merge handles this cleanly. You upload two or more clips and the tool concatenates them in the order you specify. This is the final step in a trim-split-reassemble workflow that requires no traditional NLE software at any point.
The combination of Trim Video for precise cuts, Video Split for batch segmentation, and Video Merge for reassembly gives you a full non-linear workflow that runs entirely through a browser. No installation, no project files, no codec dependencies.
What Comes After the Cut
A trimmed clip is the starting point, not the finish line. The most efficient creators chain their AI tools so the output of one feeds directly into the next.
Add Captions Without Typing a Word
Autocaption by fictions-ai takes your trimmed clip and generates perfectly synced captions automatically. It processes the audio, transcribes it, and burns the text into the video. For short-form content, captions are no longer optional. Viewer retention on captioned videos consistently outperforms uncaptioned equivalents across every major platform, and the difference is significant enough to affect algorithmic distribution.
Upscale for Distribution Quality
If your source footage was recorded at a lower resolution, trimming does not fix that. Real ESRGAN Video upscales your trimmed segments to 4K quality using AI-based upsampling that restores detail rather than just stretching pixels. The result holds up at full screen on modern displays without visible degradation.
For broadcast or large-format output, Video Increase Resolution by Bria pushes further toward 8K output. If your content ends up on large screens, in commercial placements, or in contexts where sharpness is non-negotiable, this step adds significant production value to footage that started at 1080p.
3 Mistakes That Break Your AI Editing Workflow
Even with good tools, a few common patterns will slow you down or produce bad results.
1. Starting with source files that are too large
AI processing tools work fastest on compressed source files. If you are feeding in raw 4K ProRes footage, convert to a high-quality H.264 first. You will get faster processing and the quality difference in the final trimmed clip is negligible for most distribution contexts.
2. Setting silence detection thresholds too aggressively
A threshold that is too low will clip the natural breathing room between sentences. The edit feels choppy and robotic. Start with a conservative setting and tighten from there based on actual playback results rather than what looks clean on the waveform.
3. Skipping the quality check after batch splits
Batch processing is fast but automatic. Always spot-check the first and last frame of each split segment. Scene changes that happen right at a split boundary can produce a partial frame artifact that is invisible in the thumbnail but obvious on playback.
| Mistake | Fix |
|---|
| Oversized source files | Convert to H.264 before uploading |
| Aggressive silence threshold | Start conservative and adjust by listening |
| No quality check on batch output | Spot-check first and last frame of each segment |
Speed Comparison: Manual vs AI Trimming
The time savings vary by project type, but the pattern holds consistently.
| Task | Manual Time | AI Time |
|---|
| Remove silence from 30-min interview | 35 to 45 min | Under 2 min |
| Split 10-min video into 60-sec clips | 20 to 25 min | Under 1 min |
| Trim precise in/out points on 5 clips | 15 to 20 min | Under 3 min |
| Add captions to split segments | 45 to 60 min | Under 5 min |
The productivity gain is not incremental. For creators producing multiple pieces per week, the shift from manual to AI cutting represents hours recovered per day. Over the course of a year, that compounds into a meaningful difference in how many projects are actually possible.
What a Full AI Clip Workflow Looks Like
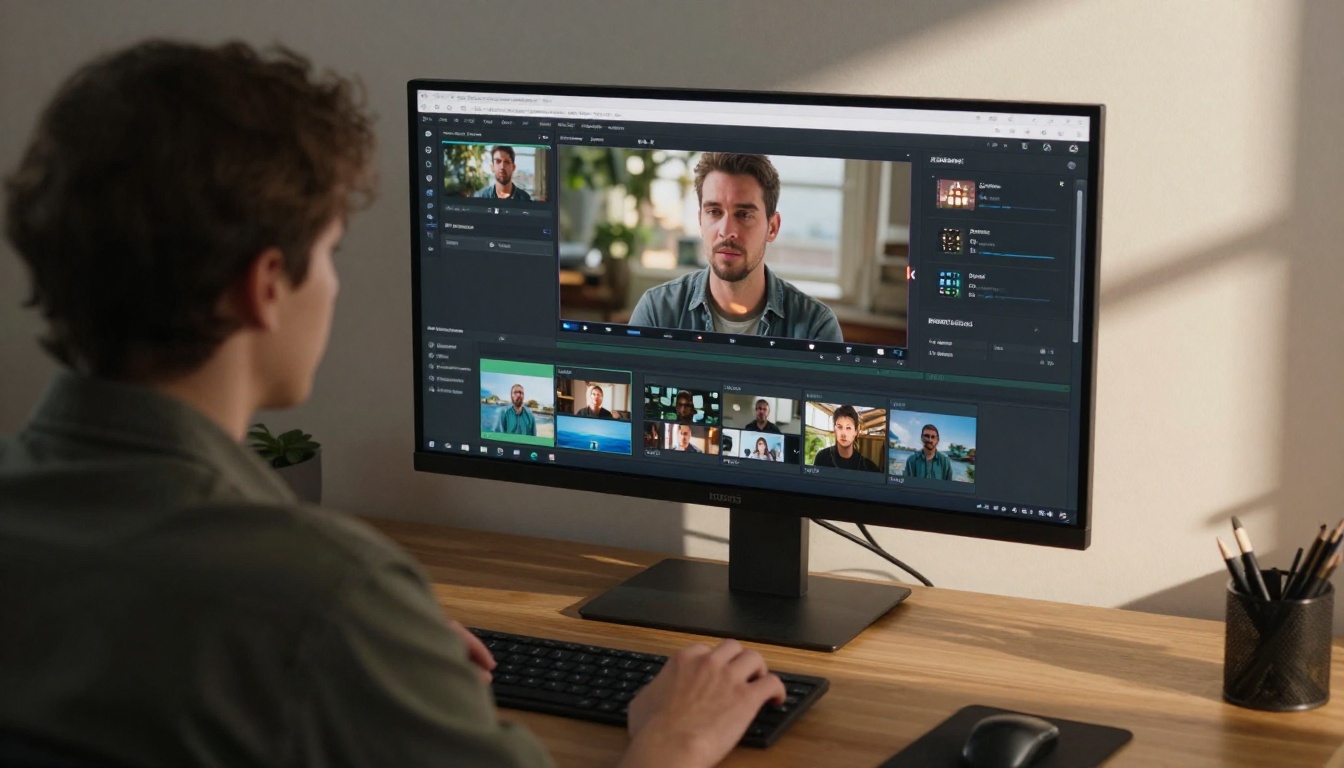
Here is a practical end-to-end flow that requires no traditional editing software at any step:
- Record raw footage on any device in any standard format
- Use Trim Video to isolate the exact segment you need
- Use Video Split to divide the segment into platform-length clips
- Use Autocaption to add synced captions to each clip
- Use Real ESRGAN Video to upscale any clips that need higher resolution
- Use Video Merge to reassemble any segments you want combined into a longer piece
Six steps, zero timeline scrubbing, no software installation required. The entire workflow runs in a browser and the output files are ready to upload directly to any platform.

Start Cutting Smarter on Your Next Project
The fastest way to see whether AI clip cutting fits your workflow is to run it on one real project rather than reading more about it. Take a piece of raw footage you were planning to edit manually, run it through Trim Video and Video Split on PicassoIA, and compare the time you spend against your last manual session.
Both tools are accessible directly on PicassoIA without setup, and results come back in your browser within minutes. For creators who produce regularly, that one test session tends to change the entire workflow permanently.
PicassoIA also gives you access to text-based editing via Lucy Edit 2, AI-directed restyling through Gen 4 Aleph, and a full library of over 26 video editing models that cover every step from raw footage to final distribution. Whatever your format, your platform, or your production volume, the tools are already there waiting. The only thing left is running your first clip through them.


