The custom t-shirt market crossed $10 billion in 2024, and a huge portion of that growth came from solo creators, small brands, and print-on-demand sellers who never took a design class in their lives. AI image generators changed the equation entirely. What once required a professional designer, expensive software, and days of revision cycles now takes an afternoon and a well-written prompt.
Why AI Flipped T-Shirt Design Upside Down
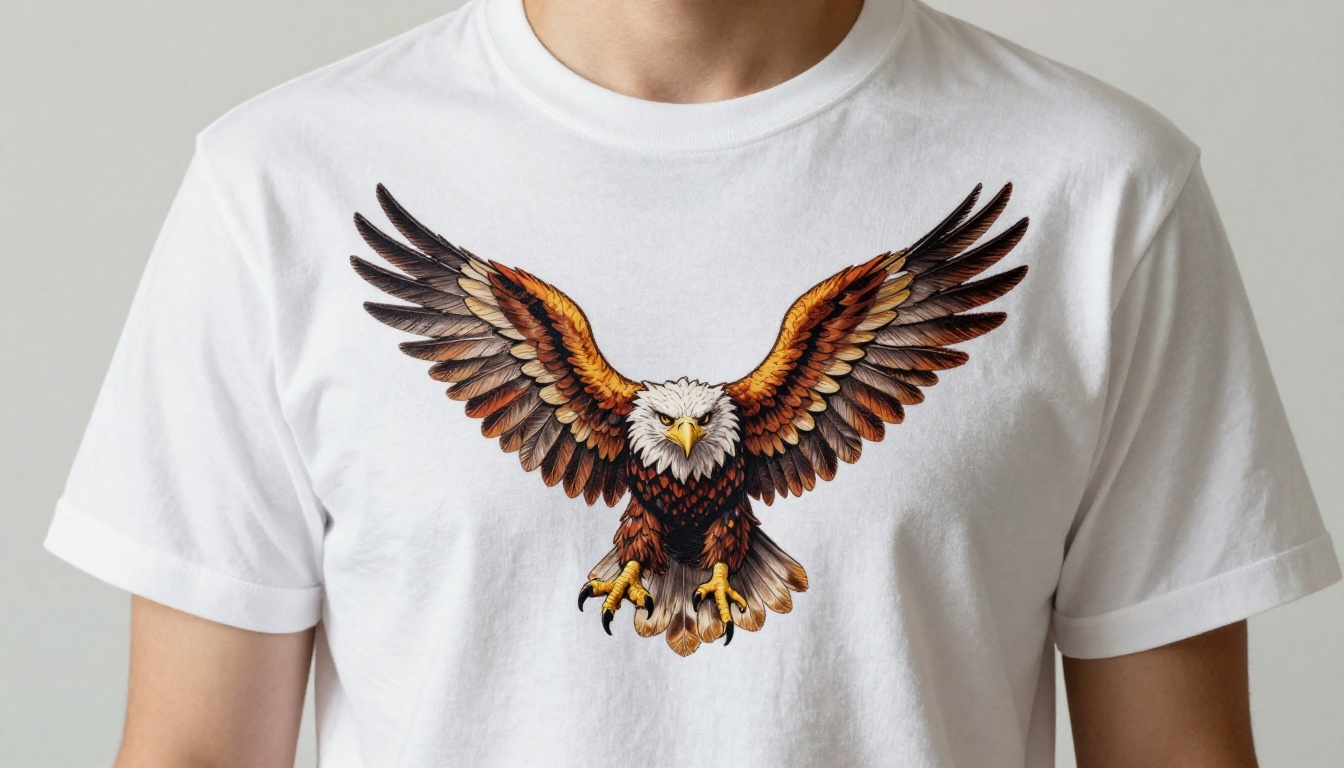
Traditional t-shirt graphics required either expensive software (Adobe Illustrator, CorelDRAW) or hiring a freelance designer at $50 to $300 per design. Even with skills, the process was slow: sketch, digitize, color separate, revise. A single design took days.
AI collapses that timeline to minutes.
The old workflow vs. the new one
| Step | Traditional | AI-Assisted |
|---|
| Concept to sketch | 2-4 hours | 30 seconds |
| Digitizing | 1-3 hours | Instant |
| Revisions | 30+ min per round | Seconds |
| Color variations | Manual | Prompt tweak |
| Cost per design | $50-$300 | Near zero |
The quality gap that once justified hiring professionals has shrunk dramatically. The best AI models now produce images with the detail, sharpness, and style range that screen printers and DTG (direct-to-garment) vendors actually want.
What changed with modern models
Earlier AI tools like first-generation models struggled with text, fine lines, and consistent proportions. Today's models, particularly the Flux family and its derivatives, handle intricate linework, bold graphic shapes, and repeatable styles with precision. That precision is the difference between a design that prints beautifully and one that turns into a blurry mess on fabric.
What Actually Makes a Good T-Shirt Graphic
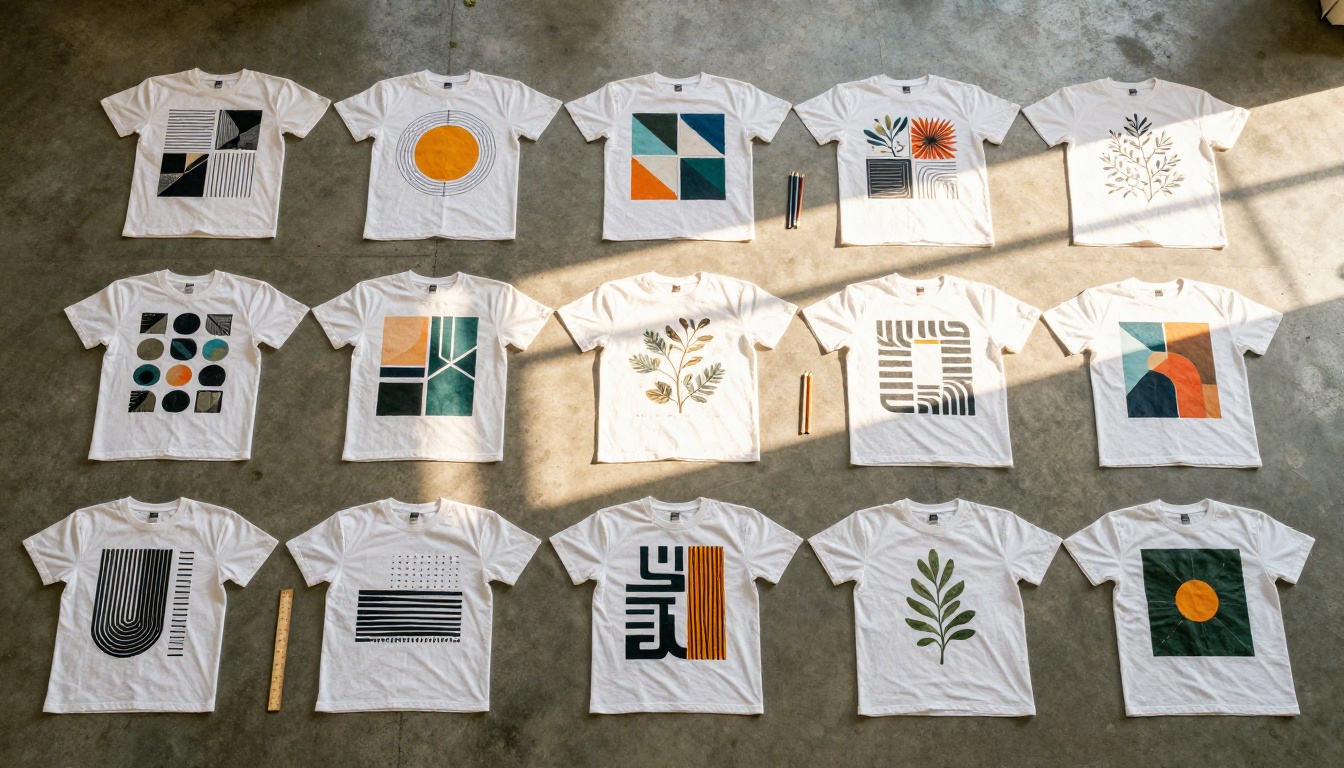
Not every AI image translates well to a printed shirt. Understanding the constraints of the medium saves you from wasted print runs.
Simplicity wins every time
A t-shirt is not a canvas. The viewing distance is typically 3 to 10 feet, the surface curves with the body, and the fabric absorbs ink differently than paper. Designs with high contrast, clear silhouettes, and strong focal points outperform complex, detail-heavy scenes every time.
Characteristics of print-friendly AI designs:
- High contrast between graphic and shirt color
- Defined edges with minimal gradients (especially for screen print)
- Limited color palette (1-5 colors for screen print; unlimited for DTG)
- Bold shapes that read clearly at a distance
- Clean or transparent background, not a busy scene
DTG vs. screen print: what it means for your prompts
Your printing method directly affects how you should prompt the AI.
| Print Method | Best For | AI Prompt Considerations |
|---|
| DTG (Direct to Garment) | Photos, gradients, complex art | Full color, photorealistic outputs work well |
| Screen Print | Bold graphics, logos, minimal colors | Prompt for flat colors, limited palette, solid shapes |
| Sublimation | All-over prints, sportswear | Full bleed patterns, vibrant colors |
| Vinyl / HTV | Single-color, silhouettes | Solid fills, no gradients |
💡 If you're selling on Printful, Printify, or Gelato, DTG is the default. Use AI to generate full-color, high-detail artwork without worrying about color separation.
The Best AI Models for T-Shirt Graphics
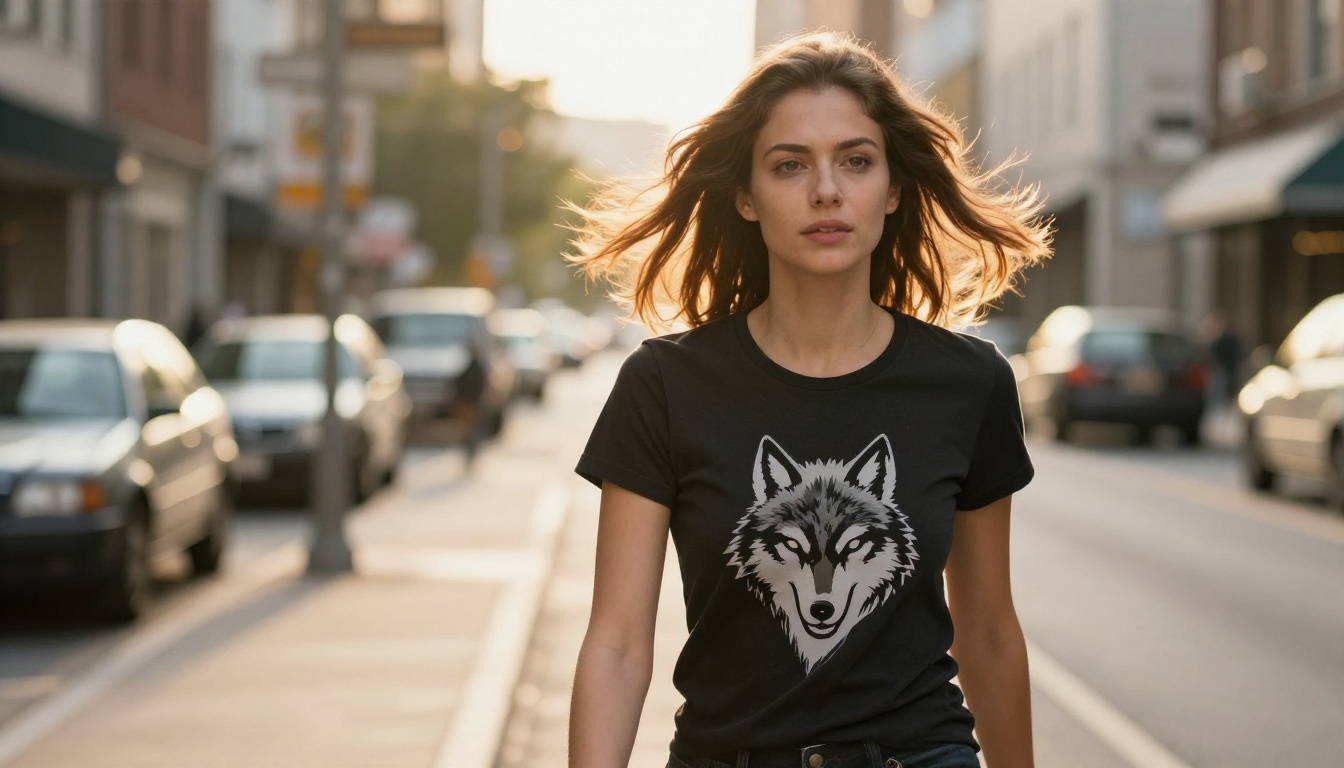
Several models on PicassoIA stand out specifically for apparel graphics. Each has strengths depending on what style of design you want.
Flux for high-fidelity illustrations
The Flux Redux Dev model delivers exceptional detail and sharpness on complex illustration-style prompts. It handles everything from botanical line art to bold animal portraits with a precision that older models could not match. The outputs are clean enough to isolate in Photoshop or remove backgrounds with AI tools for DTG-ready files.
For faster iterations and LoRA-based style customization, Flux Schnell LoRA is worth exploring. It generates variations rapidly, which is ideal when you're testing multiple graphic directions before committing to a final print.
Stable Diffusion 3 for vector-friendly aesthetics
Stable Diffusion 3 produces cleaner, more graphic-oriented outputs that lend themselves well to vector tracing. If you plan to convert your AI image into an SVG or EPS for screen printing, SD3's output style reduces the complexity of the tracing process significantly.
Flux 2 Klein for consistent style across a product line
Flux 2 Klein 9B Base LoRA and Flux 2 Klein 4B Base LoRA give you the ability to dial in specific aesthetic styles through custom LoRA training. If you have an existing brand aesthetic or a specific illustration style you want to replicate across a product line, these models let you encode that style and apply it consistently.
Step-by-Step: Using Flux Redux Dev on PicassoIA for T-Shirt Graphics
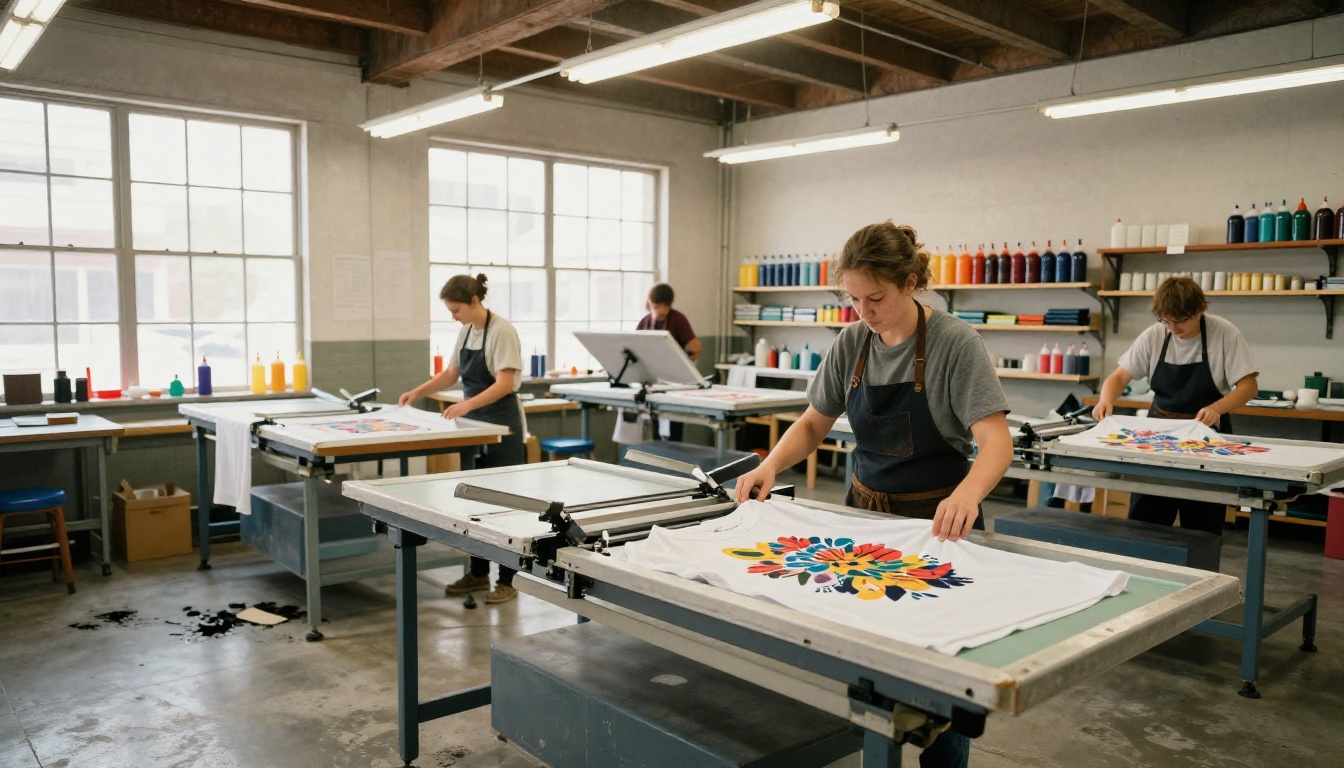
This is a practical workflow for producing a print-ready graphic using Flux Redux Dev on PicassoIA.
Step 1: Set up your brief
Before opening any tool, decide on these parameters:
- Shirt color: Light (white, cream, heather) or dark (black, navy, charcoal)
- Placement: Center chest, left chest pocket, full back, sleeve
- Style: Vintage, minimal, bold illustrative, streetwear, nature
- Subject: Animal, abstract, landscape, typography-based, geometric
The more specific your brief, the better your prompt performs.
Step 2: Write a structured prompt
For t-shirt graphics, the most effective prompt structure is:
[Style descriptor] + [Subject] + [Pose or Action] + [Background treatment] + [Technical specs]
Example prompt:
"Vintage screenprint style illustration of a charging bison, thick black outlines, high contrast, bold shadows, isolated on white background, minimal color palette, flat design, no gradients, 8k detail"
For Flux Redux Dev specifically, adding precision descriptors like "high detail," "sharp focus," and "fine line illustration" helps the model produce cleaner, more printable outputs.
Step 3: Generate and evaluate
Run the prompt and generate 4 to 6 variations. Evaluate each for:
- Clean silhouette with readable shape at a glance
- No awkward artifacts or distorted elements
- Appropriate contrast for your planned shirt color
- Detail level that works at actual print size (typically 10x12 inches)
Step 4: Refine your output
If the first batch does not nail it, iterate. Small prompt changes produce dramatically different results:
- Add
isolated on white if the background is cluttered
- Add
vector illustration style if you want cleaner edges
- Add
no text if random letters are appearing in the image
- Add
symmetric for a centered, balanced composition
💡 PicassoIA's Super Resolution tool can upscale your chosen design 2x to 4x before you export it, which is essential for print-quality files.
Step 5: Export and prep for print
Once you have the final image, run it through PicassoIA's background removal tool to isolate the graphic on a transparent background. Export as PNG at the highest available resolution. For screen printing, trace to vector in Adobe Illustrator or Inkscape before submitting to your printer.
Prompt Strategies That Actually Work
Getting consistent, print-ready outputs from AI requires more than just describing what you want. These strategies work specifically well for apparel graphics.
Use style anchors
Naming a visual style grounds the model's output in a recognizable aesthetic:
- "Vintage tattoo flash" produces bold outlines and limited color fills
- "Japanese woodblock print" yields high-contrast dramatic compositions
- "1990s streetwear graphic" generates blocky, layered, badge-like art
- "Scientific illustration" creates detailed, flat, clean line drawings
- "Retro sports logo" outputs circular or shield-shaped compositions
Specify what you do NOT want
Negative prompting reduces common AI artifacts in print-ready work:
no background, no gradients, no text, no borders, no watermarkno extra limbs, no distortion, no blur
Control the color palette explicitly
Instead of relying on the model to choose colors, dictate them:
two-color black and red on whitemonochromatic black ink on whiteearth tones: terracotta, sage green, cream
This is critical when planning screen printing costs, which price per color used.
Aspect ratio and framing for apparel
Most t-shirt chest prints sit in a roughly portrait-oriented rectangle. When generating with Flux Redux Dev, request a square or portrait format and center the subject. Avoid wide landscape compositions that would require awkward cropping to fit the chest area.
From AI Output to Print-Ready File
Generating a beautiful image is step one. Getting that image onto fabric correctly is where most beginners lose momentum.
Resolution requirements
| Print Method | Minimum DPI | Ideal File |
|---|
| DTG | 150-200 DPI at print size | 300 DPI PNG |
| Screen Print | Vector (infinite) | SVG or EPS |
| Sublimation | 150 DPI minimum | 300 DPI at bleed size |
Most AI generators produce images in the 512x512 to 1024x1024 range by default. At a standard 10x12 inch chest print, that equates to roughly 85 DPI, which is below the threshold for sharp results. Upscaling is not optional.
The upscaling workflow
- Generate your design at the highest available resolution
- Run through PicassoIA's Super Resolution to upscale 2x or 4x
- Remove the background using PicassoIA's background removal tool
- Export as PNG with transparent background
- For screen printing: open in Illustrator and use Image Trace to convert to vector
Color mode matters
AI images generate in RGB. Print processes, especially screen printing, often work in CMYK or spot colors. Convert your file to CMYK in Photoshop before submitting to any printer, and check that colors do not shift dramatically in the conversion. Deep blues and vibrant greens are notorious for looking different in print versus screen.
Selling AI T-Shirt Designs Online
Once you have print-ready files, the fastest path to revenue is print-on-demand (POD). These platforms handle printing, shipping, and customer service. You upload the design, set your price, and collect the margin.
Top POD platforms compared
| Platform | Best For | Base Cost | Integrations |
|---|
| Printful | Quality, branding options | $12-18/shirt | Shopify, Etsy, WooCommerce |
| Printify | Volume, lower price | $8-14/shirt | Shopify, Etsy, eBay |
| Gelato | Speed, global printing | $9-16/shirt | Shopify, Etsy |
| Redbubble | Built-in marketplace | Variable | Standalone |
| Merch by Amazon | Amazon traffic | Variable | Standalone |
What sells vs. what sits
Based on consistent patterns across POD sellers:
High performers:
- Niche-specific designs (specific dog breeds, sports teams, professions)
- Minimalist designs with strong graphic treatment
- Nature and wildlife with bold contrast
- Retro and vintage aesthetics
Slow movers:
- Generic motivational text designs
- Overly complex full-color illustrations (high base cost per unit)
- Trendy designs without a timeless quality
💡 AI lets you test niche hypotheses fast. Generate 5 designs targeting a very specific community, for example golden retriever owners who hike, and test them before investing in larger catalogs.
Intellectual property considerations
AI models are trained on existing images, which raises questions about originality. The outputs are transformative and unique in nature. However, avoid prompting for designs that closely replicate the distinctive style of a specific living artist or famous logo. Focus prompts on aesthetic descriptors rather than named creatives.
Build Your First Collection This Afternoon
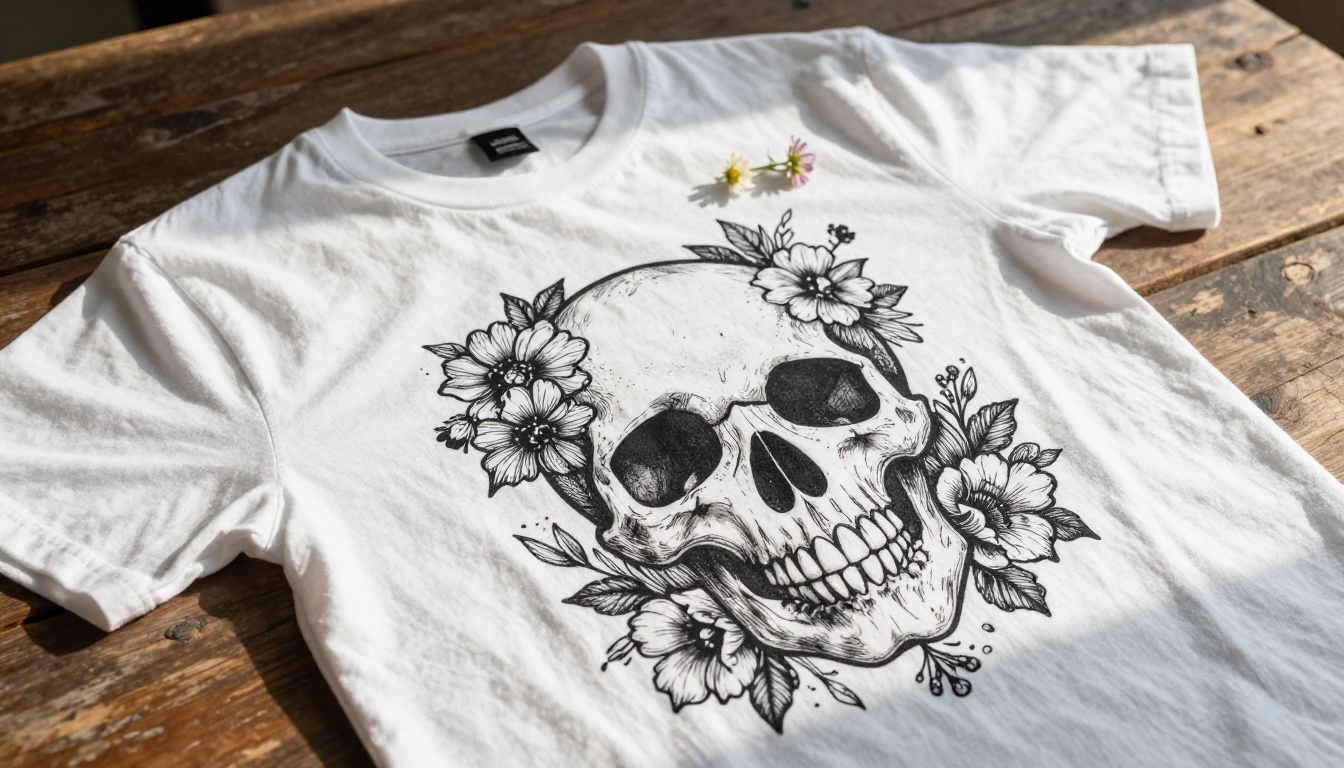
At this point, you have everything needed to move from zero to a POD store with original graphics. The tools exist. The workflow is clear. The only variable left is execution.
Start with 5 designs in a tightly defined niche. Pick a subject category you're genuinely interested in, since it makes copywriting easier later. Generate 20 to 30 variants using Flux Redux Dev on PicassoIA, select the strongest 5, upscale them, prep the files, and upload.
That whole process, which once took weeks and hundreds of dollars, now takes an afternoon.
PicassoIA gives you access to the full stack in one place: text-to-image generation with Flux Redux Dev, Flux Schnell LoRA, and Stable Diffusion 3, plus background removal, super resolution upscaling, and image variation generation. Try building your first design collection today and see how far a single afternoon of prompting can take you.


