GPT Image 2.0 changed what it means to edit a photo. For years, editing software demanded that you know where every tool lives, how layers stack, and why your mask isn't working. GPT Image 2.0 scraps most of that. You describe what you want, and the model figures out the rest. That shift is more significant than it sounds.
This article breaks down how editing images with GPT Image 2.0 actually works, what kinds of tasks it handles well, where it still falls short, and how platforms are building real workflows around it.
What GPT Image 2.0 Actually Does
GPT Image 2.0 is a multimodal model built to both generate and modify images. The "editing" part isn't a simple filter or overlay layer applied on top. The model reads your image, builds an internal representation of what's in it, and then regenerates specific regions based on your text instruction.
That process is called conditional generation, and it's meaningfully different from traditional photo editing tools that manipulate pixel data directly.

From generation to editing
OpenAI's earlier image models were primarily generation tools. You typed a prompt, and the model produced something from scratch. GPT Image 2.0 extends that capability into existing photos by treating the input image as context. The model doesn't ignore your photo; it reasons about it and generates changes that respect the original composition, lighting, and perspective.
The result is edits that blend in rather than look bolted on. When you ask the model to change a background, it adjusts the light falling on your subject to match the new environment. When you remove an object, it fills the space with content that fits the scene rather than a smeared blur.
How the model reads your image
GPT Image 2.0 uses a vision encoder to process the input image and generate a token representation of its contents. That representation feeds into the same transformer architecture that handles text. So when you type "remove the car in the background," the model has already tokenized what the car looks like, where it sits in the frame, and what's behind it.
This unified processing is why edits feel coherent. The model isn't running a separate detection step, then a separate fill step. It processes image and instruction together, which dramatically reduces edge artifacts and lighting mismatches.
The 3 Core Editing Modes
Most edits you'll want to do fall into one of three categories. GPT Image 2.0 handles all three, though with different levels of reliability depending on complexity.
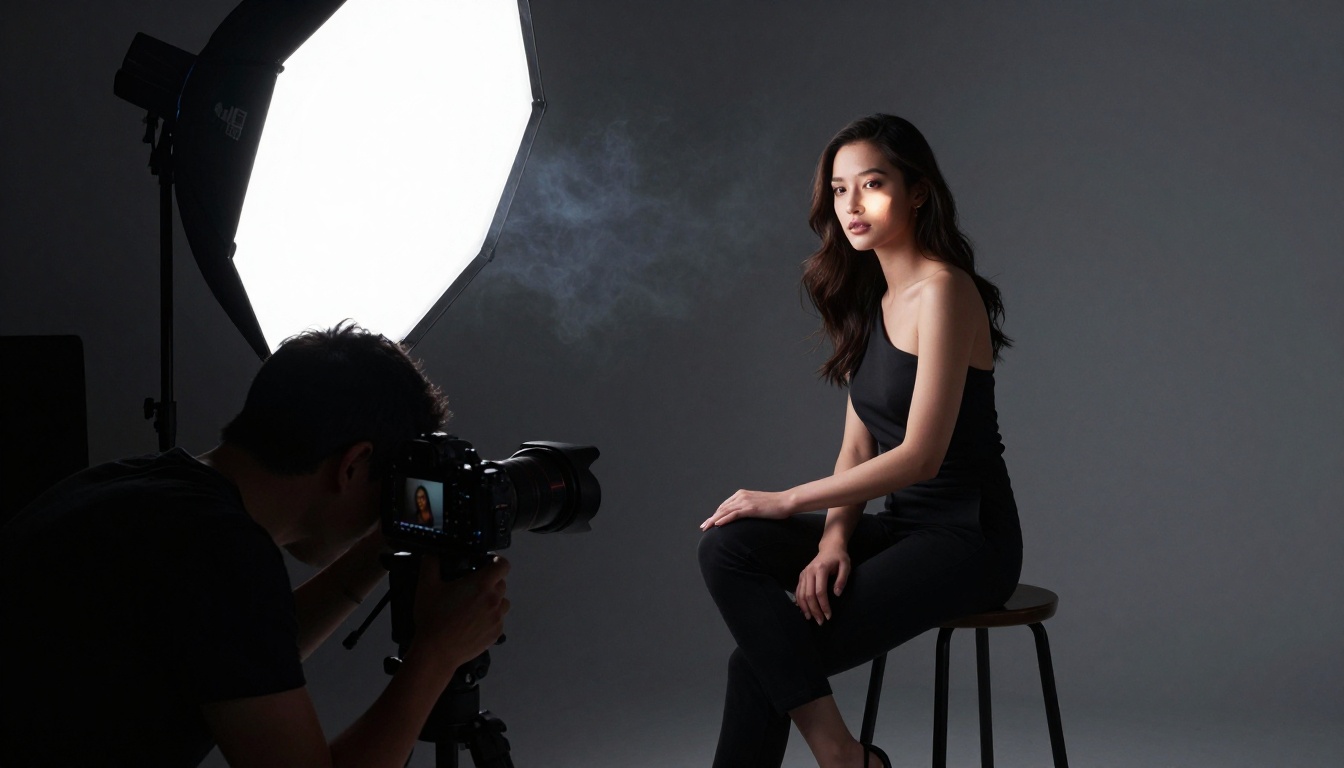
Object replacement and removal
Removing objects has historically been one of the harder editing tasks. Content-aware fill in traditional software works adequately on simple textures but collapses the moment background content is complex, structured, or overlapping the subject.
GPT Image 2.0 approaches this differently. Because it understands scene composition, it can fill gaps with plausible content. Remove a lamp from a room, and the wall behind it looks like a wall, not a patchy smear.
Replacement works similarly. Swap the shoes on a model, change the product in a hand, or replace one style of clothing with another. The model maintains pose, lighting angle, and shadow direction automatically.
💡 Tip: Be specific about what you want to replace. "Change the shirt to a red linen shirt" outperforms "change the shirt" every time. The more detail you include in the edit prompt, the fewer passes you'll need.
Background changes that look real
Background swapping used to require careful masking around hair, fine details, and semi-transparent elements. That masking step is exactly where most non-professionals give up.
GPT Image 2.0 handles subject-background separation internally. You describe the new background, and the model handles the edge blending. It won't always be perfect on very fine hair or complex transparent materials, but for most commercial and content photography use cases, the results are production-ready.
| Edit Type | Traditional Tool Required | GPT Image 2.0 Approach |
|---|
| Background removal | Manual masking or AI cutout tool | Described in prompt |
| Background replacement | Layer composite plus lighting match | Single text instruction |
| Object removal | Clone stamp plus content-aware fill | Single text instruction |
| Style adjustment | LUT application plus manual grading | Described in prompt |
| Clothing swap | Multi-layer compositing | Single text instruction |
Style and tone adjustments
Beyond swapping elements, GPT Image 2.0 can shift the overall feel of an image. Describe a different lighting condition, a different time of day, a different season, or a different color palette, and the model applies those changes while preserving subject identity and composition.
This is where the technology starts to feel genuinely different. It's not color grading in the traditional sense. It's scene-level reinterpretation, where the model rebuilds portions of the image to match a new visual context.
Why Prompt-Based Editing Is Different
The entire editing paradigm here is text-first. You describe intent, not process. That's a fundamental departure from every traditional editing workflow.
No masks, no layers
Traditional editing requires you to think in spatial terms: what region do I want to affect, how do I select it precisely, how do I protect adjacent areas. GPT Image 2.0 collapses that into description. The model identifies the region based on what you name, not where you draw.
For experienced photographers, this can feel like losing control. For everyone else, it removes a significant barrier. You don't need to know what a feathered selection is. You need to know what result you want.
💡 Tip: If a region isn't changing the way you expect, try naming it more specifically. Instead of "the background," try "the brick wall behind the woman." Specificity directly improves targeting accuracy.
What you type is what you get
Prompt quality has a direct relationship with output quality. Vague instructions produce generic results. Specific, descriptive instructions produce precise edits.
The good news is that GPT Image 2.0 tolerates natural language. You don't need to use technical photography or design terminology. Saying "make the background look like a sunny Italian piazza with warm afternoon light" works perfectly. You don't need to specify ISO, aperture, or color temperature values.
Where prompts become powerful is in layering specificity: subject description, what changes, lighting direction, and atmosphere. Hitting those four points in one sentence consistently produces single-pass results.
Real-World Use Cases That Work
Understanding what GPT Image 2.0 does in theory is one thing. Seeing it applied to specific workflows is where it becomes practical.
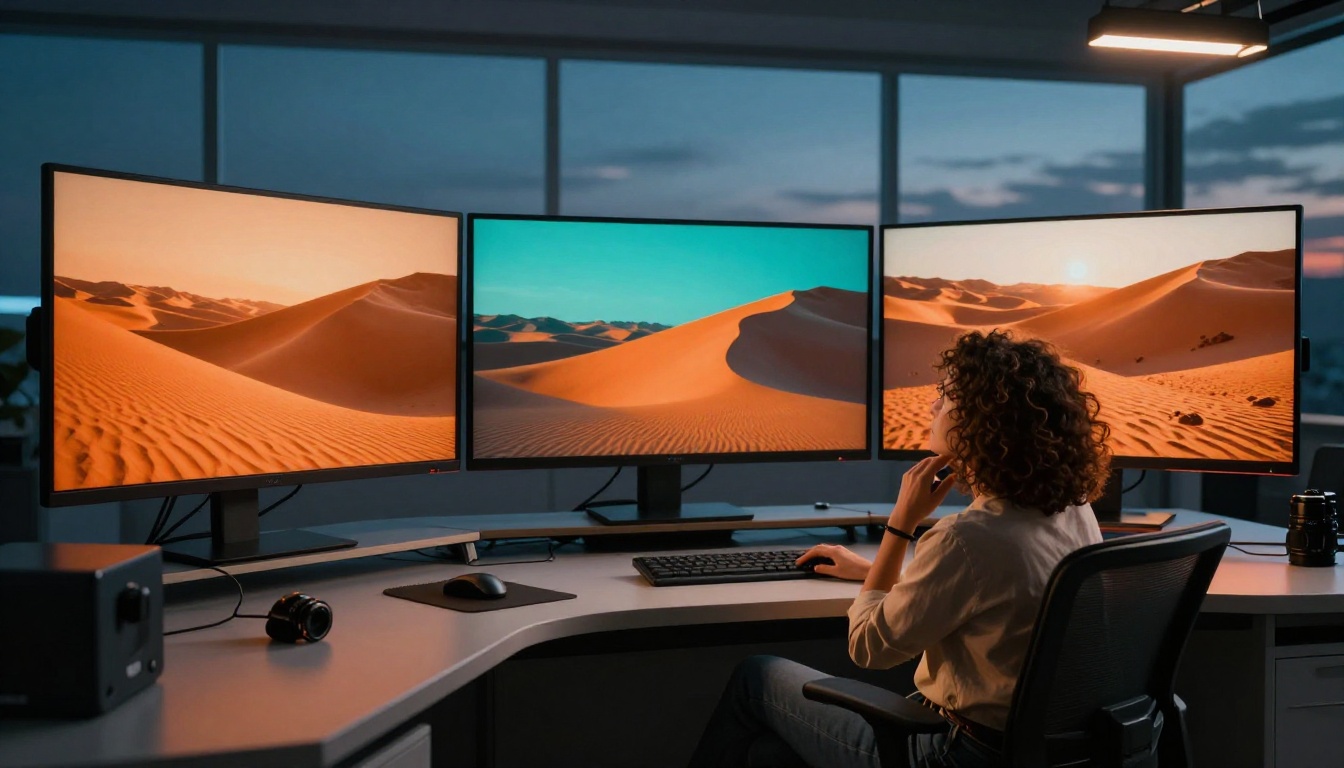
Product photography
Product images require clean, neutral or thematic backgrounds, consistent lighting, and often multiple variants: lifestyle shot, white background, contextual shot. GPT Image 2.0 makes generating those variants from a single source photo fast and inexpensive.
Shoot your product once with good lighting. Then use editing to place it in a kitchen, on a beach, against a white studio backdrop, or in a lifestyle scene. The lighting adjustments happen automatically. For e-commerce brands, this workflow alone can significantly reduce photography production costs.
A watch photographed on a wooden surface can become a watch on a marble countertop, a sandy beach, or a leather desk pad without reshooting. Each variant takes seconds rather than hours.
Portrait and glamour editing
Portrait editing with GPT Image 2.0 covers everything from skin retouching to full wardrobe changes. The model respects facial identity when given appropriate instructions, which means you can change context, clothing, and setting without losing the subject's likeness.

Glamour and lifestyle photography particularly benefits from background replacement. Move a studio portrait to an outdoor Mediterranean setting, or shift a beach shoot to a rooftop terrace, without reshooting. The model's understanding of light direction makes these transitions look natural rather than composited.
💡 Tip: When editing portraits, anchor your instructions to the person first. Start with what stays the same ("keep the woman's face, expression, and hair"), then describe what changes. This reduces identity drift across multiple editing passes.
Social media content
Content creators need volume. A single photo can become multiple posts if you can vary the background, season, or styling efficiently. GPT Image 2.0 makes that kind of content multiplication practical without a large team.
Fashion bloggers, lifestyle influencers, and brand accounts all benefit from the ability to produce consistent, varied imagery from a smaller set of original photos. The ability to recontextualize the same subject across different environments is a genuine workflow accelerator.
Editing Images on PicassoIA
PicassoIA gives you access to powerful image generation and editing models through a clean web interface. The platform's ecosystem of models covers the full editing workflow in one place, from initial generation to refinement and export.
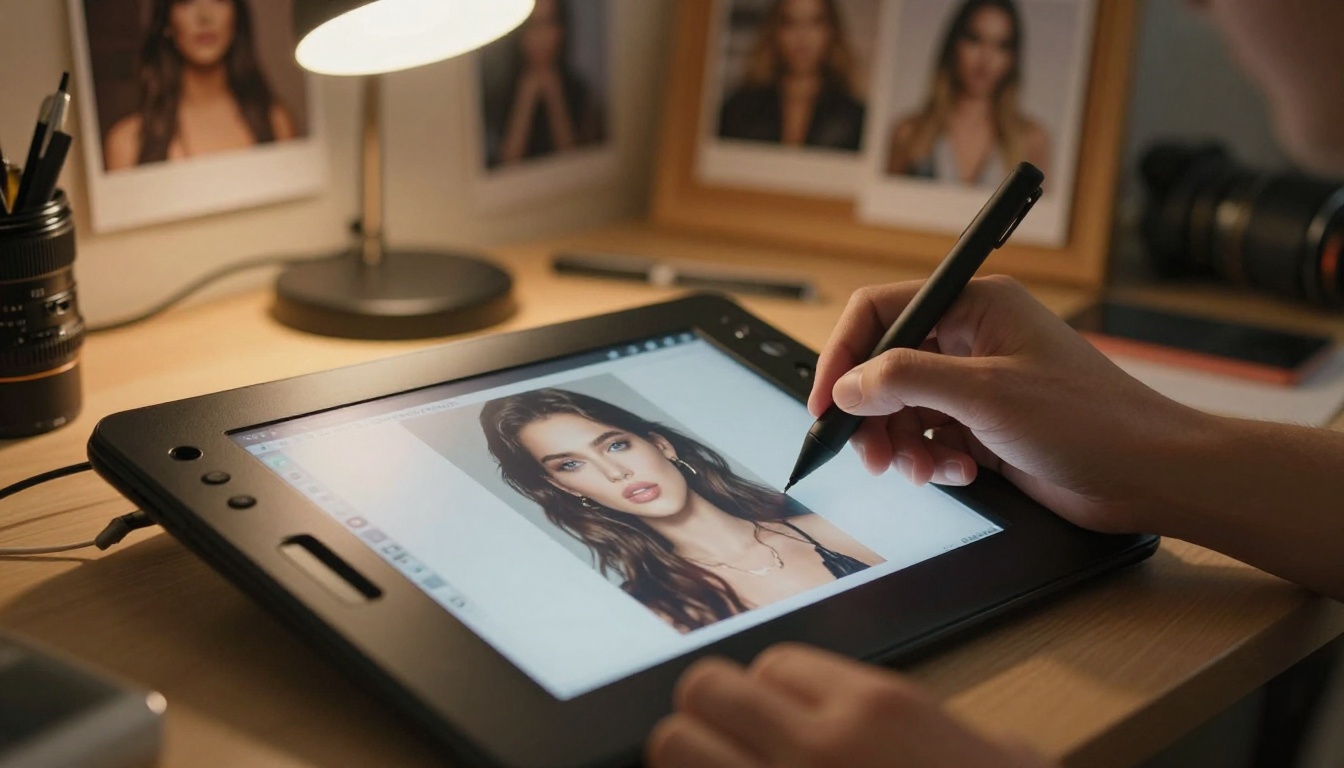
Start with a strong base image
The quality of your edit depends heavily on the quality of your source image. PicassoIA's text-to-image collection gives you access to over 90 photorealistic generation models. Starting with a well-generated base image means your edits have clean data to work with.
Upscale and sharpen after editing
After any AI edit, resolution can degrade at fine detail levels. PicassoIA has a dedicated super-resolution section to address this. Clarity Pro Upscaler by philz1337x restores fine detail and sharpness at high magnification. For portraits specifically, Crystal Upscaler is optimized for face and skin texture recovery.
If speed matters more than maximum detail, P Image Upscale processes images in seconds with strong results. For professional-grade output with maximum fidelity, Image Upscale by Topaz Labs scales photos up to 6x without visible artifacts.
For general use, Real ESRGAN and Google Upscaler both offer solid 4x upscaling that handles a wide range of image types. Recraft Crisp Upscale and Recraft Creative Upscale add additional options depending on whether you want clinical sharpness or creative texture addition.
Remove backgrounds cleanly
When your edited image needs a clean cutout, Remove Background by Bria handles subject isolation automatically. This is particularly useful after generating a product or portrait image that you want to composite into another scene.
Sharpening Results After Editing
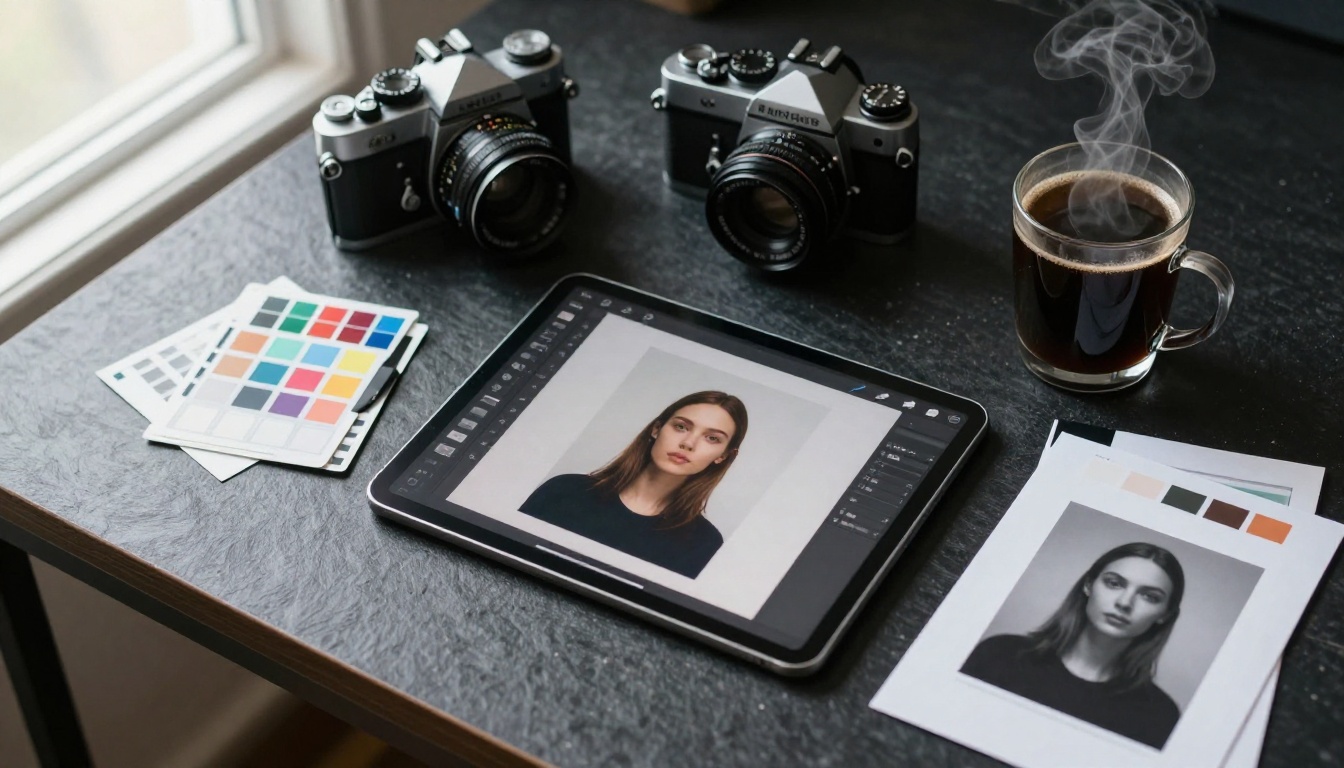
AI edits often introduce softness, particularly in fine textures like hair, fabric weave, and skin pores. Upscaling isn't optional for production use; it's part of the workflow.
When to upscale
Upscale whenever you plan to use the image at larger sizes than the output resolution. For web use at standard screen sizes, the output from GPT Image 2.0 is often sufficient. For print, packaging, or high-DPI displays, always run an upscale pass.
The moment you notice fine detail softness in hair strands, fabric texture, or background architecture, that's your signal to upscale before delivering.
Picking the right tool for the job
3 Editing Mistakes That Kill Results
Even with a capable model, poor inputs produce poor outputs. These are the patterns that most consistently waste time.
Prompts that are too vague
"Make it look better" is not an edit instruction. The model has no target to work toward. Every ambiguous instruction adds a round of refinement that a specific prompt would have skipped entirely.
Write prompts the way a photographer would brief a retoucher: "Brighten the shadows on the left side of the face, reduce the hotspot on the forehead, and add warmth to the overall color temperature." That instruction executes in one pass.
Ignoring lighting in your original photo
If your source image was shot under flat overcast light and your edit prompt describes a sunny beach scene, the model faces a contradiction. It will try to resolve it, but results are unpredictable.
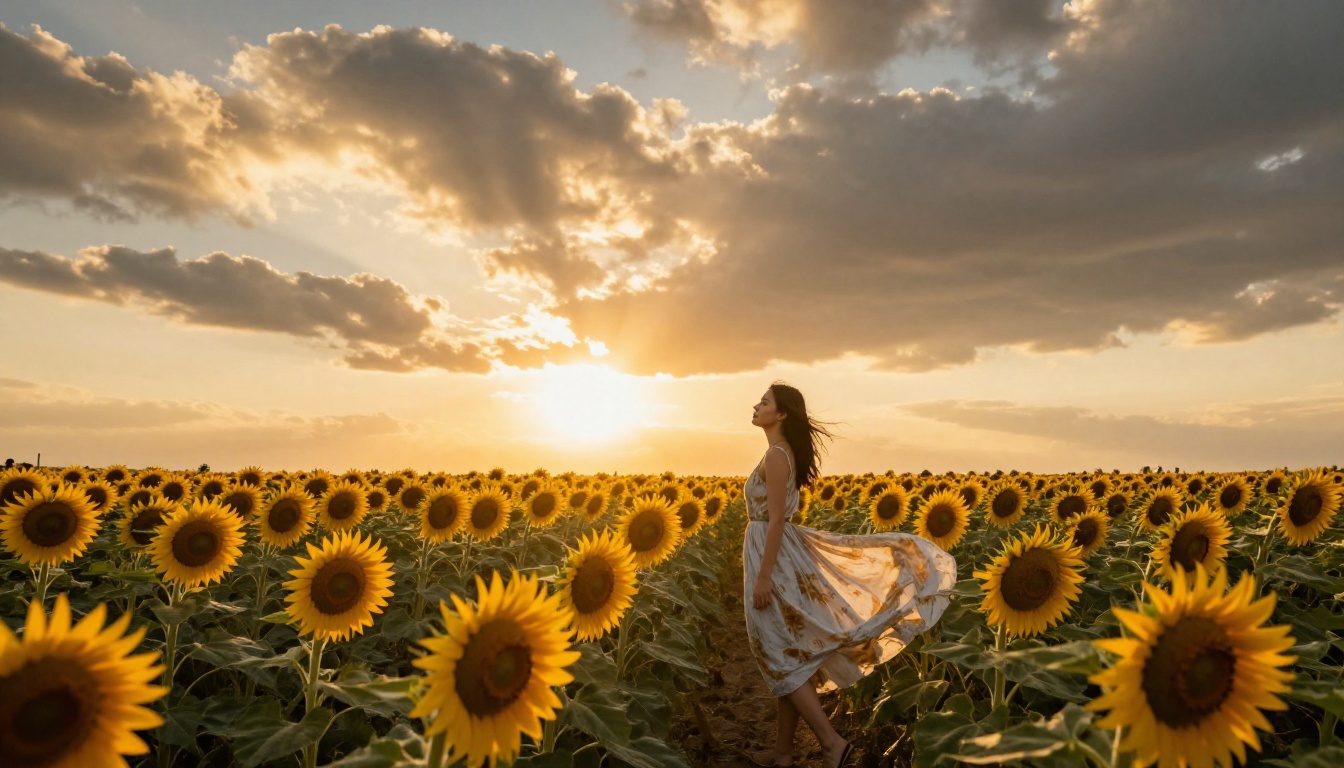
Match your edit intentions to the lighting conditions that already exist in the image, or include explicit lighting change instructions. "Change the background to a sunny beach and shift the lighting on the subject to match" gives the model permission to resolve the contradiction deliberately rather than arbitrarily.
Stacking too many changes in one pass
GPT Image 2.0 handles complex edits, but stacking too many changes into one prompt reduces accuracy across all of them. "Change the background, swap the clothing, adjust the hair color, and add jewelry" is four separate edits that will each suffer from the combined complexity.
Work in passes. Change the background first, verify it looks right, then address the clothing. Iterative editing produces better results than trying to batch everything into a single instruction.
Try It Yourself on PicassoIA
The tools described here are not theoretical. They are available right now on PicassoIA, where you can generate, edit, upscale, and refine images through a single platform without switching between software or managing complex local installations.
Whether you're retouching product photos, building social media content, or experimenting with portrait editing, the workflow is straightforward: generate or upload, describe your edit, upscale the result, and export. PicassoIA's library covers every stage of that process.
From photorealistic image generation to background removal to professional-grade upscaling, the platform handles the technical heavy lifting while you stay focused on creative direction.
Try uploading one of your existing photos and writing a detailed edit prompt. The gap between what you type and what appears keeps shrinking, and GPT Image 2.0 is a significant part of why that gap is closing so fast.


