Drone footage shot in perfect conditions still comes out wrong half the time. Wind-induced vibration, compressed encoding at high bitrates, the rolling shutter distortion from aggressive banking turns. These are problems that no pilot can fully control mid-flight. The question is what you can do about it after you land.
AI-powered video processing has completely shifted what's possible in post-production for aerial footage. Tools that previously required dedicated GPU workstations and professional software subscriptions now run in a browser, process entire clips automatically, and produce results that would have seemed impossible just two years ago.
This article breaks down how these tools work, which ones are worth using, and how to get the most out of your drone footage without touching a single piece of hardware.
What AI Video Processing Actually Does
It Goes Beyond Simple Upscaling
Most people think AI video processing is just upscaling, taking a 1080p clip and stretching it to 4K. That's part of it, but only a small part. Modern AI models perform several operations simultaneously:
- Temporal coherence: analyzing multiple frames together to identify which pixels are real detail and which are noise
- Artifact suppression: identifying and removing compression blocks, banding, and ringing artifacts from encoding
- Motion estimation: predicting sub-pixel movement between frames to synthesize missing detail
- Texture synthesis: reconstructing fine surface details like grass, foliage, and building facades that were lost during capture or encoding
The output isn't just a bigger version of what you had. It's a reconstruction of what the sensor should have captured if conditions had been ideal.
Why Drone Footage Specifically Benefits
Aerial footage presents unique challenges that ground-level video doesn't share. The atmosphere introduces haze and diffusion at altitude. Drone cameras use small sensors with aggressive noise reduction baked into the encoding. The combination means your 4K drone footage often has less real detail than a good 1080p shot taken at ground level.
AI models trained on aerial footage understand these specific degradation patterns. They're not applying generic sharpening. They're filling in aerial-specific detail like terrain texture, foliage patterns, and architectural features that were present in the scene but lost in capture.
The 3 Core Problems Worth Fixing
Low Resolution and Compression Artifacts
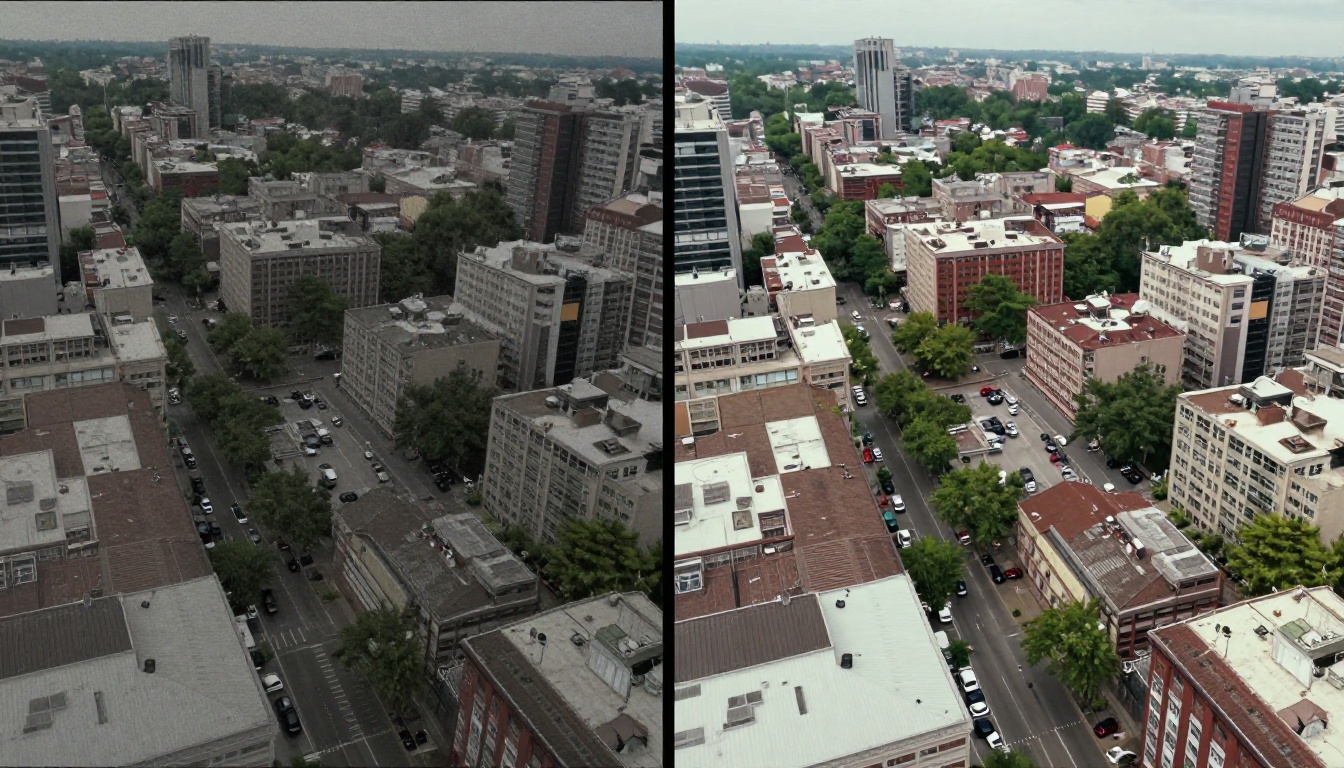
If you've uploaded drone footage to YouTube or shared it via a compressed platform, you've watched your 4K clip get re-encoded into something noticeably softer. The platform's compression algorithms don't understand aerial photography. They treat wide open sky and subtle terrain texture with the same aggressive compression applied to anything else.
Running footage through an AI upscaler before platform upload means the compressed output still retains more apparent detail. Tools like Topaz Video Upscale are specifically trained to handle this, analyzing each frame and reconstructing lost detail before re-encoding.
💡 Pro tip: Always process your footage at the highest resolution your workflow supports before compressing for delivery. Starting with sharper frames means the final compressed output holds quality better.
Grain and Noise in Low-Light Aerial Shots
Sunset and golden hour flights produce the most visually compelling footage, but the low-light conditions push small drone sensors to their limits. ISO noise shows up as colored speckles in shadow areas, and the drone's internal noise reduction smears fine details to compensate.
AI noise reduction works differently from traditional temporal averaging. Instead of blending adjacent frames, it identifies noise patterns at a pixel level and removes them while preserving edge information. The result keeps the warmth of golden hour light without the speckled shadows that ruin the clip.
Shaky Footage from Wind or Vibration
Even with a three-axis gimbal, strong winds cause micro-vibrations that traditional stabilization can't fully correct. The jelly-roll effect from rolling shutter combines with wind shake to create footage that looks unstable even after export.
AI stabilization approaches this by analyzing entire clip segments, not individual frame pairs. It identifies the intended camera motion versus unintended vibration and selectively removes only the unwanted movement while preserving intentional pans and reveals.
Best AI Models for Drone Video Right Now
The tools available have expanded significantly. Here's what's worth using based on specific use cases:
Crystal Video Upscaler
Crystal Video Upscaler is one of the most reliable tools for aerial footage. It was designed specifically for photorealistic upscaling, not animated content, which makes it well-suited to the natural textures in drone video: forests, water, urban environments, and terrain.
The model handles motion well. Fast-moving clips from low-altitude high-speed passes often create edge ghosting in competing tools. Crystal Video manages this better than most, keeping architecture and vegetation sharp even through rapid camera movement.
Topaz Video Upscale
Topaz Video Upscale from Topaz Labs is the professional standard for a reason. It combines upscaling, noise reduction, and frame interpolation into a single model. For drone footage that suffers from multiple issues simultaneously — wait, let me rephrase — For drone footage that has compression, noise, and low frame rate issues at the same time, this is typically the most efficient route to a clean result.
The 120fps output option is particularly useful for drone footage intended for slow-motion playback, where smooth motion matters without needing to shoot at high frame rates in the field.
How to Use Crystal Video Upscaler on PicassoIA
PicassoIA has Crystal Video Upscaler available directly in its model collection. Here's how to process drone footage with it:
Step 1: Upload Your Clip
Navigate to the Crystal Video Upscaler model page on PicassoIA. Click the upload area and select your drone footage file. Accepted formats include MP4, MOV, and MKV. For best results, upload the original file before any compression or social media export.
Step 2: Set Your Target Resolution
Choose your output resolution. For footage originally shot at 1080p, select 4K output. For footage shot at 4K with quality issues, selecting 4K output still runs the quality pass, removing compression artifacts and sharpening detail without changing the file dimensions.
Step 3: Adjust the Creativity Parameter
The creativity slider controls how aggressively the model synthesizes new detail. For drone footage, keep this between 0.3 and 0.5. Too high and the model starts inventing texture that wasn't in the original scene. Too low and you lose the benefit of AI reconstruction.
Step 4: Process and Download
Processing time depends on clip length and output resolution. A 30-second 4K clip typically processes in 3 to 5 minutes. The output file downloads directly to your device, ready for color grading or direct delivery.
💡 Workflow tip: Process clips individually rather than exporting a full edit for AI processing. Segment your drone footage by scene or shot type before running it through the upscaler. It lets you apply different settings to different clips and gives you cleaner input material for each pass.
When to Process vs. When to Re-Fly
Not every piece of bad footage is worth saving. Knowing when AI tools can actually help versus when you need new material saves significant time.
Footage Worth Processing
- Acceptable composition, poor technical quality: The shot is framed correctly and the subject is in the right place, but noise, softness, or compression reduce its usability
- Irreplaceable moments: Events you can't repeat, such as weddings, live sports, or one-time performances
- Archive footage: Older clips shot on previous-generation drones that hold up much better with modern upscaling applied
- Minor stabilization issues: Small wind wobble that a gimbal missed can often be smoothed convincingly in post
Footage That Needs a Reshoot
- Extreme motion blur: If subjects or terrain are fully blurred due to shutter speed errors, AI cannot reconstruct what was never captured
- Severe underexposure: Deep shadow areas with no recoverable detail are genuinely empty, no processing fills them
- Wrong composition: AI processing fixes quality, not framing decisions made in the air
Color Grading After AI Processing
How Processed Footage Behaves Differently
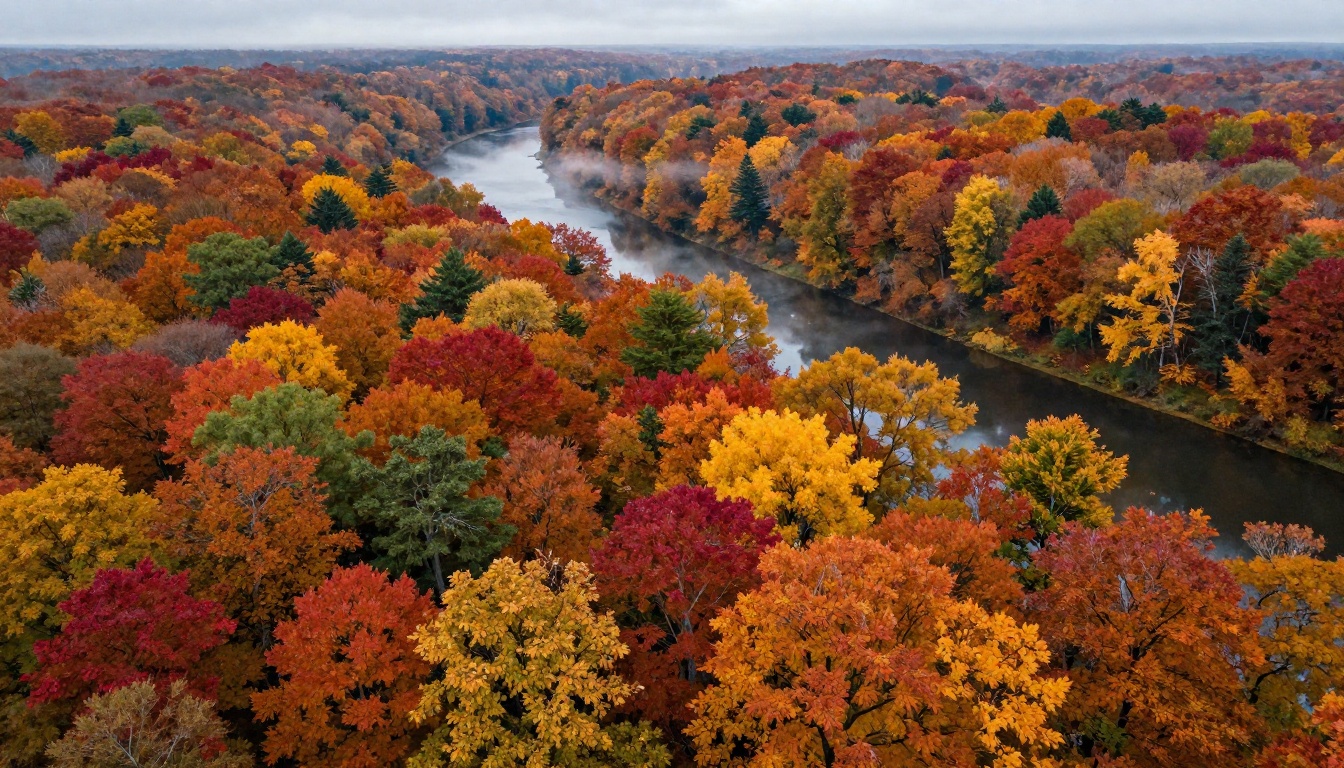
AI-processed footage grades differently than raw drone output. The noise reduction removes micro-variation in shadow areas that some LUTs interpret as tonal information. When you apply the same LUT you'd use on unprocessed footage, the shadows often come out flatter than expected.
The fix is straightforward: apply your LUT first in a preview, then reduce shadow contrast slightly in your color wheels. Processed footage holds highlight detail better than the original, so you can push exposure more aggressively without clipping.
Tools That Work Well Together
If you're using Bria Video Increase Resolution for the upscaling pass, combining it with Luma Reframe Video for aspect ratio adjustments lets you repurpose one piece of footage for multiple formats. Widescreen for YouTube, vertical for Reels, square for social posts, all from the same processed source without going back to the raw file.
After the reframe, run your color grade once at the highest resolution and export all deliverables from that master. It keeps your workflow linear and avoids redundant processing passes.
Frame-by-Frame vs. Full Clip Processing
Which Approach Is Faster
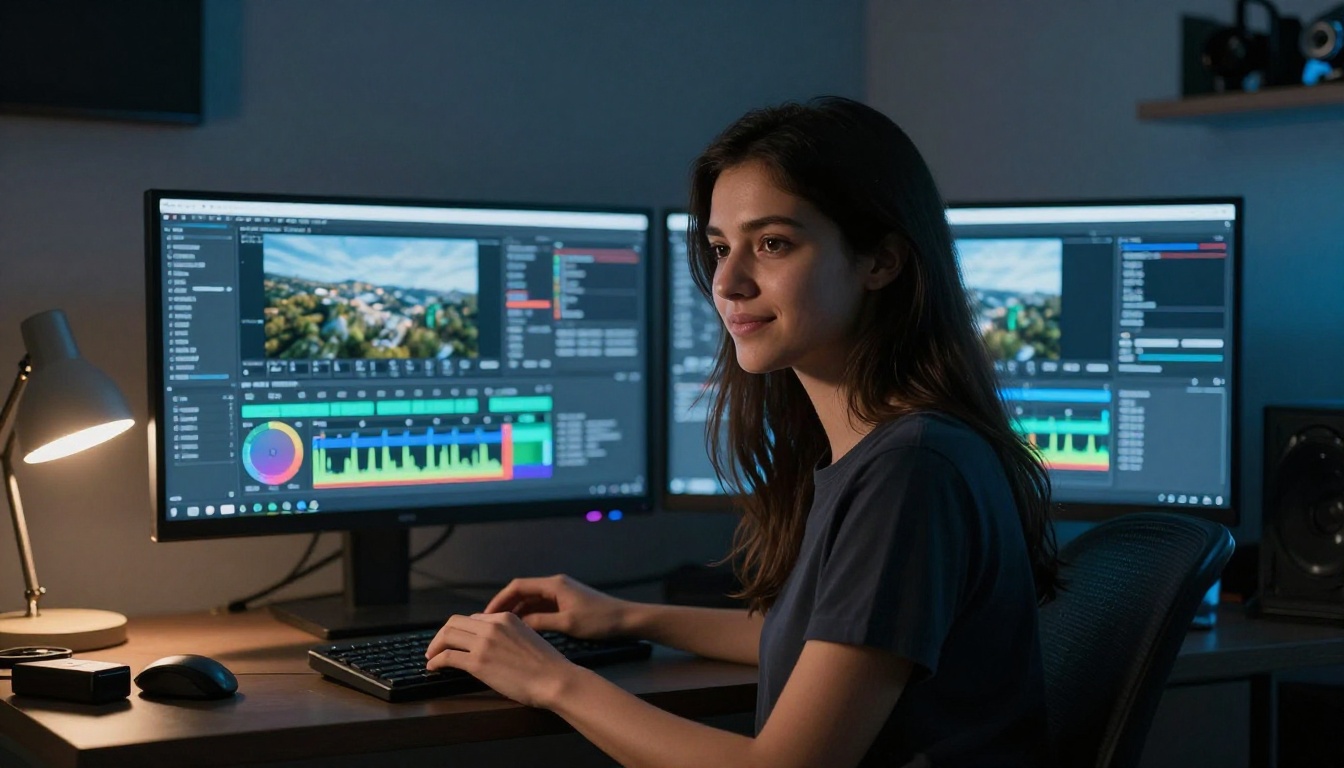
Full-clip processing through video upscalers like Crystal Video Upscaler or Topaz Video Upscale is almost always faster for complete scenes. The models use temporal information across frames, which is both faster to process and produces better results than treating each frame independently.
Frame-by-frame processing via still image upscalers makes sense when you need a single frame for print or when a specific clip has quality that varies dramatically between frames. Tools like Real ESRGAN and Topaz Image Upscale let you extract the sharpest frame using a Frame Extractor and upscale it independently for thumbnail or print use.
Quality Tradeoffs to Consider
Video models preserve motion consistency. Edges don't flicker between frames, and moving objects retain their sharpness throughout the shot. Still-image models applied frame-by-frame occasionally produce subtle inconsistencies at object boundaries that become visible in playback, even if each individual frame looks sharp in isolation.
For social deliverables where platform compression will further reduce quality anyway, the difference is minimal. For broadcast or commercial work, use video-native models for full clip processing.
Reframing and Repurposing Your Processed Clips
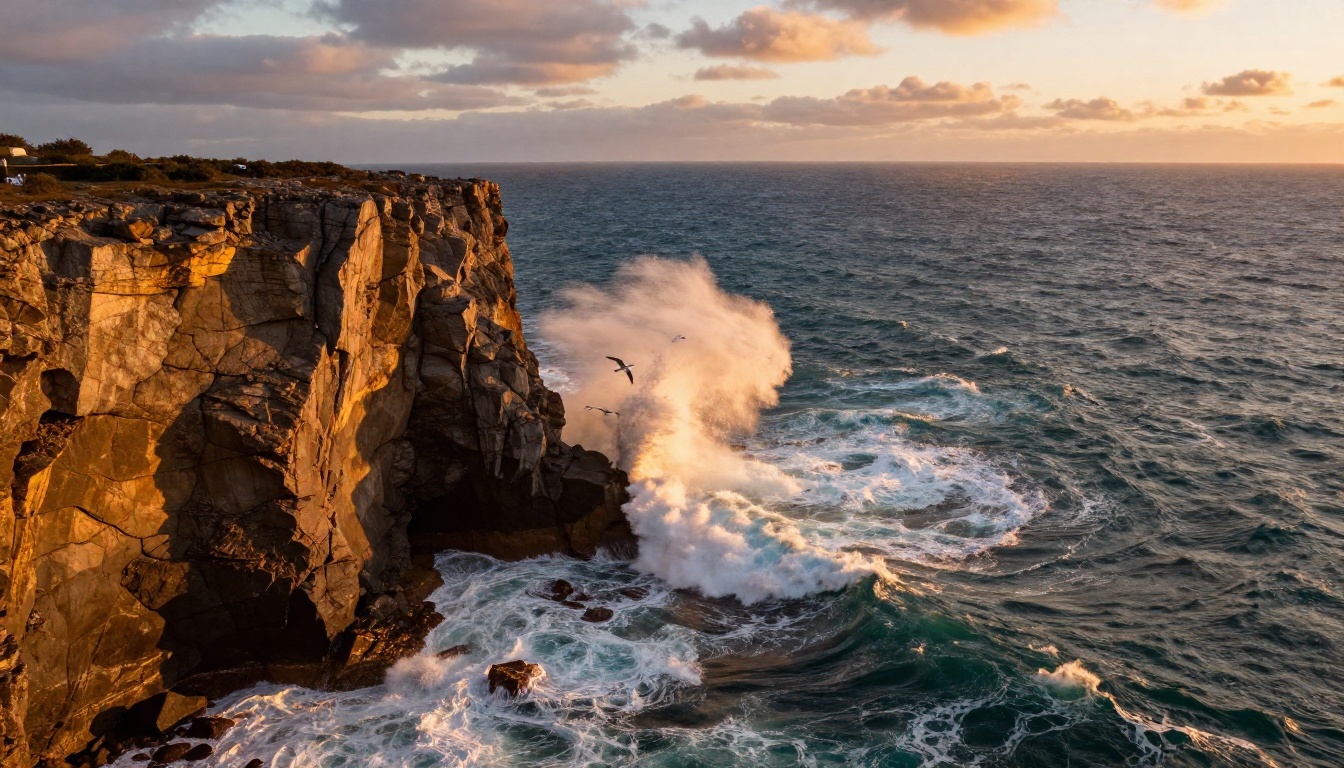
One underused aspect of AI video processing is what becomes possible after the quality pass. Once you've upscaled 1080p footage to 4K, you have significant reframing room. A clip shot at 1080p can be cropped to a vertical 9:16 aspect ratio at roughly 540p after cropping, then upscaled back to full 1080p for Reels or TikTok, with quality that holds up.
Luma Reframe Video handles this automatically, analyzing the clip for the primary subject and repositioning the frame accordingly. Combined with a prior upscaling pass, you end up with platform-native vertical content from footage that was never shot that way.
If your footage contains objects you want removed, power lines, passing vehicles, or unwanted people in frame, Bria Video Erase Object handles this cleanly after the resolution pass. The higher resolution gives the model more pixel information to fill the erased region convincingly.
The Real Numbers on Processing Cost
The economics of AI video processing have shifted dramatically. Compare these two paths to a broadcast-quality 4K deliverable from 1080p drone footage:
| Approach | Estimated Cost | Turnaround |
|---|
| Re-fly the mission | $300-800 (pilot, permits, travel) | 1-2 days |
| Rent upgraded drone | $150-400 per day | Scheduling delay |
| AI upscaling via PicassoIA | Under $20 per clip | 5-15 minutes |
For one-time use cases, the math is obvious. For ongoing production workflows, the savings compound quickly. A team running 10 to 20 drone missions per month and processing a portion of each through AI upscaling recovers the equivalent cost in quality output within weeks.
The practical ceiling is footage with severe technical damage at capture. Beyond that point, a reshoot is genuinely the only option. But that ceiling is further than most pilots assume, and AI tools keep raising it.
Start With Your Worst Clip
You don't need a high-end drone to get high-quality aerial footage anymore. What you need is solid composition, decent original material, and access to the right AI tools in post-production.
PicassoIA has the full stack available in one place: Crystal Video Upscaler, Topaz Video Upscale, Bria Video Increase Resolution, Real ESRGAN Video, and more. You can run your footage through multiple models, compare outputs, and pick the result that works best for each specific clip.
Start with a clip you've written off as unusable. Run it through Crystal Video Upscaler at default settings and see what comes back. The results are often significantly better than the original without any manual intervention.
If you shoot regularly, set up a simple workflow: original footage in, AI-processed version out, then color grade and deliver. That's the workflow professional aerial videographers are using right now, not because they can't fly better, but because it's more efficient to sharpen in post than to chase perfection in the air.


