You filmed the perfect shot. The light was right, the moment was real, and then you got home and noticed it: a plastic bin in the corner, a stranger walking through the background, a road sign blocking the skyline. That footage is not ruined. AI can erase it, frame by frame, in minutes.
Video object removal used to mean expensive software with a steep learning curve or simply accepting that the shot was not good enough. That changed when AI-powered inpainting hit video. Now anyone with a browser and a clip can clean up their footage without touching a single mask by hand. This is what you need to know about how it works, which tools actually do it well, and how to get clean results on your first try.
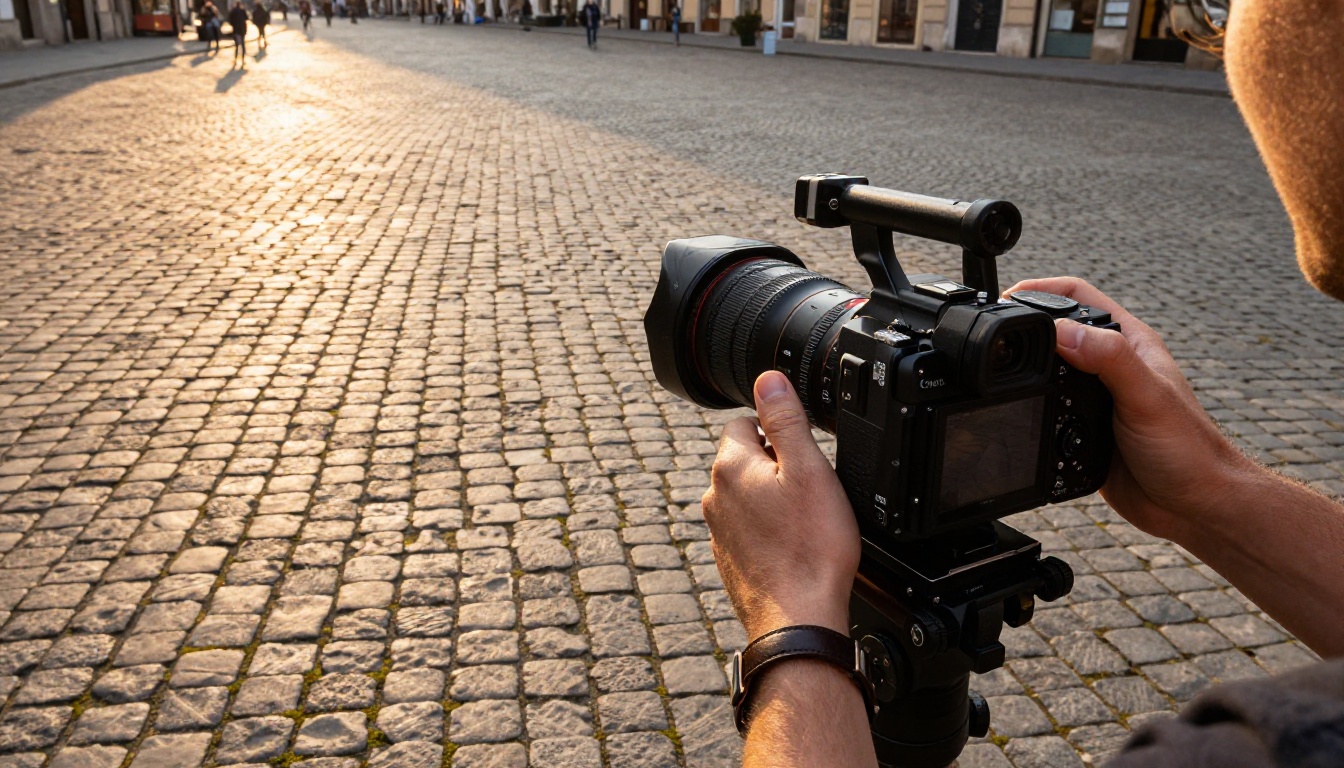
The most common culprits
Every videographer, creator, and filmmaker has a mental list of things that ruin otherwise good footage. Here are the ones that come up most often:
- Trash cans and bins near scenic locations
- Strangers and bystanders who walk into frame unexpectedly
- Equipment shadows from lights, rigs, or reflectors
- Vehicles and signage obstructing architectural backgrounds
- Power lines and cables cutting through natural sky shots
- Watermarks and logos from stock footage B-roll
- Personal items such as bags, phones, and water bottles accidentally left in shot
These are not editing mistakes. They are the reality of shooting in the real world where you cannot always control every element of the frame.
When re-shooting is not an option
Sometimes you can go back. Most of the time, you cannot. The location was a one-time event. The lighting conditions were perfect for exactly those 20 minutes. The subject flew in from another country. The wedding ceremony will not repeat itself.
That is the moment AI object removal stops being a convenience and becomes a necessity.
💡 Pro tip: Even if re-shooting seems possible, calculate the real cost: travel, talent time, rental fees, and weather dependency. AI removal is often 100x faster and cheaper than returning to any location.

What AI Video Object Removal Actually Does
How video inpainting works
When you tell an AI to remove an object from an image, the model fills the masked region using patterns from surrounding pixels. It is called video inpainting, and it has been well-established in photo editing for years. Video is significantly harder.
A video is not just one image. It is 24 to 60 images per second, and each one needs to be consistent with the one before it. Remove a park bench from frame 1, and the AI needs to fill that space with the same grass texture, same lighting angle, and same ambient motion in frame 2, frame 300, and frame 1,200. If it does not, you get flickering, smearing, or that telltale artifact look that immediately signals heavy-handed editing.
| Challenge | What it means in practice |
|---|
| Temporal consistency | Background fill must stay stable across every frame |
| Motion handling | Objects like people and cars move, requiring dynamic masking |
| Lighting changes | Shadows and highlights shift as the scene evolves |
| Background reconstruction | The model must plausibly recreate what was behind the object |
Temporal consistency: the hard part
This is the metric that separates weak AI removal tools from strong ones. A model that handles a single frame well but produces flickering across a 10-second clip is essentially unusable for professional output.
Modern video inpainting models, including the ones available on PicassoIA, are trained specifically on temporal coherence. They treat the video as a sequence rather than a stack of independent images, propagating fill information across time rather than recalculating each frame from scratch. The result is removal that holds across the full duration of the clip with no flicker, no ghosting, and no uncanny smear where the object used to be.
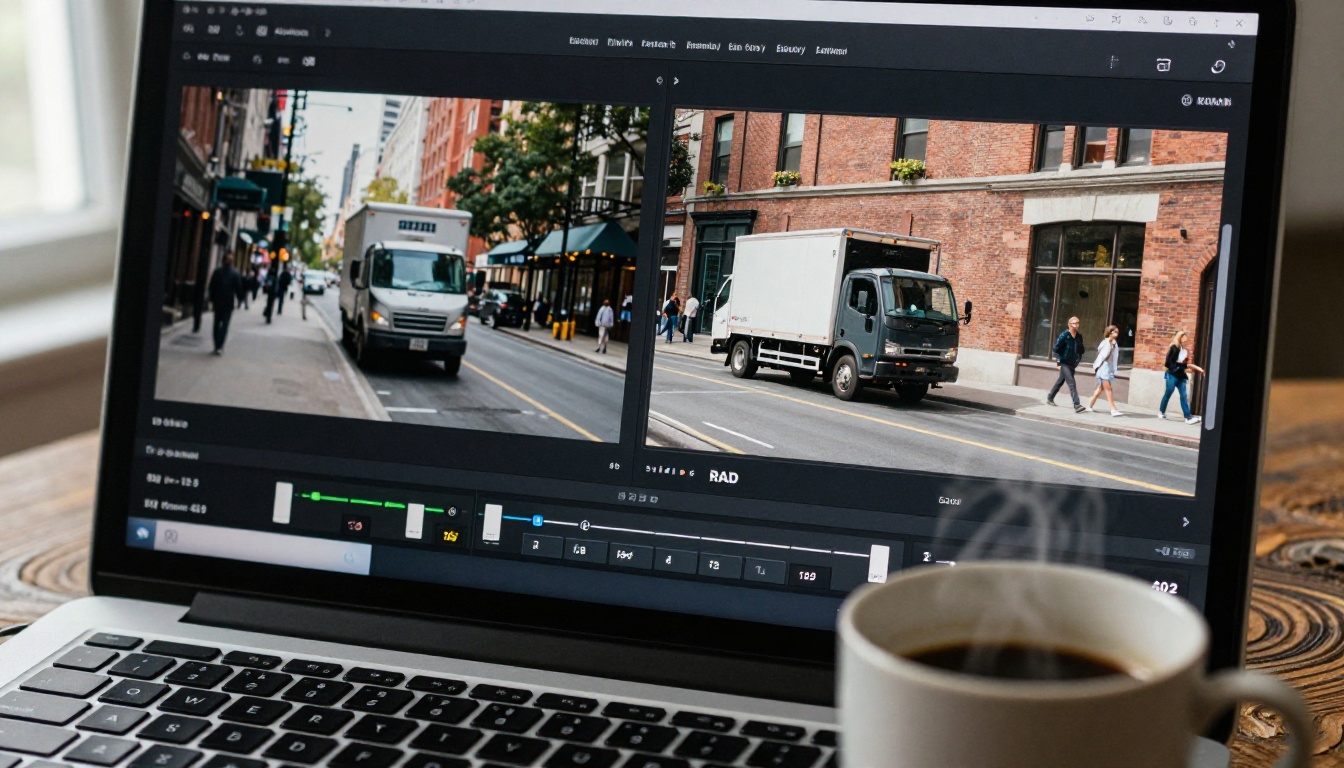
Bria Video Erase Object
The standout model for this specific task on PicassoIA is Video Erase Object by Bria. It is built specifically for removing defined objects from video while reconstructing the background automatically, maintaining temporal stability across the full clip.
What makes it different from general video editing models is the precision of its masking and the quality of its fill. You define what needs to go, and the model handles everything else: fill texture, motion, lighting continuity, and frame-to-frame consistency.
What it handles exceptionally well:
- Static objects in mostly static backgrounds such as signs, furniture, and bins
- People walking through the edge of frame
- Fixed-position props that were not supposed to be in the shot
- Brand logos or watermarks overlaid on footage
- Equipment and gear accidentally visible in production shoots
Other models that complement it
Sometimes object removal is just the first step. After cleaning the frame, you may need to take additional actions. Here is what is available:
- Upscale the output for delivery at higher resolution: Video Increase Resolution handles 8K upscaling
- Remove the entire background for overlay or compositing work: Video Remove Background does this without a green screen
- Restyle or recut the clip if the object removal changes the visual tone: Gen 4 Aleph by Runway lets you restyle footage with text prompts
- Make targeted text-based edits to specific sections: Lucy Edit 2 and Wan 2.7 Videoedit handle instruction-based video modifications

How to Use Video Erase Object on PicassoIA
PicassoIA gives you direct browser access to Video Erase Object with no software to install and no setup beyond signing in. Here is the full workflow from raw clip to clean output.
Step 1: Prepare your clip
Before uploading, trim your video to the section that contains the object you want removed. Shorter clips process faster, and you avoid spending processing time on footage that does not need work. Use Trim Video on PicassoIA if you need to cut it down first.
Best practices for your source clip:
- MP4 format preferred for broadest compatibility
- Resolution at 1080p or below for fastest processing
- Clip length under 30 seconds for the cleanest results
- Steady camera movement is significantly easier to process than rapid handheld motion
Step 2: Upload and define the mask
Once you are on the Video Erase Object model page, upload your clip. The interface will prompt you to define the region or object to remove. Be as precise as possible when drawing your mask. A tight mask around the exact object gives the model more clean background data to work with, producing better fill results.
💡 Tip: If the object moves across the frame, trace its full path rather than a single position. The model is designed for moving subjects, not just static placements.
Step 3: Run the model and review
Processing time depends on clip length and resolution. Most short clips under 15 seconds at 1080p return results within a couple of minutes. When reviewing your output, check these specific things:
- Frame edges of the removed area: Look for any remaining artifacts or ghosting at the boundary
- Temporal stability: Scrub through the clip manually and watch the fill area for flickering between frames
- Background plausibility: Does the reconstructed area look like it naturally belongs in the scene
Step 4: Post-process if needed
If the result needs refinement or the clip would benefit from higher resolution output, run it through Video Increase Resolution to upscale while sharpening the reconstruction details. For section-level edits to the output, LTX 2 Retake lets you target and re-render specific segments.

Real Use Cases
Travel and lifestyle creators
Travel footage almost always has unwanted elements: tourist crowds at famous landmarks, vendor carts in scenic alleys, other photographers in the background of a dramatic vista shot. AI object removal lets travel creators present locations the way they actually felt, not the way the 200 other visitors made them look.
Removing crowds from temple footage, clearing beaches of other swimmers, or erasing signage from a perfect street scene takes seconds. The temporal inpainting in Video Erase Object handles the background even when people are moving, so crowd removal works even on footage with complex motion in the erased region.
Wedding and event videographers
Wedding videographers face a specific problem that is hard to solve any other way: the equipment that made the shot possible often appears in the shot. Light stands near the altar, assistant photographers visible in the aisle, mic cables running across the floor.
Clients do not want to see the production behind the production. They want the memory, clean and perfect. AI removal handles every frame automatically, which means a videographer can fix an entire ceremony sequence without spending hours on manual rotoscoping.
Social media and short-form content
For creators posting to Instagram Reels, TikTok, or YouTube Shorts, background distractions hurt watch retention. Viewers notice things that do not belong in the frame, even subconsciously. A clean background keeps attention on the subject.
💡 Use case: Brand partnerships often require that no competing logos or products appear in the background. AI erasure solves that compliance problem without a reshoot.
Real estate video tours
Property video is one of the highest-ROI applications for AI object removal. A real estate walk-through with the owner's personal items visible, a camera tripod reflected in a mirror, or a car blocking the driveway shot all reduce the perceived quality of the listing. Removing objects from property footage before it goes to market is now a standard workflow item for agents who want their listings to stand out.

Before You Hit Upload
What it handles well
AI video object removal performs best under specific conditions. Knowing these helps you set accurate expectations and get better results on your first attempt:
- Objects with clearly defined edges such as solid shapes and hard objects
- Objects against relatively uniform backgrounds like sky, grass, water, or plain walls
- Objects that occupy less than 30-40% of the frame giving the model enough background reference
- Stable or slowly moving camera shots where background context is consistent
- Shorter clips under 60 seconds where temporal coherence is easier to maintain throughout
What still trips it up
No AI tool gets every scenario right. These are the conditions where you may need to re-run with an adjusted mask or accept some light manual cleanup:
- Objects that fill most of the frame: The model has very little reference data for what the background looks like
- Highly complex backgrounds with dense crowds, intricate patterns, or rapidly changing lighting
- Very fast camera movement such as whip pans or extreme handheld shake
- Semi-transparent objects like glass, shadows, or fabric blowing across the background
| Scenario | Expected quality | Recommendation |
|---|
| Static sign on a plain wall | Excellent | Run as-is |
| One person walking through edge of frame | Very good | Tight mask on person |
| Car in foreground with busy street behind | Good | May need light post-cleanup |
| Dense crowd removal | Moderate | Clip into shorter segments |
| Fast handheld with multiple moving objects | Variable | Stabilize footage before processing |
Object removal rarely happens in isolation. Here is how to build a full cleanup workflow using what is available on PicassoIA:
Before removal:
- Trim Video to isolate the section that needs work
- Video Split to break long clips into processable segments
The removal step:
After removal:
💡 Workflow tip: Process clips in 10-15 second segments when dealing with complex removal tasks. Reassemble afterward with Video Merge. Shorter segments give the model cleaner context per run and consistently produce better temporal stability.

The Quality Gap Is Real
It is worth addressing directly: AI video object removal has a wide quality range. A basic fill model trained on limited data will produce noticeable artifacts. A model trained specifically for temporal video inpainting, like Video Erase Object, produces results that hold up to scrutiny.
The difference shows most clearly on:
- Organic textures such as grass, water, skin, and fabric, where inconsistent fill is immediately obvious to the human eye
- Repetitive patterns like tiles, brickwork, and fence lines where any discontinuity in the pattern looks wrong
- Light and shadow transitions that need to remain consistent as the camera or subject moves across the scene
When choosing a tool, test it on a short clip before committing an entire project. Good tools handle these edge cases with precision. Weaker ones fall apart on them.
Why temporal stability matters more than single-frame quality
A tool can produce a perfect reconstruction on a single still frame and completely fail on video. Temporal stability means the filled region does not flicker, shift color, or change texture between frames. This is the single most important quality metric for video object removal. It is the difference between results that look professional and results that look like processing artifacts.
Video Erase Object is designed around this requirement, treating the clip as a unified temporal sequence rather than a batch of independent frames.

The best way to see what AI object removal actually delivers is to run it on something real. Take a clip that has been sitting in your archive because of a distracting background element, one you had meant to fix or had written off entirely.
Upload it to Video Erase Object on PicassoIA, define your mask, and see the output. For most standard removal tasks, the first run gets you to a publishable result. For more complex scenarios, the full workflow above gets you the rest of the way there.
The technology that once required a compositor, a professional software license, and hours of frame-by-frame manual work now runs in a browser in minutes. There is no reason to leave salvageable footage behind when one tool and a well-drawn mask can fix it.


