You have a flat, black and white floor plan: walls, door arcs, a few measurements. What you actually want to see is the room. Where the light lands, how big the sofa feels, whether the kitchen island leaves enough space to walk around it. Floor plan to 3D AI free tools promise exactly that, and some of them deliver, but only if you know what each one really produces.
Here is the short version. AI can turn a 2D plan into a believable 3D style render in a couple of minutes. It can also turn a photo or a prompt into a true 3D mesh of a chair, a lamp or a table. What it cannot do reliably is output a measured, buildable 3D model of a whole apartment from a single plan image. This article shows where that line sits, which models on Picasso IA fit each side of it, and how to write prompts that keep your walls where the plan says they are.
You get a preparation checklist, a tool comparison, two step by step tutorials and a list of the mistakes that ruin most first attempts.
What Floor Plan to 3D Really Means
Type "floor plan to 3D" into a search bar and you land on three very different things. They share a name but not an output, and mixing them up is the fastest way to waste an afternoon.
A Render Is Not a Model
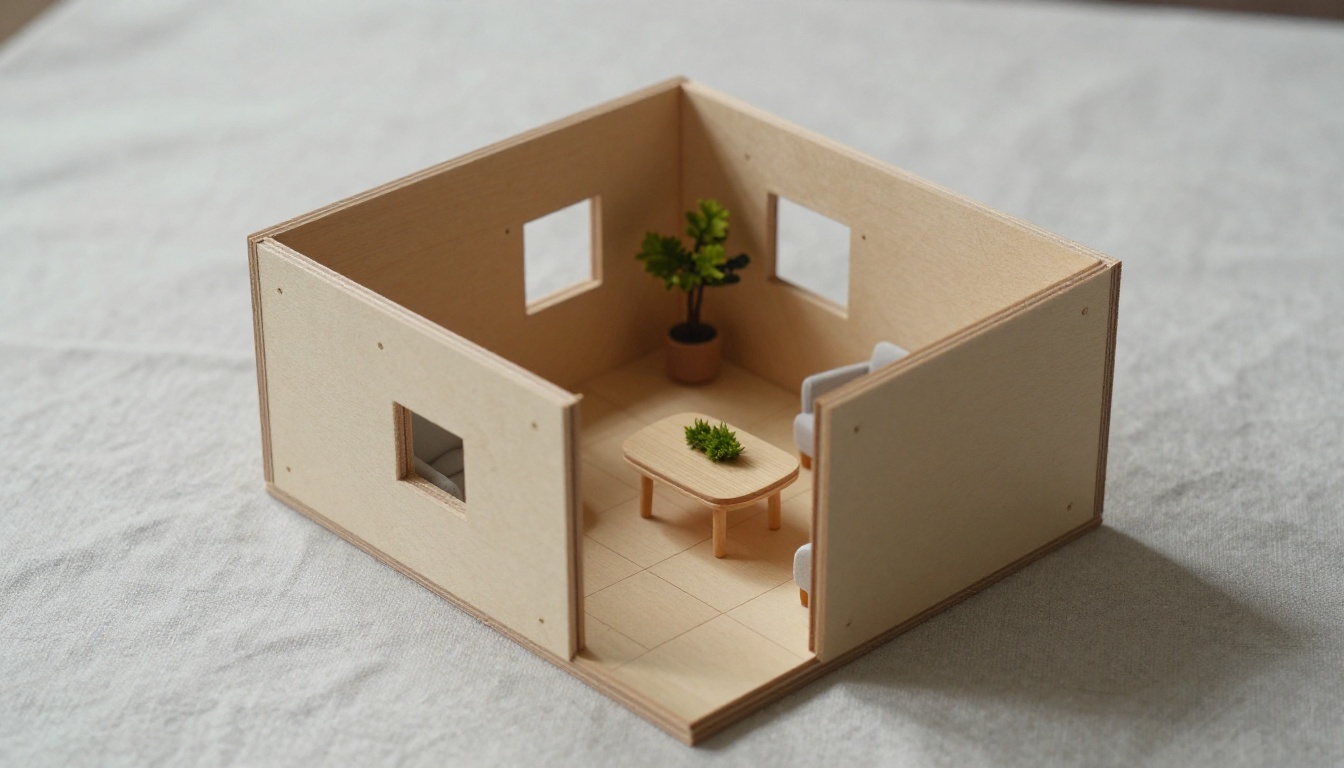
A render is a picture. You give the AI your plan, describe a room, and it returns an image of that room from one camera position. A 3D mesh is an object you can spin around: a sofa, a vase, a floor lamp. A CAD or BIM model is a measured digital building with walls, openings and floor heights, the kind an architect needs for permits and construction.
| Output | What you get | Works well for | Falls short for |
|---|
| Rendered image | A picture of a room from one angle | Client previews, listings, mood checks | Measuring, editing walls, walking through |
| 3D mesh (GLB, OBJ) | A rotatable model of one object | Furniture, props, product pieces, web viewers | Whole buildings with true dimensions |
| CAD or BIM model | Measured walls, floors and openings | Permits, construction, material takeoffs | Fast, free concepts |
Free AI lives in the first two rows. That is not a weakness, it is a different job. A render tells you in minutes whether a layout feels right. A CAD model tells you, after days of work, whether it can be built. Use the cheap answer first, and spend the expensive hours only on the layout you already like.
Who Gets the Most Value

- Homeowners planning a remodel who want to see a new kitchen layout before calling a contractor.
- Real estate agents selling off plan or empty units, where buyers cannot picture the space.
- Interior designers who need a quick mood image to confirm a direction with a client.
- Game and film artists who need furniture meshes to block out a set.
- Students and hobbyists who draw plans and want to see them lived in.
Each group needs a different mix of renders and meshes, which is why the next sections split the tools by output.
Prepare Your Floor Plan First
AI models read pixels, not intent. A cluttered scan with coffee stains and tiny dimension text gives the model nothing solid to hold onto, so it invents. A clean plan gives it fewer chances to improvise. Ten minutes of prep removes most of the "why is there a window there" problems.
Clean the Plan Image
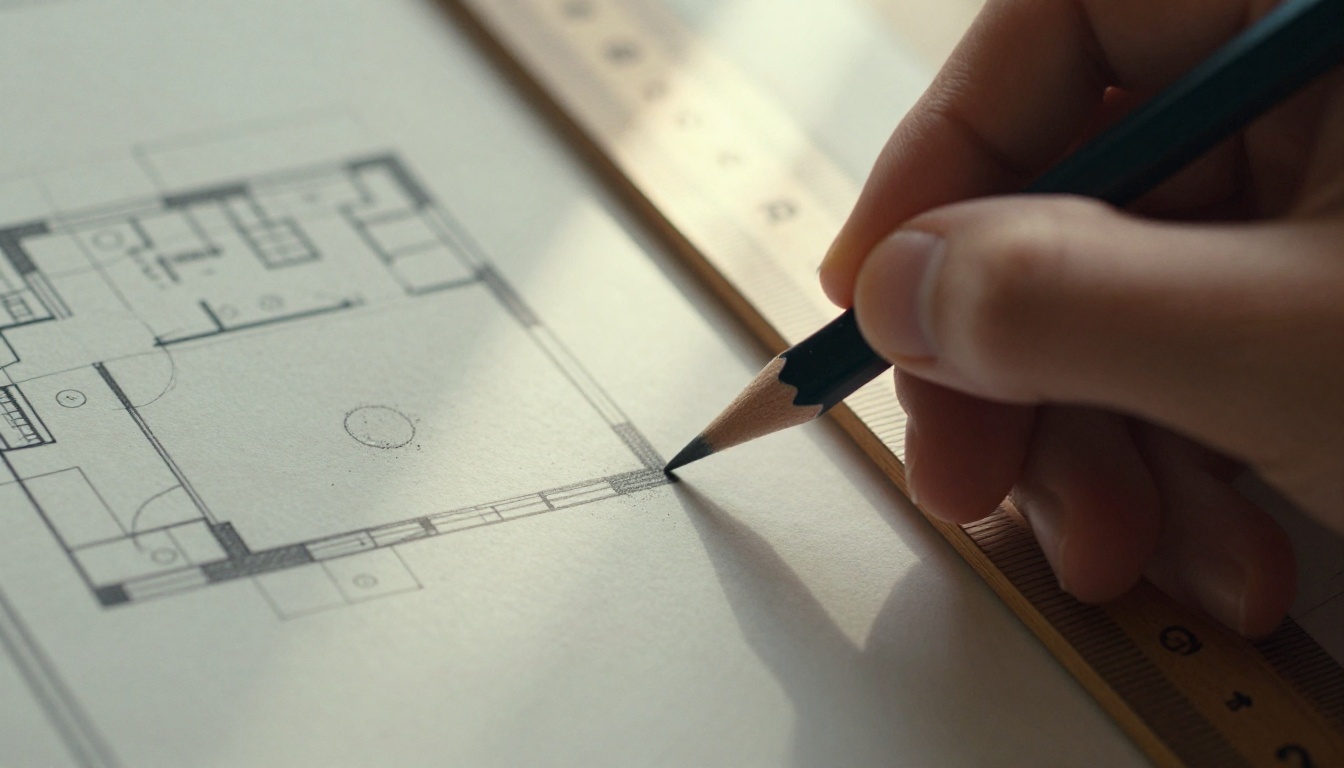
- Crop to one floor. One level per image. Multi story plans blur room boundaries.
- Raise the contrast. Dark lines on a white background. Straighten photos of plans that were taken at an angle.
- Remove clutter. Delete watermarks, title blocks and dense dimension strings. Tiny text turns into garbled shapes.
- Keep the file reasonable. JPG, PNG or WebP under 6 MB and 5000 px per side is accepted by the models below.
- Upscale blurry plans. If your plan is a low resolution screenshot, run it through Clarity Pro Upscaler at 2x or 4x first. Keep its creativity slider at zero or below so the lines stay faithful, because positive values let the model invent detail.
💡 Tip: Trace faded walls over the scan with a dark pen or a simple drawing app. Two minutes of tracing is cheaper than five failed generations.
Write the Room Facts Down
The plan shows geometry. It does not show taste. Before you open any model, write a short fact sheet for every room you plan to render:
- Room name and rough size, for example "living room, 5 by 4 meters".
- Window and door positions, described by wall: "window on the left wall, door at the bottom right".
- Ceiling height, even if it is approximate.
- Style and materials: oak floor, white plaster walls, linen sofa.
- Time of day and light: morning light from the window side.
Numbers and wall positions beat adjectives. "Spacious modern living room" gives the model permission to improvise. "Window on the left wall, sofa facing it, 5 by 4 meters" gives it constraints.
The Nano Banana Pro, Hunyuan 3D 3.1 and Rodin pages describe those models as free to use online. Limits can change, so check the model page before you queue a big batch.
Image Models for Room Renders
These accept your plan as a reference image next to a text prompt:
- Nano Banana Pro takes up to 14 reference images, renders at 1K, 2K or 4K and offers 11 aspect ratios including 16:9 and 21:9. It is the best first pick because you can attach the plan plus a style photo.
- GPT Image 2 follows long, detailed prompts closely and renders legible text, so a label such as "Kitchen" can survive inside the image. It accepts input images, has low, medium and high quality settings, and can produce up to 10 variations per run.
- Qwen Image Edit Plus is built around edits: upload one or more images and describe the change. It supports ControlNet constraints such as depth or edge layouts, and the example runs listed on its page finished in roughly 4 to 16 seconds.
3D Mesh Models for Furniture
These make objects, not buildings:
- Hunyuan 3D 3.1 turns one photo or one text description into a textured 3D model, with optional PBR materials and an adjustable face count. The example run on its page took about 145 seconds.
- Rodin accepts up to five reference photos of one object and exports GLB, FBX, OBJ, USDZ or STL, with quality tiers from extra low to high.
| Model | Input | Output | Best for |
|---|
| Nano Banana Pro | Plan plus prompt, up to 14 references | Image up to 4K | First room renders |
| GPT Image 2 | Plan plus long prompt | Image, up to 10 per run | Detailed prompts and labels |
| Qwen Image Edit Plus | One or more images plus an edit instruction | Edited image | Changing finishes on an existing render |
| Hunyuan 3D 3.1 | One photo or a text prompt | Textured 3D model | Furniture and props |
| Rodin | Up to five photos or a text prompt | GLB, FBX, OBJ, USDZ, STL | Multi angle objects, printing |
This tutorial takes one room of your plan and produces a photorealistic interior image. Repeat it room by room.
Upload the Plan as Reference
- Open the Nano Banana Pro page on Picasso IA.
- Add your cleaned floor plan to the image input field. Add a second reference if you have one, such as a photo of the existing room or a mood image with the materials you like.
- Change the aspect ratio from the default "match input image" to 16:9. If you leave the default, the output copies the shape of your plan instead of a room view.
Write a Room Prompt
Start with an instruction to respect the plan, then describe the finished room. A working example:
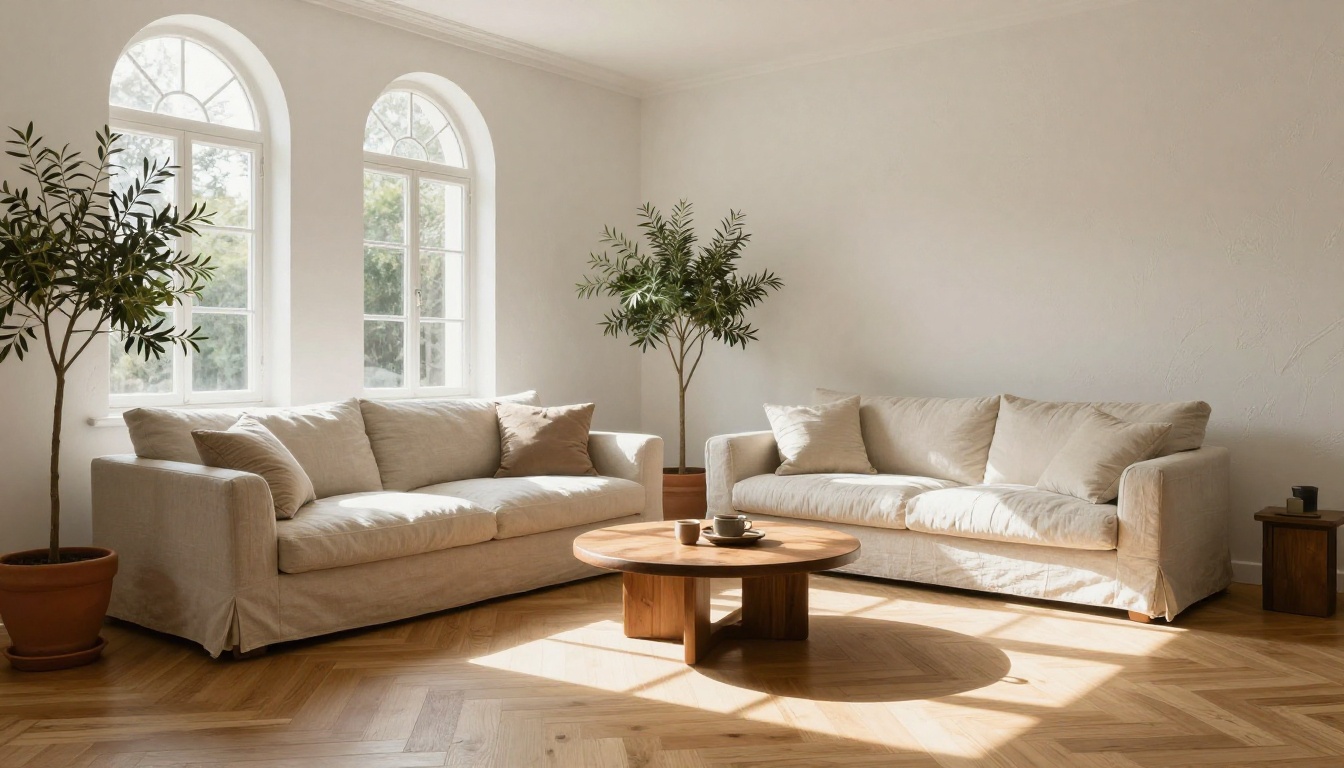
Photorealistic interior photograph of the living room in the floor plan reference. Keep the wall positions, the window on the left wall and the door at the bottom right exactly as drawn. Oak herringbone floor, white plaster walls, linen sofa facing the window, round walnut coffee table. Morning light from the left window, 24mm lens, eye level, natural color, fine film grain.
Three habits make prompts like this behave:
- One room per prompt. Asking for the whole apartment in one image splits the attention of the model.
- Name the wall for every opening. "Window on the left wall" is a rule. "A bright room" is a suggestion.
- State camera height and lens. Eye level at 24mm gives a natural room view instead of a stretched one.
Set Resolution and Ratio
| Setting | Draft run | Final run |
|---|
| Resolution | 1K | 2K or 4K |
| Aspect ratio | 16:9 | 16:9 |
| Output format | JPG | PNG |
The default resolution is 2K. Run drafts at 1K to test the layout fast, then go higher only for the version you present. After every run, hold the result next to the plan and check three things: wall positions, window count, door position. If something moved, fix the prompt and run again. Save the prompt that worked and reuse it for the next room, changing only the room specific lines.
Prefer another model? GPT Image 2 takes the plan in its input images field, and Qwen Image Edit Plus takes it in the image field with the prompt written as an edit instruction. Results vary by plan, so run two or three versions and keep the one that respects your layout best.
A render shows a room once. A mesh lets you rotate a piece, check its proportions and drop it into 3D software or a web viewer. That is the part of floor plan to 3D that these models handle well: the objects inside the plan.
Pick Text or Image Input
- Open the Hunyuan 3D 3.1 page.
- Choose either a text prompt (up to 1024 characters) or an image. The model takes one, not both.
- For an image, use a single object on a simple background, no text, filling more than half the frame. JPG, PNG or WebP, 128 to 5000 px per side, up to 6 MB.
- Set generate type to Normal for a textured model, or Geometry for a plain white mesh you can texture yourself.
- Turn on PBR if you plan to light the model in a render engine.
- Lower the face count from the 500,000 default for web viewers. Keep it high for close ups or printing.
- Download the file and open it in your 3D software or viewer.
A text prompt that works well: "A low oak coffee table with rounded corners and tapered legs, matte finish, centered on a plain background."
Have photos of one object from several sides? Rodin accepts up to five and exports STL, which is handy if you want to print a miniature piece for a physical scale model like the one at the top of this article.
💡 Tip: Build the room from separate pieces. Generate the sofa, the table and the lamp one by one, then place them over your plan in your 3D software. That is slower than a single prompt, but it keeps the dimensions in your hands.
Make Every Room Look Real
"Beautiful modern room" produces stock photo mush. Photography words produce photographs. Two things matter most: the surfaces and the light.
Materials Decide Realism
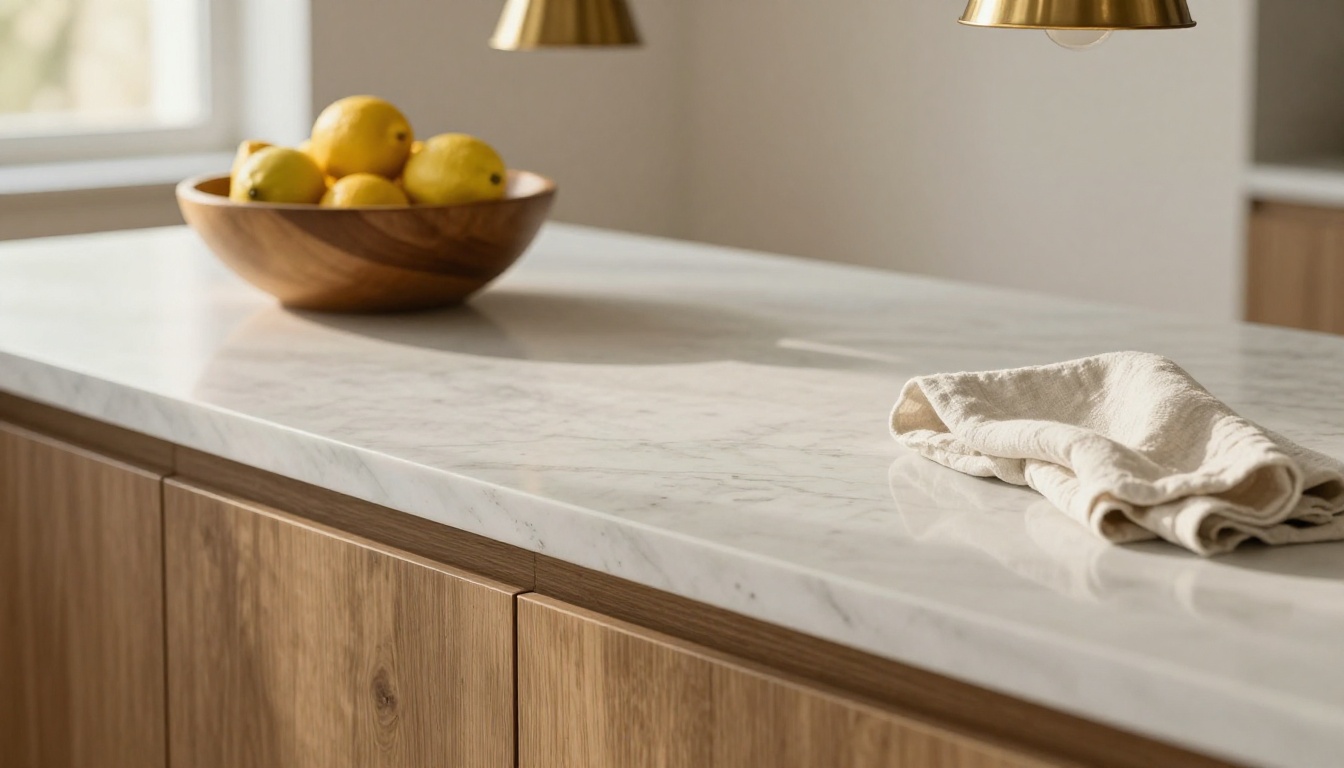
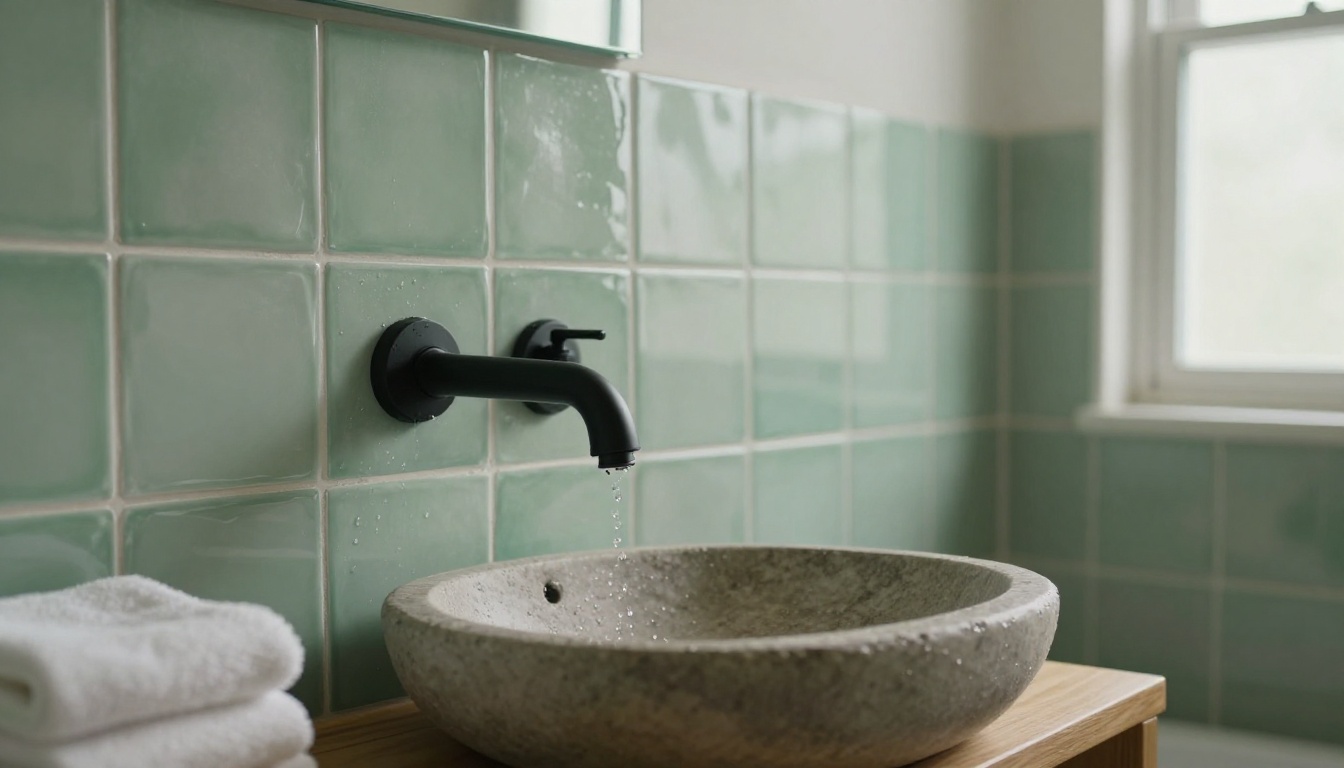
Name the surface and its finish: "honed white marble with fine veining", "handmade zellige tile with uneven gloss", "oak herringbone with a satin finish". Every material word hands the model a texture to reproduce. Add one small imperfection per room, such as a wrinkle in the linen, a drop of water on a basin edge or a slightly uneven glaze. Perfect surfaces read as fake.
Light Direction Sets the Mood
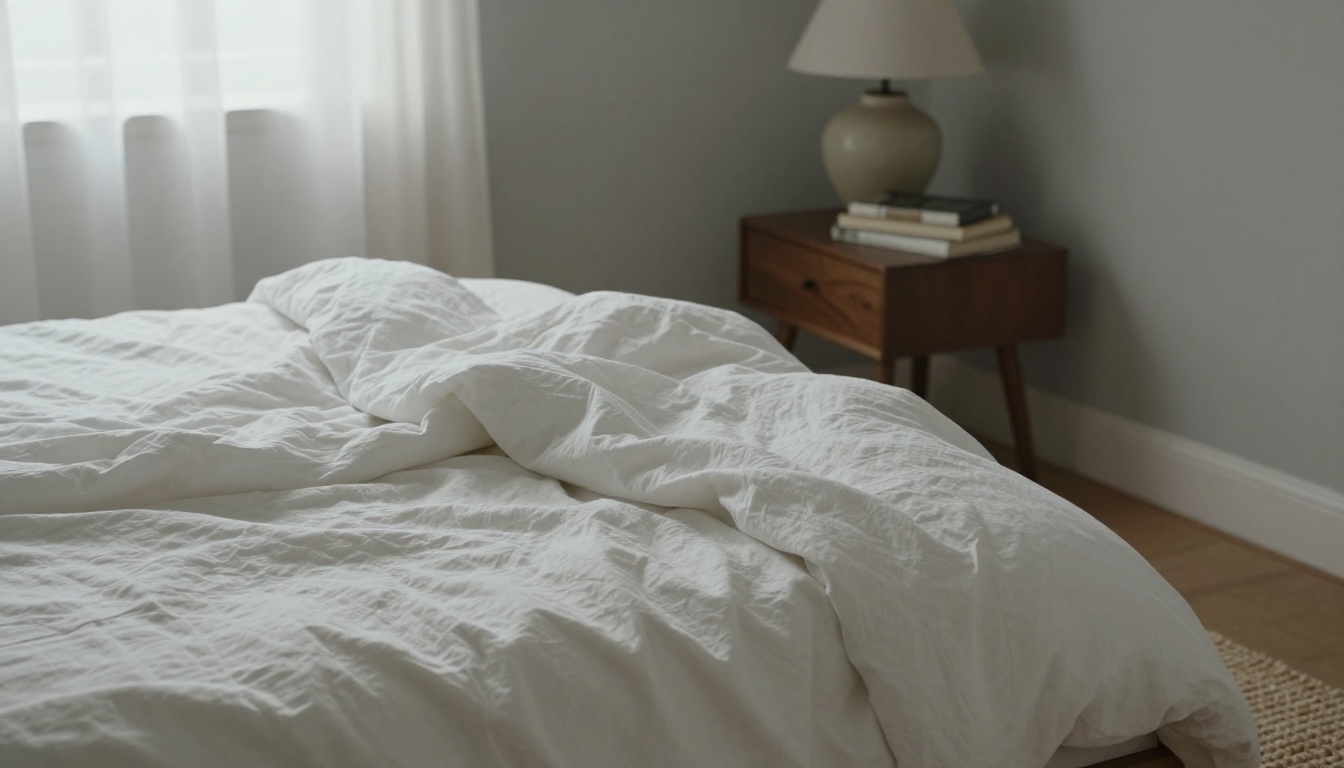
Light should match the windows on your plan. If the window sits on the left wall, say the light comes from the left. Otherwise the model places a sun wherever it likes and your room stops matching the drawing.
| Prompt phrase | What it does |
|---|
| Morning light from the left window | Cool, soft light with long gentle shadows |
| Late afternoon golden light | Warm, low light that shows texture on stone and wood |
| Overcast daylight | Even, quiet light that hides harsh shadows |
| Twilight with warm lamps on | Blue outside, amber inside, strong contrast |
Camera choices matter too:
- 24mm at eye height for whole room views.
- 50mm for kitchens, islands and furniture groups.
- 85mm for tight shots of tile, fabric or hardware.
- Avoid ultra wide lenses in small rooms. They stretch the walls apart and make the layout look bigger than your plan says it is.
Mistakes That Break the Result
Almost every disappointing result comes from the same short list. Check it before you blame the model.
Walls That Move
Image models redraw, they do not trace. A wall can shift, a window can double, a door can swing the wrong way. Restate the opening positions in the prompt, render one room at a time, and compare the output against the plan by counting windows and doors. Two seconds of counting catches most drift.
Furniture That Floats
Without sizes, a sofa can end up the size of a bed, or hover above the floor. Give dimensions ("sofa 2.2 meters long"), name the floor material first, and ask for furniture resting on the floor with soft contact shadows.
| Problem | Likely cause | Fix |
|---|
| Extra window or door | Prompt silent on openings | Name every opening by wall |
| Room looks larger than the plan | Ultra wide lens | Use 24mm to 35mm |
| Garbled labels | Small text in the plan | Remove the text, or use GPT Image 2 with large labels |
| Plastic, glossy look | No texture words | Add material finishes and film grain |
| Wrong furniture scale | No sizes in the prompt | Add dimensions for the big pieces |
💡 Tip: Treat every render as a concept image. Never use one for permits, structural decisions or ordering materials. Measurements come from your plan or from an architect.
Try Your Own Plan Today
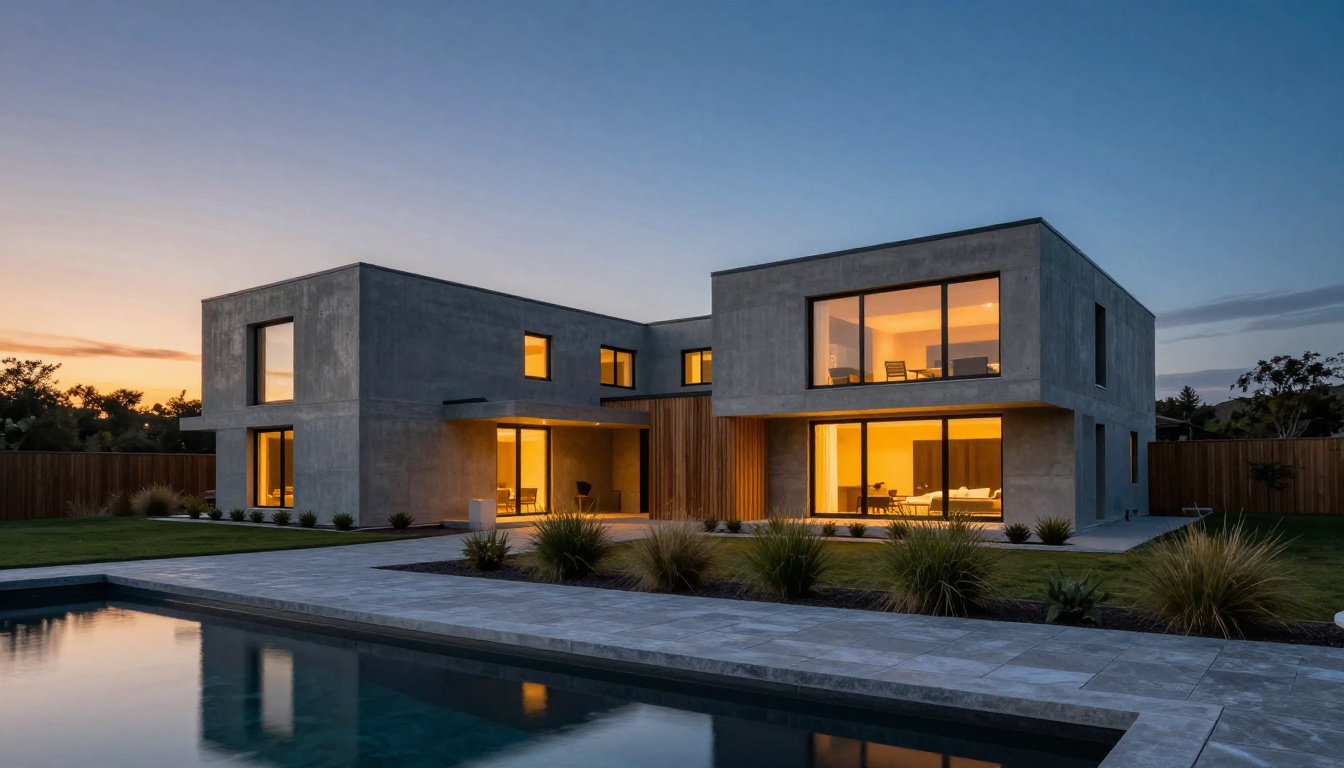
You do not need a 3D course or a CAD license to see your plan lived in. Pick the room you care about most, clean the plan, write the fact sheet and run it through Nano Banana Pro at 1K. If the walls hold, raise the resolution. Then take one piece of furniture, a photo or a sentence is enough, and turn it into a mesh with Hunyuan 3D 3.1.
Experiment freely. Swap the floor from oak to concrete, move the light from morning to dusk, try the same plan in GPT Image 2 and compare. Each run takes minutes, and every version teaches you something about your own space before a single wall is built.
Ready to start? Open Picasso IA, upload your floor plan and generate your first room today. Browse every model, from image tools to 3D, on the Picasso IA all models page.


