Flux arrived in mid-2024 and immediately changed what people expected from AI image generation. Where earlier models produced recognizable "AI looks" (oversmoothed skin, soft focus on details, strange compositional choices), Flux outputs images that consistently pass visual inspection. That is not a minor upgrade. It is a structural shift in what text-to-image AI can produce.
This is a practical breakdown of what Flux is, what each variant does, and how to use it effectively whether you are a designer, content creator, or just someone who wants high-quality images from text.
What Flux Actually Is
Flux is a family of text-to-image diffusion models developed by Black Forest Labs, the team founded by former Stability AI researchers including Robin Rombach, the lead architect behind Stable Diffusion. That pedigree matters. The people who built the dominant open-source image model of 2022-2023 regrouped and applied everything they learned to a new architecture.
From Black Forest Labs
The foundational technical shift in Flux is the move from a pure U-Net diffusion backbone to a hybrid transformer architecture using rectified flow. Without going deep into theory: rectified flow takes a more direct path from noise to image than traditional diffusion. The result is better efficiency at high step counts and stronger adherence to text prompts.
Flux also uses a dual-stream text encoder, combining OpenAI's CLIP with Google's T5-XXL. Most models before it used CLIP alone. T5-XXL processes longer, more complex text sequences with far better understanding of syntax and relationships between concepts. This is why Flux handles long, detailed prompts so much better than Stable Diffusion XL does.
The Architecture Difference

Flux produces images with distinctly different characteristics than most diffusion models. The two most noticeable:
- Skin and surface texture: Flux renders micro-detail at a level that does not smear or over-sharpen. Pores, fabric weave, and hair strands look photographically real.
- Text rendering: Flux was trained with a strong emphasis on generating readable text in images. Earlier models (including SDXL) almost always produced illegible or distorted text. Flux handles short words and numbers reliably.
These improvements are not cosmetic. They change what you can actually produce and ship.
The Three Core Variants
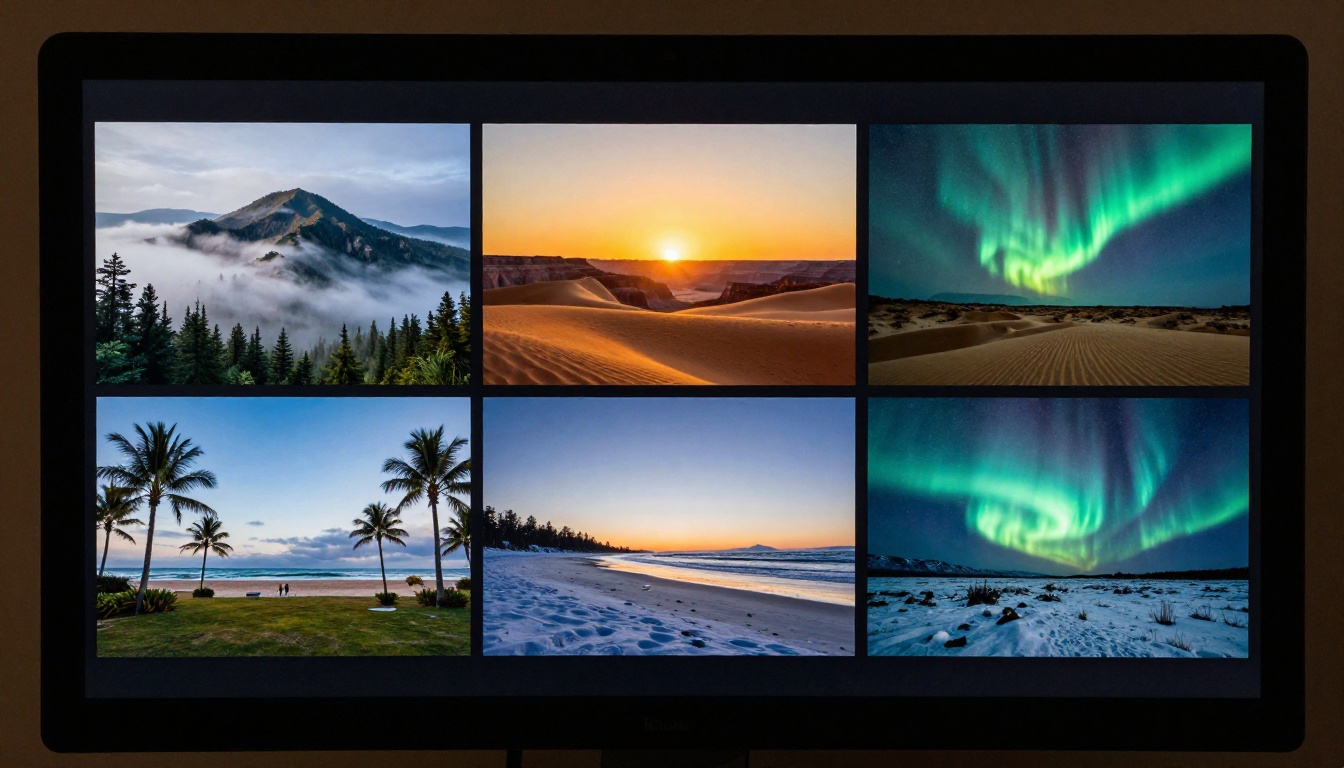
When Flux launched, Black Forest Labs released three variants at different points on the speed-quality spectrum. Understanding which one fits your use case is the first practical decision you will make.
Flux Schnell: Speed for Rapid Testing
Flux Schnell is the fastest variant, designed for real-time use cases and high-throughput pipelines. It generates images in 1-4 inference steps. For comparison, most quality-focused diffusion models need 20-50 steps.
The tradeoff is noticeable but acceptable for many applications. Detail is slightly softer, prompt adherence is slightly looser, and complex compositions are less reliable. For iteration, concept sketching, and applications where you are generating dozens or hundreds of images, Schnell is the right tool.
💡 Use Schnell when: you are prototyping, need rapid variation exploration, or are building an application where inference speed is a product requirement.
Flux Dev: Quality Without Compromise
Flux Dev is the open-weight quality model. It produces outputs that rival commercial services and is licensed for non-commercial use. At 12 billion parameters, it is a large model, but the output quality justifies the compute cost.
Dev excels at:
- Photorealistic portraits with accurate anatomy
- Complex multi-element scenes
- Long, descriptive prompts
- Fine-grained texture and material rendering
For most creative work, Flux Dev is the starting point. If you are testing whether Flux can handle a specific type of image, Dev is the variant to test with.
Flux Pro: The Commercial Standard
Flux Pro is the commercial API version. It runs on Black Forest Labs' infrastructure, includes additional safety tuning, and delivers higher consistency than Dev across varied prompts. The main practical difference from Dev is reliability at scale: Pro produces fewer failures on edge-case prompts and handles stylistic requests more gracefully.
For professional output intended for client work, campaigns, or publication, Pro is the appropriate choice.
Flux 1.1 Pro and 2.0: What Changed
Flux did not stand still after launch. The 1.1 and 2.0 releases added meaningful capabilities, not just incremental quality bumps.
1.1 Pro Ultra: 4MP Native Output

The most significant change in Flux 1.1 was the Pro Ultra tier, which generates images natively at up to 4 megapixels. This is substantially above standard AI generation output, which typically runs at 1-2MP. For print applications, product photography mockups, or large-format digital display, having a native 4MP output eliminates the quality degradation from post-generation upscaling.
Flux 1.1 Pro Ultra also includes a raw mode that produces outputs with a less refined, more photographic feel. Some users find the standard output slightly too clean. Raw mode adds the slight imperfections that make images read as genuinely photographic.
Flux 2 Dev and Pro
The Flux 2 family, including Flux 2 Dev, Flux 2 Pro, and Flux 2 Max, represents a full architectural refresh. Improvements include:
| Area | Flux 1.x | Flux 2.x |
|---|
| Prompt following | Strong | Significantly stronger |
| Human anatomy | Very good | Near-perfect hands and faces |
| Text rendering | Reliable | More reliable on complex text |
| Speed | Baseline | 30-40% faster at same quality |
| Stylistic range | Broad | Broader, more consistent |
Flux 2 Max is the highest-quality tier in the family, suitable for premium commercial output where quality is the only variable that matters.
Specialized Flux Models
Beyond the core generation variants, Black Forest Labs has released a set of specialized Flux models for editing, controlled generation, and in-context manipulation. These change what AI image tools can actually do in production workflows.
Flux Fill: Inpainting Done Right
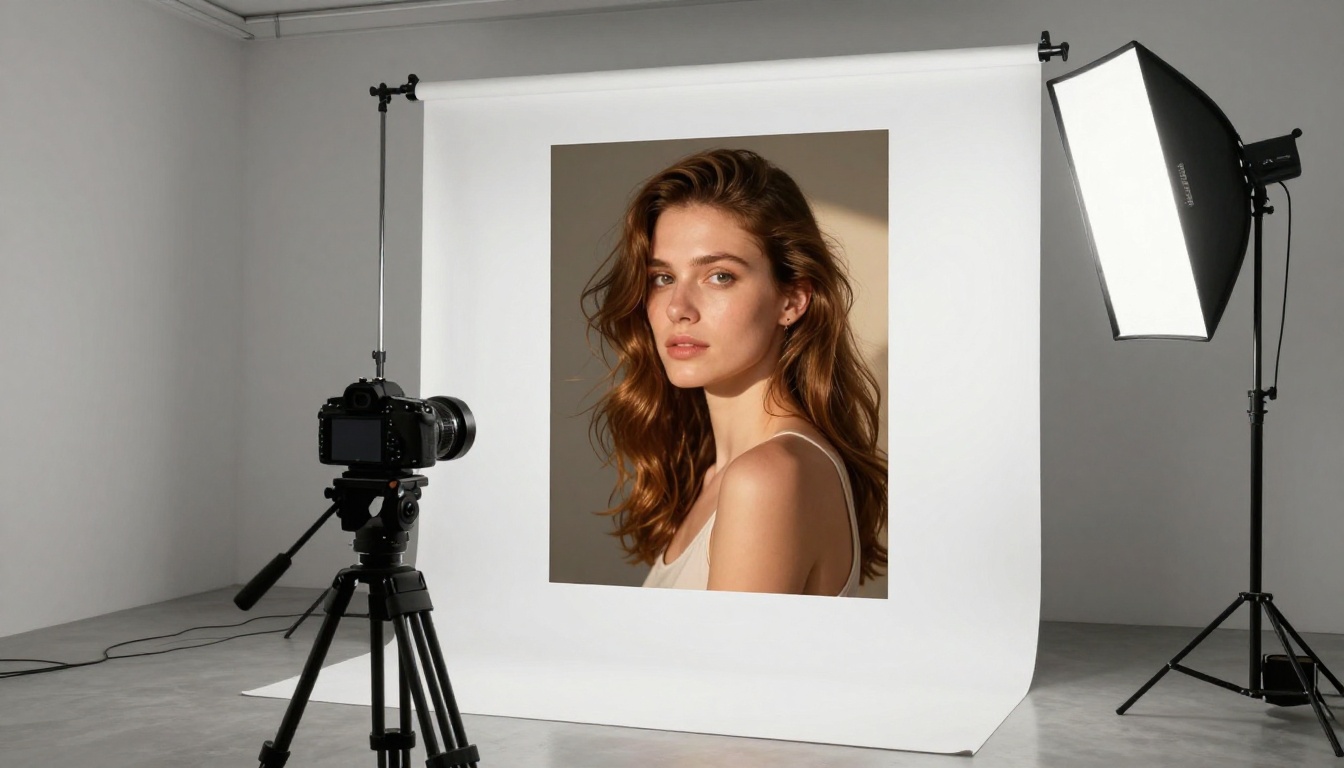
Flux Fill Pro and Flux Fill Dev are inpainting and outpainting models. Inpainting means filling or replacing a masked region of an existing image while maintaining consistency with the surrounding content. Outpainting extends an image beyond its original boundaries.
Earlier inpainting models frequently produced seams, incorrect lighting matching, or stylistic breaks where the filled region did not blend with the original. Flux Fill addresses this directly. The model is trained on the same high-quality data as the base Flux models, and it understands context well enough to produce fills that are difficult to detect.
Practical applications:
- Removing unwanted objects from a scene
- Replacing a background without cutting and compositing
- Extending a composition's canvas for different aspect ratios
- Fixing specific elements in an otherwise perfect image
💡 For outpainting: Flux Fill handles aspect ratio changes well, which makes it practical for adapting a square social image to a 16:9 banner without visible seams.
Flux Canny and Depth: Controlled Output
Flux Canny Pro and Flux Depth Pro are ControlNet-style models. They accept an additional input (edge maps or depth maps) alongside the text prompt, allowing you to constrain the structure of the output.
Canny uses edge detection: the model respects the contours of an input image while applying the requested style or content. Depth uses a depth map to preserve the spatial structure of the scene.
These models matter most when you need to:
- Restyle an existing image while preserving its composition
- Create variations of a product shot with different environments
- Adapt a reference photograph into a different style while keeping the exact pose and framing
- Iterate on a scene's aesthetic without rebuilding the composition from scratch
Flux Kontext: In-Context Editing

Flux Kontext Dev and Flux Kontext Fast represent a different category of model entirely. Kontext performs in-context editing, meaning you supply an image and a text instruction, and the model modifies the image according to the instruction while preserving everything else.
This is fundamentally different from inpainting. You do not draw a mask. You describe what you want changed: move the subject to the left side of the frame, change the jacket from red to navy, remove the car in the background. Kontext interprets the instruction spatially and applies it with a level of scene understanding that earlier instruction-following models could not match.
Flux Kontext Fast optimizes for speed while preserving most of the quality, making it practical for iterative editing workflows where you are testing a series of adjustments.
How to Use Flux on PicassoIA
All Flux variants are available directly on PicassoIA, without requiring API tokens, infrastructure setup, or local hardware. The platform provides a browser interface for each model.
Which Variant to Pick
This is the practical question most people get wrong. The default answer is not always the most powerful variant.
How to Use Flux Dev on PicassoIA
- Navigate to Flux Dev on PicassoIA
- Type your prompt in the input field. Start specific: subject, environment, lighting, camera angle
- Set your aspect ratio. 16:9 for landscape or banner work, 3:4 for portrait and social formats
- Adjust the guidance scale if available. Higher values (7-9) follow the prompt more strictly. Lower values (3-5) give the model more creative freedom
- Generate and review. Flux Dev is reliable but worth a second pass on complex compositions
- If a specific element is wrong, use Flux Fill Dev to correct that region without regenerating the full image
💡 Tip: PicassoIA also offers Flux Fast by prunaai for optimized generation speed with quality very close to the full Dev model, ideal when you need rapid iteration without sacrificing too much detail.
Writing Prompts That Work With Flux
Flux is more prompt-literal than most diffusion models, which is both an advantage and a responsibility. You get what you ask for, so asking well matters.
What Flux Responds To
Flux processes long, descriptive prompts accurately. This is a direct result of the T5-XXL encoder. Where CLIP-only models start losing coherence past 77 tokens (roughly 60 words), Flux can handle several hundred words and maintain prompt integrity across the full description.
Effective prompt components for Flux:
- Subject and action: Who or what is in the scene, doing what
- Environment: Interior or exterior, time of day, weather, specific location details
- Lighting: Direction, quality, color temperature (for example: "volumetric morning light from the left," "overcast diffused fill light")
- Camera and lens: Focal length, aperture for depth of field, sensor characteristics
- Film simulation: Kodak Portra 400, Fuji Pro 400H, Fuji Velvia for distinct color signatures
- Resolution and style: "8K RAW," "photorealistic," "natural grain"
What to Avoid in Prompts
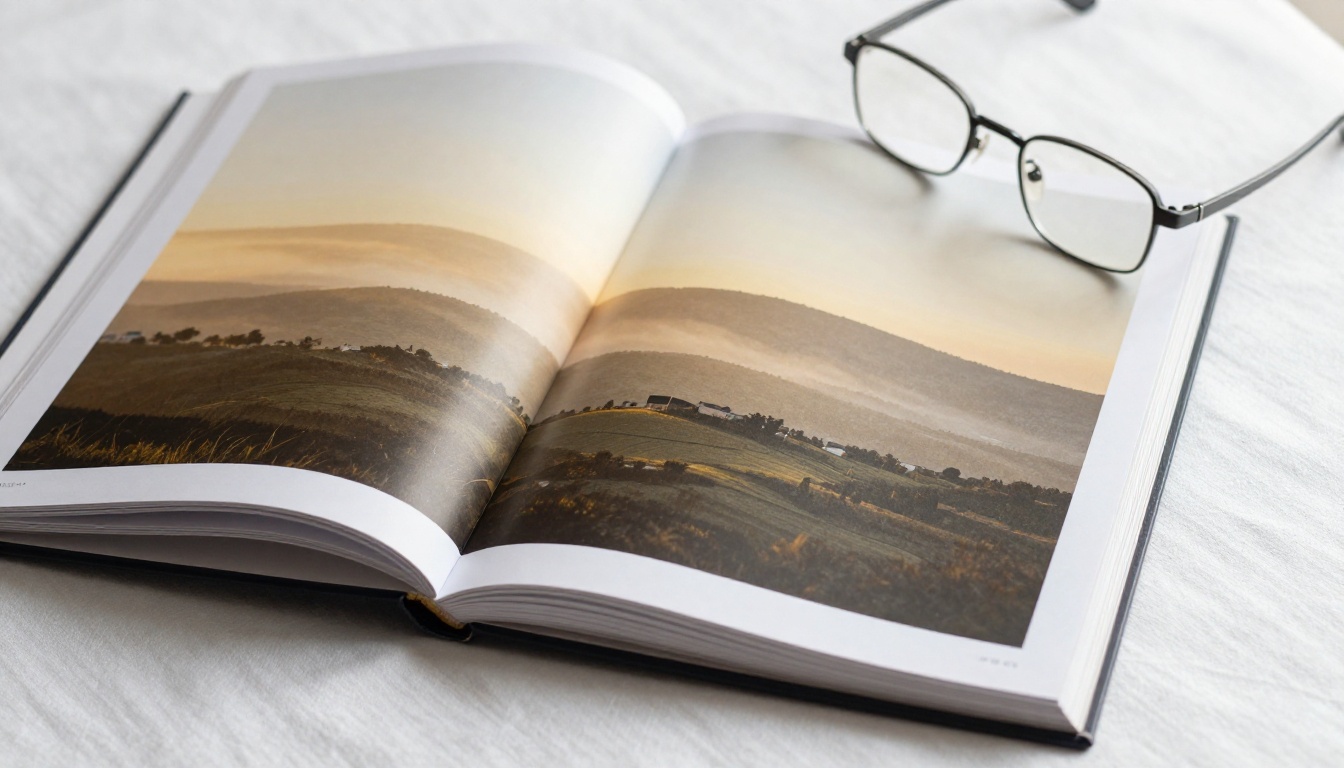
Flux handles negative prompts differently than SDXL-based models. Some practical guidance:
- Avoid telling Flux what not to do unless using a model that explicitly supports negative prompts. It often overinterprets negation.
- Avoid stacking style keywords without specificity. "Beautiful, amazing, stunning, gorgeous" adds nothing. Describe why it should look that way instead.
- Avoid asking for too many distinct subjects in one image. Flux handles complex scenes well, but five separate characters in one frame will produce more inconsistency than two.
Prompt Length and Detail
| Prompt Type | Result |
|---|
| Short (10-15 words) | Loose, interpretive output. Good for abstract exploration. |
| Medium (40-60 words) | Reliable for most subjects. Best balance for general use. |
| Long (100-200 words) | Highly specific output. Best for controlled, professional work. |
| Very long (200+ words) | Maximum control. Diminishing returns past roughly 250 words for most subjects. |
Flux vs. Other Text-to-Image Models
Flux does not exist in isolation. Here is how it sits relative to the main alternatives currently available on PicassoIA:
| Model | Strengths | Best For |
|---|
| Flux Dev | Realism, text rendering, long prompts | General high-quality generation |
| Stable Diffusion 3.5 | Open weights, community ecosystem | Creative and stylized work |
| Hunyuan Image 3 | Detail rendering, facial accuracy | Portrait and fashion photography |
| Flux Schnell | Speed, throughput | Rapid iteration and applications |
| Flux 2 Max | Maximum quality, prompt adherence | Commercial premium output |
The honest summary: for photorealistic output with strong prompt adherence, Flux leads. For stylized, illustrated, or fine-tuned community models, the Stable Diffusion ecosystem still has a wider range of options.
Real-World Use Cases
Portrait and Fashion Photography
Flux Dev and Flux Pro produce portrait images that hold up at professional scale. Skin texture, hair detail, and natural lighting interactions are genuinely strong. For fashion mockups, product-on-model imagery, and editorial portraits, the output quality is commercially viable.
Combined with Flux Fill for retouching specific elements and Flux Kontext for outfit or environment changes, a complete production workflow becomes achievable without traditional photography infrastructure.
Product Visualization
Flux handles material rendering well enough for product mockups. The combination of accurate texture representation and strong lighting makes it viable for showing products in context. For e-commerce scale, Flux Schnell handles the throughput requirements while Flux Pro handles hero images.
Creative Campaigns
For art directors building visual concepts, the combination of Flux Kontext for iterative editing, Flux Canny Pro for structure-preserving restyling, and Flux 2 Pro for final output covers the full ideation-to-delivery pipeline within a single model family.
Create Your Own Images Now
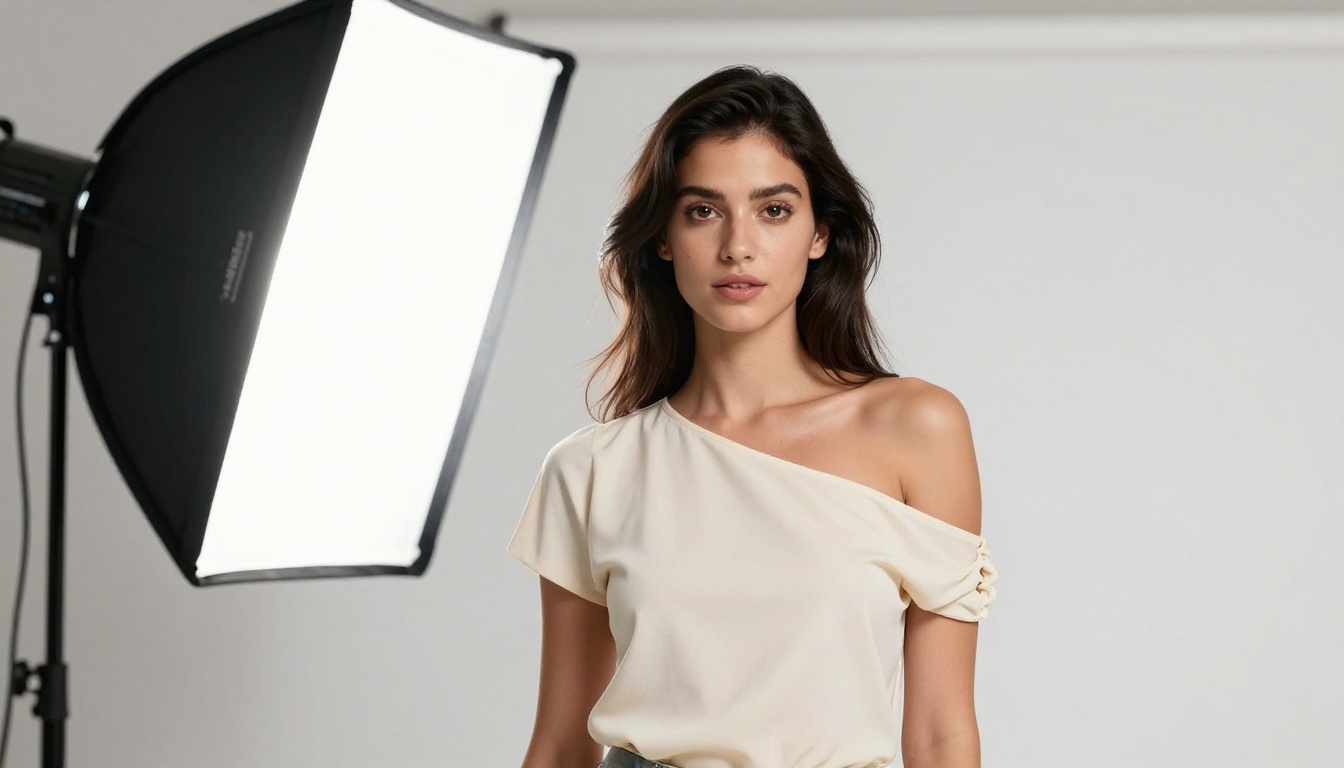
Flux is currently the most capable open-access image generation architecture available. The combination of strong prompt following, photorealistic output quality, and a growing family of specialized editing models makes it a practical tool for professional creative work, not just experimentation.
The fastest way to see what it can produce is to try it directly. Every model described in this article is available on PicassoIA with no setup required. Start with Flux Dev for your first image, then move to the specialized variants as your workflow develops.
Write a detailed prompt, be specific about lighting and camera angle, and generate. The results will tell you more than this article can.


