Kling is not a small experiment. Built by KwaiVGI, the AI research arm of Kwai, it has emerged as one of the most capable text-to-video systems available right now, producing cinematic 1080p clips with coherent motion physics and lighting that hold up to professional scrutiny. The challenge is not whether it works. It does. The challenge is that Kling now spans over a dozen model variants, each with different resolution ceilings, speed profiles, and creative strengths. Picking the wrong one wastes time. The following sections break down exactly what each version does, how to write prompts that produce real results, and how to run every Kling model directly through PicassoIA without any setup.
What Kling Actually Does
Kling takes a text prompt, or an image plus a text prompt, and produces a short video clip. The standard output runs between 5 and 10 seconds. Within that window, it handles motion physics, lighting continuity, subject consistency, and camera movement in a way that earlier AI video models could not reliably achieve.
The output is not a slideshow of frames stitched together in post. Kling renders motion fluidly from frame one. Objects move with physical weight. Fabric responds to implied airflow. Water ripples in a consistent, plausible direction. Hair moves. Shadows shift with the light source. These details are what separate it from most open-source alternatives, and why it has become the default choice for content creators who need video output that actually looks like video.
Two Core Modes
Text to Video: You write a prompt describing a scene and Kling generates the clip. No reference image is required. The longer and more specific the prompt, the more control you have over the output.
Image to Video: You supply a reference image and describe the motion or transformation you want. Kling animates the image according to your prompt. This mode is particularly strong for product videos, portrait animations, and scenes where you have already defined the visual style through an existing image.
Resolution Tiers Explained
| Tier | Resolution | Best For |
|---|
| Standard | 720p | Rapid iteration, social drafts |
| Pro | 1080p | Final deliverables, portfolio work |
| Master / Omni | 1080p+ | Cinematic projects, large screens |
The difference between tiers is not only resolution. Pro and Master tiers also apply heavier processing to motion coherence, detail retention in faces, and edge handling in complex scenes. If your output will be displayed at anything larger than a phone screen, work in Pro or above.
The Kling Model Lineup
PicassoIA gives you access to the full Kling family. Here is what each model does and when to use it.
💡 Practical default: Start with Kling v1.6 Standard for concept testing. Move to Kling v2.6 or Kling v3 Omni Video once the prompt is dialed in.
Kling v3 vs v2.6: Which One Fits
Both Kling v3 Omni Video and Kling v2.6 produce excellent 1080p output. The choice depends on what you are building and how closely the result will be scrutinized.
When v3 Is the Right Call
Kling v3 Video and Kling v3 Omni Video represent the most capable version of the architecture to date. They handle complex multi-subject scenes better, maintain lighting consistency across longer clips, and produce motion that holds up when zoomed in on large displays. Use v3 when the output goes into a portfolio, a pitch, or any format where a viewer will watch it more than once.
Kling v3 Motion Control adds precise camera path input on top of v3 quality. This matters for any shot where a specific camera move is part of the creative intent, not a detail you are willing to leave to chance.
When v2.6 Is Enough
Kling v2.6 is faster and still produces 1080p output that easily clears the bar for social media, advertising, and content marketing work. For projects with high output volume or tight turnaround times, it is the pragmatic choice.
The Kling v2.5 Turbo Pro takes this further, trading a modest reduction in fine detail for a meaningfully faster generation time. If you are generating dozens of clips daily, the time savings compound significantly across a week.
How to Use Kling on PicassoIA
PicassoIA gives you access to every Kling variant without installation, without API tokens, and without waiting lists. Here is the exact flow from zero to finished video.
Step 1: Open the Model
Navigate to the text-to-video section on PicassoIA and search for "Kling" to see every available variant. For a first run, open Kling v2.6. It offers an excellent balance of quality and generation speed for initial work.
Step 2: Write the Prompt
This is where most output quality is determined. A weak prompt produces a weak video regardless of which model you use. Structure your prompt around three components:
- The subject and action: what is in the shot and what is it doing
- The environment: setting, time of day, weather, spatial context
- The camera: angle, distance, movement style
Weak prompt: "a woman walking outside"
Strong prompt: "a woman in a cream linen dress walking slowly through a sunlit wheat field at golden hour, warm backlight from the right creating a rim around her silhouette, slight breeze moving the grain, handheld camera at waist level tracking alongside her, 85mm f/1.8 shallow depth of field"
The strong version gives Kling enough specificity to make intentional decisions rather than probabilistic guesses.
Step 3: Set Duration and Aspect Ratio
Kling supports 5-second and 10-second clips. Use 16:9 for standard video output. For vertical social formats, select 9:16. If you are unsure, 5-second clips at 16:9 are the fastest path to evaluating whether a prompt is working.
Step 4: Generate and Iterate
Your first output is rarely final. Review it critically for three things:
- Subject motion: does the person, animal, or object move naturally?
- Lighting continuity: does the light source stay consistent from the first frame to the last?
- Camera intent: does the camera behave according to the prompt description?
Adjust the prompt language for whichever of these is weakest and regenerate. Two or three iterations typically produce a strong result with any of the mid-to-high tier Kling models.
Step 5: Upgrade for Final Output
Once a prompt is working well at a lower tier, switch to Kling v3 Omni Video for the final render. This two-step approach, iterate fast and cheap, finish at maximum quality, is how professionals minimize generation time without sacrificing the final output.
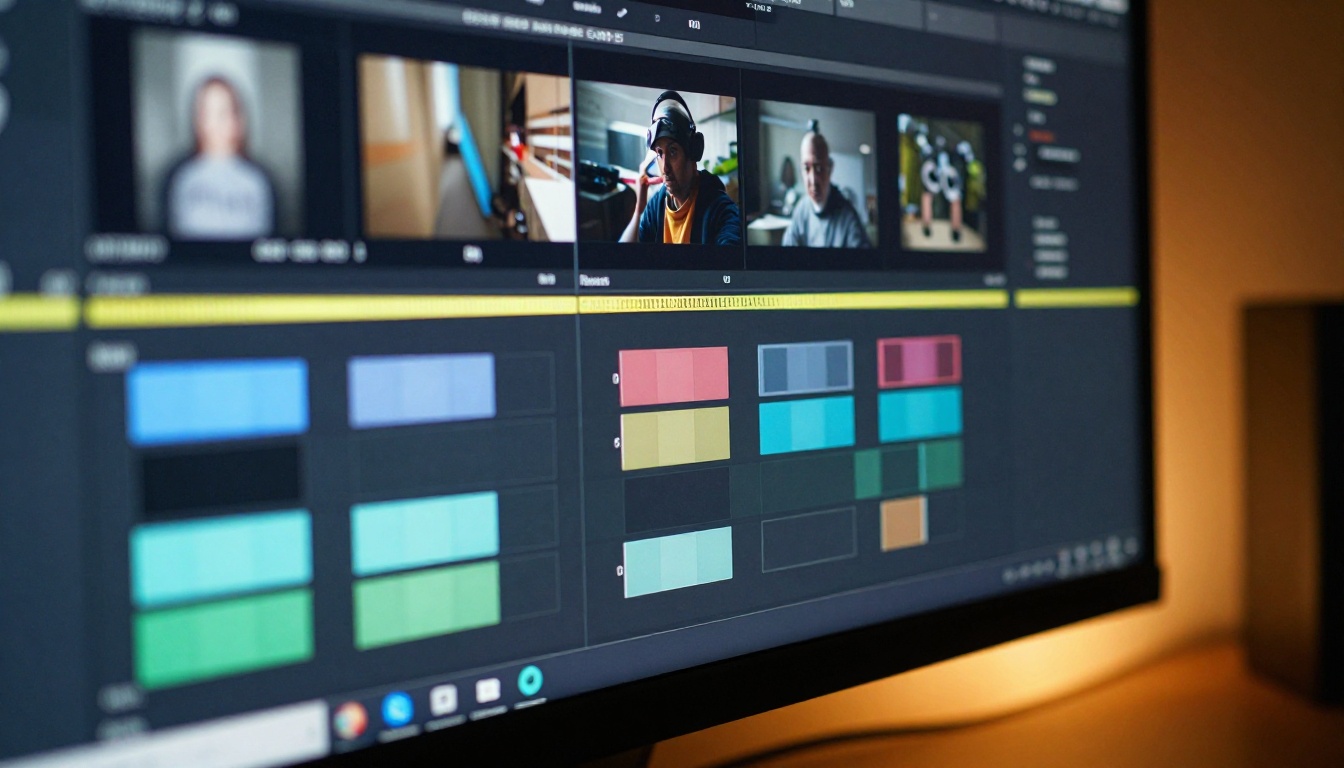
Writing Prompts That Actually Work
Prompt quality is the single biggest variable in Kling output. A strong prompt can make a mid-tier model outperform a higher-tier one running on vague input. Here is what good prompt elements look like in practice.
What to Include
- Lighting direction: "morning light from the left", "overcast diffused light from above", "backlit at golden hour with visible warm flare"
- Camera angle and lens behavior: "low angle looking up at 30 degrees", "aerial shot from 20 meters above", "85mm shallow depth of field with background separation"
- Subject detail: physical characteristics, clothing texture, natural movement qualities
- Environmental texture: season, weather state, surface materials, atmospheric haze or mist
- Atmospheric motion indicators: "gentle", "forceful", "swaying slowly", "falling rapidly", "drifting left"
💡 Replace abstract words with concrete ones. Instead of "a beautiful landscape", write "rolling green hills under an overcast sky with visible mist settling in the valleys at dawn, wet grass, foggy mid-distance". Kling reads physical descriptions, not editorial adjectives.
What Breaks the Output
- More than three distinct subjects: coherence drops significantly with complex crowd or multi-object scenes
- Contradictory light sources: requesting "moonlight" and "golden hour sun" in the same prompt creates lighting artifacts
- Vague motion language: "move around" or "do something interesting" leaves too much to chance and usually produces awkward, directionless movement
- Text overlay requests: Kling does not reliably render legible text within a video frame. Use post-production tools for titles and captions.
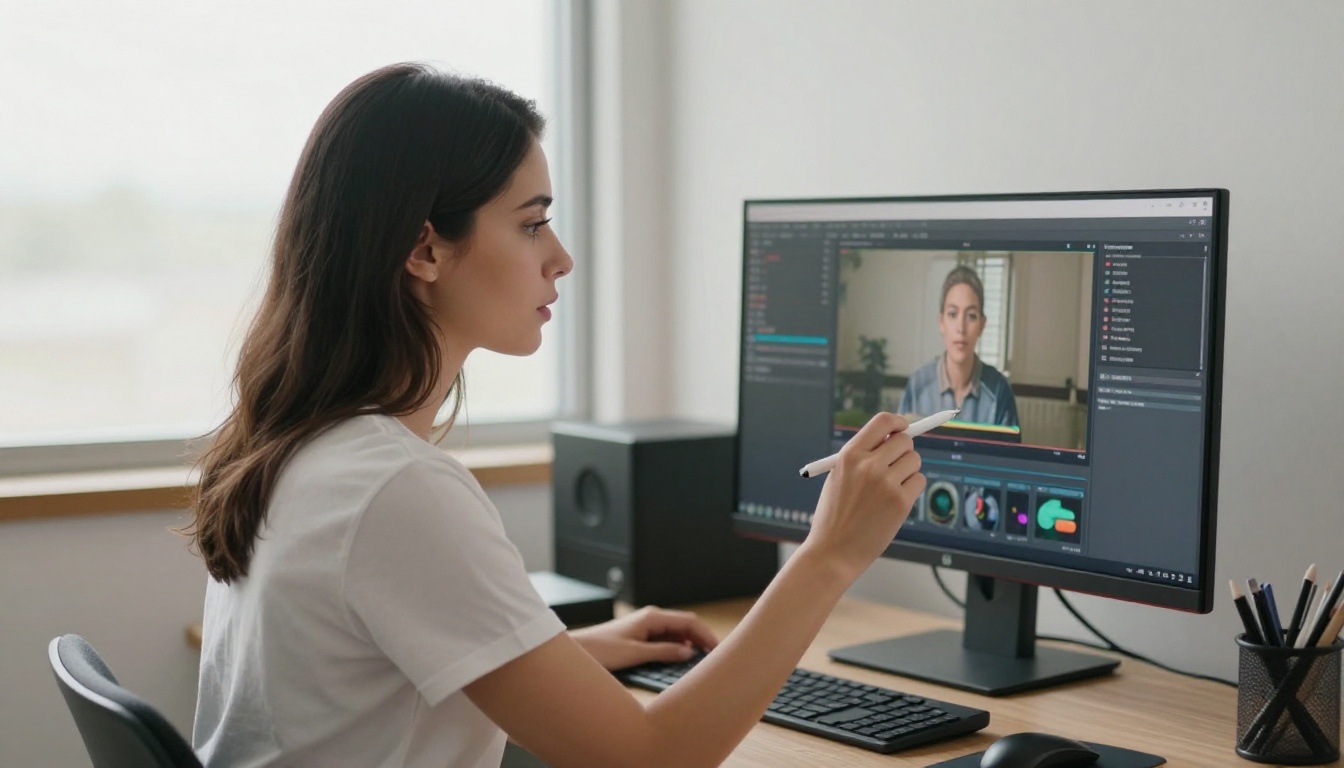
Kling for Image-to-Video
The image-to-video capability is where Kling distinguishes itself most clearly from pure text-based generators. You provide a source image and describe the motion or transformation you want to see. Kling animates it according to your instructions, preserving the visual identity of the source while adding controlled movement.
This creates several practical workflows that text-only generation cannot replicate:
Brand consistency: You can lock in a visual style through a source image and animate it without style drift. The look stays stable because it is anchored to a real reference rather than being reconstructed from text each time.
Product content: A still product shot becomes a clip with subtle rotation, environmental integration, or close-up reveal motion. For e-commerce and advertising, this replaces traditional production work that would otherwise require a physical shoot.
Portrait animation: A person in a photograph can be animated to turn slightly, blink naturally, or react to an implied stimulus. Kling Avatar v2 is the specialist here, producing the most consistent results when the primary subject is a human face and the animation involves facial movement, gaze shifts, or expression changes.
For general image-to-video work, Kling v2.1 and Kling v2.6 both perform well. For final deliverables, Kling v3 Omni Video produces the sharpest results.
💡 Pair Kling with a high-resolution source image. If your reference is low quality, run it through a super-resolution tool first. A higher-resolution input gives Kling more pixel data to work with during animation, and the quality difference in the output is visible.
Motion Control: Precision Over Luck
Standard text-to-video is probabilistic in its camera behavior. The camera might pan left or it might drift right. You describe what you want in text and the model interprets it. Sometimes the interpretation is accurate. Often it is not.
Motion control changes this by letting you define a specific camera trajectory before generation begins. Kling v2.6 Motion Control and Kling v3 Motion Control both offer this capability. You draw or define the path the camera follows, and the model respects that path during generation rather than approximating it from a text description.
When Motion Control Matters Most
- Reveal shots: a slow crane-up over a building or landscape, timed to a specific beat or moment
- Product focus: a controlled push-in to a product detail at a precisely calibrated speed
- Character approaches: camera tracking forward toward a subject at a defined rate of movement
- Parallel tracking: camera moving alongside a subject through a space, maintaining consistent distance
- Arc shots: camera circling around a stationary subject, which is very difficult to produce reliably from text alone
Without motion control, you describe camera behavior in words and accept whatever the model produces. With motion control, you define it directly. For any project where camera choreography is part of the creative intent, working without it means accepting unnecessary uncertainty in your output.
The Version to Actually Start With
Despite the impressive range at the top of the lineup, the most practical starting point for most creators is Kling v1.6 Pro. It is fast enough for rapid iteration, produces solid 1080p output, and gives you a clear baseline for what your prompts are actually doing before you spend time and credits on the highest-tier models.
Once you have a workflow that produces results at this tier, step up to Kling v2.6 for better motion physics and lighting accuracy. Then use Kling v3 Omni Video for anything that goes public, into a pitch, or into a portfolio.
This progression is not about being conservative with credits. It is about not burning time running high-tier models against under-developed prompts.
A Realistic Weekly Workflow
For creators working at volume, a tier-based approach keeps output quality high and iteration speed fast:
Running this structure consistently means each clip that reaches the final render stage has already been validated at a lower cost tier, and the final output benefits from the full capability of the top models.
Try It on PicassoIA Right Now
Every Kling model in this article is available directly through PicassoIA. No installation, no API tokens, no waiting list. Write a prompt, pick a model, and generate.
If you are already working with still images on the platform, you have everything you need to start animating them through Kling's image-to-video mode. The same visual logic that makes a strong image prompt makes a strong video prompt: specific subjects, concrete lighting, defined movement behavior.
The difference is that now the images move.
Open Kling v2.6 and run a prompt against a scene you care about. Then open Kling v3 Omni Video with the same prompt and compare the two outputs side by side. That comparison will tell you more about what Kling's model tiers actually do than any table or description can convey.


