You type a sentence. Seconds later, a photorealistic image appears on your screen, matching your description in detail you did not expect. No Photoshop, no camera, no design skills required. That is GPT Image 2.0 in its simplest form, and it is changing how people create visuals at every level of experience.
Whether you are a freelancer looking to cut production costs, a marketer generating product mockups in minutes, or simply someone curious about what AI image generation can actually produce, this article breaks down everything you need to know about GPT Image 2.0 without jargon or assumptions about prior knowledge.
What GPT Image 2.0 Actually Is
GPT Image 2.0 is OpenAI's most capable image generation model to date. Released as part of the GPT-4o family, it processes natural language descriptions and produces high-fidelity images with a level of realism that earlier models simply could not match.
The "2.0" designation matters. This is not a minor update to the original DALL-E pipeline. It represents a significant architectural shift in how the model interprets and renders prompts, resulting in images that handle complex scene compositions, accurate human anatomy, realistic lighting, and fine texture detail far better than previous generations.
The model behind the visuals
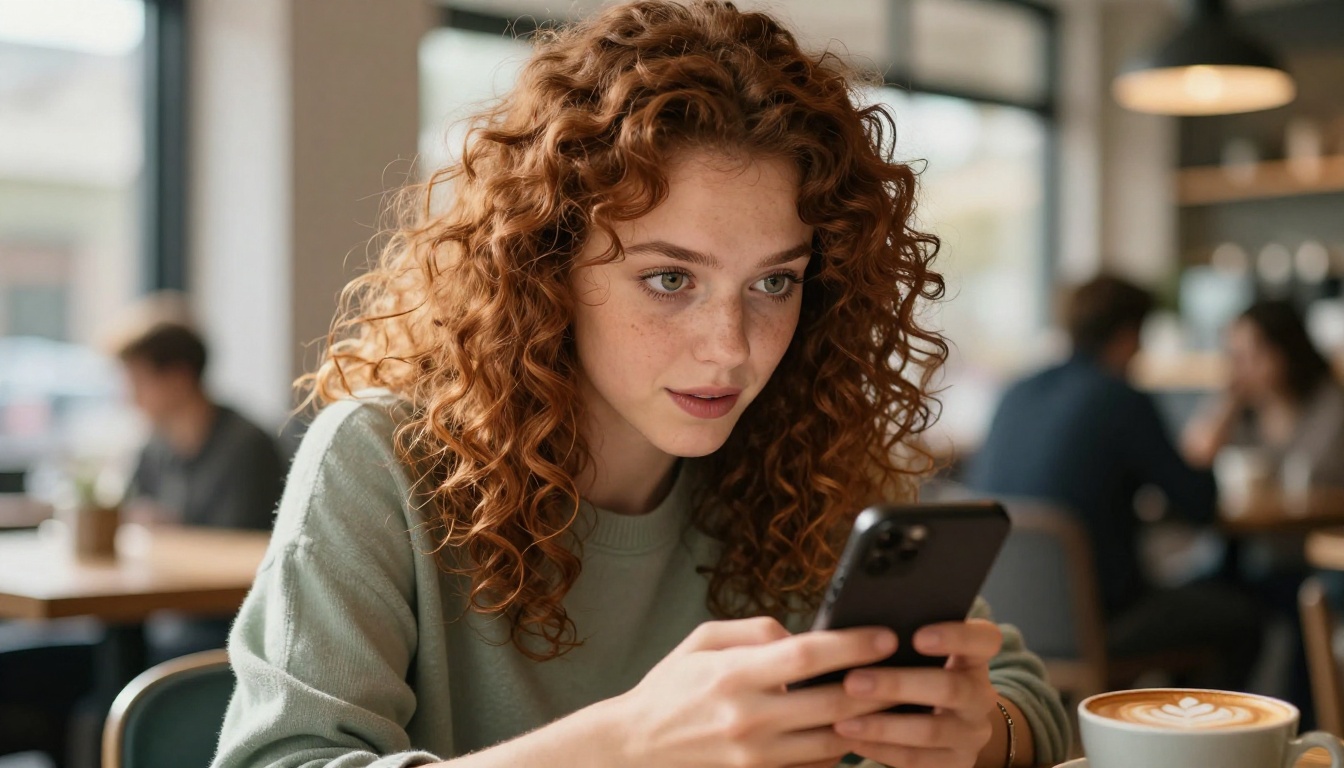
At its core, GPT Image 2.0 is a diffusion-based model combined with the language processing capabilities that power GPT-4o. This pairing is what makes it different from standalone image models. Instead of treating text as a loose set of keywords, the model interprets prompts with contextual nuance, much the way a human art director would read a creative brief.
This means you can write a prompt like:
"A 1970s film noir detective office at midnight, rain streaming down the window behind the desk, a single desk lamp casting long shadows across a stack of case files, photorealistic, 8K"
And the model does not produce something vaguely related. It places objects in logical spatial relationships, applies correct directional lighting, and renders materials with the textures those materials actually have in real life.
How it differs from earlier AI tools
Earlier AI image models, including DALL-E 2 and early Stable Diffusion versions, had well-documented limitations:
- Hands and faces often appeared distorted or anatomically incorrect
- Text inside images rendered as garbled or unreadable characters
- Complex multi-object scenes produced chaotic, spatially incoherent compositions
- Photorealism was inconsistent, frequently landing in an obvious "AI look"
GPT Image 2.0 addresses all four of these directly. Hands now render accurately. Text embedded in images appears legible when requested. Multi-subject compositions follow natural spatial logic. And the photorealism is convincing enough that you have to look closely to spot AI artifacts.
How the Technology Works
You do not need a computer science background to use GPT Image 2.0 effectively, but having a basic picture of how it processes your input changes how you write prompts and what results you get.
Turning words into pixels
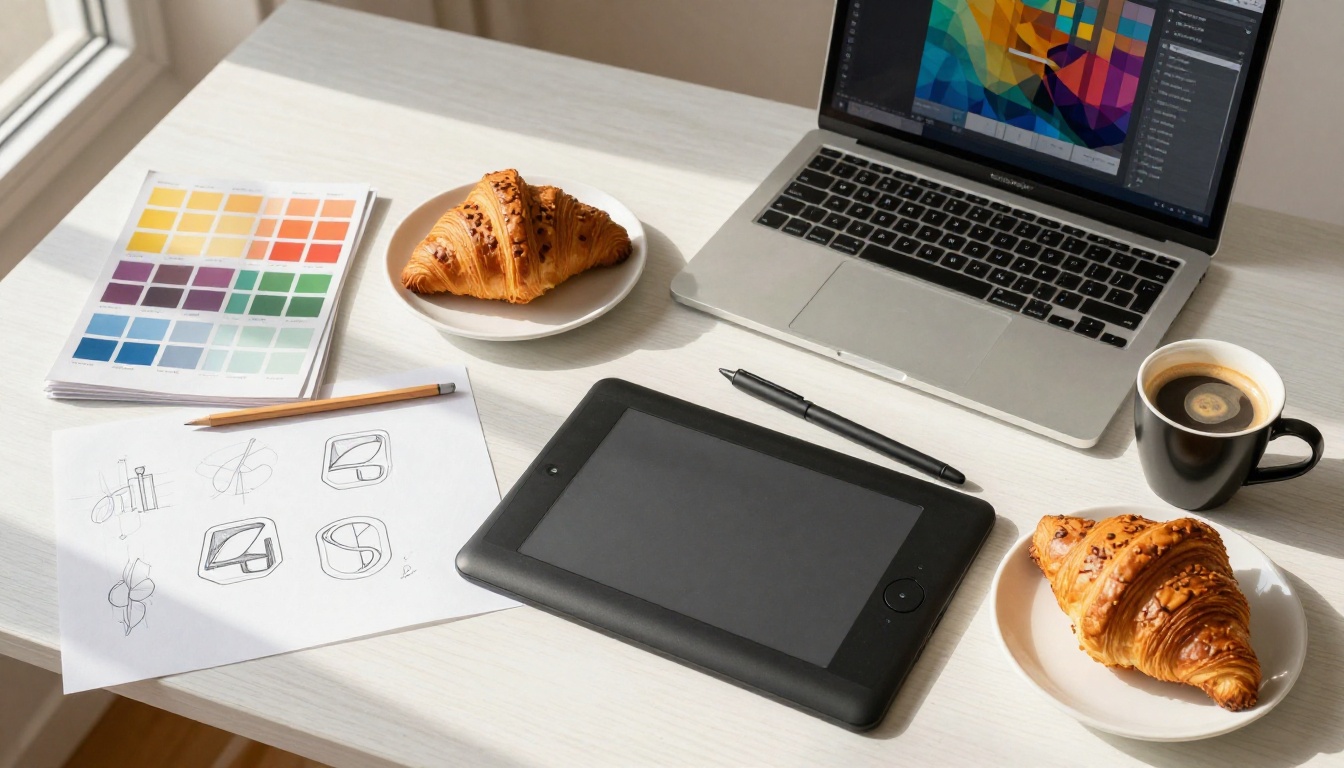
The model works through a process called denoising diffusion. In simple terms, it starts from a field of random visual noise and progressively refines that noise into a coherent image, guided entirely by the meaning extracted from your text prompt.
The process happens in multiple iterative passes. Each pass sharpens details, corrects proportions, and aligns the output more closely with what the prompt described. What appears as the final image is the result of hundreds of these micro-refinements happening in rapid succession.
GPT Image 2.0 pairs this diffusion process with the language model backbone of GPT-4o, which means it can parse long, nuanced prompts, weigh different descriptive elements against each other, and infer implied context that you did not explicitly state.
Why prompt quality matters
The model is powerful, but it is not psychic. The quality of your output is directly tied to the specificity of your input.
| Vague Prompt | Specific Prompt | Result |
|---|
| "A woman at a desk" | "A woman with dark hair at a sunlit oak desk, late afternoon light from the left, 85mm lens, shallow depth of field" | Specific, intentional composition |
| "A product photo" | "A perfume bottle on white marble, single key light from above-left, condensation droplets on glass, 100mm macro lens" | Professional commercial quality |
| "A city at night" | "Rainy Tokyo side street, neon reflections on wet asphalt, 35mm film grain, low angle, one pedestrian backlit" | Cinematic, directed image |
💡 Practical rule: If you would say it to a photographer or set designer on a shoot, put it in your prompt. Lighting direction, camera angle, surface texture, atmospheric conditions, all of it shapes the output.
What You Can Create
The scope of what GPT Image 2.0 can produce is broader than most beginners expect from their first few attempts.
Realistic portraits and scenes
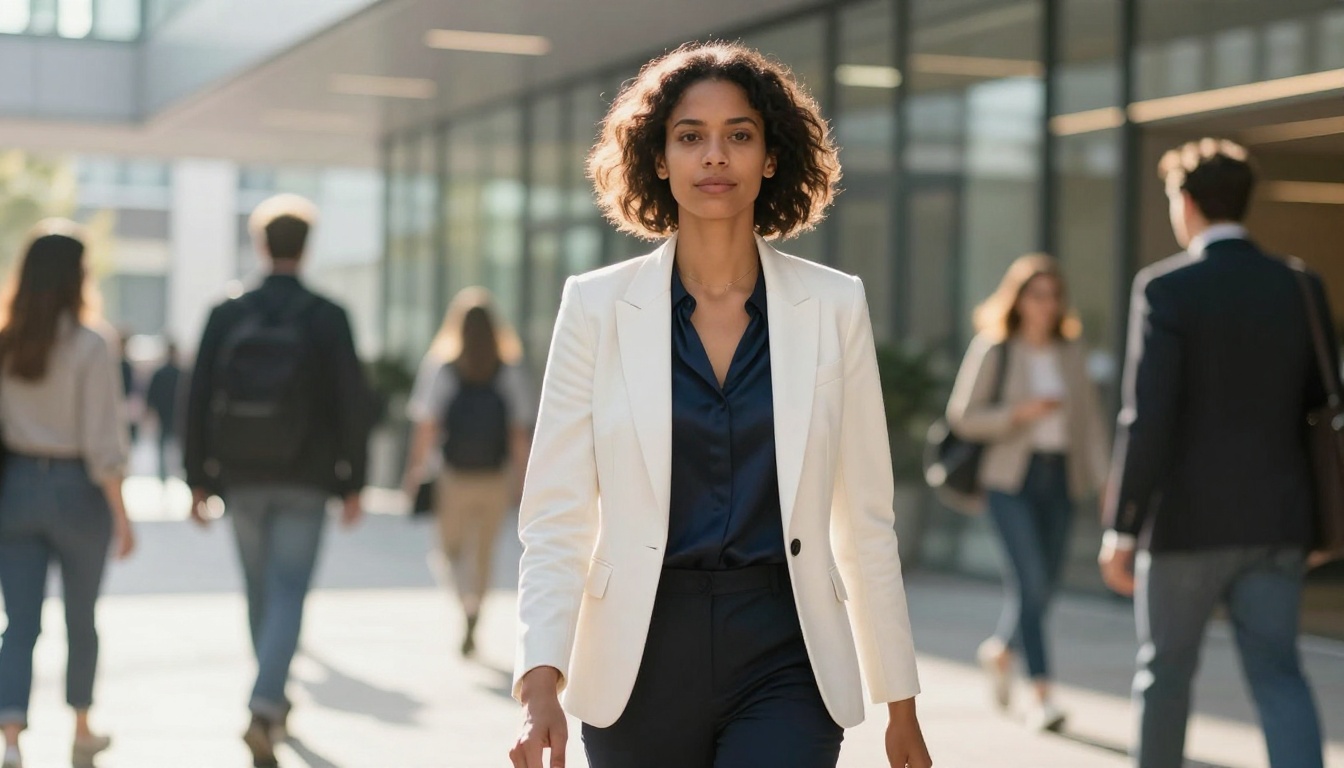
Portrait photography is one of the model's strongest capabilities. You can generate:
- Lifestyle portraits for blog headers, social media content, and editorial placements
- Business headshots in specific settings with precisely controlled lighting
- Diverse cast images showing multiple people in natural interaction
- Environmental portraits that place a subject in a richly detailed context
The difference between a weak portrait prompt and a strong one is almost always in the lighting specification and lens choice. "A woman smiling" produces something generic. "A woman laughing naturally, candid moment, dappled afternoon light through leaves, 85mm f/1.8" produces something with real photographic character.
Product mockups and commercial shots
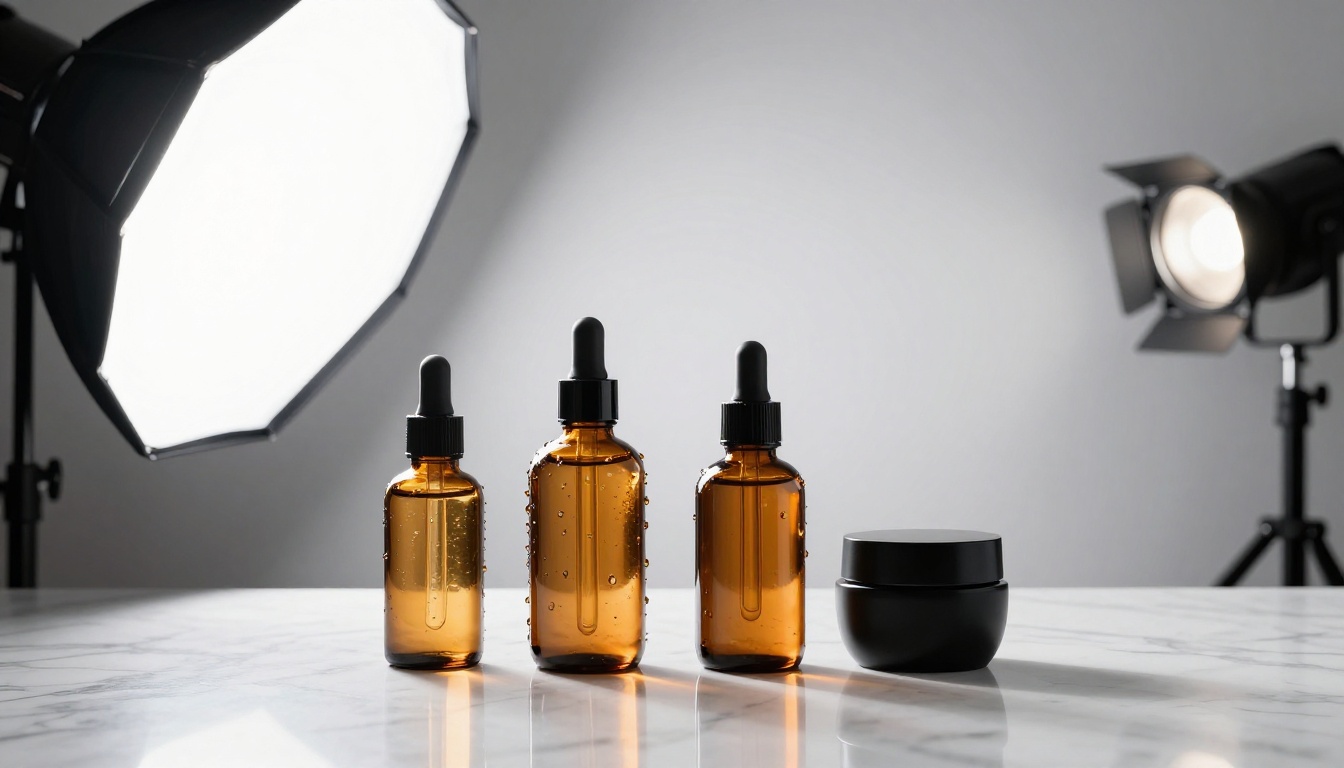
Product photography is one of the highest-value use cases for GPT Image 2.0. Generating a commercial-quality product photo traditionally requires a studio, equipment, a photographer, and post-processing time. With a well-written prompt, you can produce the same output in under a minute.
The model handles:
- Glass and reflective surfaces with realistic light behavior and accurate reflections
- Shadow and highlight separation that reads as natural rather than artificial
- Material differentiation between fabric, metal, ceramic, and organic surfaces
- Background staging from seamless white backdrops to textured lifestyle environments
For e-commerce sellers, social media marketers, and brand designers, this represents a substantial cost reduction without a visible quality compromise.
Abstract ideas made visible
Some of GPT Image 2.0's most striking outputs come from prompts that describe concepts rather than literal objects. You can describe an emotion, a metaphor, a symbolic composition, or a specific atmospheric mood, and the model constructs a visual that represents it coherently.
This makes it genuinely useful for editorial illustration, concept visualization, and creative direction where the goal is an evocative image rather than a literal photographic record.

Where does GPT Image 2.0 sit relative to other AI image generation models? Here is an honest side-by-side view.
| Model | Photorealism | Prompt Depth | Text in Images | Speed | Strongest Use |
|---|
| GPT Image 2.0 | Excellent | Excellent | Good | Moderate | Realistic scenes, portraits |
| Flux Redux Dev | Very Good | Very Good | Fair | Fast | Creative, stylized outputs |
| Stable Diffusion XL | Good | Good | Poor | Fast | Custom fine-tuning |
| DALL-E 3 | Good | Very Good | Good | Moderate | General purpose |
| Juggernaut XL | Very Good | Good | Poor | Fast | Photorealistic portraits |
💡 No single model wins at everything. GPT Image 2.0 excels at realistic, complex scene compositions with accurate anatomy. Models like Flux Redux Dev are faster and produce striking stylized results. Knowing which tool fits each task is the actual skill.
When each tool wins
Use GPT Image 2.0 when:
- You need photorealistic results from complex, detailed prompts
- Accurate human anatomy matters, faces, hands, body proportions
- Your prompt involves multiple interacting subjects or objects
- You want readable text embedded within the image
Use Flux Redux Dev or other fast models when:
- Speed matters more than extreme realism
- You want stylized, artistic, or experimental outputs
- You are iterating rapidly through many prompt variations
Writing Prompts That Work

Most beginners write short, vague prompts and then blame the model when results disappoint. The model is doing exactly what it was asked: interpreting a vague description and filling in the blanks itself. If you do not like the blanks it fills, fill them yourself.
The anatomy of a good prompt
A well-structured prompt for GPT Image 2.0 covers five elements:
- Subject: Who or what is the focal point, with specific descriptive detail including physical characteristics
- Environment: Where this is happening and what the setting looks like in concrete detail
- Lighting: Direction, quality (hard vs. soft), color temperature, and light source type
- Camera: Lens focal length, aperture, angle of view, shooting distance
- Atmosphere: Film grain, color grade, mood, material texture quality
You do not need all five in every prompt. But including more of them leaves the model less room to make choices you did not intend.
3 mistakes beginners always make
Mistake 1: Prompts that are too short
Writing "a sunset photo" and expecting a magazine cover. Add environment, light quality, foreground interest, and a camera specification. Every detail you add is a creative choice you are making instead of leaving to chance.
Mistake 2: Contradictory instructions
Asking for "natural candid photo, professional studio lighting." These two descriptors pull in opposite directions. Pick one visual direction and build the rest of the prompt around it.
Mistake 3: No camera or lens specification
Focal length changes everything compositionally and emotionally. A 24mm wide angle produces a completely different feel than an 85mm portrait lens with the same subject. State what focal length you want.
How to Use GPT Image 2.0 on PicassoIA

GPT Image 2 is available directly on PicassoIA, making it accessible without an API subscription, code, or technical setup of any kind.
Step-by-step walkthrough
Step 1: Open the model page
Navigate to the GPT Image 2 model page on PicassoIA. Everything runs in the browser with no installation required.
Step 2: Write your prompt
In the prompt field, type your image description following the five-element framework above. Be specific about subject, environment, lighting, and camera. The more detail you provide, the more control you have over the output.
Step 3: Set your aspect ratio
For most social media and blog use cases, 16:9 works well. Square (1:1) suits Instagram posts and profile images. Vertical (9:16) is ideal for stories and mobile-first content.
Step 4: Run the generation
Click generate. The model typically produces results in 15 to 30 seconds depending on prompt complexity and server load.
Step 5: Evaluate and iterate
If the first result is close but not quite right, refine one specific element of your prompt rather than rewriting everything from scratch. Isolate the variable you want to change and adjust only that.
Settings that change everything
💡 Prompt Upsampling: PicassoIA's interface includes a prompt enrichment option that automatically expands and adds detail to short prompts before sending them to the model. For beginners still building prompt-writing habits, this is worth enabling as a starting point.
The aspect ratio setting is frequently overlooked. A 16:9 frame forces a wide horizontal composition on the model. A 1:1 square frame forces a centered, balanced arrangement. These are not just dimensions, they are compositional constraints that shape how the model builds the entire scene.
Beyond Basic Image Generation
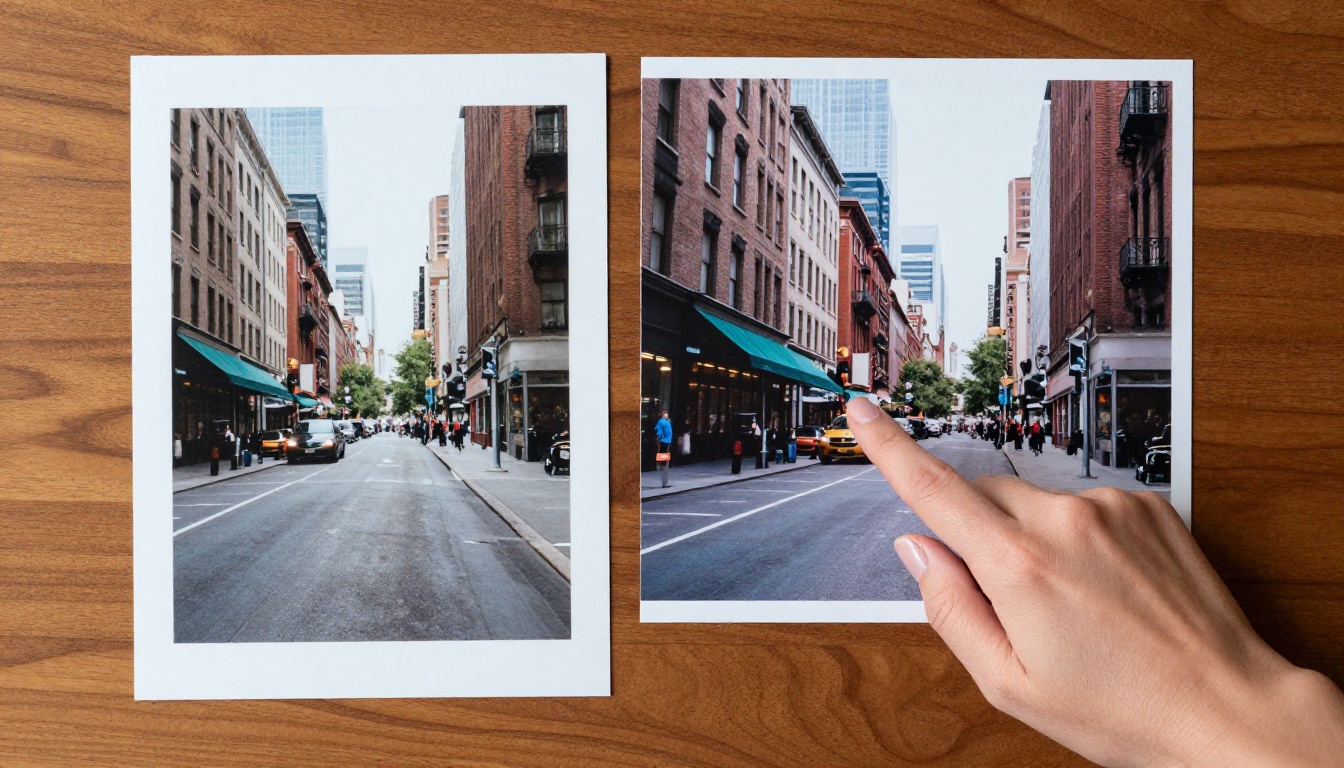
Once you are comfortable with the core generation workflow, the real creative possibilities open up through combining GPT Image 2.0 with other tools on the platform.
Variations and editing
PicassoIA offers several tools that work in combination with image generation outputs:
- Super Resolution: Take a generated image and upscale it 2x or 4x for print-quality outputs. Ideal when a 1024px web image needs to become a high-resolution print asset.
- Inpainting (Object Replacement): Generate a base image, then use the inpainting tool to replace or modify specific regions without regenerating the entire composition. Change a background, swap an object, or fill in a detail.
- AI Image Restoration: Fix noise, blur, or compression artifacts in any image, whether generated or photographic in origin.
Combining with other AI tools
GPT Image 2.0 outputs connect naturally with other platform capabilities. A generated portrait can feed directly into a Face Swap AI workflow for personalization. A product image can be upscaled with Super Resolution for print materials. A scene can be extended using Outpainting to expand the canvas in any direction without starting over.
This combination of tools creates a full visual production pipeline that previously required dedicated design software, specialized hardware, and trained operators.
Start Creating Your Own Images Today
GPT Image 2.0 is not a tool reserved for professional designers or technical users. It is genuinely accessible to anyone willing to spend a few minutes on writing a clear, specific prompt.
The best way to see what it can do is to try it directly. Open GPT Image 2 on PicassoIA, write a prompt describing something you actually want to see, and run it. Look at what the model produces. Adjust one element. Run it again.
The distance between "I typed something and got a mediocre image" and "I created something I am genuinely proud of" is almost entirely in how the prompt is written. And that distance closes fast with practice.
PicassoIA gives you access to GPT Image 2 alongside dozens of other image generation models, all in the same interface, so you can compare outputs and choose the right tool for each project. Write your first prompt today and see what you can build.


