Static AI video is dead. The moment your scene just sits there while a subject moves, viewers click away. Camera movement is the single biggest difference between a clip that feels generated and one that feels cinematic. And right now, you can add it without touching a single piece of physical equipment.
This is not about adding shaky fake motion in post. It is about building camera intent directly into your AI video prompts from frame one, so your dolly push, your orbital arc, your slow pedestal rise all feel like they were planned by a cinematographer. Here is how to do it.
Why Camera Movement Changes Everything
Most people generating AI video focus entirely on the subject: what the character does, how the scene looks, what clothes they wear. Camera movement is an afterthought, and it shows. A static camera makes even the most detailed, photorealistic AI scene feel like a 3D render on loop.
Real cinematographers know that the camera itself is a storytelling tool. A slow push-in builds tension. A wide pan establishes scale. A low-angle pedestal rise signals power. These are not decorative choices; they carry emotional weight. When you apply the same logic to AI video, the difference is immediate and visceral.
The Attention Problem
Modern audiences are conditioned by film, television, and short-form video to expect motion from the camera, not just the subject. When the camera is locked off, the brain registers it as static content within seconds. A subtle dolly or a gentle orbit keeps the eye engaged for far longer, and that engagement is the whole game.
What It Does to Perceived Quality
Camera movement is also a proxy for production value. Even a simple 5-second AI clip with a smooth camera pan reads as more expensive and intentional than a technically superior clip with a locked camera. Adding the right movement to your AI video is one of the fastest ways to raise the perceived quality of everything you produce.
The 6 Camera Moves That Actually Matter
Before you write a single prompt, you need to know what you are asking for. These are the six moves that work reliably across most AI video models, and the language that triggers them.
Pan
A horizontal rotation around the camera's vertical axis. Think of swinging your head left to right while standing still. Use pans to reveal wide environments, follow a moving subject, or connect two spatial points in a scene. Pans are the most common move in AI video and the one models respond to most consistently.
Prompt trigger words: slow pan left, pan right across the scene, wide sweeping pan
Tilt
A vertical rotation around the camera's horizontal axis, looking up or down. Tilts are perfect for revealing a tall subject from bottom to top, or dropping from an establishing sky shot to street level. A slow tilt down onto a character creates a sense of arrival.
Prompt trigger words: slow tilt up, camera tilts down, tilt upward to reveal
Dolly
Physical camera movement forward or backward along the depth axis. This is different from a zoom because the entire camera moves, which changes perspective and depth relationships in the scene. A dolly-in creates intimacy. A dolly-out creates emotional separation or reveals scale.
Prompt trigger words: camera slowly dollies in, dolly shot moving forward, slow push in toward subject
Zoom
Unlike a dolly, a zoom changes the focal length without moving the camera. The result is a flattening of depth. Zooms feel more stylized than dollies. Slow zooms work well for dramatic reveals; fast smash zooms suit action and high-energy content.
Prompt trigger words: slow zoom in, gradual zoom out, camera zooms into subject
Orbit (Arc Shot)
The camera circles around a central subject. This is one of the most dramatic moves available and works especially well for product reveals, architectural shots, or hero character moments. A 90-degree arc is usually enough to feel impactful without the model losing track of the subject.
Prompt trigger words: camera orbits around subject, arc shot circling the subject, circular camera movement
Crane / Pedestal
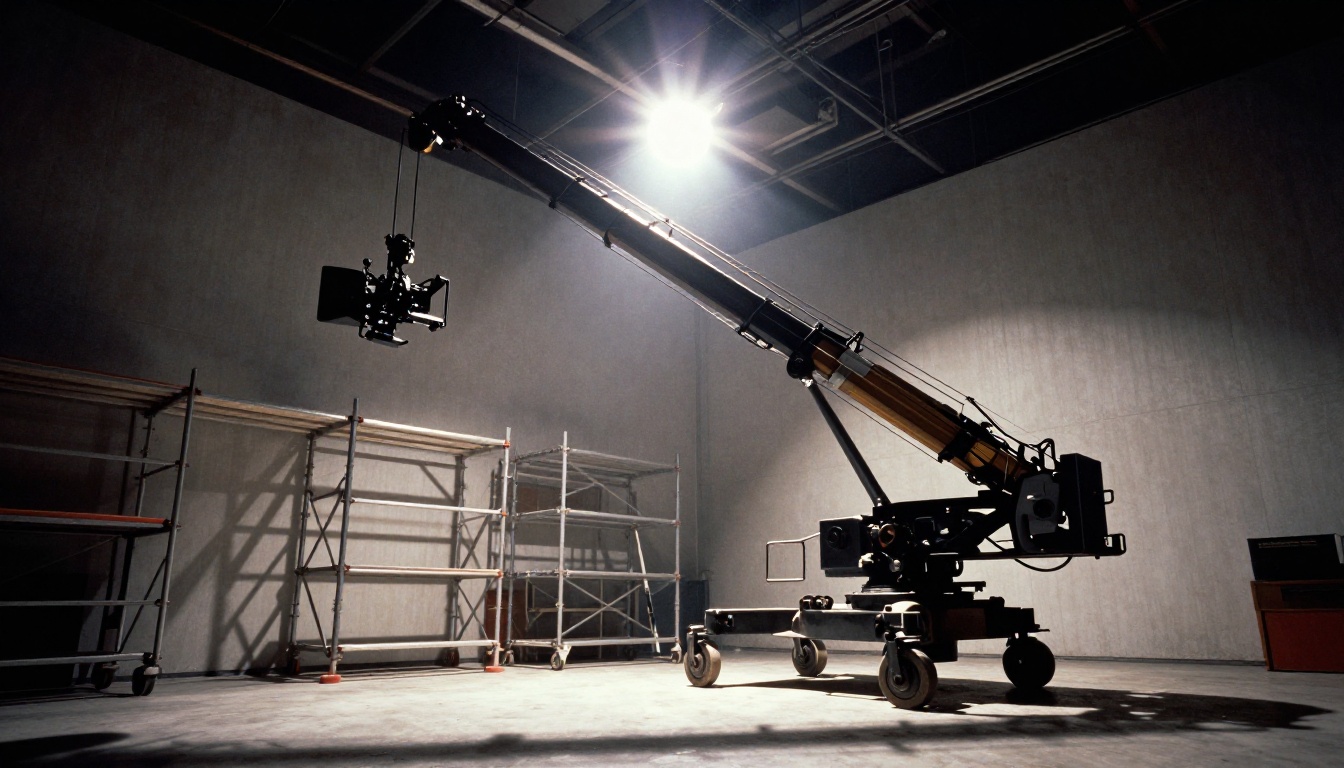
The camera moves vertically, straight up or straight down, without tilting. A crane-up on an establishing shot adds scale and grandeur. A slow pedestal rise on a character makes them feel powerful. This move is underused in AI video and tends to produce very impressive results when it works.
Prompt trigger words: crane shot moving upward, pedestal rise, camera lifts straight up
How to Prompt Camera Movements in Text-to-Video
Knowing the move name is not enough. How you phrase camera movement in your prompt has a significant impact on what AI video models actually produce. Here is what separates prompts that work from prompts that produce vague, undefined drifting.
Speed and Intensity
Always specify the speed. "Pan" is vague. "Slow, steady pan from left to right" gives the model far more to work with. Use words like gentle, slow, gradual for subtle movement and fast, sweeping, dramatic for high-energy shots.
| Speed Descriptor | Effect | Best For |
|---|
| Slow / Gentle | Contemplative, intimate | Portraits, product shots |
| Medium / Steady | Natural, documentary | Walkthrough scenes, narratives |
| Fast / Sweeping | Energetic, cinematic | Action, reveals, transitions |
Subject Framing
Tell the model where the subject should be in the frame and how the camera relates to it. "Camera slowly orbits around a woman standing in a sunlit field, keeping her centered in frame throughout" is far more effective than "orbit shot." The relationship between camera and subject is what anchors the move.
Starting Position
Specify where the camera begins. "Starting from a low-angle close-up, the camera slowly pulls back to reveal a wide cityscape" gives the model a clear visual arc to follow, which results in more intentional, purposeful motion.
💡 Tip: Combine a camera move with a lighting cue for best results. "Golden hour light, slow dolly forward" consistently outperforms either descriptor alone because the model builds a more complete cinematic picture from the combined signal.
What to Avoid
- Never stack multiple conflicting moves in one prompt (e.g., "pan left while also dollying in and zooming out")
- Avoid abstract descriptions like "dynamic camera" or "cinematic feel" without specifying the actual move
- Do not use editing language like "cut to" or "transition" as the model may interpret these as scene changes rather than camera movement
Video 01 Director: Built-In Camera Control
This is where things get particularly precise. Video 01 Director by Minimax is one of the few text-to-video models specifically built with dedicated camera movement controls. Instead of hoping the model interprets your camera language correctly, Video 01 Director exposes camera motion as a direct, configurable parameter.
What Makes It Different
Most text-to-video models treat camera movement as a side effect of your prompt description. Video 01 Director treats it as a first-class input. You specify camera motion type, intensity, and trajectory separately from your scene description, which means the model can allocate its full rendering capacity to both the scene and the motion independently.
How to Use Video 01 Director on PicassoIA
Step 1: Open Video 01 Director on PicassoIA.
Step 2: Write your scene description in the prompt field. Focus on the subject, environment, and lighting. Keep it specific but not overloaded.
Step 3: In the camera controls panel, select your desired camera motion type from the available options, which include static, pan, tilt, zoom, orbit, and custom trajectory.
Step 4: Adjust the intensity slider. For a subtle atmospheric push-in, keep intensity low (10-20%). For a dramatic reveal, push to 60-80%.
Step 5: Set the clip duration. Longer clips benefit from a gradual ramp-up at the start rather than the camera moving at full speed from frame one.
Step 6: Generate and review. If the motion feels too aggressive, reduce intensity and re-run. If it feels mechanical, add a motion smoothing descriptor like "smooth, organic camera movement" to the scene prompt.
💡 Tip: Keep your scene prompt focused when using Video 01 Director's camera controls. A complex, overloaded scene description forces the model to split attention between rendering scene detail and executing the camera move. A clean, clear scene description lets the camera control produce its best results.
Parameter Tips for Video 01 Director
- Simple backgrounds respond better to camera movement than busy, animated environments
- Portrait-oriented subjects work especially well with orbit and arc shots
- For product-style content, a slow 45-degree arc at medium intensity consistently produces a premium, commercial-quality result
Kling Motion Control: Frame-by-Frame Precision
For users who need granular control over the camera's path through a scene, Kling v3 Motion Control and Kling v2.6 Motion Control offer one of the most precise motion control systems available in any browser-based AI video tool.
How Kling Motion Control Works
Rather than relying purely on text prompts, Kling's motion control system lets you define the camera path using a visual keyframe interface. You set start and end positions for the camera, add intermediate waypoints to shape the arc or dolly path, and the model interpolates smooth movement between all keyframes. This is the closest thing to working with professional camera animation software without leaving a browser tab.
Step-by-Step: Using Kling v3 Motion Control
Step 1: Open Kling v3 Motion Control on PicassoIA. Upload a base image or use a text prompt to establish the starting frame.
Step 2: Enter the motion control panel. A visual preview of your scene appears with an overlay for placing camera path keyframes.
Step 3: Place your first keyframe at the desired starting camera position. This anchors where the camera begins.
Step 4: Add intermediate keyframes to shape the path. For an orbit, place points in a curved arc around the subject. For a dolly, place them in a straight line moving toward or away from the subject.
Step 5: Set the final keyframe at the end position. The model renders smooth, interpolated movement through all defined points.
Step 6: Adjust speed curves if available. An ease-in and ease-out curve makes the motion feel far more natural than constant speed throughout.
When to Use Kling vs. Video 01 Director
3 Common Mistakes That Ruin Motion
Even with the right tools and solid prompt construction, these three errors consistently produce poor results and waste generation credits.
Over-Prompting the Move
Adding too many camera movement instructions in a single prompt creates conflicting signals. The model will either average them into vague, undefined drifting or execute one instruction while ignoring the rest. Pick one move per clip. If you need multiple moves in sequence, generate separate clips and edit them together in post.
Ignoring Scene Complexity
A highly detailed scene with many animated elements, such as a crowd, weather effects, dense foliage, or water, is significantly harder for the model to move a camera through smoothly. The computational demands of rendering both complex scene detail and smooth camera motion in the same pass often results in one or both degrading. For camera-heavy shots, use cleaner, simpler environments with minimal competing motion.
Wrong Speed for the Subject
A fast pan across a static architectural subject looks powerful. A fast pan across a slow-walking person looks disorienting. Always match your camera speed to the energy of your subject and the emotional tone of the shot. When in doubt, go slower. You can speed up in post. Recovering a blurry, over-fast AI motion shot is much harder and usually results in re-generating from scratch.
Tips for Natural-Looking Movement
The difference between AI camera motion that reads as convincing and motion that reads as synthetic comes down to a few specific details that most people skip.
Add Micro-Jitter Language
Real camera operators, even with professional stabilizers, produce very slight organic imperfection in their movement. Adding phrases like "handheld feel", "slight organic sway", or "natural camera breathing" to your prompt can help the model produce movement that reads as human-operated rather than algorithmically smooth. This is particularly effective for documentary-style and character-driven content.
Use Motivated Movement
The best camera moves feel motivated: the camera moves because something in the scene directs attention, not simply for the sake of adding motion. Phrasing like "camera slowly follows the subject as she walks toward the window" gives the model a reason for the movement, which produces more intentional, purposeful results than "camera moves left."
Ease In, Ease Out
Camera moves that start from full speed and stop abruptly look mechanical and amateur. Gradual acceleration at the start and gradual deceleration at the end is the single biggest factor in whether a camera move reads as natural or synthetic. When using tools like Kling v3 Motion Control, always apply ease curves to your keyframes. When using prompt-based models, add "gradually accelerating then slowing to a stop" to your camera description.
💡 Tip: Reference real film movements directly in your prompts. Phrases like "Steadicam follow shot", "documentary tracking shot", or "crane rising like the opening of a wide establishing film sequence" activate strong training data associations that produce more convincing motion than generic camera movement terms.
Combine with Video Enhancement
Once your video is generated, running it through an upscaling or enhancement tool can smooth out any remaining motion artifacts. Camera movement often introduces slight resolution degradation at the edges of motion. Tools like Kling v2.6, Gen 4.5, and Seedance 2.0 all handle cinematic motion well in their own right. For fast iteration with solid pan-and-tilt defaults baked in, Wan 2.7 T2V is also a strong option that responds well to camera movement language in standard text prompts.
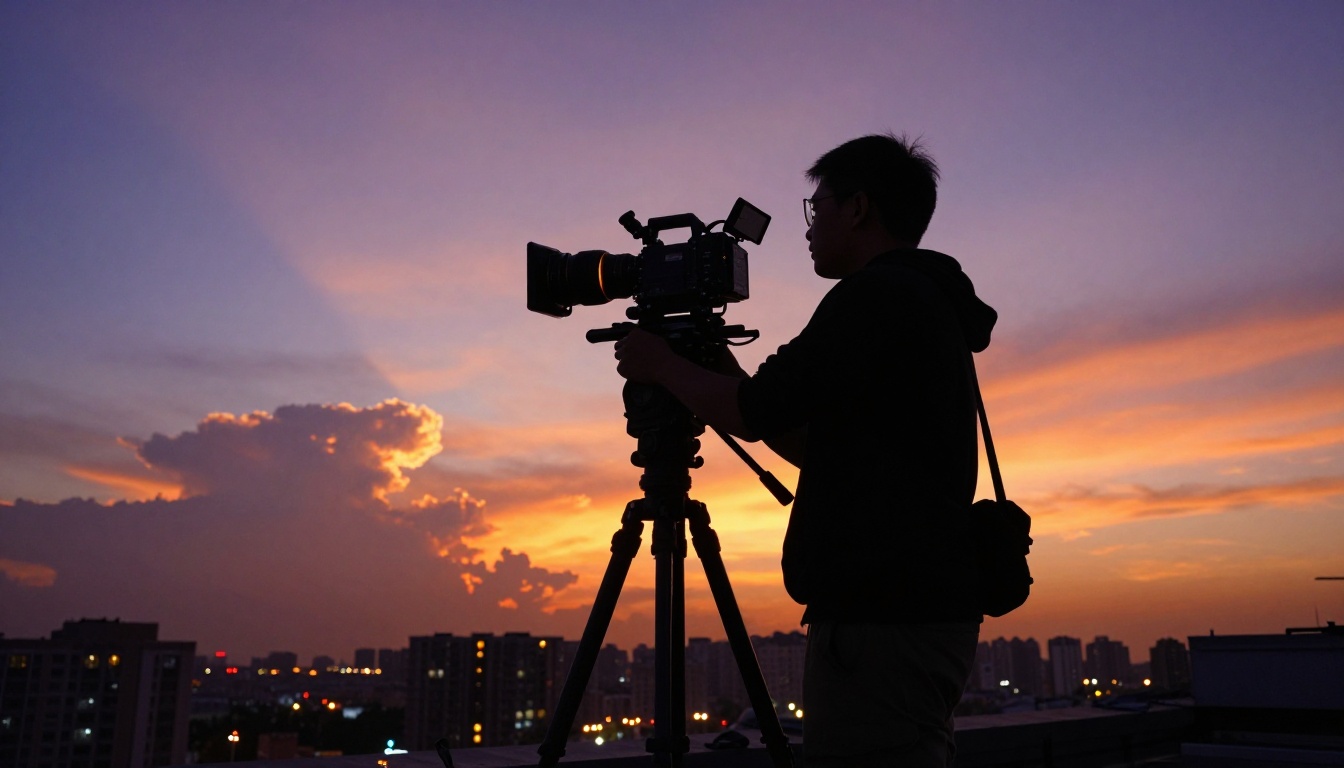
The Shot Is Yours to Take
Camera movement in AI video is not a feature reserved for professionals with expensive software. The tools exist today, they are accessible through a browser, and the skill is learnable in a single afternoon of real experimentation.
The workflow is direct: pick the move that serves your shot, phrase it clearly in your prompt or configure it through the model's motion controls, and keep your scene simple enough for the model to execute the move with full fidelity.
Video 01 Director is the fastest entry point if you want dedicated camera control without drawing keyframes. Kling v3 Motion Control is the right tool when you need precision and visual path definition. Both are available on PicassoIA alongside over 100 other video generation models, so you can test them back to back, refine your approach, and build a library of camera-driven shots that actually look like they were filmed.
The still image era of AI content is ending fast. Pick a model, set a camera move, and start shooting.


