Light leaks were never supposed to happen. They were accidents, caused by a poorly seated film canister, a cracked camera body, or a moment of carelessness with the film door. Photographers cursed them in the darkroom. Then they started chasing them. Today, that same organic bloom of color and softness is one of the most requested looks in portrait and lifestyle photography, and AI can generate it from a text description alone.
This article breaks down exactly how that works: the prompt structures that produce convincing results, the common mistakes that make AI flares look generated, the style variations worth pursuing, and how to sharpen everything once you have an image worth keeping.
What Light Leaks and Flares Actually Are
The Physics Behind the Look
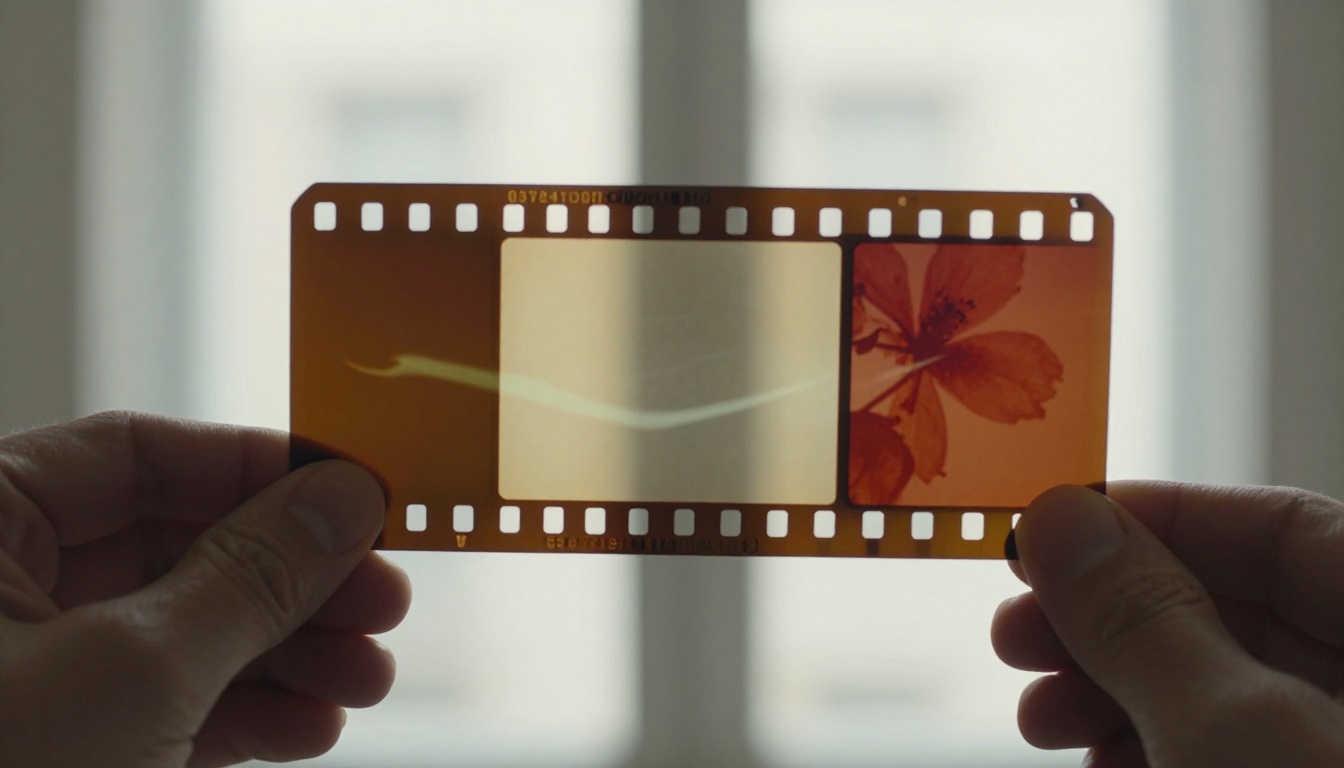
A light leak happens when stray light reaches photographic film before it is processed. The film responds to this uncontrolled exposure by creating blobs, streaks, and gradient washes of overexposed color. Depending on where the leak enters the camera and what part of the spectrum hits the emulsion, the result can be a subtle warm blush in the corner or a dramatic crimson slash across the entire frame.
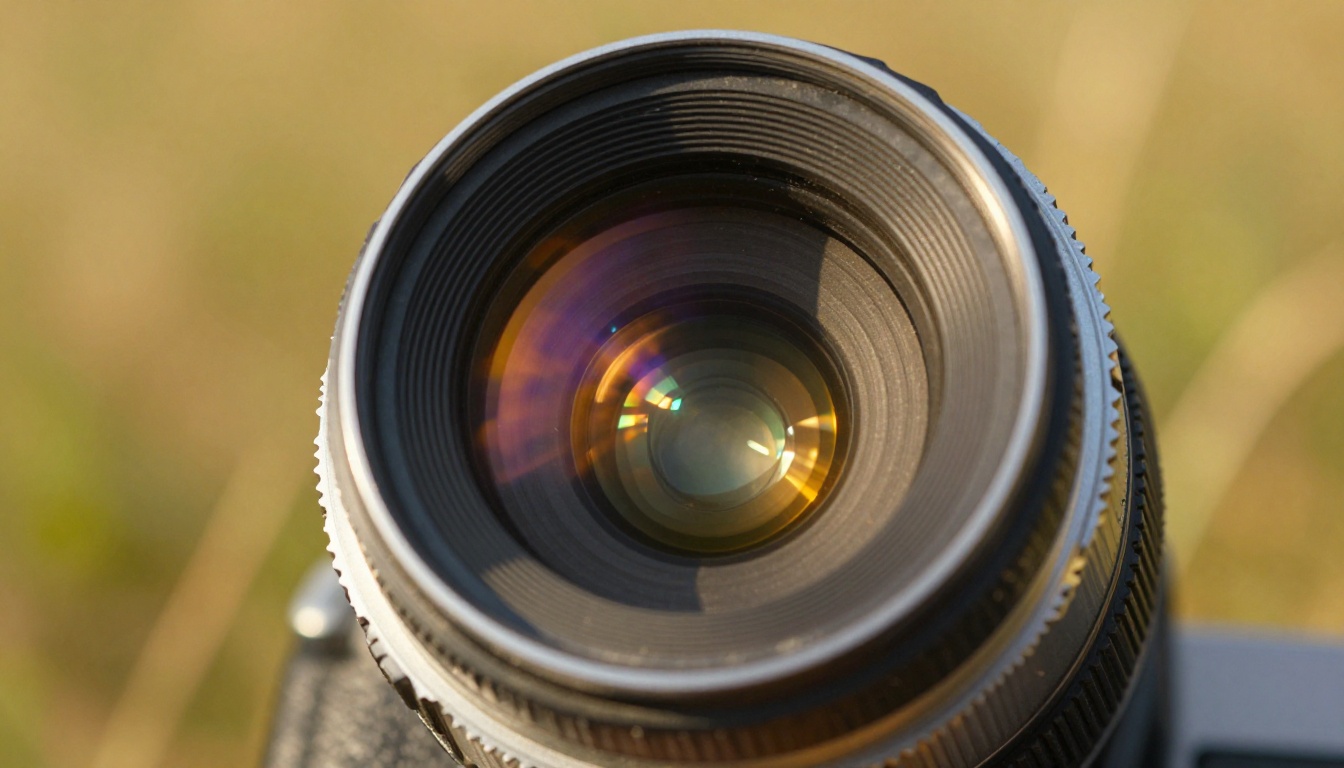
A lens flare is different. This is an optical artifact produced when bright light hits the front element of a lens and bounces between its internal glass elements. Each bounce creates a new artifact: a circle, a hexagon, a streak, or a starburst, depending on the aperture blades and the coating quality of the glass. The shape of each ghost is determined by the aperture polygon. A six-blade aperture creates hexagonal ghosts. An eight-blade creates octagonals.
Both effects share one thing: they are produced by physics, not intention. That is precisely why they feel real.
Why Photographers Still Chase This
The appetite for light leaks and flares has nothing to do with nostalgia for careless photography. It is about what these artifacts signal to the viewer. Imperfection communicates authenticity. A scene with a soft coral leak bleeding into the corner reads as something that was actually experienced, not staged. Flares signal that the light source is real, powerful, and in the frame.
Film simulations from Kodak Portra, Fujifilm Pro 400H, and Cinestill 800T became famous not just for their color rendering but for how they responded to light. The halation around highlights, the grain that gave texture to shadows, the way overexposed areas shifted toward warm yellow: these became the visual language of a certain kind of photograph. AI can now reproduce all of it from scratch.
How AI Generates Light Physics
How the Model Processes Light
Text-to-image models are trained on billions of photographs, including enormous quantities of analog film photography. They have absorbed, statistically, the behavior of light on photographic emulsion. When you write "Kodak Portra 400 film simulation, visible film grain, halation around highlights," the model is not applying a filter. It is reconstructing the visual pattern associated with those descriptions based on its training data.
This distinction matters. A Lightroom preset or Photoshop overlay applies a fixed texture or gradient on top of your image. The light leak exists separately from the scene. AI generates the light leak as part of the scene, influenced by the existing light direction, the color temperature of the environment, and the tonal distribution of the image. The result is a leak that interacts with the subject rather than sitting on top of it.
What Makes AI Results Look Real (or Fake)
The single most common mistake with AI-generated flares is prompting for effect without context. A prompt that says "lens flare effect" without specifying light source direction, camera type, film stock, and aperture characteristics will produce something that looks generated. The model defaults to a generic, oversaturated version of the effect.
Real flares have hierarchy. There is a primary streak or starburst, then secondary ghost elements staggered along the optical axis between the lens and the light source, then tertiary scatter visible as soft halos. Real light leaks have irregular edges. They do not bloom symmetrically. They bleed into shadow areas at different densities and shift color based on the spectrum of the original light source. When your prompt accounts for all of this, the result looks like it came from a camera.
Writing Prompts That Produce Real Light Leaks
The Core Prompt Formula
A prompt that reliably produces convincing light effects follows this structure:
[Subject + Pose] + [Environment + Background Detail] + [Light Source Direction + Quality] + [Film Stock + Camera Lens + Aperture] + [Flare or Leak Descriptor] + [Texture + Atmosphere]
Every element matters. The light source direction must be consistent with the leak or flare position you describe. If you place the light in the upper left, the leak should enter from that corner. If you want an anamorphic flare, you need to specify an anamorphic lens, because that is the only optical system that produces horizontal streaks.
Tip: Describe flare ghosts by shape, not just presence. "Multiple hexagonal aperture ghosts in amber and violet staggered along the vertical axis" produces a far more convincing result than "lens flare."
5 Proven Prompt Structures That Work
These structures produce consistent results across different subjects and environments.
1. Portrait with Backlit Organic Leak
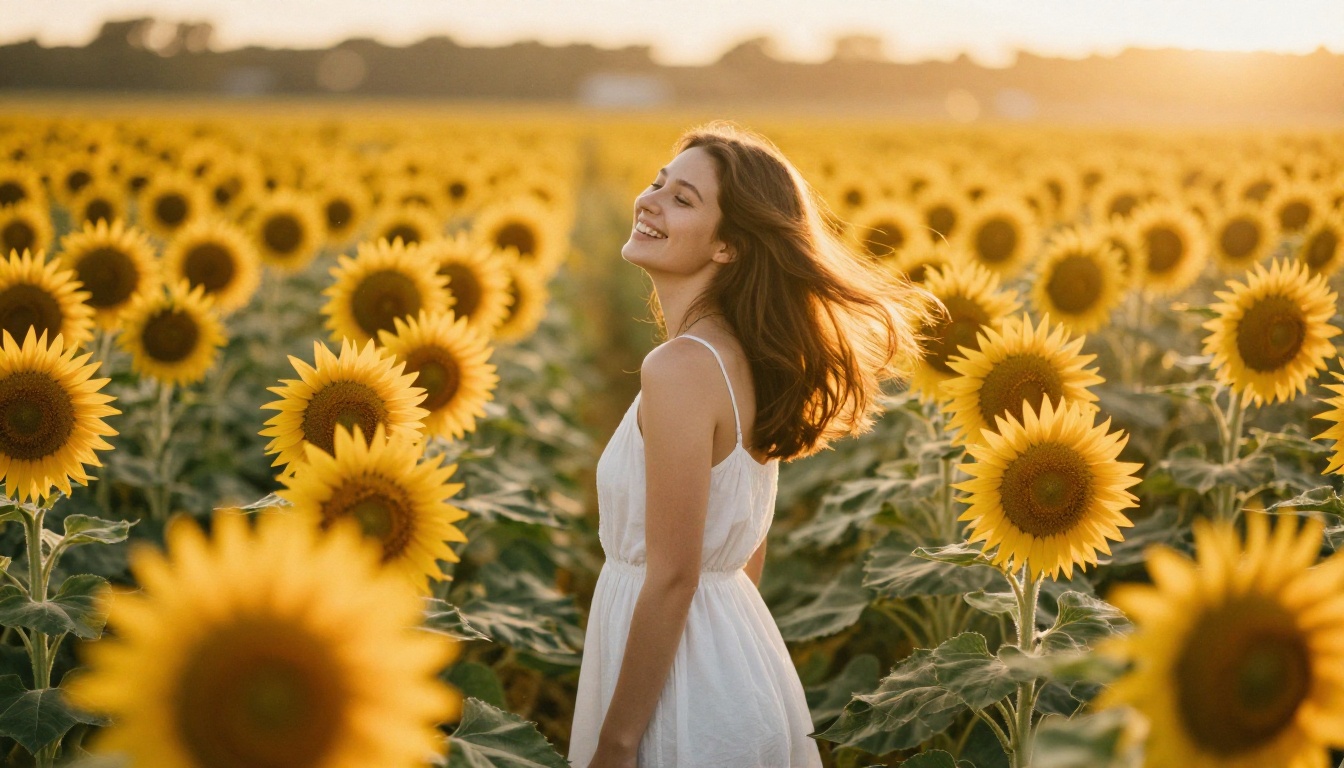
"[Subject] backlit by afternoon sun from upper right, organic film light leak blooming from upper-right corner in warm coral and rose-gold tones with irregular feathered edges, shot on 85mm f/1.4, Kodak Portra 400, visible grain, halation around highlights, photorealistic, 8K"
2. Urban Scene with Anamorphic Flare
"[Scene] at dusk, powerful horizontal anamorphic lens flare in electric blue streaking across the frame from a bright light source at right edge, multiple hexagonal lens ghosts in pale violet staggered along the flare axis, shot on 35mm anamorphic at f/2.8, cinematic color grade, photorealistic, 8K"
3. Landscape with Starburst Sun Flare
"[Landscape] with direct sun visible in upper right of frame producing a sharp 8-point starburst flare, natural volumetric light from upper right, shot on 24mm wide angle at f/16, Kodak Ektar 100, deep blue shadows, warm amber highlights, photorealistic, 8K"
4. Indoor Shot with Practical Light Leak
"[Interior scene] with practical orange tungsten light source off-frame left producing warm light leak that bleeds across the left quarter of the frame in burnt amber and tangerine, irregular organic edges, shot on 35mm at ISO 1600, Cinestill 800T simulation, heavy grain, red halation around highlights, photorealistic"
5. Film-Native Look with Corner Bleeds
"[Subject] with faded vintage film aesthetic, warm yellow-green color cast, lifted shadows, light leaks in both upper corners bleeding in rose and amber, Fujifilm Pro 400H simulation, overexposed by one stop, photorealistic, film grain visible at pixel level, 8K"
Prompt Terms That Change Everything
Some words have outsized impact on how the model renders light effects. These are worth memorizing:
| Prompt Term | What It Does |
|---|
halation around highlights | Adds soft light bleed at overexposed edges, classic film look |
lifted blacks | Raises shadow floor, removes deep black, essential for vintage feel |
yellow-green midtone cast | Signature Kodak film color shift |
irregular feathered edges | Makes light leaks look organic, not geometric |
hexagonal aperture ghosts | Adds realistic secondary flare elements |
film grain visible at pixel level | Pushes for texture in final render |
volumetric morning light from upper left | Controls direction and quality of light simultaneously |
anamorphic lens | Triggers horizontal streak flare behavior |
Adding Flares to Existing Photos with AI
Inpainting for Precise Placement
When you already have a photo and want to add a flare or leak to a specific area, inpainting is the right approach. This technique lets you mask a region of an image and generate new content within that mask, while the model uses the surrounding context to blend the result naturally.
The critical detail is to mask broadly. If you want a flare entering from the upper left corner, do not mask just the corner. Mask at least 30 percent of the frame, including some of the subject area. This gives the model enough visual context to read the existing light direction and color temperature, which produces a flare that integrates with the existing image rather than appearing pasted on.
Your inpainting prompt should describe the effect as if generating from scratch: include the light source, the type of flare, the film stock, and the camera specs. The model will blend your described effect into the existing image content.
Prompt Modifiers That Control Intensity
The intensity of a generated flare is largely controlled by how you describe the light source and exposure. These modifiers shift intensity reliably:
| Effect | Prompt Modifier |
|---|
| Subtle, soft flare | "delicate", "faint", "translucent", "underexposed" |
| Medium natural flare | "natural lens flare", "f/8 starburst", "morning light" |
| Strong dramatic flare | "powerful", "direct sun in frame", "overexposed by 2 stops" |
| Anamorphic streak | "anamorphic lens", "horizontal streak", "blue anamorphic flare" |
| Organic film leak | "irregular", "film light leak", "bleeds from corner", "emulsion exposed to light" |
Tip: Film stock names function as intensity modifiers too. Cinestill 800T implies heavy grain and red halation. Kodak Portra 160 implies clean, controlled tones. Choose your film stock as if you were loading a camera for the specific shot.
Style Variations Worth Trying
Anamorphic Blue Flares
The anamorphic look is defined by one thing: the horizontal blue streak. Anamorphic lenses use a cylindrical front element that compresses the image horizontally for widescreen capture. This geometry produces a distinctive flare pattern: a long horizontal streak in blue or cyan, with oval rather than circular bokeh.
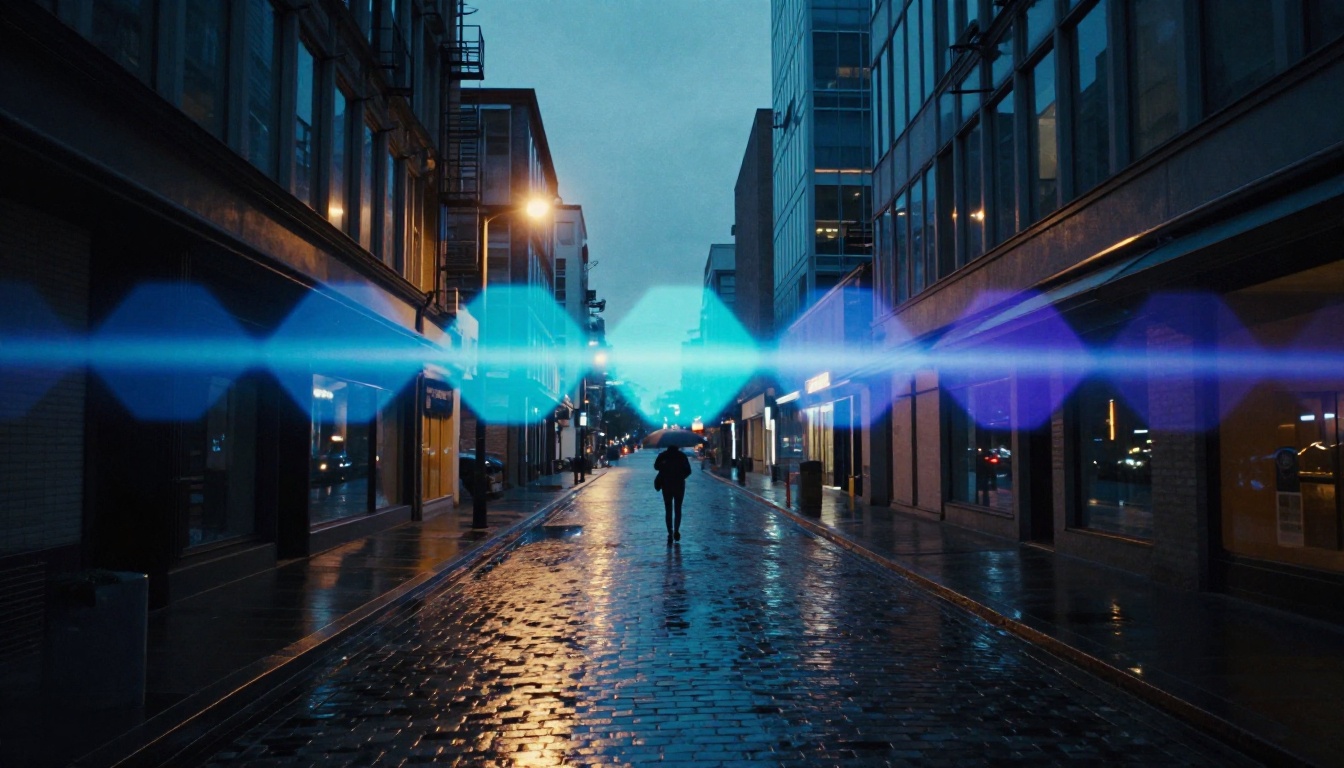
To get this look, specify: "35mm anamorphic lens, horizontal blue anamorphic flare, oval bokeh, cinematic widescreen color grade". The blue color comes from the coating on anamorphic elements and is a signature of the format. Include a strong directional light source in your scene. Night and dusk work best because the contrast between the dark environment and the bright light source maximizes flare visibility.
This style is ideal for urban scenes, concert photography concepts, and any image meant to evoke big-budget cinematography.
Vintage Kodak Film Leaks
The Kodak film leak look is characterized by warm coral and amber bleeds, typically entering from one or two corners, combined with a color shift toward yellow-green in the midtones and a matte, lifted shadow. The effect signals an older camera or a carelessly loaded roll of film.
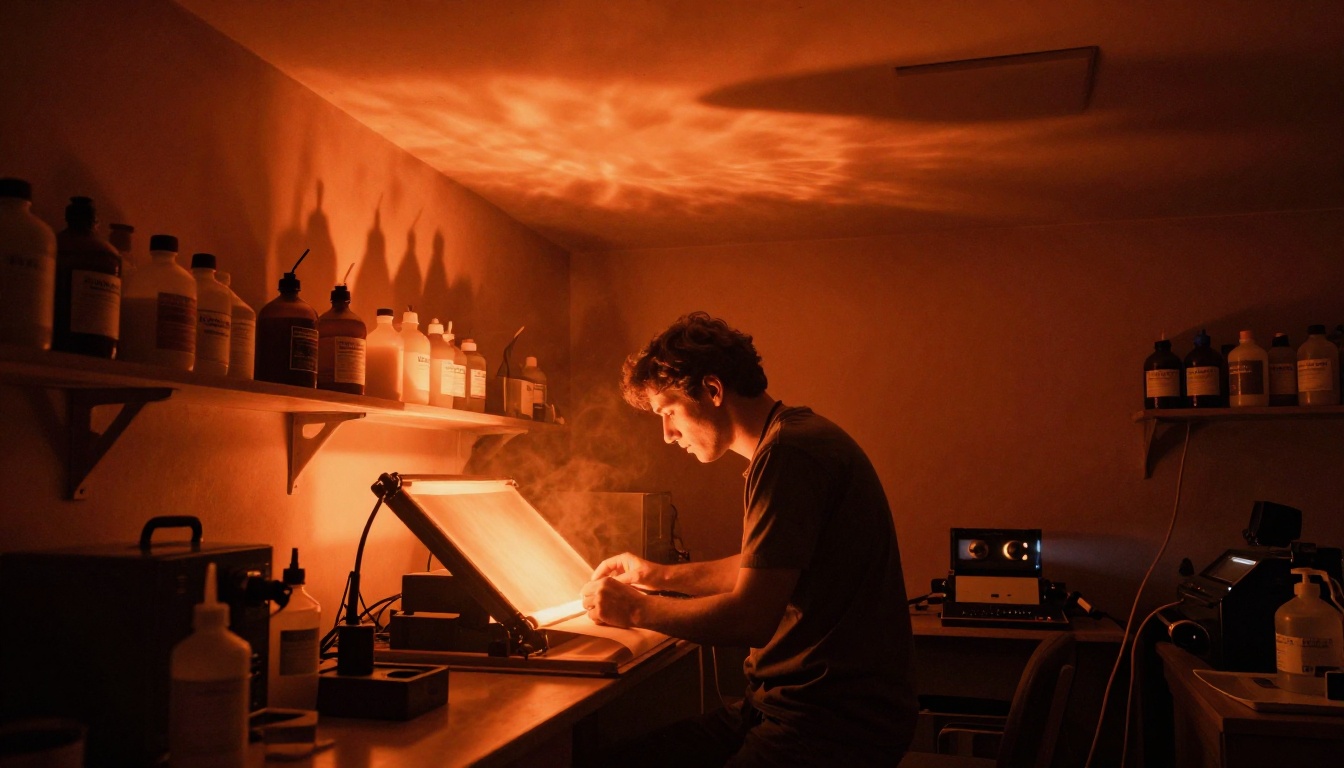
Core prompt terms for this style: "Kodak Portra 400 film simulation, light leak in upper right corner blooming warm coral and rose-gold, lifted blacks, yellow-green midtone cast, faded matte aesthetic, visible film grain at pixel level".
This look works particularly well with portrait and lifestyle photography. The warm color leak complements skin tones and the faded matte gives the image that found-photo quality that has driven the film revival in visual culture.
Golden Hour Bokeh Burst
This style combines a strong sun flare with heavy background bokeh, creating the impression of an image shot during the last fifteen minutes of daylight on a fast lens. The bokeh balls are large, smooth, and lit in warm amber and gold. The subject is backlit, creating rim lighting separation, and the flare itself is positioned just at the edge of the subject's silhouette.

Core prompt terms: "golden hour, direct sun just behind subject at right shoulder, powerful 8-point starburst flare, smooth large bokeh balls in warm amber, 85mm f/1.4, rim lighting, volumetric afternoon light from right, Kodak Portra 800, warm orange cast".
The golden hour bokeh burst is the most universally flattering style for portrait and travel photography. It reads as aspirational without requiring exotic locations or perfect weather.
Sharpening Results with AI Upscaling
Why Super-Resolution Matters Here
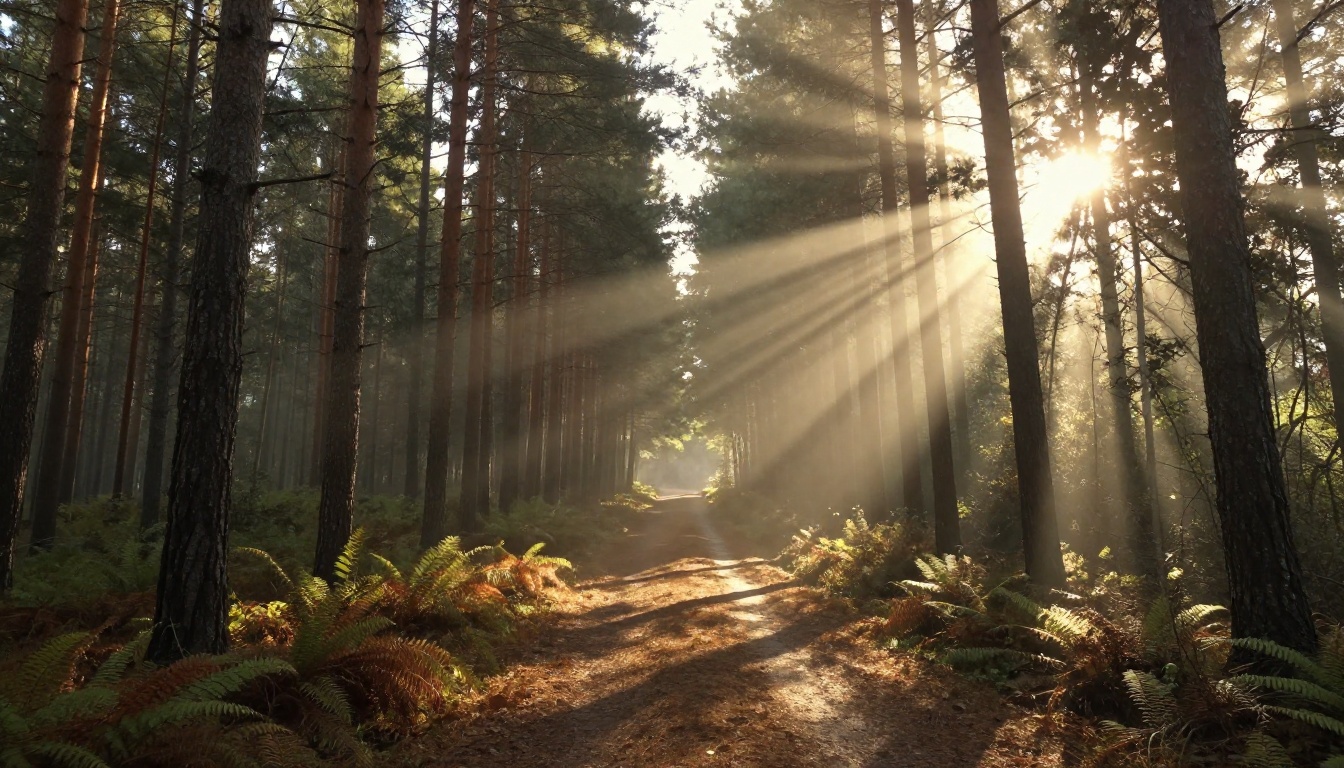
Light leaks and flares live in fine detail. The authenticity of a film grain pattern, the sharpness of a starburst ray, the micro-texture of a light leak edge: all of these are most convincing at high resolution. AI-generated images may be output at a base resolution that compresses some of this fine detail, depending on the model and settings.
Super-resolution upscaling tools rebuild this detail algorithmically. They analyze the pattern of a generated image and extrapolate additional pixels at a higher level of fidelity, often adding perceptual sharpness in the high-frequency detail that makes light effects look real.
Several upscaling tools on PicassoIA are particularly strong for this purpose:
Clarity Pro Upscaler is designed specifically for photorealistic output. It adds micro-detail to portraits and landscapes without over-sharpening edges. For images with film grain, it preserves the grain texture while increasing resolution, which is exactly what you need.
Real ESRGAN is the standard baseline for 4x upscaling. It was trained on real photographic content and handles natural lighting patterns, film grain, and organic textures well. For most generated images, a single pass through Real ESRGAN is sufficient.
Topazlabs Image Upscale offers up to 6x upscaling and is particularly strong at preserving fine detail in highlights, which matters when your image contains a bright sun flare or starburst. The flare rays stay sharp without added halos.
Crystal Upscaler is optimized for portraits. If your light leak image contains a face, this model recovers fine skin detail, eye clarity, and hair texture at 4x resolution without the plasticky result that some upscalers produce.
Tip: Run upscaling after any inpainting or compositing is complete. Upscale last, not first.
The Workflow That Produces the Best Results
The most reliable workflow for light effect images runs like this:
- Generate the base image with a detailed, physics-informed prompt
- Inpaint any areas where the flare or leak needs adjustment, position correction, or intensity change
- Upscale the final image with Clarity Pro Upscaler or Real ESRGAN to bring out grain texture and flare detail
This three-step process mirrors how professional photographers work: capture, retouch, output. The difference is that each step here takes seconds rather than hours.
Put It Into Practice
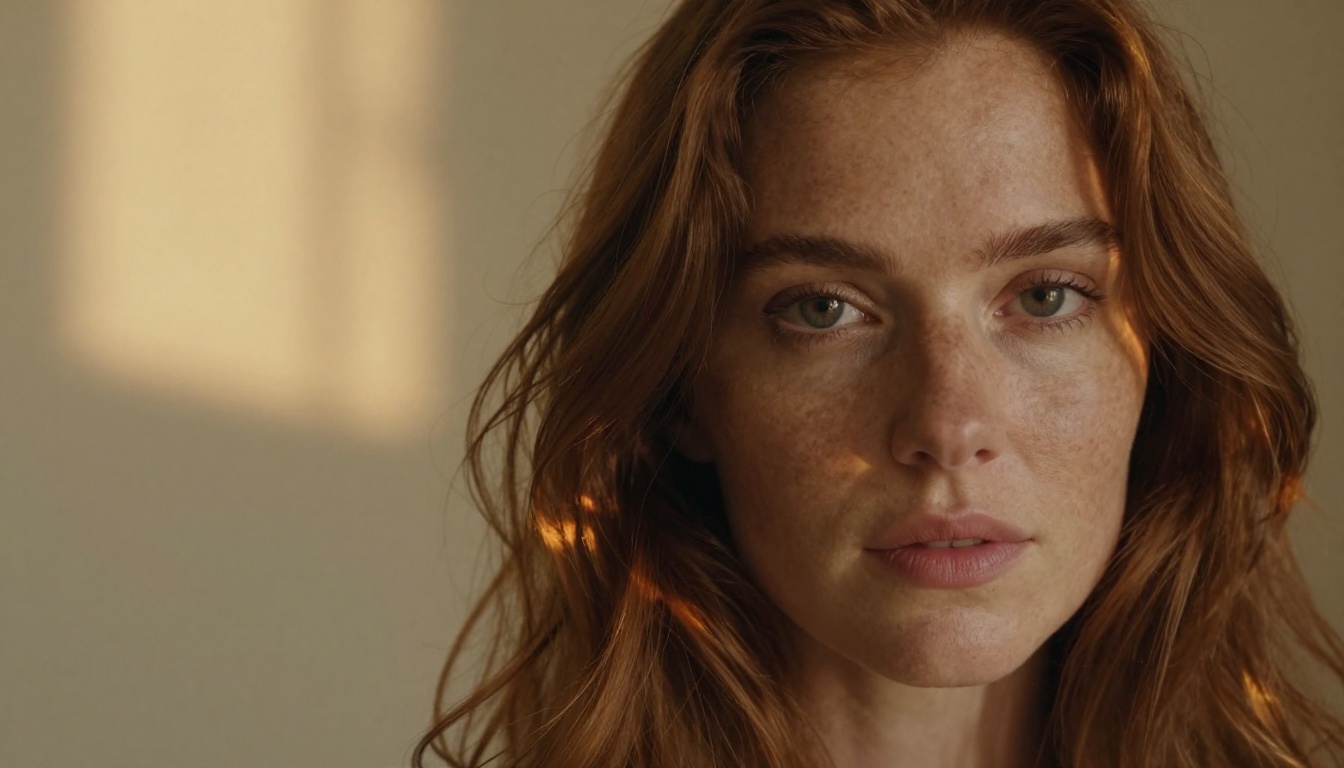
Light leaks and lens flares are not a shortcut or a filter. They are a visual language built from decades of photographic history, and the images that use them most effectively treat them as part of the composition, not an afterthought applied at the end.
The difference between a generated image that looks like a real photograph and one that looks like an AI attempt is almost always in the specificity of the prompt. Light source direction matched to flare position. Film stock chosen for its color characteristics, not just its name. Lens specs that are physically consistent with the flare type being described. These details separate convincing from generic.
PicassoIA's text-to-image library gives you access to models capable of generating all of these effects with a high degree of realism. The platform's inpainting tools let you apply flares and leaks to images you already have. And when you have a result worth keeping, the super-resolution tools, particularly Clarity Pro Upscaler and Topazlabs Image Upscale, bring the fine detail of scanned film to a generated image.

Take one of the prompt formulas from this article, adapt it to your subject, and generate something. The most effective way to see what makes a light leak prompt work is to run it, look at the result, and identify which specific element needs adjustment. It is the same iterative process analog photographers used in the darkroom, just without the chemical smell.
Start with something simple: a portrait, a strong backlight, and a Kodak Portra film simulation. From there, the physics of the prompt will do the rest.


