Motion blur is the difference between a photo that feels frozen and one that breathes. A sprinting athlete, a spinning dancer, a car cornering at speed: the brain reads blur as kinetic energy, as life. For decades, capturing it required perfect timing, specific shutter speeds, and expensive gear. Then AI changed the math entirely.
Today, you can add convincing, physics-accurate motion blur to any static image or video clip in seconds, without touching Photoshop, without panning your camera, and without a studio budget. This article covers every method, every tool, and every mistake worth avoiding.
Why Motion Blur Changes Everything
The Brain Reads Blur as Speed
Human vision is wired to process motion through blur. When your eyes track a moving object, the peripheral image smears across your retina. A camera with a fast shutter freezes that smear and the result, while technically sharp, often feels clinical and lifeless. Photographers call this the "frozen moment problem." The subject is in focus but the image lacks velocity.
Motion blur reintroduces the temporal information the brain expects. Studies in visual perception consistently show that images with directional blur are rated as more dynamic, more exciting, and more emotionally engaging than their crisp equivalents. That is not an aesthetic preference. It is hardwired neurology.
Static Photos That Look Frozen
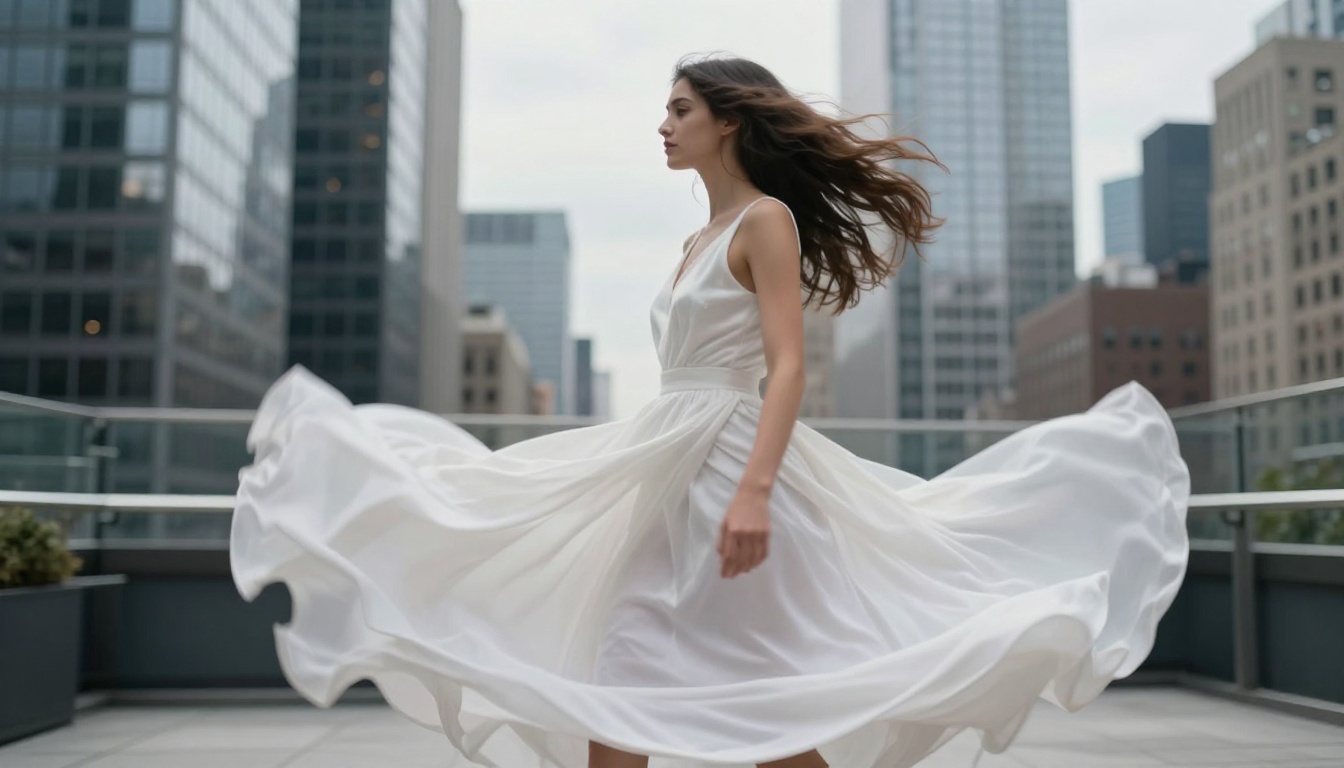
The problem is especially pronounced in sports, fashion, and action photography. A football player frozen mid-tackle, a dancer caught in a pirouette with every tutu fiber sharp, a bicycle wheel with each spoke crystal clear: technically these shots are correct, but they feel wrong. The physics are absent. Adding motion blur, even artificially, restores the visual truth of the moment.
The AI Advantage
From Hours to Seconds
Traditional motion blur in post-processing is tedious work. In Photoshop, it means creating a duplicate layer, applying a smart filter, painting a precise mask around the subject, adjusting falloff gradients, and blending modes. For a single image, a skilled editor might spend 45 minutes on a convincing result. For a batch of 50 product photos, that becomes a full production week.
AI collapses this timeline. Modern AI image editors analyze the scene geometry, detect subject edges automatically, calculate physically accurate blur vectors based on implied motion direction, and apply graduated falloff in a single pass. What required a skilled retoucher now takes a text prompt and a few seconds of processing time.
The Gap Between Fake and Real
The reason AI-generated motion blur looks better than manual filter applications comes down to scene understanding. A blur filter applied in Photoshop treats every pixel identically: it smears in one direction at one strength. Real motion blur follows physics. Objects closer to the camera blur more. Faster-moving edges blur differently than slower-moving ones. Blur falls off as it approaches a stationary anchor point.
AI models trained on millions of real high-speed photographs have learned these physical relationships. They apply blur that respects depth, velocity gradients, and edge transitions. The results pass the "is this real?" test in a way that manual filters rarely do.
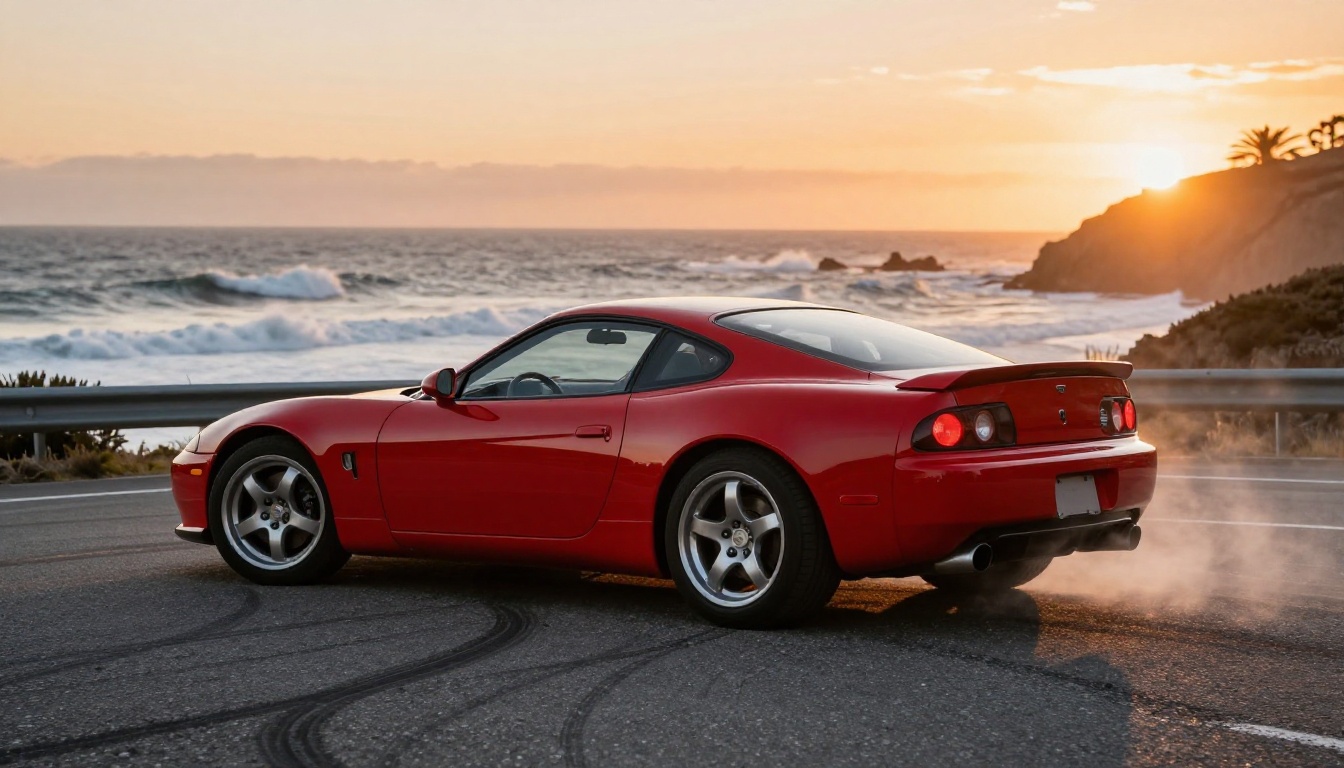
💡 The key insight: AI motion blur works best when the image already implies motion, such as a runner mid-stride, a car in a corner, or fabric billowing. Give the AI context and it delivers physics.
Types of Motion Blur AI Can Create
Not all blur is the same. The four types below describe fundamentally different physical phenomena, and the best AI tools can produce each one accurately.
Linear Speed Blur
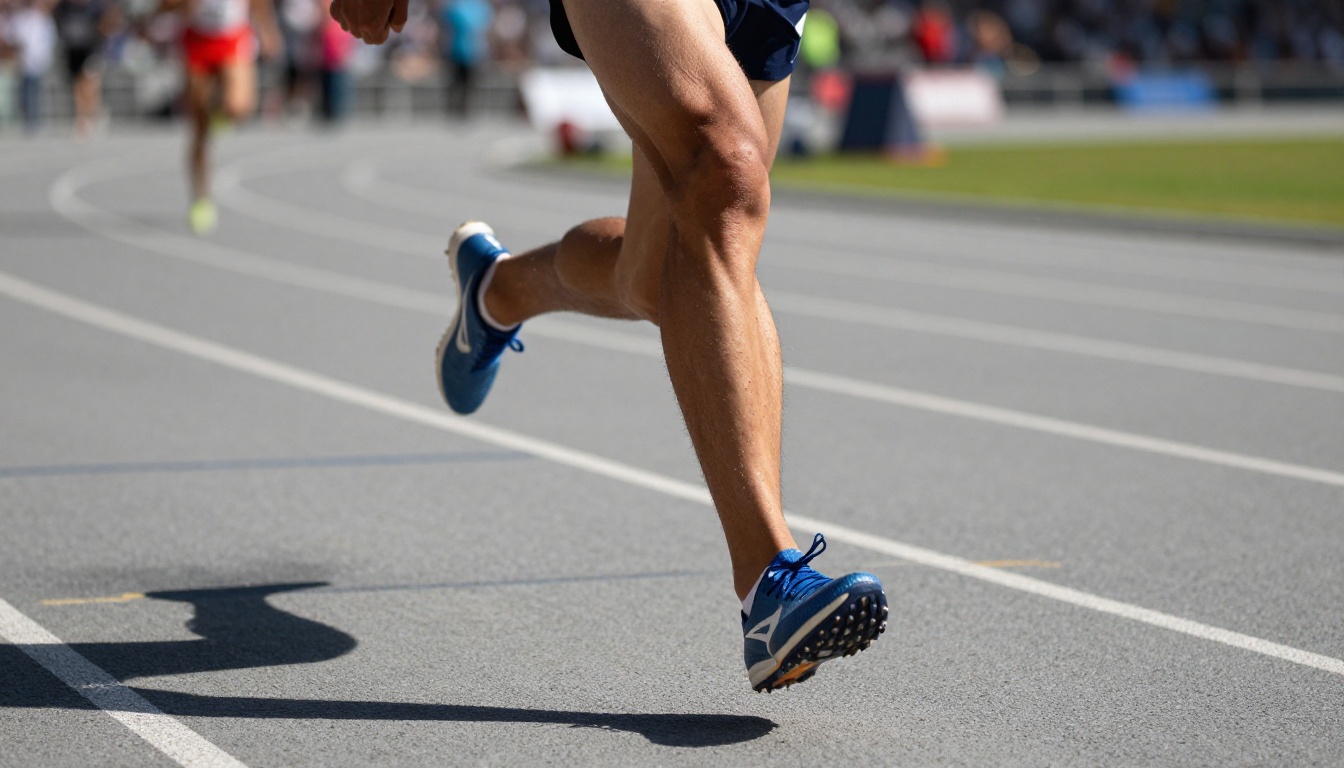
This is the blur that makes a car, runner, or bicycle feel fast. It follows a single directional vector, usually horizontal or at a slight angle matching the subject's travel path. The background streaks while the subject remains sharp, or the entire frame blurs depending on the camera pan speed implied.
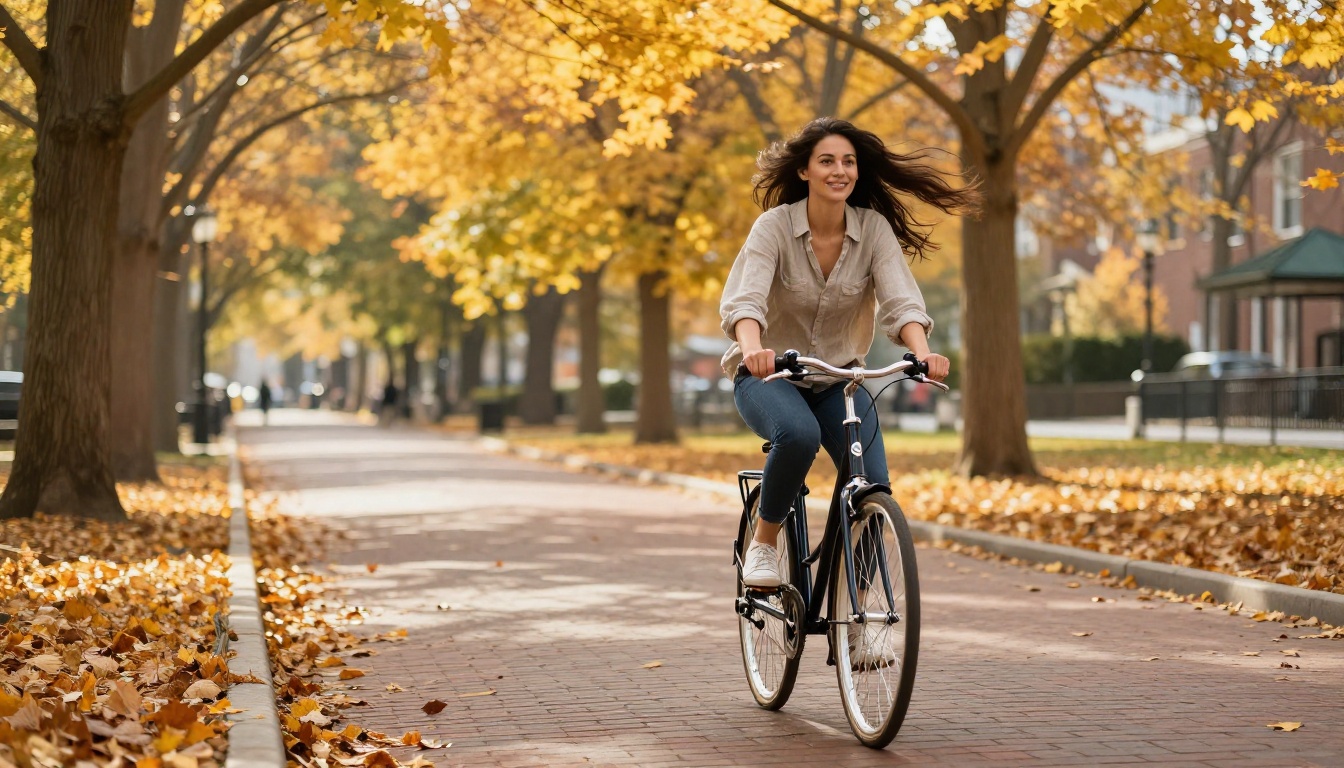
Linear blur is the most natural fit for AI generation because the direction vector is easy to specify in a text prompt. "A cyclist with speed blur trailing behind" gives the model everything it needs to position the effect correctly.
Radial Spin Blur
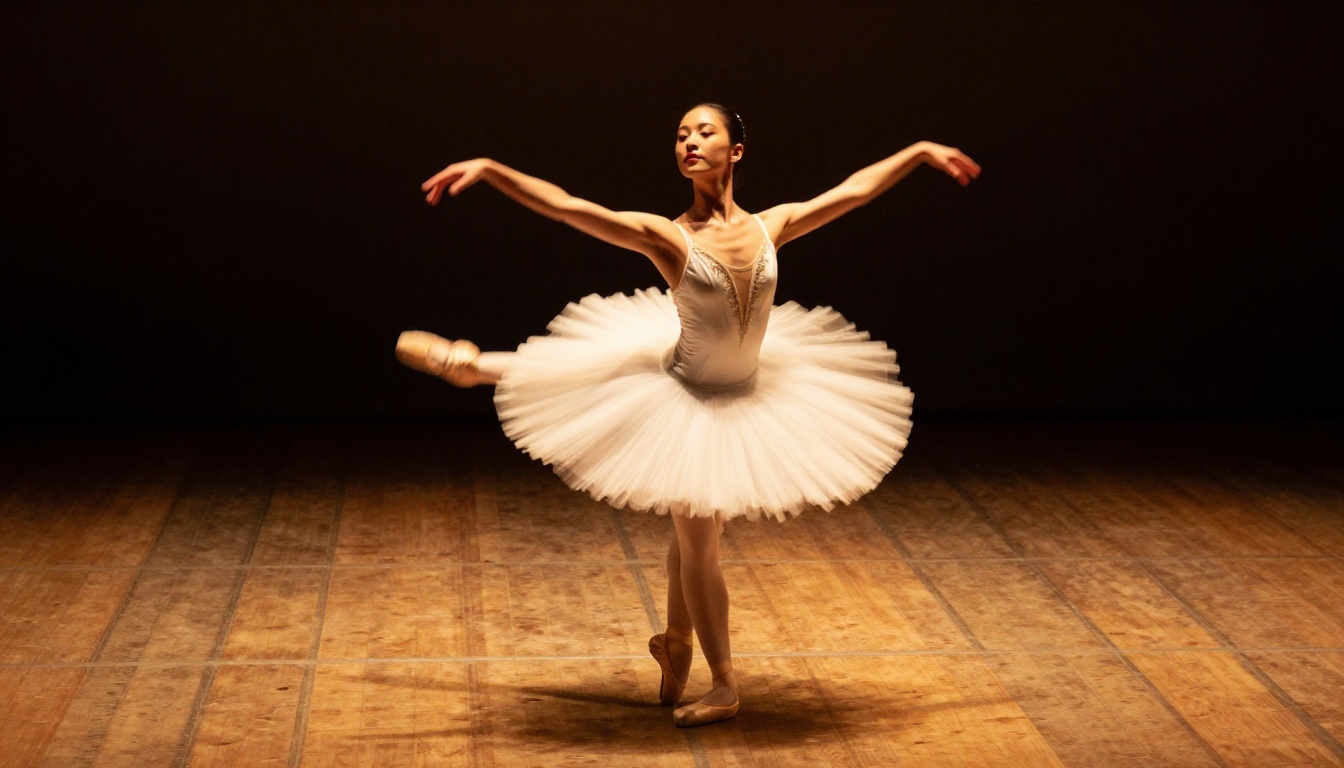
Radial blur originates from a center point and expands outward in a circular pattern. You see it in spinning wheels, rotating helicopter blades, a dancer mid-pirouette. The center stays sharp while the outer edges blur into circular arcs.
This is technically harder for AI to fake convincingly because the blur radius and falloff must match the distance from the rotation axis. Well-trained models handle this correctly. Poorly-tuned ones produce smearing that looks like a bad Photoshop spin filter.
Zoom Burst Effect
Zoom blur radiates outward from a central focal point as if the camera is rapidly zooming or the subject is rushing toward the lens. It creates a dramatic tunnel-vision effect that works brilliantly for portraits, product close-ups, and wildlife shots.
In natural photography, this requires physically zooming the lens during a long exposure. With AI, you describe the effect and it generates the radial expansion pattern from the correct focal center automatically.
Camera Shake Simulation
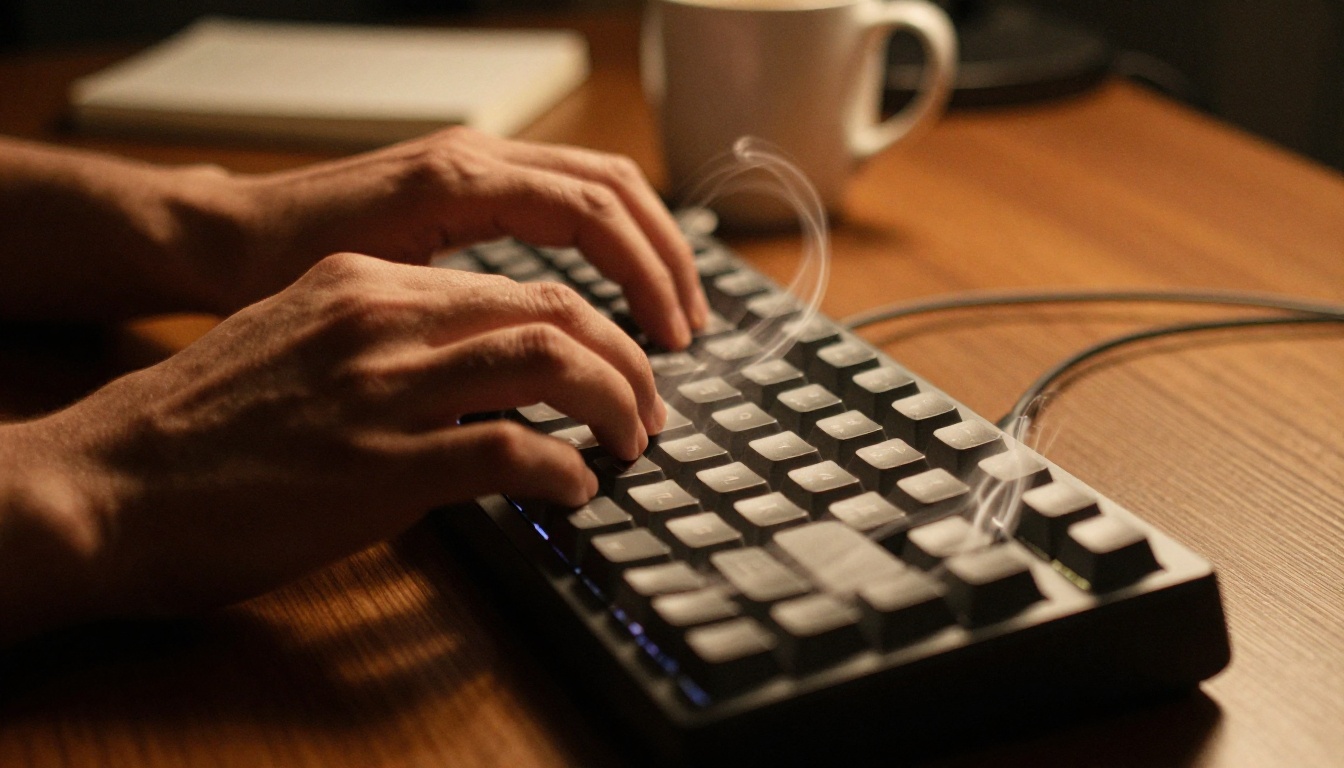
Sometimes the desired effect is not the subject blurring but the entire frame shifting, mimicking handheld camera shake or a long exposure in low light. This gives documentary and editorial photography a sense of urgency. AI can simulate this by applying micro-directional blur across the full frame with slight angular variation, exactly how real camera shake behaves.
How to Add Motion Blur with AI: Step-by-Step
This workflow applies whether you are using a prompt-based image generator or an AI image editor with existing photos.
Step 1: Choose an Image That Implies Motion
AI motion blur is most convincing when the base image already suggests movement. A runner with one foot off the ground, a car on a corner, a dancer mid-spin. If the pose is static and symmetrical, the blur will look applied rather than earned. Choose or generate a source image where the body language, composition, or context clearly communicates velocity.
Step 2: Specify Blur Type and Direction
In a text prompt, be explicit about the blur type. "Radial motion blur from spinning" produces a different result from "linear speed blur trailing to the right." Include the direction vector relative to the frame. "Horizontal motion blur to the left" or "blur radiating from center outward" gives the model the information it needs to place the effect correctly.
If you are using an image editor with AI inpainting capabilities, such as PicassoIA Image Editor Pro, you can paint a mask over the areas where blur should appear and prompt specifically for the effect in that zone.
💡 Pro tip: Describe the blur intensity with speed references. "Extreme high-speed blur at 200mph" produces more aggressive streaking than "gentle motion blur at walking pace." The model uses the implied physics to calibrate the effect.
Step 3: Set Intensity and Falloff
Blur intensity is the biggest variable between a convincing result and an obvious fake. Too little blur and the photo still reads as frozen. Too much and the subject becomes unrecognizable. The sweet spot is usually blur that stretches 5-15% of the frame length for moderate speed effects, and up to 30-40% for extreme speed scenarios like racing cars or sprinters.
Falloff is equally important. Real motion blur does not have a hard edge where it starts and stops. It graduates from maximum intensity at the trailing edge to zero at the leading edge or anchor point. When prompting AI, you can describe this as "gradual blur falloff toward the front of the subject" or "sharp front edge with trailing blur dissolving into background."
Step 4: Isolate the Sharp Subject
The most critical technical step in adding motion blur is keeping the right elements sharp. In most motion blur scenarios, the subject's face (or primary point of interest) should remain in focus while the extremities and background blur. This mimics how a skilled photographer panning their camera would shoot the scene.
PicassoIA Image Editor Pro handles subject isolation automatically using semantic segmentation. It identifies the subject, calculates which elements are moving (arms, legs, wheels, fabric) versus anchored (face, torso, wheel hub), and applies blur accordingly. You can also use manual masking to override this if the automatic detection misses a complex subject.
Step 5: Upscale and Finalize
Motion blur effects, particularly when generated fresh from a text prompt, occasionally soften fine details in the subject's sharp zones. Running the final image through a dedicated upscaler restores crisp edges and adds the texture depth that makes the photo read as genuinely high-resolution.
Clarity Pro Upscaler is particularly well-suited for this step because it is trained specifically on photorealistic imagery and adds fine-grained texture (skin pores, fabric weave, hair strands) during the upscale pass. Alternatively, Real ESRGAN offers a fast 4x upscale with excellent edge sharpening that works well on motion-blurred subjects.
For video, Crystal Video Upscaler applies the same clarity enhancement frame-by-frame, and Topaz Image Upscale offers up to 6x enlargement for large-format print deliverables.
For Static Images
When you are working with a single photograph or generating motion blur from scratch, the starting point is always a capable text-to-image model. PicassoIA Image supports detailed prompt control for directional blur effects and handles complex multi-element scenes with realistic physics.
For Video Footage
Adding motion blur to video follows the same principles but requires frame-consistent processing. The blur direction, intensity, and subject isolation must remain stable across every frame or the effect flickers and looks artificial.
Lucy Edit 2 is a strong option for text-directed video editing including motion effect adjustments. Wan 2.7 Videoedit handles motion-based style changes well and supports instruction prompts for adding cinematic speed effects to existing footage.
For footage that needs quality enhancement after effect application, Crystal Video Upscaler restores sharpness in the non-blurred zones without touching the intentional blur areas.
When to Use Each Upscaler
Not every upscaler handles motion blur artifacts the same way. Here is a practical breakdown:
- Real ESRGAN: Best for fast 4x upscaling with strong edge definition. Works well for sports and action subjects.
- Clarity Pro Upscaler: Best for photorealistic skin and fabric texture recovery. Ideal for fashion and portrait motion blur.
- Topaz Image Upscale: Best for print-ready output up to 6x. Use when you need maximum resolution for large format.
Mistakes That Kill the Effect
Most failed motion blur attempts come down to five repeatable errors. Avoid these and the majority of your outputs will read as genuinely photographic.
-
Wrong blur angle: Blur direction must match the implied travel path. A car moving right gets horizontal blur to the left (trailing edge). A car moving into the frame gets zoom blur from the focal point. Mismatched angles immediately register as fake.
-
Blurring the face: The subject's eyes and face should almost always stay sharp. Facial blur signals "entire photo is out of focus" rather than "subject is moving." Use subject isolation tools or masks to protect the primary focal point.
-
Uniform blur intensity: Real motion produces graduated blur, not uniform smearing. If every pixel blurs by exactly the same amount, it reads as a filter. Describe or set gradient falloff explicitly.
-
Ignoring light trails: Fast subjects in motion blur their physical form but they also affect how light interacts with them. Specular highlights on a car, the glint in a dancer's eye, the sheen on an athlete's skin: these should remain present even in the blurred zones, just streaked along the motion vector. AI models handle this automatically if you include realistic lighting in the prompt.
-
Skipping the upscale pass: Motion blur generation sometimes sacrifices fine detail in the sharp zones. Always run a final upscale pass to recover texture in the subject's face, fabric, or other high-detail areas.
💡 Checklist before you publish: Blur angle matches travel direction? Subject face sharp? Gradient falloff visible? Light interaction present? Upscale applied? If all five are yes, your result will read as photographic.
Real Results Across Different Subjects
Motion blur works differently depending on what is moving. Understanding the subject-specific nuances saves iteration time.
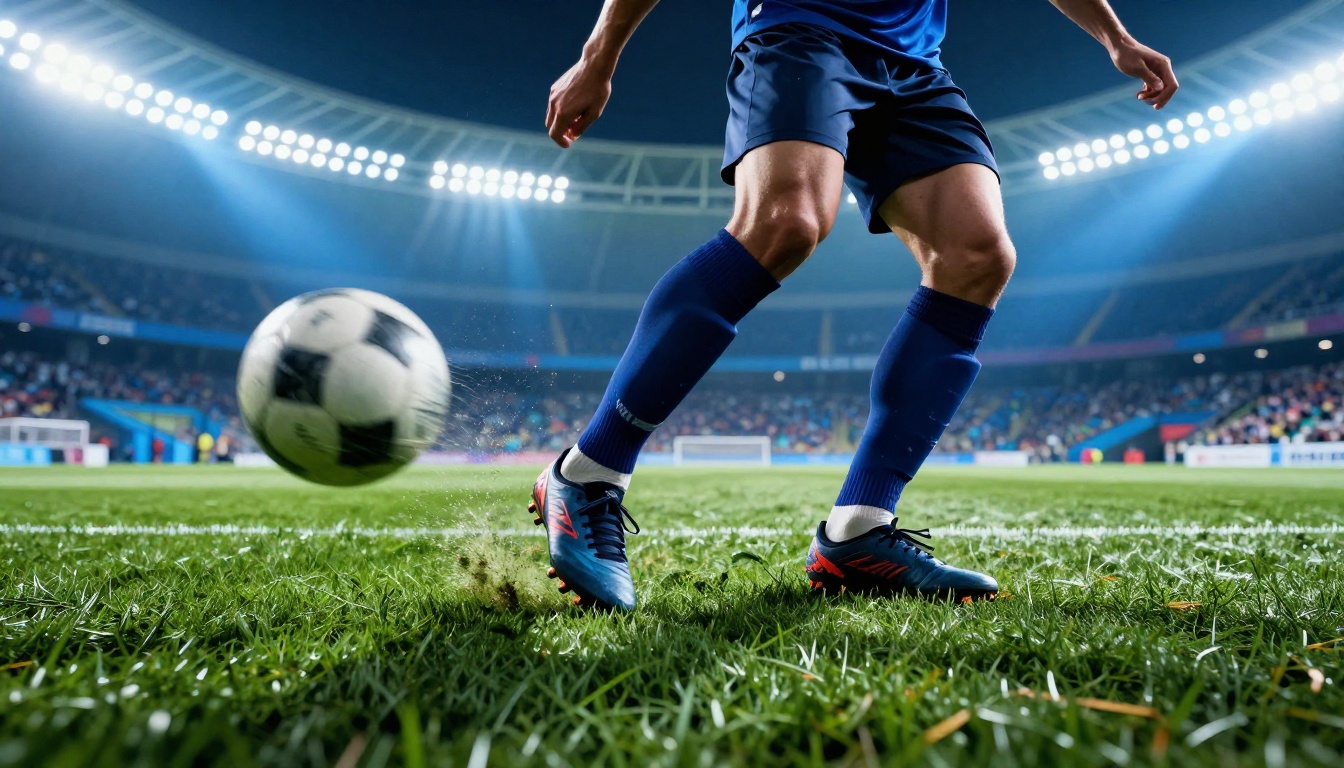
Sports and action: The panning shot is the gold standard. Subject sharp, background streaked horizontally. Linear blur at roughly 15-25% frame stretch reads as fast but not extreme. For sprinting, emphasize arm and leg blur while protecting torso and face.
Fashion and portraits: Radial and fabric-flow blur works best. A spinning dress, wind-blown hair, or a gesture caught mid-swing. The key is that blur should feel graceful rather than chaotic. Keep fabric texture visible in the sharp center zone.
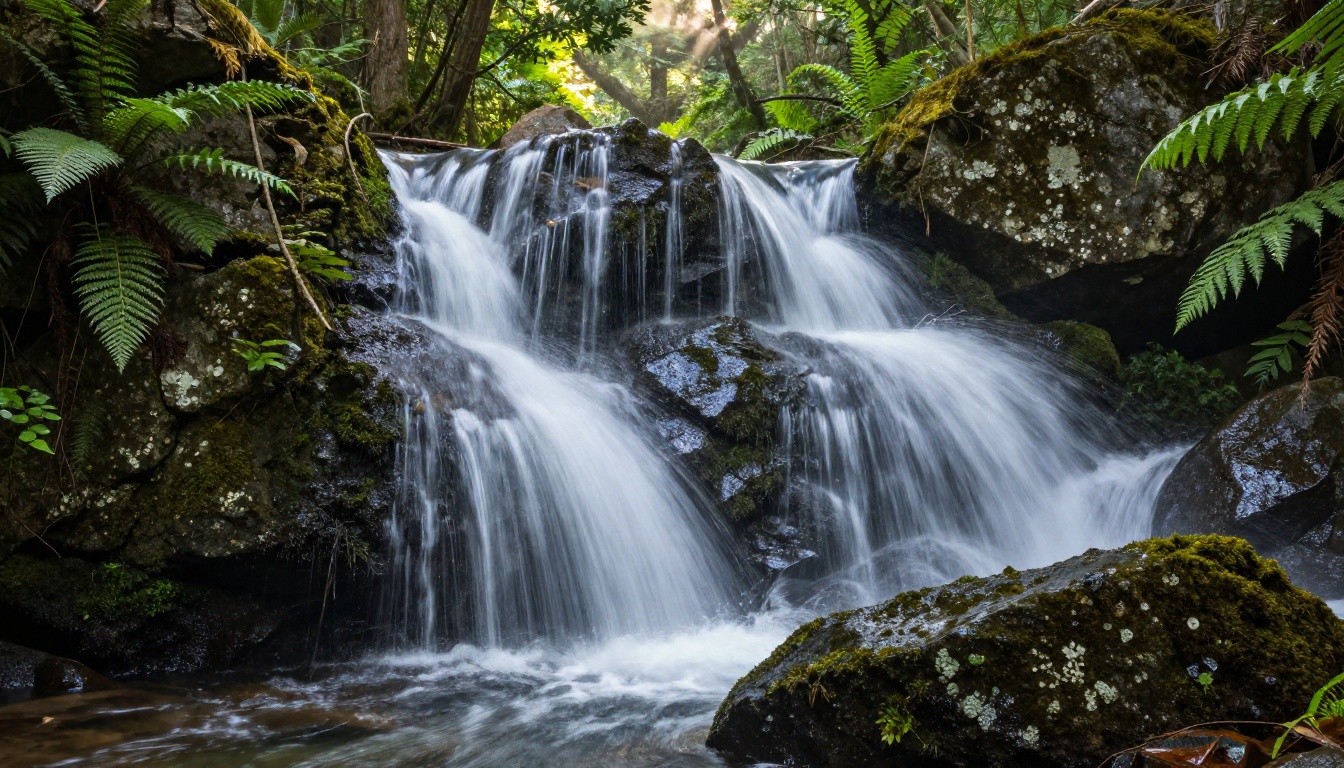
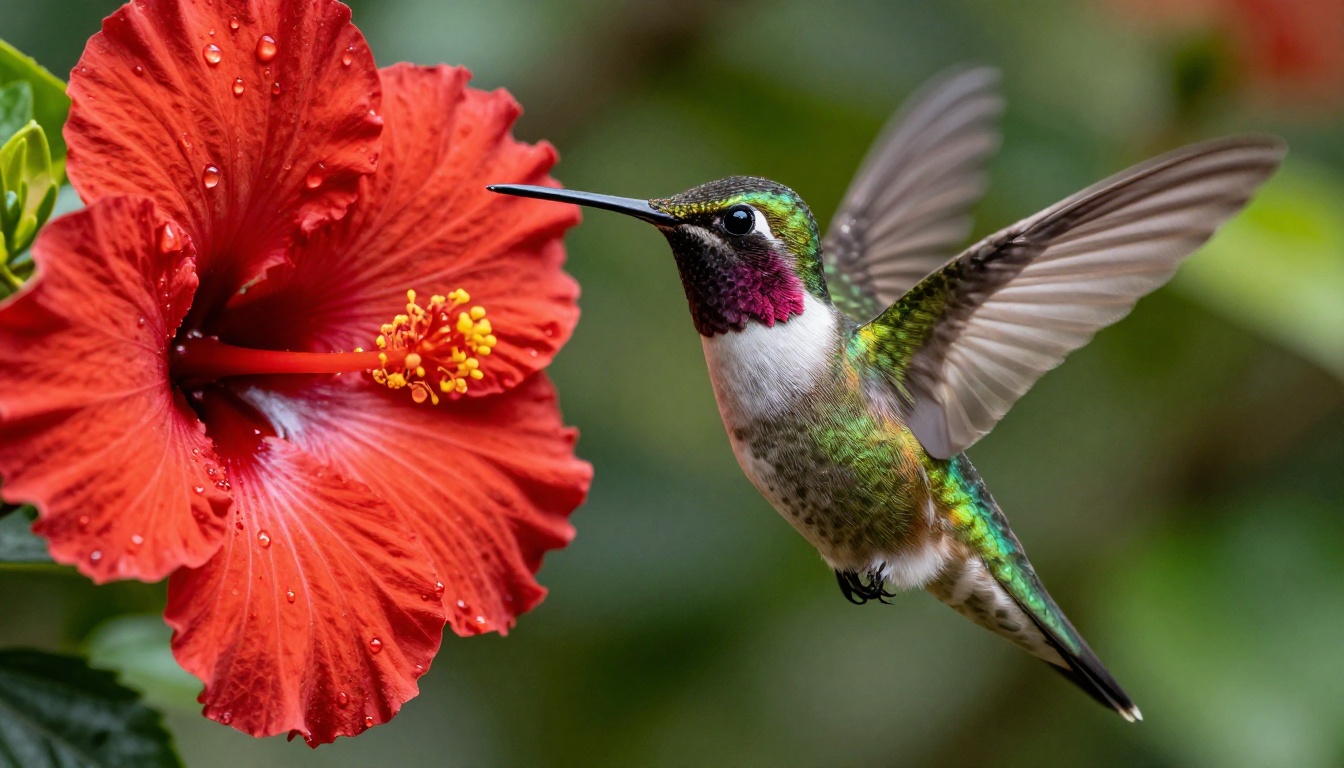
Wildlife and nature: Hummingbird wings, running animals, waterfalls. For water and bird wings, long-exposure simulation (smooth silky blur) is the natural effect. For running animals, linear panning blur along the travel axis.
Cityscapes and architecture: Zoom burst from building centers, streaking headlights, crowd motion blur in public spaces. These work best as full-frame effects rather than isolated subject blur.
Start Creating Right Now
Motion blur is one of those effects that looks technically demanding but, with the right AI tools, becomes one of the fastest edits in your workflow. You do not need a camera, a studio, or years of Photoshop experience. You need a good prompt and the right platform.
Picasso IA gives you direct access to PicassoIA Image for generating motion blur from scratch, PicassoIA Image Editor Pro for applying effects to your existing photos, and a full suite of upscalers including Clarity Pro Upscaler and Real ESRGAN to finish every image at print-ready quality.
The fastest way to get a feel for what works is to start with a subject you already have in mind and describe the motion it implies. Pick the blur type that matches the physics. Set the intensity to something that matches the speed. Protect the face. Upscale the final output. That is the entire workflow.
Open Picasso IA, pick your subject, and describe the motion it should carry. The results will be exactly as fast and as convincing as you need them to be.


