Shadows are the invisible architecture of every convincing photograph. A product sitting on a white background with no shadow floats in space, untethered and fake. A person composited into a landscape without matching shadows looks pasted in, not present. For years, getting shadows right meant hours in Photoshop adjusting opacity, blur, and angle by hand, hoping the result would pass a close inspection. AI has compressed that process into seconds, with results that hold up under scrutiny because they are physically calculated, not approximated.
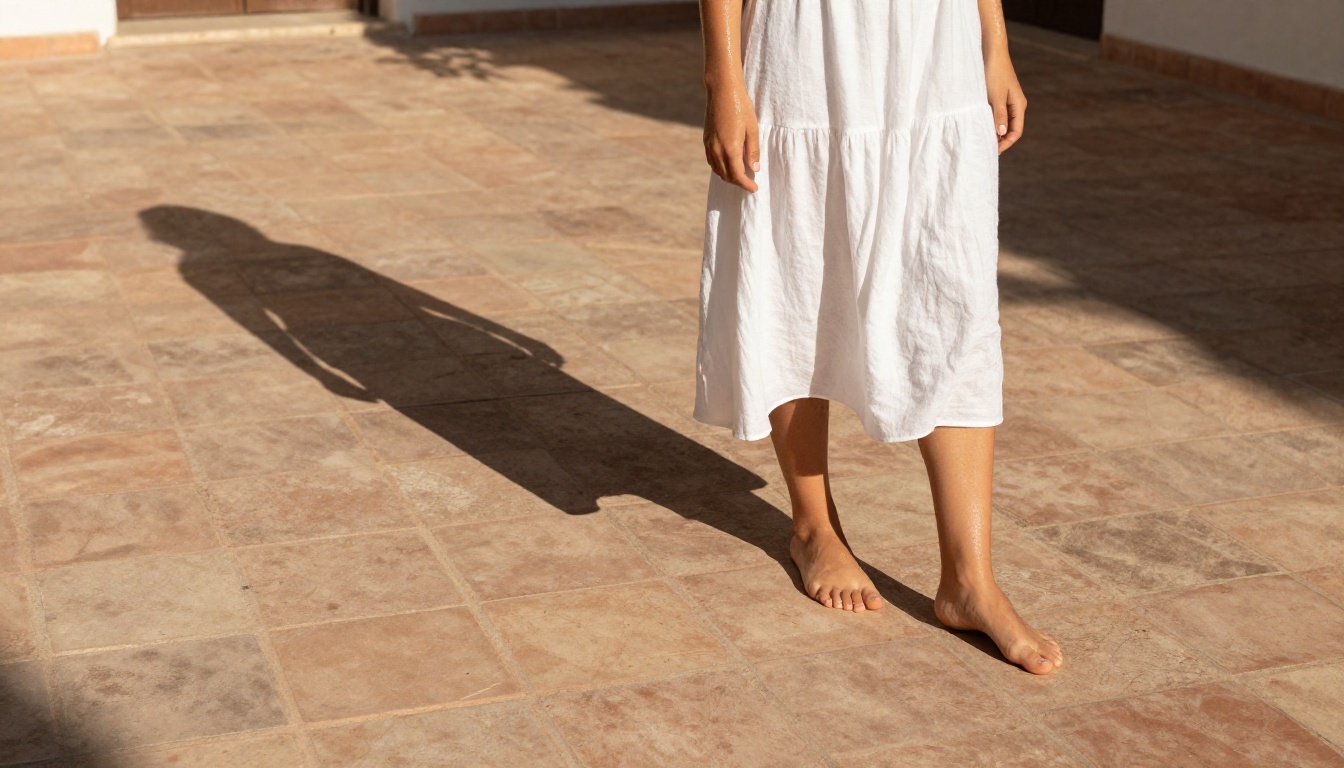
This is not about slapping a dark blob under an object. It is about the science of what makes a shadow physically believable, which shadow types appear in different lighting conditions, and how modern AI models analyze all of that automatically so you do not have to think about it. The gap between a professional-looking composite and an amateur edit is almost always the quality of the shadows.
Why Shadows Make or Break a Photo
The physics behind believable light
Every shadow in the real world is defined by three factors: the position of the light source, the shape of the object casting the shadow, and the properties of the surface receiving it. A shadow cast by midday sun on flat concrete looks completely different from the same object lit by a single desk lamp on textured linen cloth. The angle determines direction and length. The softness of the light (hard point source vs. diffuse window) determines edge sharpness. The surface texture determines how the shadow wraps, breaks, and absorbs.
When any of these three factors are wrong in an edited image, the human visual system catches it instantly, even if the viewer cannot articulate why. The image just "feels off." AI models trained on millions of real photographs have internalized these physical rules without requiring the user to specify every variable manually.
What makes a shadow look fake
The most common mistakes in manual shadow editing are: wrong light direction (shadow falls away from the visible light source), uniform opacity (real shadows are darkest at the contact point and fade outward), hard edges on shadows that should be soft (diffuse window light creates much softer shadow edges than a single direct bulb), and completely flat shadow shapes that ignore surface contours. Fixing all four manually for a single image is a 20-30 minute task. AI handles all four simultaneously in a single generation pass.
The 4 Shadow Types AI Can Generate
Drop shadows
The most common type. An object sits above a surface and casts a shadow below it. The most important variable is the gap between the object and the surface. A product sitting directly on a table has a tight, dark contact shadow right at its base. A leaf floating 10cm above water has a soft, diffuse shadow that no longer matches the leaf's exact outline. AI models calculate this gap automatically from depth information already present in the image, adjusting blur radius and opacity accordingly.
Contact shadows
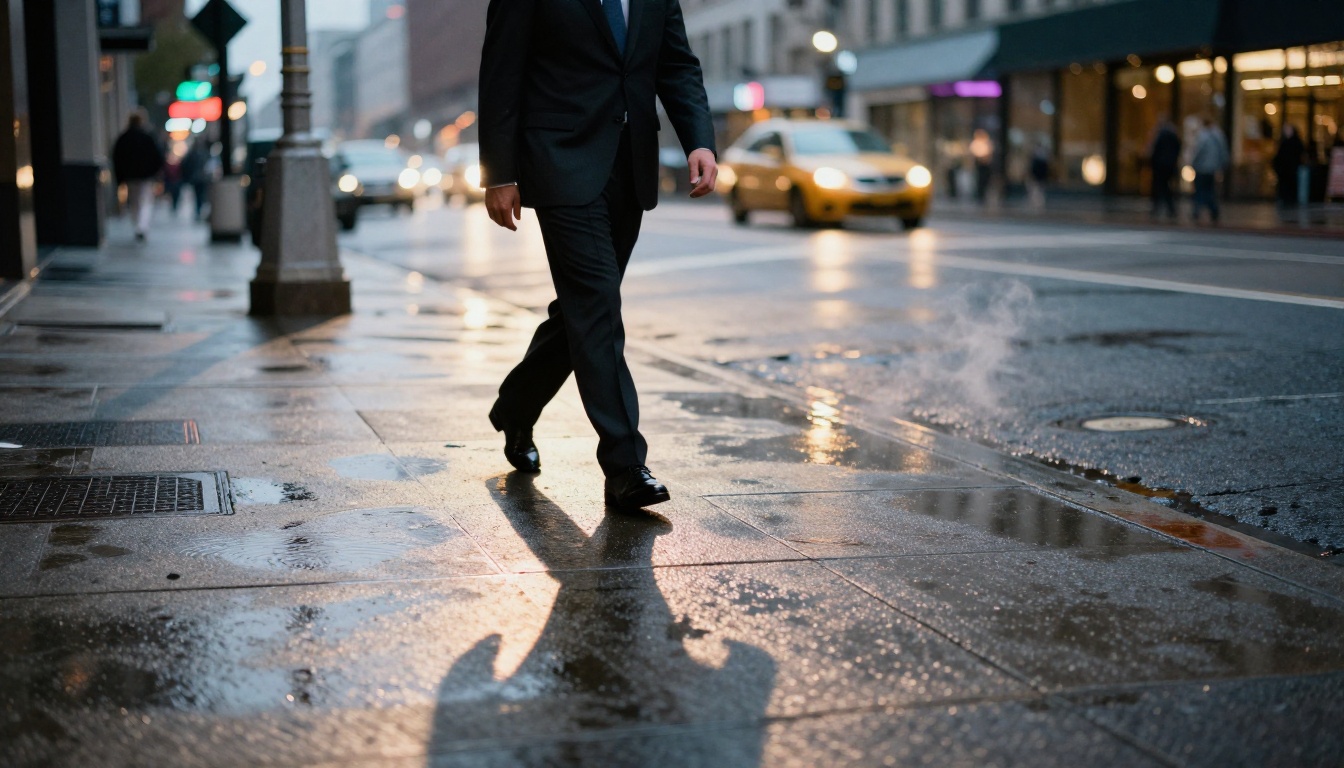
Contact shadows are the darkest, sharpest shadows in any scene. They appear exactly where an object meets a surface, regardless of how diffuse the overall lighting is. This is what visually grounds objects. Without it, even a perfect drop shadow still looks wrong because the object appears to hover. AI tools trained specifically on product photography place contact shadows at full opacity before blending outward, which is why AI-generated product images feel physically present in a way that rushed manual edits do not.
Ambient occlusion
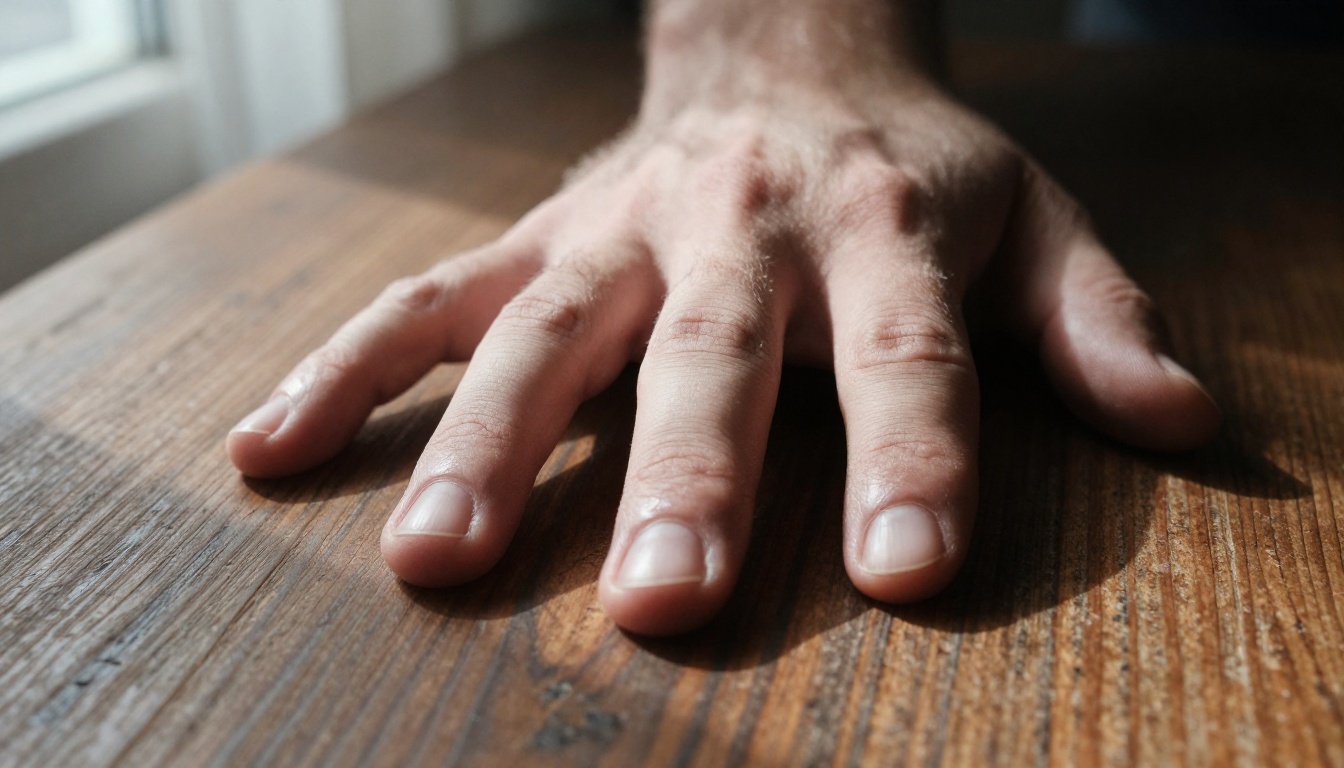
This is where AI genuinely surpasses manual editing. Ambient occlusion refers to the subtle darkening in creases, corners, and tight angles where indirect light cannot reach. The inside corner of a shoe where the upper meets the sole. The space between resting fingers. The underside of a drawer overhang. No manual editor adds this systematically. AI models calculate it geometrically from surface contours and add it automatically, which is why AI-processed images often have a physical weight and density that manual work lacks.
Cast shadows on curved surfaces
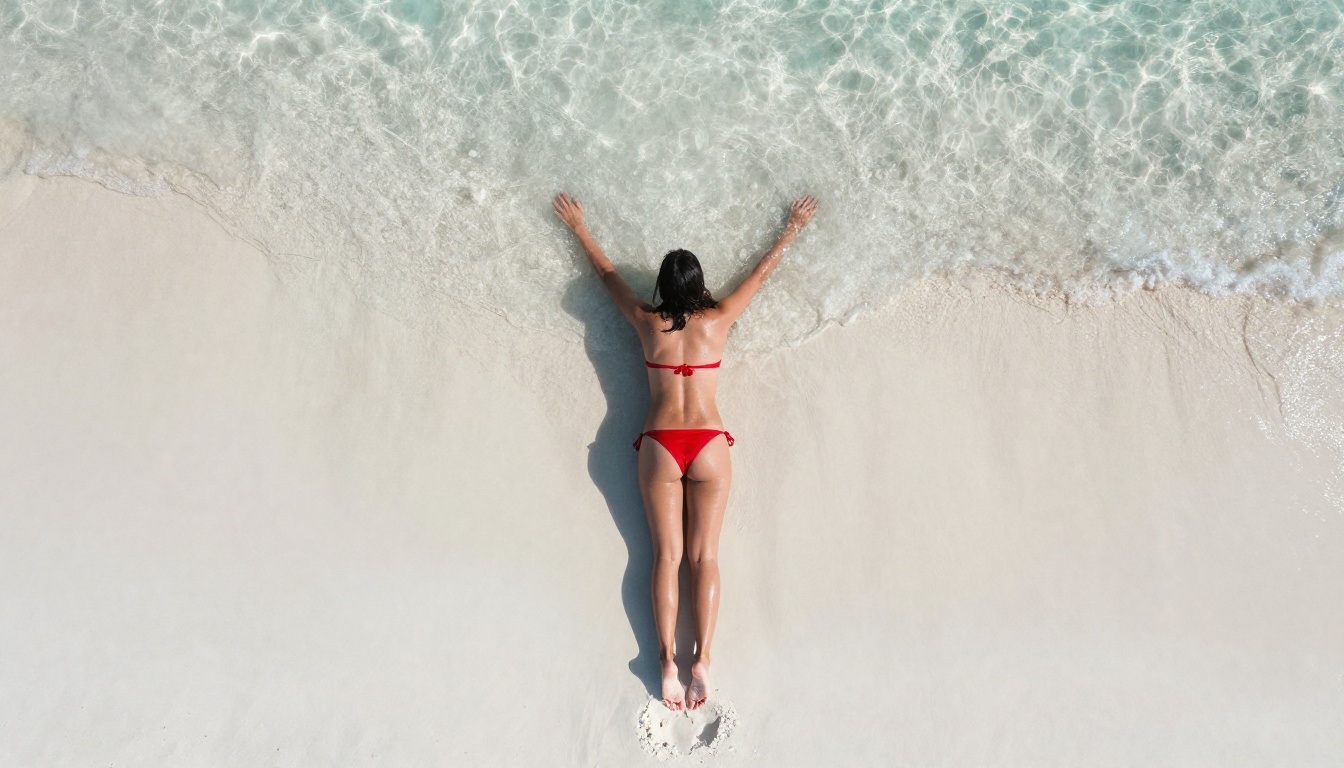
A shadow does not stay flat when the surface beneath it curves. A cast shadow on a rounded wall, a draped cloth, or an uneven stone floor follows the contours of that surface exactly. Traditional editing requires manually warping shadow layers to match surface geometry, which is slow and imprecise. AI analyzes the depth map of the target surface and warps the shadow projection automatically, so the shadow bends with the terrain rather than lying flat over it.
AI vs. Manual Shadow Editing
| Aspect | Manual (Photoshop) | AI Shadow Tools |
|---|
| Time per image | 20-45 minutes | 10-30 seconds |
| Light direction detection | Manual (user-defined) | Automatic from scene analysis |
| Contact shadow accuracy | Depends on skill | Physically calculated |
| Ambient occlusion | Rarely added | Included automatically |
| Surface wrapping | Manual warp required | Depth-based projection |
| Multiple objects | Compound effort | Simultaneous batch |
| Consistency across images | Variable | Replicable with same settings |
| Skill needed | High | Minimal |
The manual approach still wins in one specific scenario: when you need complete artistic control over shadow shape for stylized or surreal work where physical accuracy is intentionally broken. For photorealistic output, AI is faster and more accurate on every metric in the table above.
💡 Even when using AI to generate the base shadow, always do a final visual check of the contact shadow. This is the detail viewers focus on subconsciously, and a slightly wrong contact shadow will undermine everything else.
How to Add Shadows Using PicassoIA
PicassoIA Image Editor Pro is the platform's primary tool for shadow work on existing photographs. Unlike text-to-image generators that build shadows into the initial output, it analyzes the existing image structure, detects objects, reads the implied light direction from highlights and existing shadows already in the scene, and adds new shadows that match the physical properties of the light already present.
Step 1: Upload your image
Open PicassoIA Image Editor Pro and upload the image that needs shadow work. The model accepts JPG, PNG, and WebP files. Higher resolution inputs produce more detail in shadow gradients, so if your original is 2000px or larger, do not downscale before uploading.
Step 2: Describe the shadow requirement
In the prompt field, specify what the shadow should look like and where the light is coming from. Be direct: "Add a soft drop shadow to the product. Light coming from upper left at 45 degrees. Warm neutral tone. Opacity fades to zero at twice the product width." Vague prompts produce generic shadows. Specific prompts produce physically accurate ones.
For shadow placement on a specific region of the image rather than the whole scene, Fibo Edit is the more precise option. Select the area where the shadow should land and describe the shadow type. This works particularly well for contact shadows on product photography where exact placement at the base edge matters.
Step 3: Refine opacity and blend
If the shadow appears too heavy or too light after generation, Qwen Image Edit Plus handles refinement cleanly. A prompt like "reduce shadow intensity by 30%, preserve soft edge blur" is usually enough to dial in the result without regenerating from scratch and losing other aspects of the edit.
Step 4: Upscale for high-resolution output
For print-resolution or large-format output, run the finished image through Clarity Pro Upscaler. This model is trained specifically on photorealistic images and preserves shadow gradients during upscaling, which matters because older upscaling methods introduce sharpening artifacts precisely at shadow edges, destroying the soft gradient that makes shadows look real.
Getting Perfect Results
Match light direction first
Before generating any shadow, identify where the main light in your image is coming from. Look at highlights on curved surfaces, the bright side of any rounded objects, or the catchlight position in a portrait's eyes. If your generated shadow direction contradicts the existing light source, no amount of opacity adjustment will fix it. This is the single most important variable. State the angle explicitly in your prompt: "light from upper right at 45 degrees, shadow falls toward lower left."
Opacity and blur are linked to distance
A shadow cast by an object floating 5cm above a surface should be slightly blurred and roughly 60-70% opacity. An object sitting directly on a surface has a fully opaque, sharp contact shadow. As the effective distance between object and surface increases (either physically or implied by depth of field), both blur radius and opacity decrease in proportion. Describe this relationship directly in prompts: "elevated drop shadow, soft edge blur, opacity fading to zero at 2x object width."
Surface texture changes shadow edges
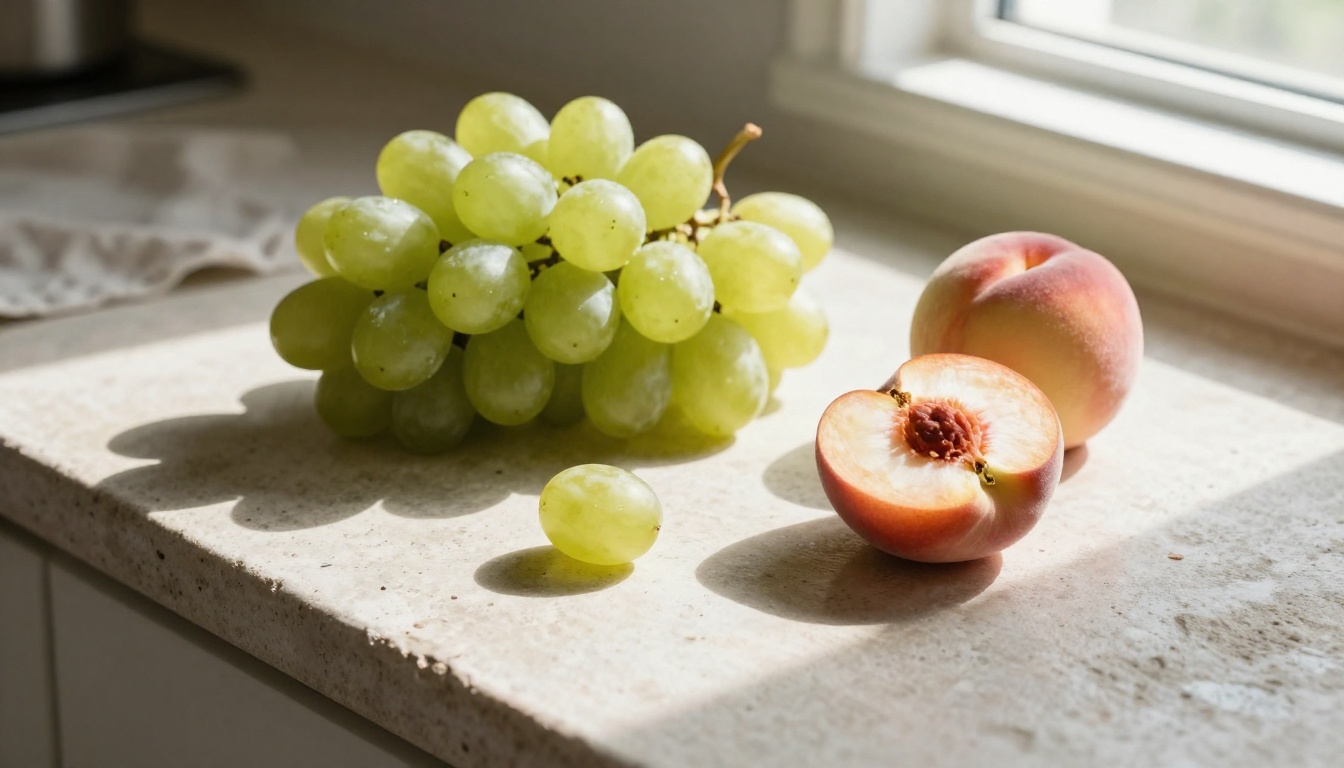
A shadow on rough concrete has a micro-fractured edge caused by the surface irregularity. The same shadow on polished marble has a clean gradient edge with a faint reflection of the object appearing in the polished surface alongside the shadow. GPT Image 2 handles surface-aware shadow generation well when the surface material is explicitly named in the prompt. "Shadow on rough sandstone" and "shadow on polished granite" produce visibly different results from the same object.
When AI Shadows Fail
The transparent object problem
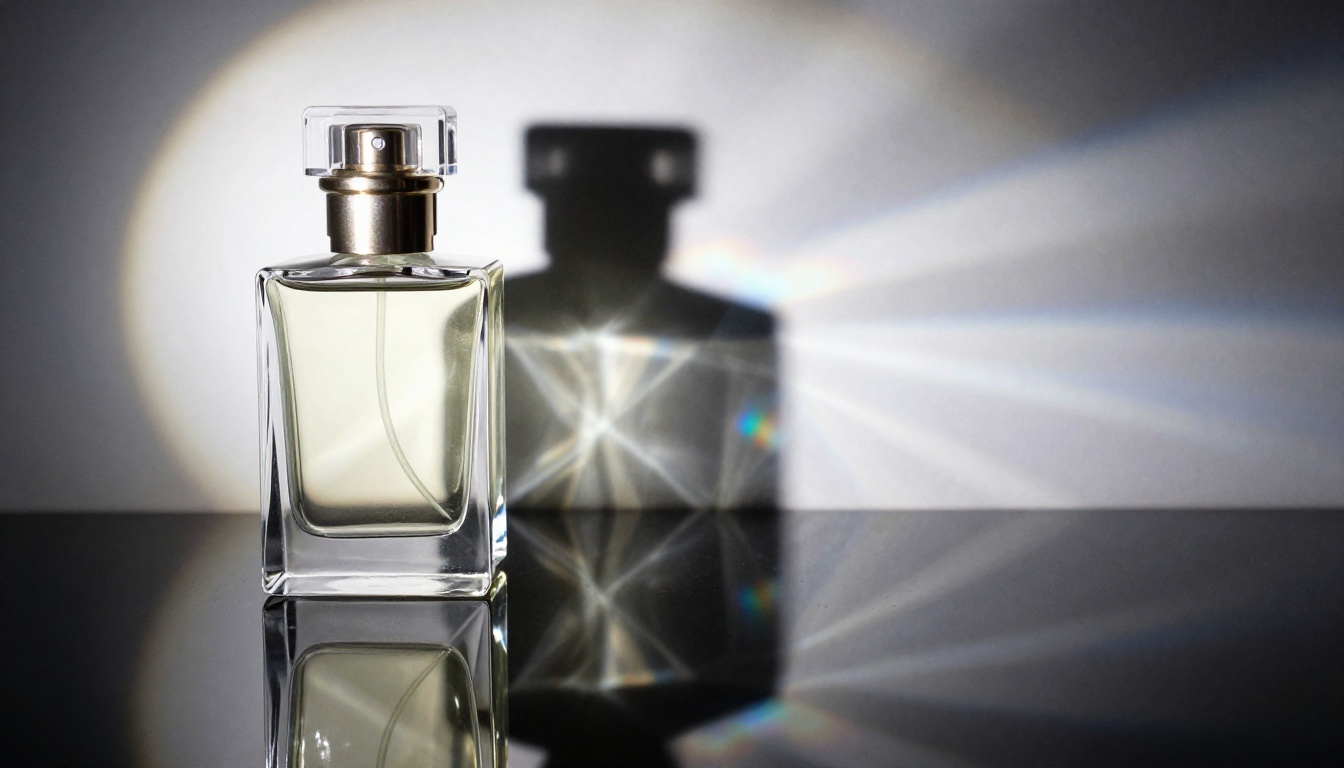
Glass, crystal, water, and other transparent materials do not cast simple dark shadows. They cast caustic patterns: refracted light shapes where the shadow area contains bright bands and subtle color dispersion from light bending through the material. Most AI shadow generators default to opaque shadow shapes for transparent objects, which immediately reads as wrong.
The fix is to describe the shadow type explicitly. Instead of asking for "a shadow under the glass bottle," prompt for "a caustic shadow pattern beneath the glass object, with refracted light bands, partial transparency within the shadow, slight color dispersion at the edges, darkest at the perimeter." Fibo Edit handles this type of selective inpainting better than full-image editors for this specific case because you can isolate exactly the shadow region.
Sheer and semi-transparent fabrics
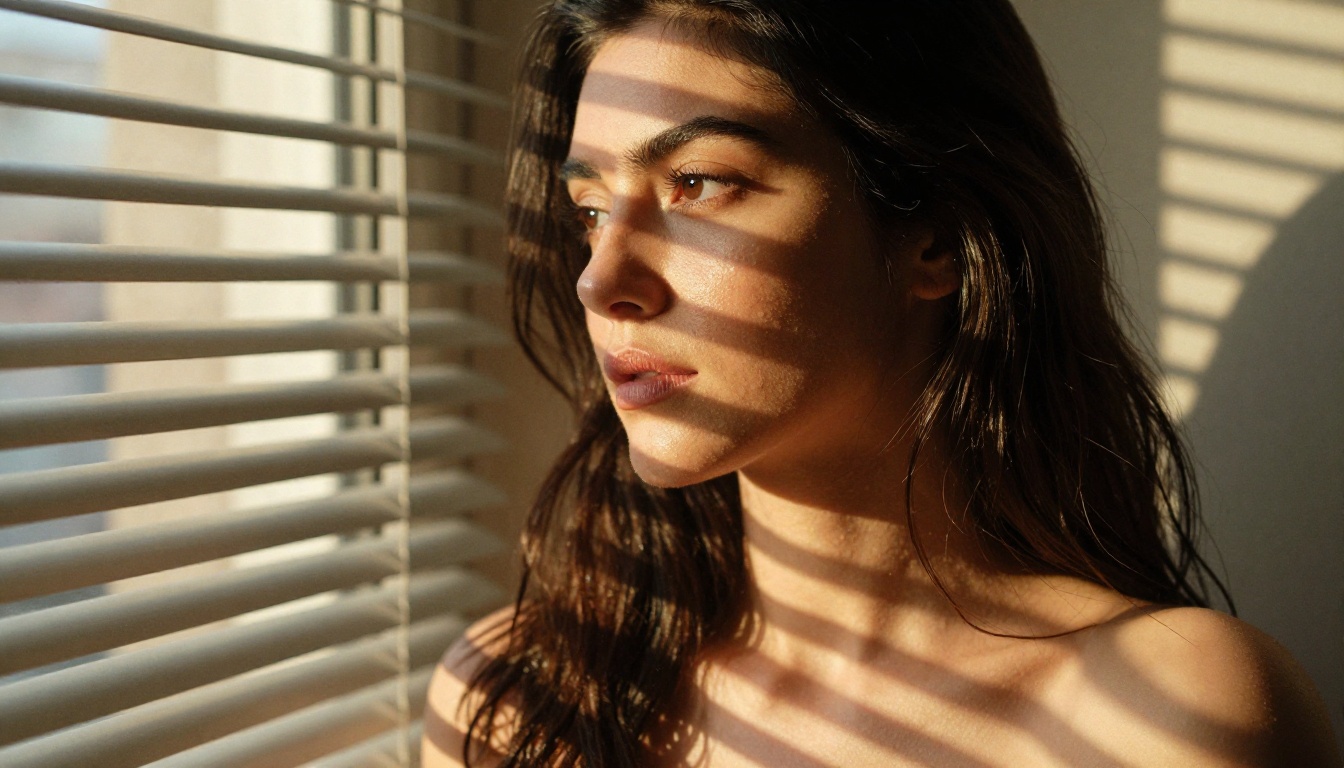
Lace, chiffon, and gauze do not block light fully. Their shadows show the weave or pattern of the fabric as a lighter, semi-transparent version rather than a solid silhouette. AI models can handle this when the fabric type is described: "semi-transparent fabric shadow, showing partial light transmission, lace pattern visible within shadow, soft diffuse outer edge."
Multiple light sources
Studio photography often involves two or three lights, meaning each object casts two or three overlapping shadows in different directions at different intensities. AI tools default to single-source shadows. For multi-light setups, generate each shadow layer separately with one prompt per light source and blend the results. This is the one scenario where a hybrid manual/AI workflow is still more practical than a single AI generation.
Real Use Cases That Actually Work
Product photography
Product images on white or neutral backgrounds need shadow to communicate weight, dimension, and quality. Shoppers subconsciously evaluate product credibility based on how physically grounded the image looks. AI shadow generation for e-commerce typically means adding a soft drop shadow below the product with a neutral warm tone that does not compete with the product color. For premium products where shadow color temperature matters, specify it directly: "cool grey drop shadow, warm rim highlight, 60% opacity at base, fading to 0 at 150% product width."
Generating with PicassoIA Image from a text prompt builds shadows directly into the output from the lighting description. Starting with accurate light in the generation is always faster than adding shadows to an existing flat-lit product image afterward.
Portrait compositing
When placing a photographed person into a different background, the shadow situation is almost always wrong by default. The background has its own implied lighting direction that differs from the studio lighting on the subject. AI compositing tools analyze both the background's implied light direction and the subject's existing shadow pattern to generate a cast shadow on the new background that matches. For portrait work, Crystal Upscaler preserves the subtle shadow gradients on skin during upscaling. Skin shadows are where the eye detects inconsistency most quickly, and upscaling sharpening artifacts at those transitions destroys the believability of an otherwise good composite.
Architectural visualization
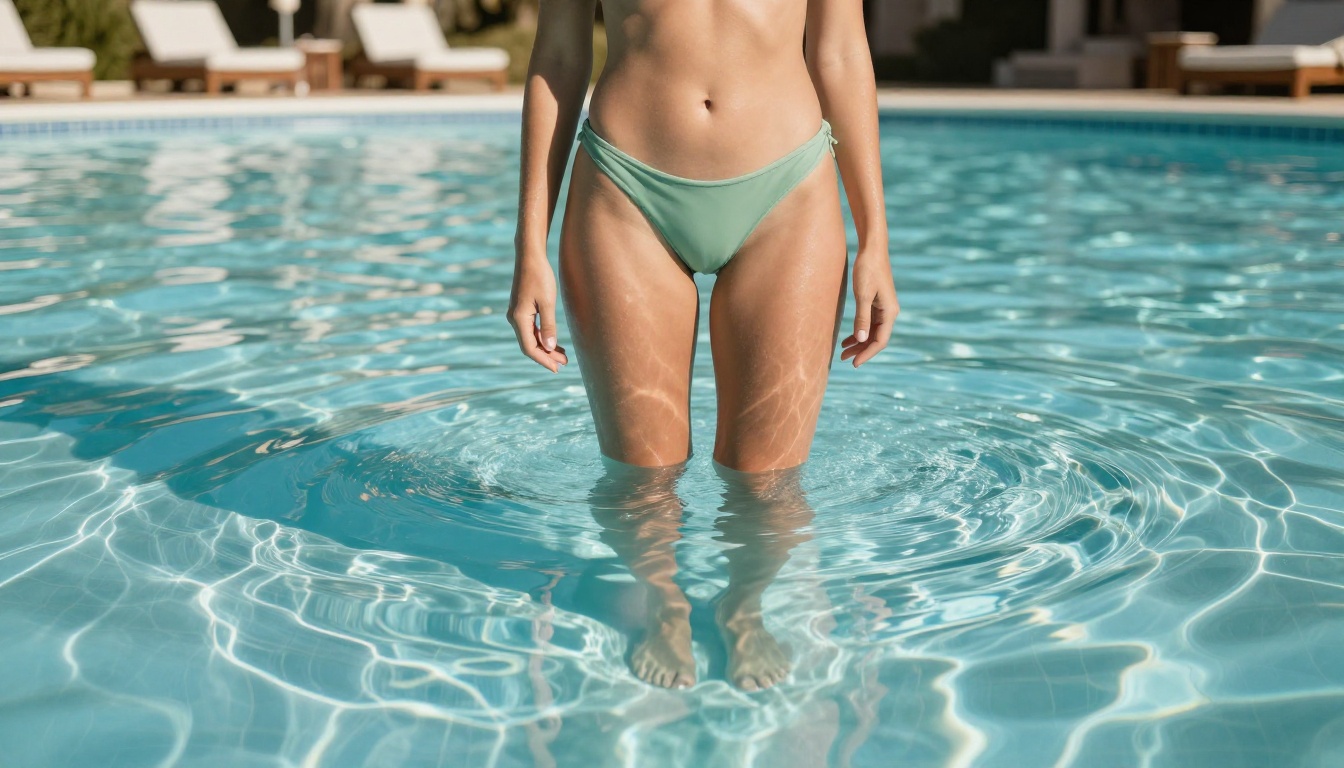
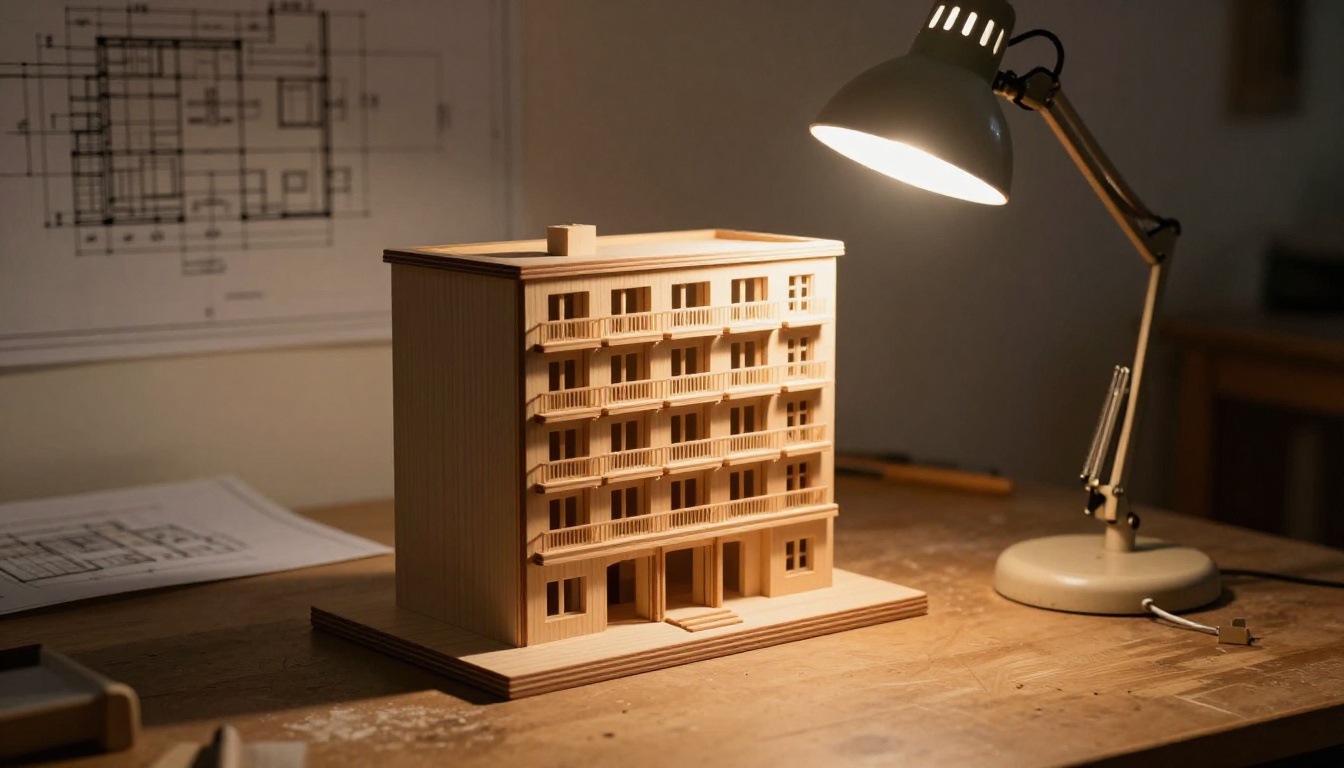
Architectural renders often need shadow passes to feel physically grounded. AI tools can analyze the sun position implied by an exterior render and add building shadows, tree shadows, and ambient occlusion in wall/floor junctions simultaneously. Qwen Image Edit Plus performs consistently well on architectural images because the geometric regularity gives the model clear depth information to calculate from. Specify the sun elevation angle and compass direction in your prompt for accurate shadow length and direction.
Start Creating with Real Shadows
Shadows are structural, not decorative. They tell the viewer where light originates, how heavy an object is, what surface it sits on, and whether the scene is a single coherent moment or a collection of disconnected pieces. Getting them right used to require either a trained eye with hours of manual work or an expensive controlled studio setup.
💡 Every model mentioned in this article is available on Picasso IA. No software downloads, no plugins. Open a browser and start on your first shadow right now.
Start with PicassoIA Image Editor Pro on a product photo you already have. Upload it, describe the light source direction, and request a contact shadow at the base. The difference in how physically present that product looks will be immediate. From there, try Fibo Edit for selective shadow inpainting on transparent objects, Flux Redux Dev for generating multiple lighting variations to find which shadow direction fits your visual identity, and Clarity Pro Upscaler to lock in the shadow gradients at full print resolution.
Real shadows are what make everything else look real.


