Smooth transitions are what separate a professional-looking video from a choppy, forgettable one. Most people who start editing skip over them entirely, or settle for a basic hard cut, because proper transitions used to require serious technical skill. That is no longer true. AI has changed what is possible for everyday creators, content producers, and marketers, making it possible to add seamless, cinematic-quality transitions to any video without touching a timeline tool or sitting through hours of tutorials.
Why Transitions Break or Make Your Video
Every video is made up of shots. How you move between those shots determines how the viewer feels throughout the whole piece. A bad transition, or the absence of one, creates friction. The viewer notices the jump. Their attention breaks. That fraction of a second of discomfort is enough to lose them entirely.
Great transitions do the opposite. They direct the eye forward, create emotional continuity, and give a video a polished, intentional feel. Even a short social clip reads as professional content when its transitions are handled well. This is not a subtle improvement; it is the difference between content that gets rewatched and content that gets scrolled past.
The Real Difference Between a Cut and a Transition
A hard cut is an instant switch from one clip to the next. No blending, no timing, no visual bridge. It is the default when you do nothing. It works in fast-paced action content or documentary-style footage where the subject stays consistent across clips.
A transition adds something between the cuts. It could be:
- A dissolve: one clip fades out while the next fades in, overlapping briefly
- A motion blur cut: the movement of one shot flows into the next
- A color fade: both clips temporarily shift to black, white, or a shared hue before the next appears
- A wipe: one clip reveals the next with a directional slide
The difference in viewer experience between a raw cut and a smooth dissolve on an emotional scene is dramatic. The transition signals to the brain that time or space has shifted. It gives the edit meaning rather than just sequence.
What "Smooth" Actually Looks Like
Smoothness is not just about speed. It is about visual coherence. A transition is smooth when:
- The motion direction in both clips does not conflict at the cut point
- The exposure levels are similar between the two shots
- The transition timing matches the overall pace of the edit
- The color grading is consistent across both clips
When any of these are off, even a technically well-executed dissolve can feel jarring. This is where AI has a real advantage over preset packs or manual editing: it reads both clips before applying the transition and makes micro-adjustments automatically based on what it finds.
Manual vs. AI Transitions: The Honest Comparison
Before AI video editing tools existed, adding smooth transitions required a dedicated NLE (non-linear editor) like Premiere Pro, DaVinci Resolve, or Final Cut Pro, along with the knowledge to set keyframes for opacity and blend modes, and enough time to render every change before previewing. Color matching between clips meant doing it manually, frame by frame.
That process is still valid for editors who want absolute frame-level control. But for everyone else, including content creators, small business owners, social media managers, and marketers, that workflow is simply not practical.
| Approach | Time Required | Skill Level | Output Quality |
|---|
| Manual editing (NLE) | 30 min to several hours | High | High (with experience) |
| Preset packs | 10 to 20 minutes | Medium | Moderate |
| AI-powered tools | 2 to 5 minutes | Low | High |
What AI Actually Analyzes
When you submit two video clips to an AI editing model, it does not just apply a generic fade. It analyzes:
- Scene content: objects, people, and movement direction within each clip
- Color palette: average hue, brightness, and contrast of each clip individually
- Motion vectors: the flow of movement within and at the boundary of each clip
- Audio waveform (in select models): to sync the transition timing to a beat or sound cue
This analysis is what makes AI-generated transitions feel more natural than a preset. The AI adapts to your specific clips, not a generic template applied blindly.
The Best AI Models for Smooth Transitions
PicassoIA has a strong lineup of video editing models specifically suited for adding transitions and connecting clips cleanly. Here is how the best ones break down by use case.
Text-Based Video Editing
The most flexible approach is using a model that accepts text prompts to describe the transition you want. You describe the effect in plain language, and the AI applies it intelligently across your edit.
Lucy Edit 2 by Decart is one of the strongest options for this. You upload your video and write a prompt like "add a smooth dissolve between each scene change" or "blend the cuts with a gentle motion fade." The model interprets your language and applies the effect contextually across the entire clip sequence, not just at a single point.
Wan 2.7 Videoedit handles longer clips particularly well. Its strength is in applying stylistic edits across entire sequences, which makes it ideal when you have a multi-clip timeline and want consistent transitions throughout without processing each clip separately.
Kling o1 by Kwaivgi takes text-based editing further by allowing you to rewrite the visual style of the clip around the transition point simultaneously. If two clips have a color mismatch, it can harmonize both sides while applying the transition, giving you a unified result in a single pass.
Scene Recut and Restyle Tools
Sometimes a smooth transition also requires one clip to be visually adjusted so it matches the next. That is where scene-level editing tools become useful before the merge step.
Gen 4 Aleph by Runway is purpose-built for this. It can recut and restyle video at a level of detail that most tools cannot reach. When you have two clips that feel like they belong to different videos entirely, Gen 4 Aleph can bring them into visual alignment and then transition between them fluidly.
LTX 2 Retake by Lightricks lets you target specific sections of a video for editing without touching the rest of the clip. This is useful when the transition point is a specific moment inside a longer clip. You isolate those frames, apply the transition logic, and reintegrate them without altering the surrounding footage.
Modify Video by Luma is excellent for restyling clips to match visually before any transition is applied. When you have footage from different cameras or different lighting conditions, it normalizes them, which makes any subsequent transition feel seamless rather than forced.
Clip Merging and Combination
Once your clips are styled and ready, you need a reliable way to combine them with the transitions baked into the output.
Video Merge by Lucataco is the most direct tool for this on PicassoIA. It takes two or more clips and combines them in sequence, with control over the overlap and blend behavior at each join point. The output is a single merged video with the transitions applied and rendered at every cut.
💡 Tip: For best results with Video Merge, pre-process each clip so they share a similar color temperature before combining. This makes the transition feel organic rather than technical.
How to Add Transitions Using AI: Step-by-Step
This is the full workflow for taking raw footage and producing a final video with smooth AI transitions from start to finish.

Step 1: Prepare Your Clips
Before touching any AI tool, do a quick audit of your footage:
- Trim the edges: cut any dead space at the beginning or end of each clip. Most editing models perform better when they encounter intentional content, not silence or frozen frames at the boundaries.
- Check exposure consistency: if two clips are drastically different in brightness (one shot indoors, one in direct sunlight), note it now. You may want to use a restyle model before merging.
- Set your sequence: decide the order of your clips before you start. AI tools work clip-to-clip, so knowing your sequence ahead of time avoids unnecessary reprocessing.
Step 2: Pick the Right AI Model
Step 3: Write Your Transition Prompt
For text-based models, the quality of your prompt directly determines the quality of the output. Here is what works and what does not.
Specific, descriptive prompts produce better results:
- "Add a soft cross-dissolve between each scene change, lasting about half a second per transition."
- "Blend the clip endings with a slow fade to black, then fade in the next scene with a warm color shift."
- "Apply a motion-matched cut where the movement direction in both clips aligns at the join point."
Vague prompts produce generic results:
- "Add transitions" gives the model no actionable direction
- "Make it smooth" describes a feeling, not an instruction
💡 Tip: Describe the emotional feel you want, not just the technical effect. A prompt like "a gentle, warm dissolve that feels nostalgic" gives the AI enough context to make micro-decisions that match your creative intent rather than defaulting to something generic.
Step 4: Apply and Review
After the model processes your clip:
- Watch the full output before downloading, not just the preview thumbnail
- Scrub through the transition points specifically: does the blend feel natural at each cut?
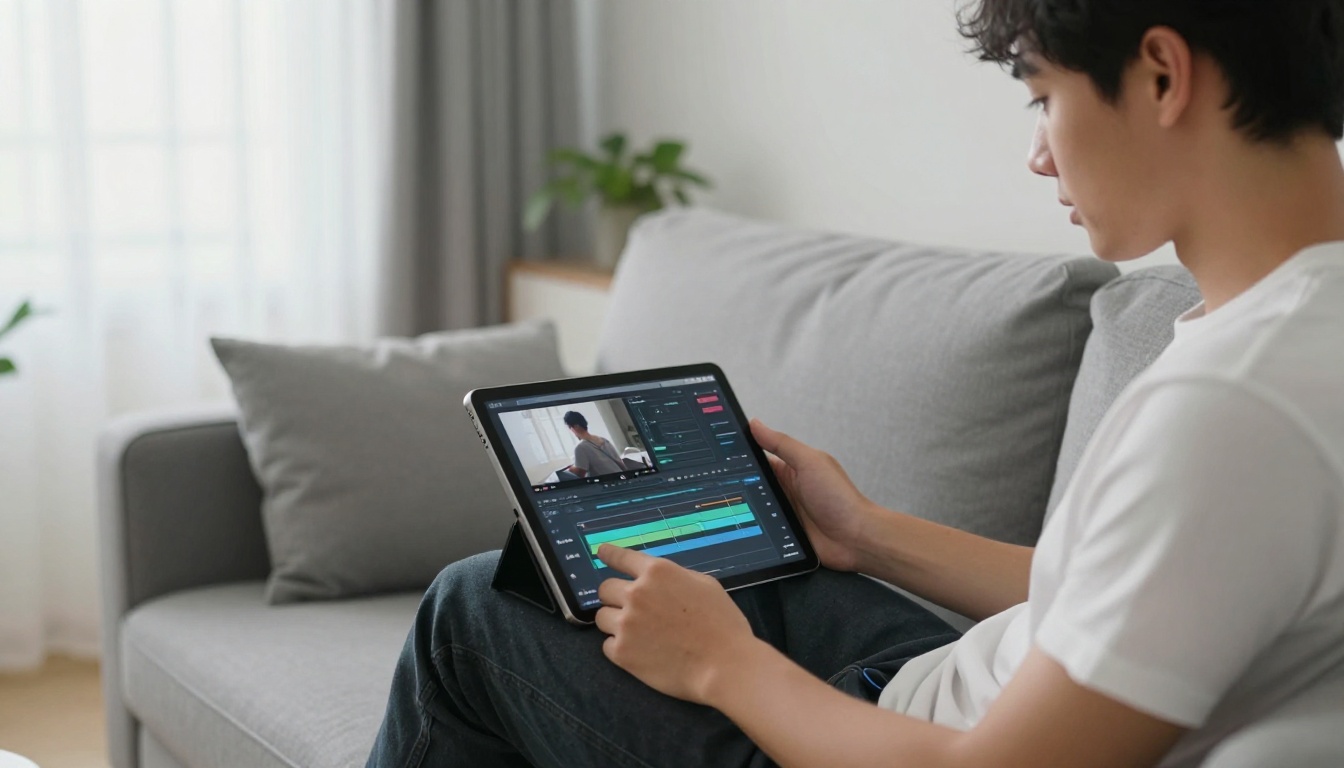
- If the exposure shifts noticeably at a transition point, run the output through Video Increase Resolution by Bria or Real ESRGAN Video to sharpen and stabilize the final result
- If a specific transition still feels abrupt, re-run that segment with a longer blend duration specified in your prompt
Transition Types AI Does Best
Not all transitions are equal when it comes to AI generation. Some work better than others because of how AI models process motion and color data from the clips.
Fade In and Fade Out
This is the most reliable transition type for AI tools. Because it involves gradual opacity change rather than spatial movement between frames, the model handles it with high consistency. It is also the most forgiving when clip content does not naturally connect thematically.
Best for: emotional scenes, time-lapse sequences, documentary cuts between interviews, and any content where a pause in energy feels intentional.
Cross Dissolve Between Scenes
The cross dissolve is the most cinematic of the standard transitions, and AI handles it well when both clips share similar brightness and color temperature. The result is a flowing blend where both clips briefly coexist on screen, creating a sense of continuity.
Best for: travel videos, narrative short films, music videos, and brand content where mood matters more than pace.
Motion-Matched Cuts
This is where AI genuinely outperforms manual editing for most creators. A motion-matched cut aligns the directional movement of the outgoing clip with the incoming one, so the viewer's eye follows a consistent path across the cut point. Manually, this requires watching clips frame-by-frame and cutting at the precise millisecond. Kling o1 does this automatically by analyzing motion vectors across both clips simultaneously.
Best for: action sequences, sports content, music videos with high-energy cuts, and anything where the physical movement within the clip is part of the storytelling.
Color-Matched Scene Changes
When two clips have genuinely different color profiles, a model like Gen 4 Aleph or Modify Video can normalize the color space of both clips before applying the transition. The result is a cut that feels like it was shot in the same session, even when the footage came from different cameras, locations, or times of day.
Best for: multi-camera shoots, footage from different days, and any edit where source material was captured under inconsistent lighting conditions.
3 Mistakes to Avoid
Mismatched Exposure Between Clips
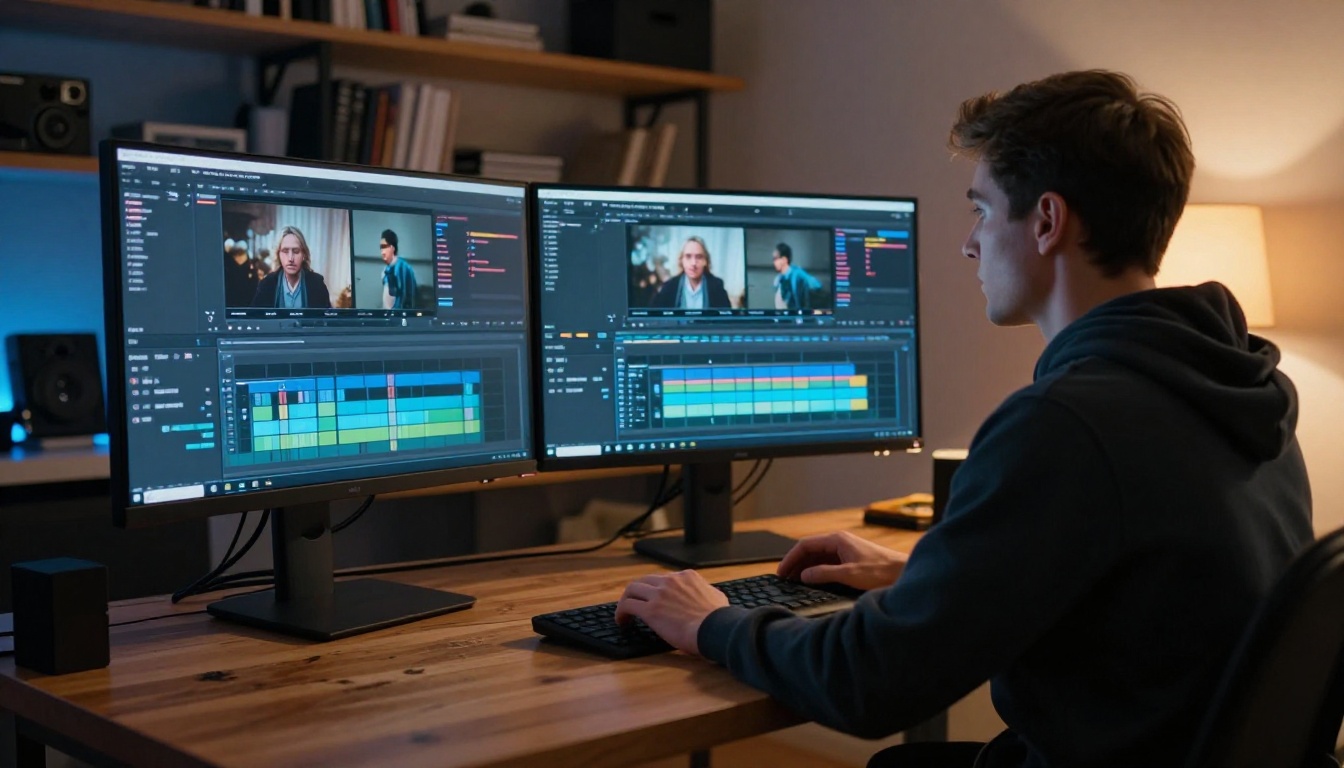
The single biggest reason transitions feel wrong is a brightness gap between clips. If one was shot at ISO 800 in a dimly lit interior and the next was captured at midday outdoors, any blend will look visually inconsistent at the join. Fix the exposure gap with a restyle model before merging, and the transition will feel cohesive by default.
Vague Prompts That Confuse the AI
Text-based editing models need clear, concrete instructions. "Add a nice transition" is not actionable. "Add a 0.5-second cross dissolve at each cut point, with a slight warmth shift toward golden tones at every join" is. The more precise your description, the more the model can deliver exactly what you visualized. Think in terms of duration, direction, color behavior, and pacing, not just feel.
Skipping the Upscale Step After Editing
Every time a clip is processed through an editing model, there is a minor amount of detail loss in the rendering pass. For content that will be viewed on high-resolution screens or at full size on social platforms, running your final output through Video Upscale by Topaz Labs or Crystal Video Upscaler restores that sharpness and makes the final piece look fully finished rather than slightly processed.
💡 Tip: The combination of a text-edited transition via Lucy Edit 2 or Wan 2.7 Videoedit, followed by a Topaz upscale pass, produces output that holds up even at 4K on large screens.
Start Creating Right Now
You do not need years of editing experience to produce videos that feel polished and intentional. The AI models on PicassoIA cover every stage of the transition workflow, from restyling mismatched clips and applying smooth dissolves, to upscaling the final output to 4K quality for any platform.
Whether you are working on social media content, travel vlogs, brand videos, or short films, the process is the same: prepare your clips, choose the right model for your specific situation, describe what you want in clear and specific language, and let the AI handle the technical execution.
Your footage is already good enough. Pick a model and apply your first AI transition in the next five minutes:


