Adding snow or rain to a photo used to mean hours in Photoshop, a library of stock overlays, and the kind of patience most people simply don't have. AI has changed that completely. Today you can take any photo from a sunny afternoon, a flat gray day, or an uninteresting backdrop and turn it into something that looks like it was shot during a February blizzard or a cinematic monsoon.
This isn't about slapping a texture on top of your image. The best AI weather effects feel lived in. Snow accumulates on surfaces. Rain makes skin glisten and pavements reflect. The atmosphere shifts. That's what separates a realistic result from a cheap filter, and it's exactly what we're focused on here.
Why Weather Changes Everything in a Photo
The Instant Mood Shift
Weather is one of the most powerful visual storytelling tools in photography. A portrait taken on a dry, sunny day communicates something entirely different from the same composition shot in falling snow. The cold, the silence, the weight of the atmosphere, those qualities come through even in a still image.
Rain does something different. It adds urgency and intensity. Wet surfaces create reflections that double the visual complexity of a scene. A plain concrete sidewalk becomes a mirror. A person standing in rain reads as dramatic in a way that sunshine simply doesn't produce.
When you add these effects with AI, you're not just changing the weather. You're changing the story the photo tells.
Snow vs. Rain: The Practical Difference
| Effect | Visual Result | Best For |
|---|
| Light snow | Quiet, romantic, soft | Portraits, cityscapes |
| Heavy blizzard | Dramatic, harsh, isolating | Landscapes, action shots |
| Drizzle | Moody, subtle, textured | Street photography |
| Heavy rain | Intense, cinematic, raw | Portraits, dark scenes |
| Frozen rain / sleet | Cold, gritty, sharp | Urban, documentary |
The choice between snow and rain isn't just aesthetic. It shapes what kind of editing decisions AI will make and what details get amplified in the result.
What AI Actually Does to Your Photo
It's Not an Overlay
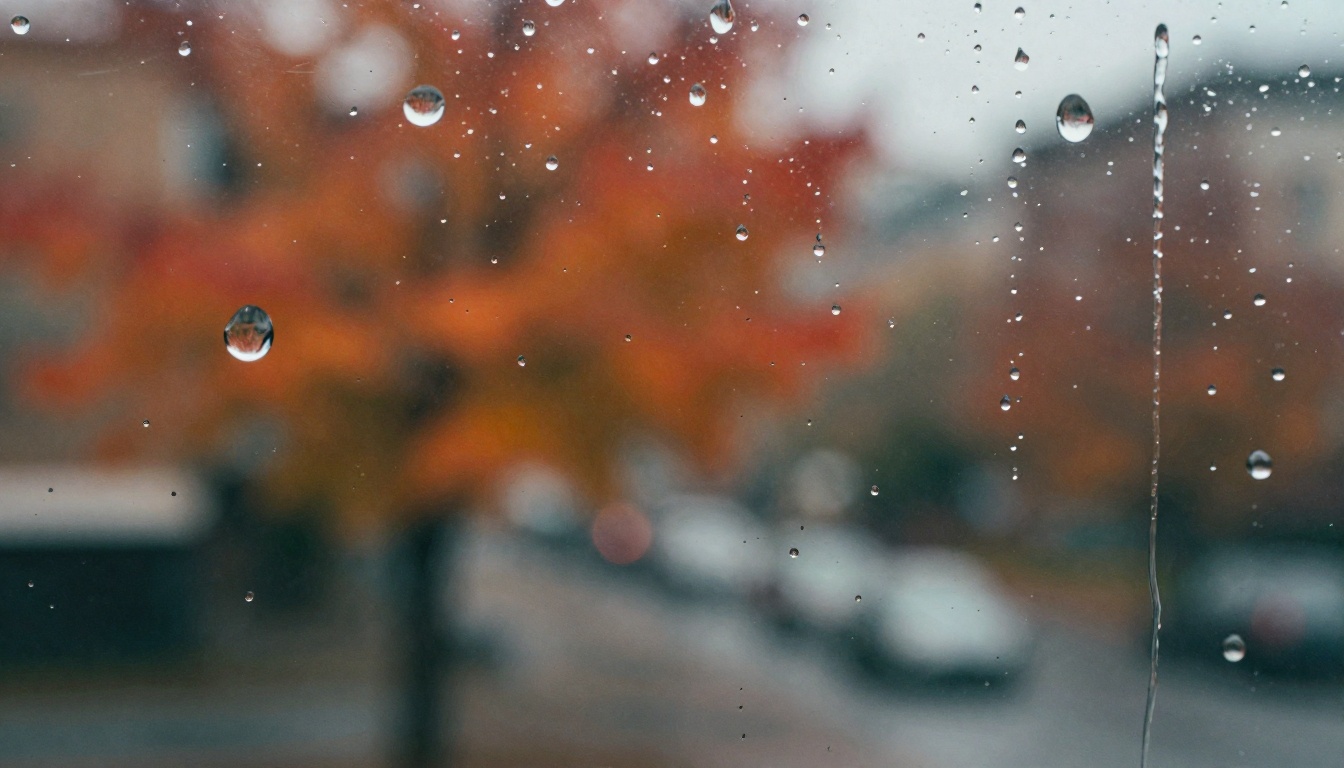
Most people assume that AI adding weather means it's layering a semi-transparent texture on top of the original image. That's the old approach. Modern AI image models work differently. They interpret the scene, understand depth, identify surfaces, and generate weather that interacts with the actual content of the image.
Snow lands on ledges. Rain creates puddles that reflect what's above them. Breath becomes visible in cold air. The model generates these effects as if it were re-photographing the scene under different conditions, not pasting anything on top.
Tip: The more photorealistic your original image, the more convincing the AI weather effect will be. Highly stylized or illustrated images tend to produce less natural results.
The Role of Prompting
Whether you're generating a weather-modified image from scratch or working from a reference photo, your text prompt does most of the heavy lifting. The AI reads your description and uses it to determine not just whether it snows or rains, but how much, from what angle, with what kind of light, and how the environment responds.
A lazy prompt produces a lazy result. A detailed prompt that describes the atmospheric conditions, the surface textures being affected, the type of light filtering through the weather, and the camera perspective will produce something that looks like it belongs in an editorial spread.
Writing Prompts That Actually Work
Snow Effect Prompts
The difference between a mediocre snow prompt and a great one comes down to specificity. Saying "add snow" tells the AI almost nothing useful. Here's what actually works:
Weak prompt:
"A city street with snow"
Strong prompt:
"A wet cobblestone city street during a heavy snowstorm at dusk, snowflakes cascading diagonally through soft amber streetlight glow, snow accumulating on surfaces, wet pavement reflecting distorted lamplight, volumetric light filtering through falling snow, atmospheric haze, film grain, 85mm f/1.4 lens, photorealistic 8K"
The strong version tells the AI about light direction, snow behavior, surface interaction, camera characteristics, and overall atmosphere. Each detail constrains the output toward something realistic.
Key snow prompt components:
- Fall direction: "cascading diagonally" or "falling vertically in still air" or "swirling in strong wind"
- Accumulation: "snow building up on horizontal surfaces" or "fresh powdery snow undisturbed"
- Light interaction: "snowflakes catching streetlight" or "volumetric morning light through falling snow"
- Surface response: "wet pavement" or "snow-crusted branches" or "frost on glass"
- Density: "light flurries" vs. "dense blizzard" vs. "heavy steady snowfall"
Rain Effect Prompts
Rain prompts need to address three things most beginners forget: the falling water, the surface response, and the ambient moisture in the air.
Key rain prompt components:
- Rain type: "fine drizzle" vs. "heavy sheets of rain" vs. "tropical downpour"
- Motion: "motion-blurred streaks" or "individual drops sharp in foreground"
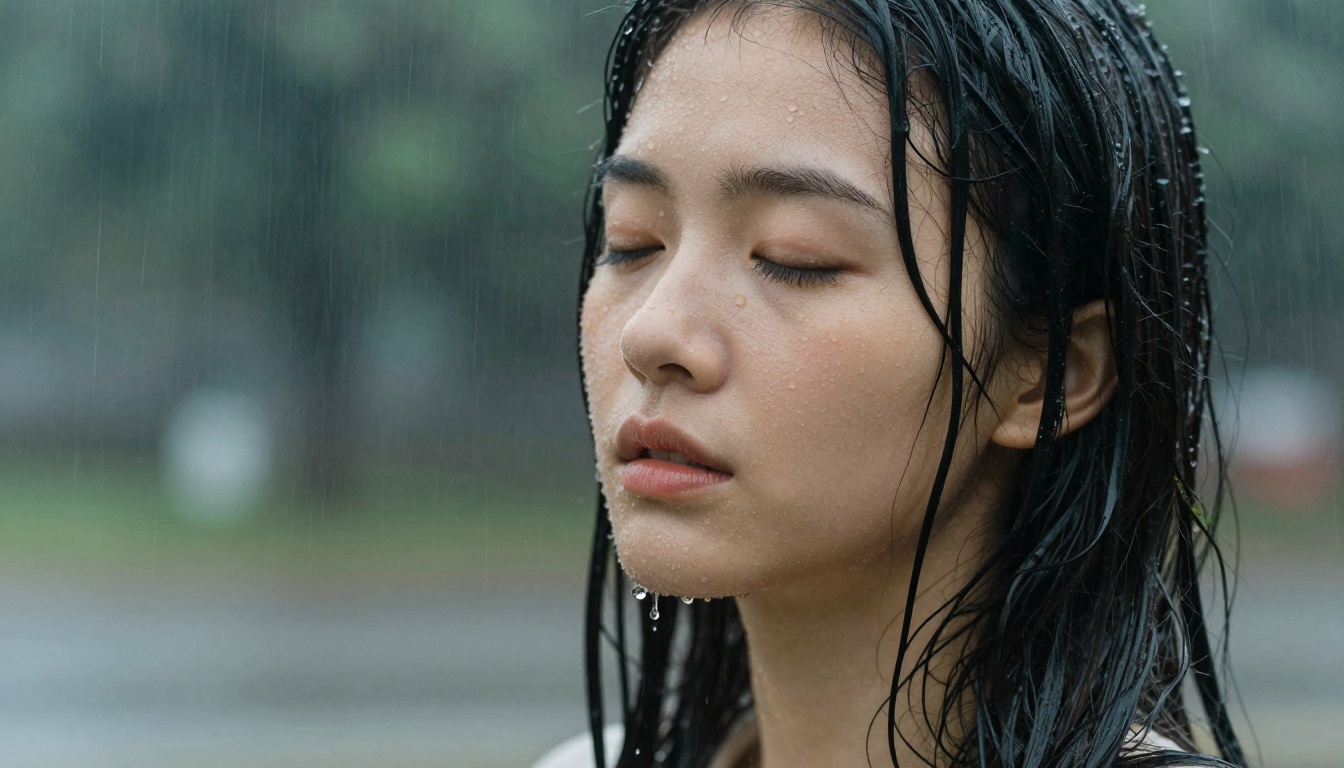
- Wet surfaces: "glistening wet skin" or "puddles forming reflecting the sky" or "rain-soaked fabric clinging"
- Atmosphere: "overcast diffused light" or "gray stormy sky" or "haze from heavy moisture"
- Hair and skin: "wet strands clinging" or "water drops on face creating micro-splashes"
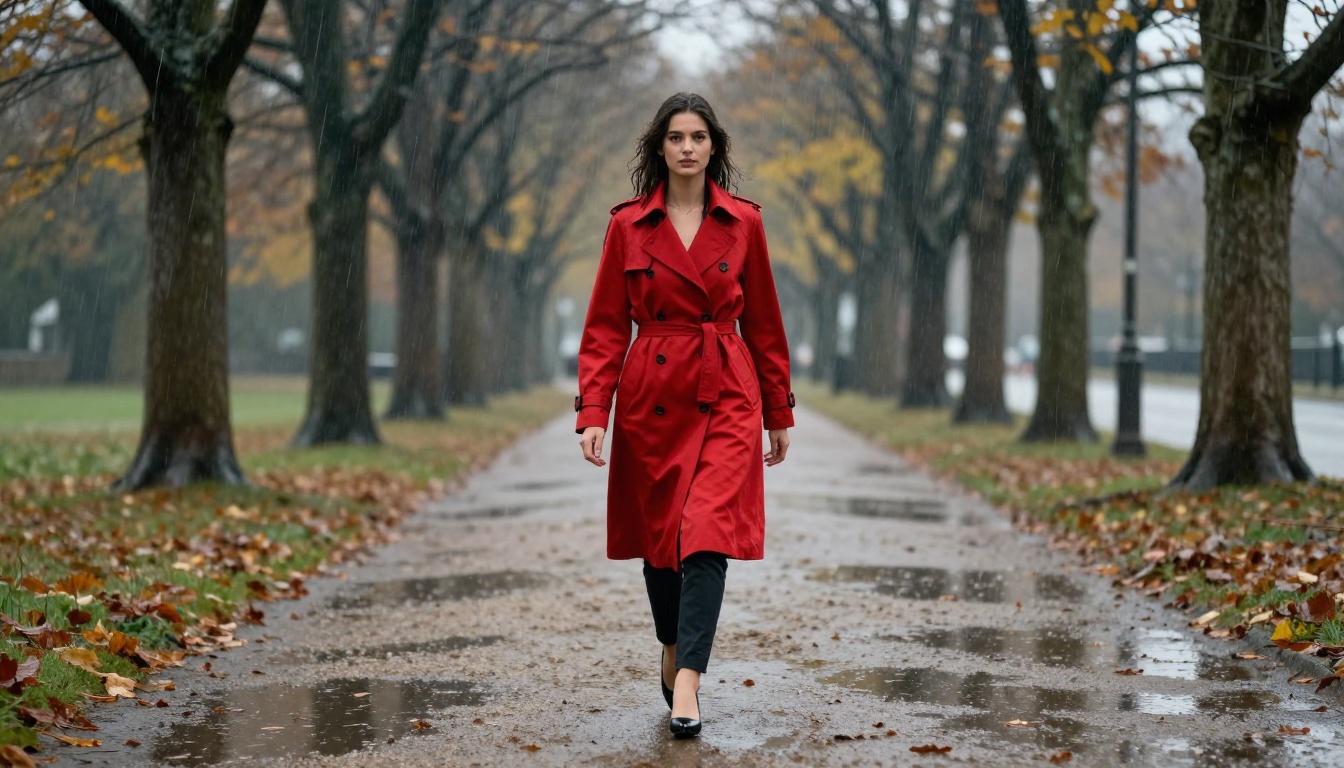
Tip: For portraits in rain, always include details about how rain affects the person, not just the background. "Wet hair clinging to her neck, skin glistening, large raindrops striking the face creating visible splashes" creates intimacy that a generic rain backdrop cannot produce.
Common Prompting Mistakes
The fastest way to get a bad result is to contradict yourself in the prompt. Asking for "bright sunny weather" and "heavy rain" in the same prompt creates visual incoherence. Similarly, specifying "harsh directional sunlight" with "blizzard conditions" forces the AI to choose one, and it often chooses wrong.
Other mistakes to avoid:
- Generic atmosphere words like "moody" or "cinematic" without specific lighting details
- Missing surface descriptions that tell the AI what the rain or snow is actually landing on
- No camera information since lens and aperture settings guide the AI toward photographic realism
Choosing the Right Model on PicassoIA
The Right Approach for Weather Effects
PicassoIA does not currently have a dedicated single-click "add weather" tool in its effects catalog. What it does have is a powerful collection of text-to-image models that generate photorealistic weather scenes from detailed prompts. This is actually the better approach for quality results, because you control every variable.
The text-to-image collection on PicassoIA gives you access to models trained on millions of photographic images, many of them specifically fine-tuned for photorealistic output. These models understand atmospheric conditions. They know what snow does to a winter forest, and they know how rain interacts with skin and concrete.
How to use PicassoIA's text-to-image models for weather effects:
- Go to the text-to-image collection on PicassoIA
- Choose a photorealistic-focused model
- Write a detailed prompt using the structure from the sections above
- Set your aspect ratio to 16:9 for landscape shots or 9:16 for portraits
- Generate and evaluate the result
How to Pick a Model
Not every text-to-image model handles atmospheric effects equally. When selecting for weather effects, prioritize models that:
- Are specifically fine-tuned for photography or photorealism
- Have output examples showing natural lighting and surface textures
- Support high-resolution output compatible with 4K or 8K upscaling
If your first generation doesn't look right, adjust the prompt before switching models. The issue is usually in the prompt specificity, not the model itself.
Getting the Best Results Every Time
Lighting Consistency Is Critical
The most common reason AI weather effects look unconvincing is lighting inconsistency. If your original photo has warm afternoon sun hitting from the right side, and you prompt for a heavy overcast rainstorm, the AI has to resolve a contradiction. Sometimes it does this gracefully. Often it doesn't.
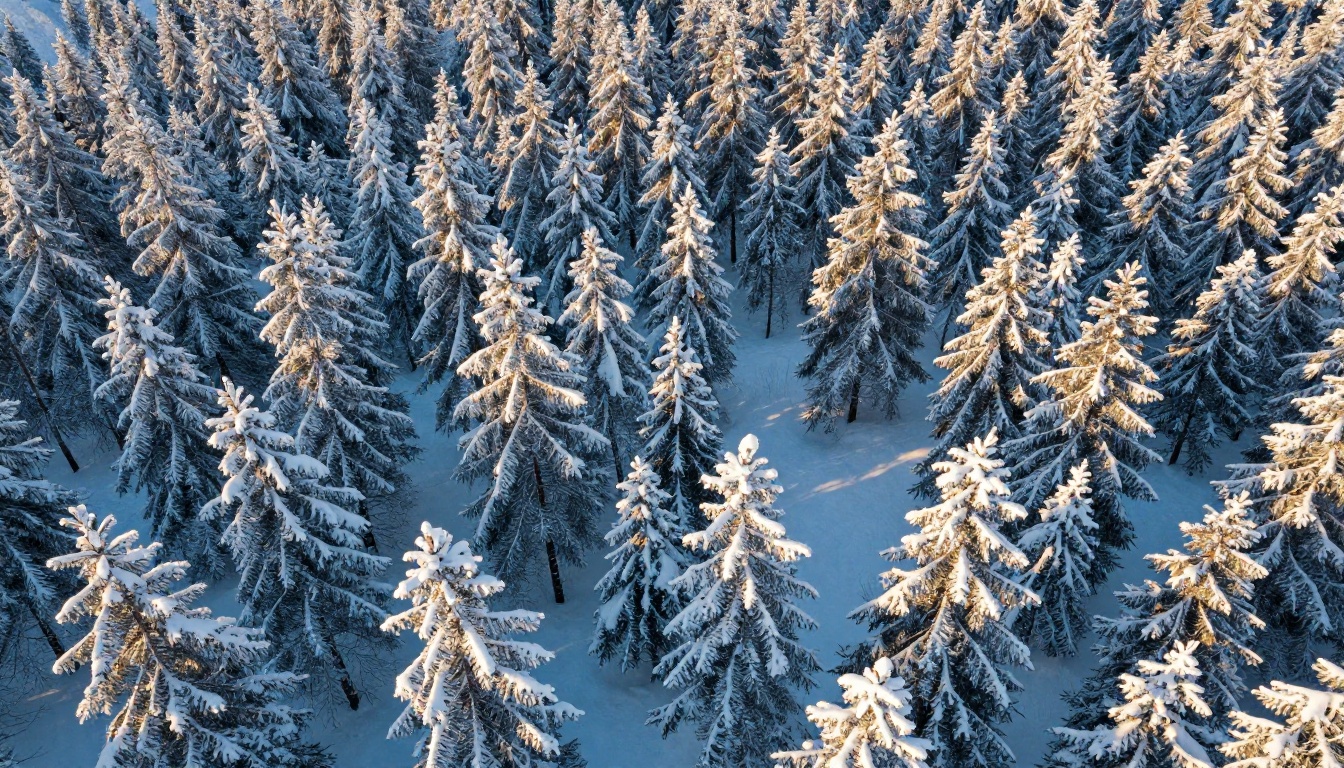
The fix is to specify lighting in your prompt that either matches the original scene or is justified by the weather conditions. Heavy rain comes with overcast diffused light. Snow during daylight hours creates a flat white ambient light. Snowstorms at night in a city have warm point sources from street lights filtered through falling snow.
When you keep light source and weather type consistent, the result feels cohesive and believable.
Tip: The phrase "volumetric light" in your prompt signals to the AI that light should be visible as it passes through particles (snow, rain, fog). This single addition significantly improves the atmospheric depth of the result.
Matching Weather Intensity to the Scene
Not every photo benefits from maximum weather intensity. A portrait with strong emotional content may be overwhelmed by a blizzard. In that case, a light dusting of snow or a subtle drizzle might do more work than a dramatic storm.
Think about what mood you're after and scale the weather accordingly:
| Scene Type | Recommended Intensity |
|---|
| Portrait (close-up) | Light to medium, focused on surface effects |
| Street photography | Medium to heavy, with reflections and puddles |
| Landscape | Heavy, with full atmospheric conditions |
| Product or still life | Very light, subtle frosting or fine drizzle |
| Action or sports | Heavy and directional, with motion blur |
The Depth Trick
One of the biggest differences between amateur and professional AI weather results is depth layering. In real photography, rain and snow in the foreground looks different from rain and snow in the background. Foreground particles are larger, sharper, more distinct. Background particles blur into a general haze.
In your prompts, address this explicitly:
- "Individual snowflakes sharp and distinct in foreground, dissolving into atmospheric haze in distance"
- "Rain drops in sharp focus near camera, background rainfall blending into overcast gray atmosphere"
This instruction adds dimensional realism that flat weather overlays cannot achieve.
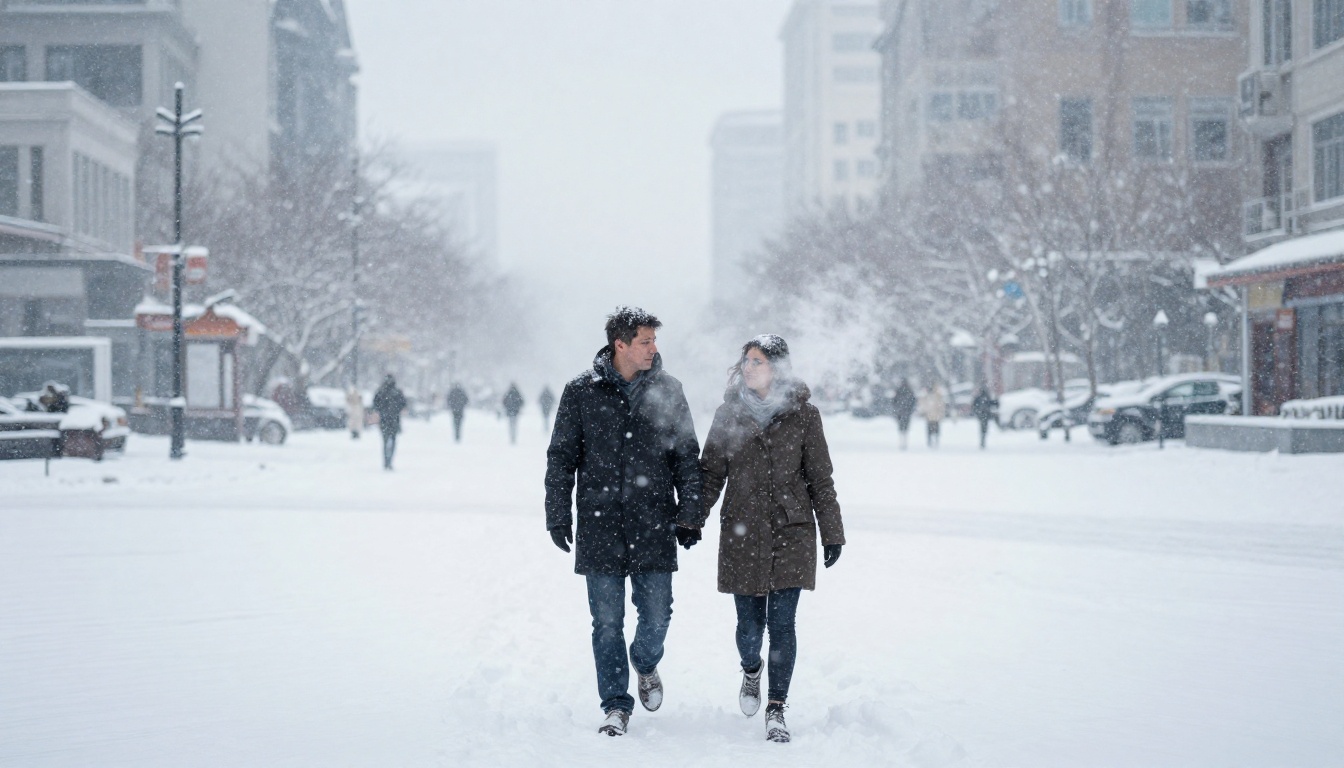
Snowflakes Up Close
One of the most visually striking applications of AI weather effects is macro-level work. While most weather effect articles focus on full scenes, the detail-oriented close-up is where AI really impresses.
Consider a close-up portrait where individual snowflakes are visible on dark fabric or hair. Or rain drops striking exposed skin with micro-splashes frozen in time. These are shots that require extremely controlled studio conditions in real photography. With AI, you specify the detail level in your prompt and the model delivers it.
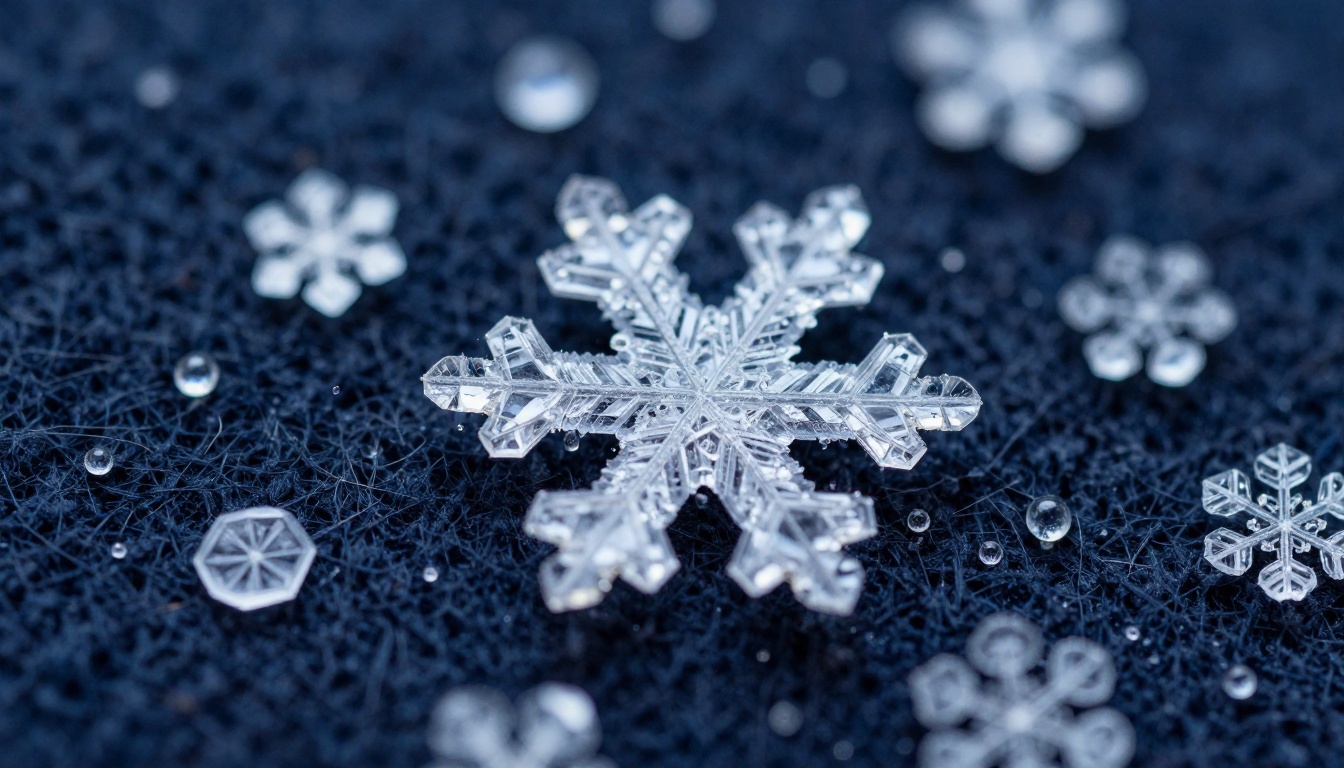
When prompting for macro weather details, always specify:
- The surface the weather is landing on ("dark wool fabric", "bare skin", "wet leaves")
- The light source direction ("soft diffused daylight from above", "directional side light from left")
- The lens characteristics ("180mm macro lens", "extreme depth of field", "razor-thin focus plane")
- The visible detail level ("individual crystal structure visible", "micro-splashes in sharp focus")
The Low-Angle Shot
An underused perspective for weather photography is the low-angle upward tilt. Looking up into falling rain or snow creates a completely different visual experience from the standard eye-level shot. The sky becomes the background, the weather is coming directly toward the camera, and the scale of the storm becomes far more apparent.
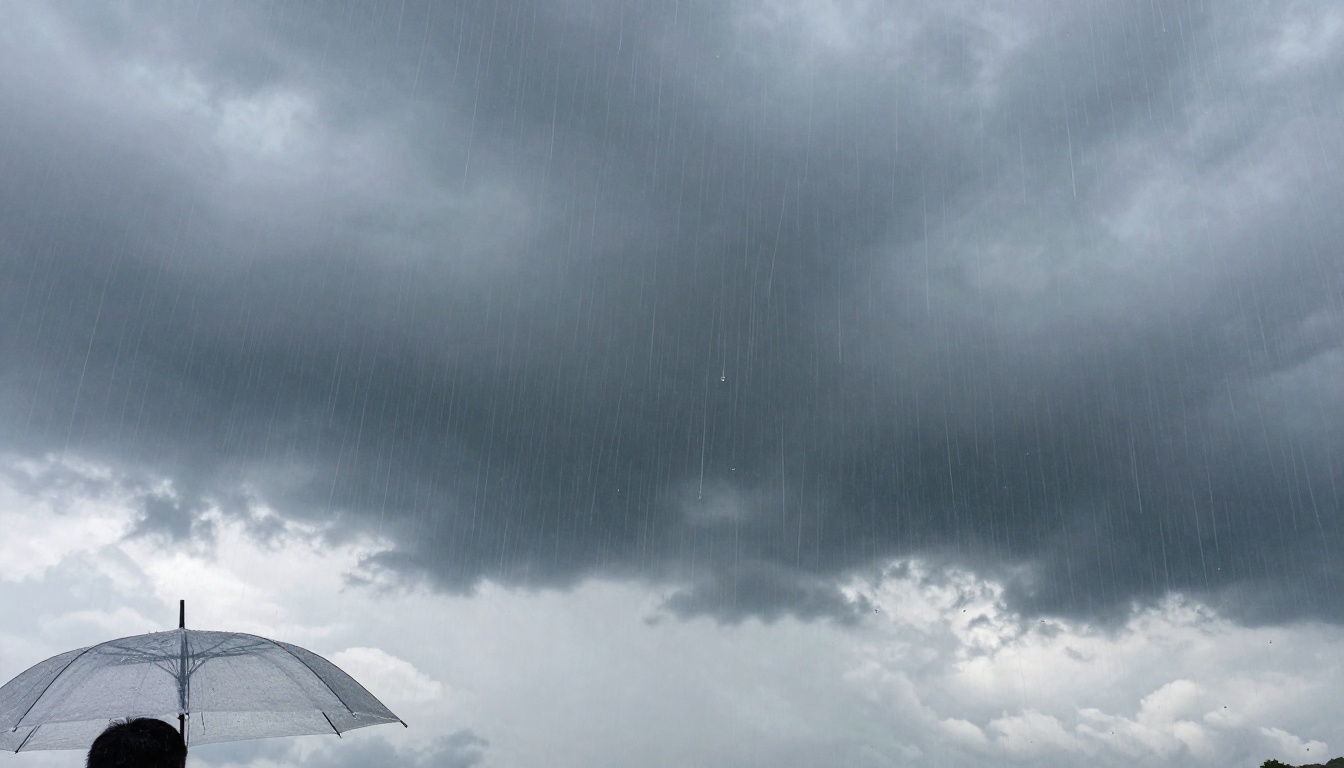
In your prompts, specify "low-angle tilt upward toward the sky" or "camera looking up into falling snow" to get this effect. Combine it with "35mm wide angle lens" to exaggerate scale and add dramatic tension to the composition.
After the Effect: Upscaling and Finishing
Why You Should Always Upscale
AI-generated images often come out at a resolution that works fine for social media but falls short for print or large-format digital use. After you've achieved a weather effect you're happy with, running the result through an upscaler is the step that turns a good image into a publication-ready one.
Upscaling doesn't just add pixels. The best AI upscalers also recover fine detail that compression or model limitations introduced. Snowflake crystals become sharper. Raindrops on skin show clearer micro-splashes. The overall image takes on the texture and depth that makes it feel like a real photograph rather than an AI generation.
Best Upscaling Models on PicassoIA
PicassoIA offers several excellent super-resolution models, each with slightly different strengths:
Clarity Pro Upscaler by philz1337x is purpose-built for photorealistic upscaling. It recovers fine surface details like skin pores, fabric texture, and natural grain while maintaining the photographic look. This is the top choice for portraits in rain or snow.
Real ESRGAN is a widely tested model that handles both natural images and AI-generated content well. It gives clean, sharp results across a wide variety of content types, from landscapes to close-up portraits.
Image Upscale by Topaz Labs supports up to 6x enlargement, making it the right call when you need very large print dimensions. The model preserves edge sharpness and natural film grain exceptionally well.
Increase Resolution by Bria is a solid all-around upscaler that handles both 2x and 4x scaling with minimal artifacts. A reliable default choice when working with landscape weather scenes.
Tip: Always upscale after the weather effect is finalized. Running upscaling before you're satisfied with the weather result wastes a step, since any further edits will require upscaling again.
Create Your Own Weather Photos on PicassoIA
You've seen what's possible. Now it's time to try it with your own images and ideas. PicassoIA gives you direct access to the most capable text-to-image models available, no installations, no subscriptions required to start, and results in seconds.
The process is straightforward: pick a model from the text-to-image collection, write a detailed weather prompt using the structures covered above, and generate. If the first result isn't exactly what you want, adjust one variable at a time. Change the weather intensity. Modify the lighting description. Shift the camera angle.
After you've got the image you want, take it to Clarity Pro Upscaler or Real ESRGAN and sharpen it to print quality.
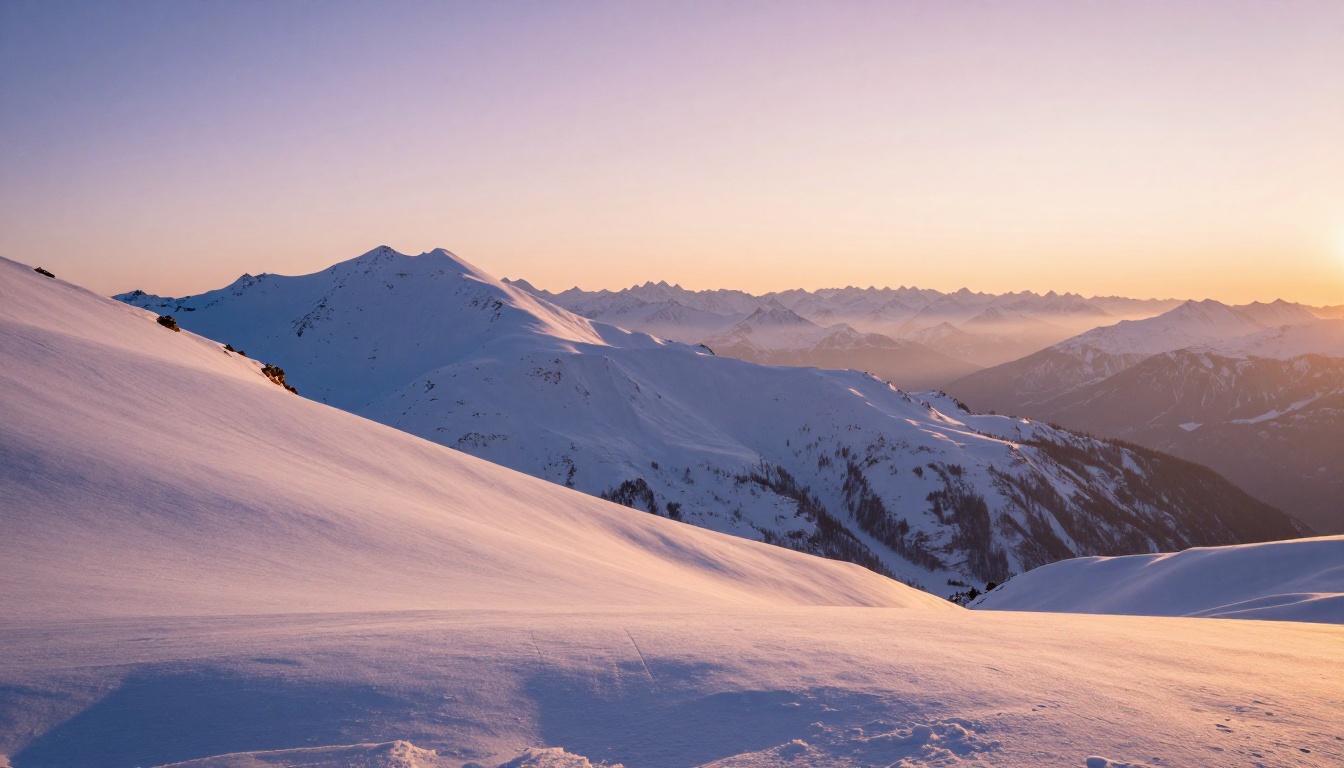
The results you've seen throughout this article were all generated using the same approach: specific, detailed prompts and photorealistic model settings. Try a blizzard on a cityscape, a monsoon on a portrait, a light dusting of snow on a forest path. The only limit is what you decide to write in the prompt.