Most vloggers spend three to five hours editing for every ten minutes of published content. Cutting silences, syncing audio, adding captions, color grading, upscaling for export — that list adds up fast. AI-powered video editing has now crossed a threshold where it handles the majority of that work automatically, and you do not need expensive software or a technical background to use it.
This is not about replacing your creative voice. It is about cutting the time you waste on repetitive tasks so the creative parts actually get done.
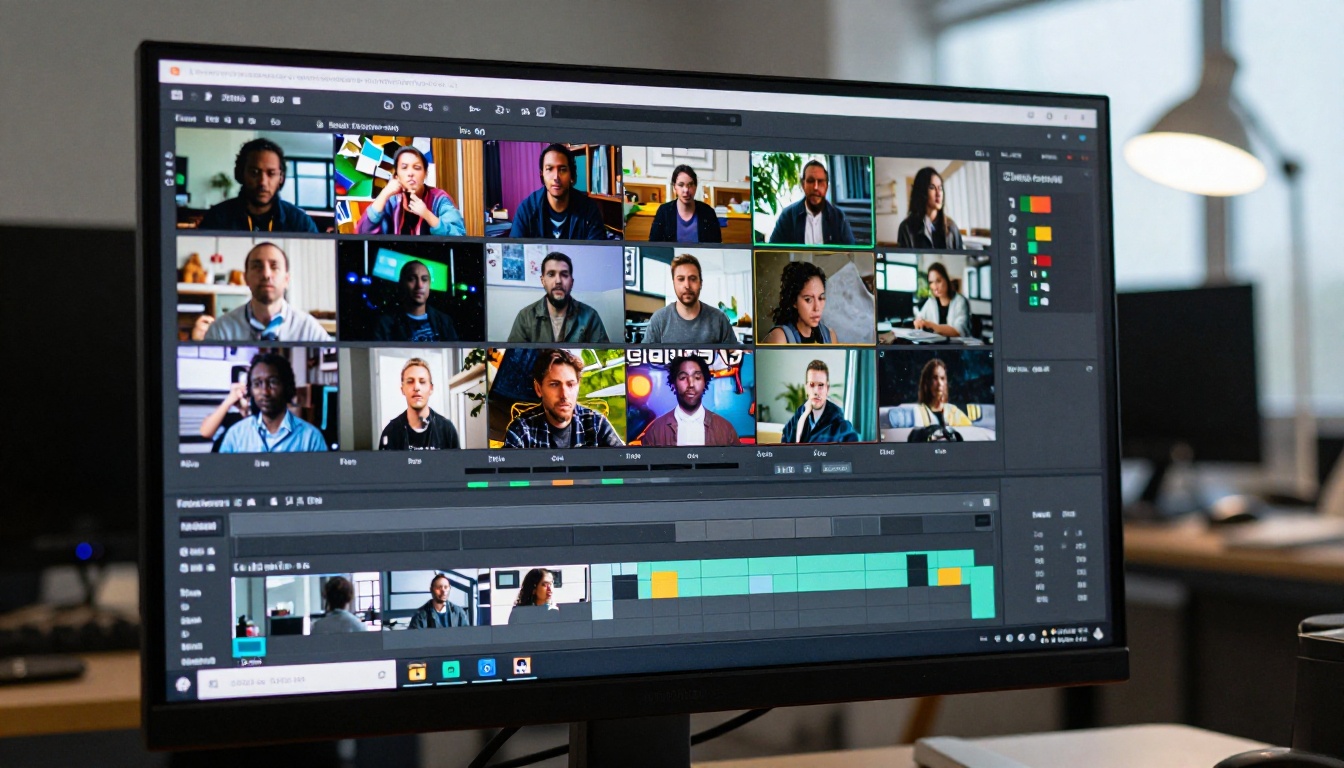
Why Manual Vlog Editing Burns So Much Time
The real cost of a 10-minute vlog
Here is what a standard vlog editing session actually looks like:
| Task | Average Time |
|---|
| Reviewing raw footage | 45 to 90 min |
| Cutting and trimming clips | 60 to 120 min |
| Color correction | 30 to 60 min |
| Adding captions | 45 to 90 min |
| Audio cleanup and music | 30 to 45 min |
| Export and compression | 15 to 30 min |
| Total | 3 to 7 hours |
That math gets brutal fast, especially if you post multiple times a week. The painful truth is that most of that time is not creative work. It is mechanical repetition that a machine can now do better and faster.
What AI editing actually replaces
AI does not replace your storytelling instincts or your personality on camera. What it does replace is:
- Silence and filler word detection: Automatically cuts dead air and filler sounds
- Scene transition identification: Detects where one topic ends and another begins
- Caption generation: Transcribes and syncs subtitles without manual timestamping
- Audio layering: Removes background noise and adds contextual sound effects
- Visual upscaling: Boosts resolution from 1080p to 4K without re-filming
The result is a rough cut that would have taken you four hours, delivered in under fifteen minutes.
Edit Video Like a Document
Text-based editing is the real shift
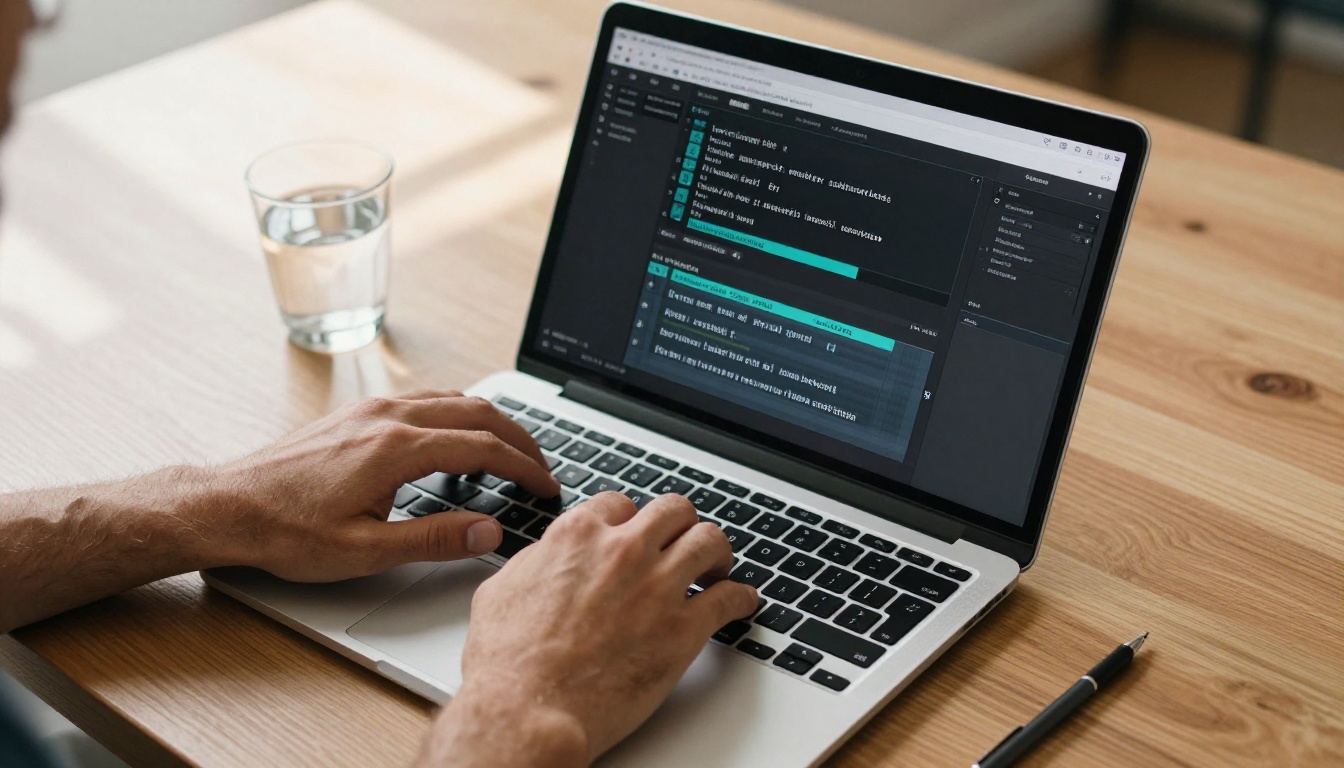
The single biggest change in AI vlog editing is text-based video editing. Instead of scrubbing through a timeline, you read a text transcript of your video and delete the sentences you do not want. The video cuts happen automatically, matching what you removed.
This sounds simple, but it changes everything. You can read your vlog like a blog post, identify what to cut, and have a clean edit in minutes.
Lucy Edit 2: text-to-edit in real time
Lucy Edit 2 by Decart is one of the most direct implementations of this approach available right now. You feed it your video, it transcribes the content, and you delete text to cut footage. The model operates in real time, so edits appear instantly rather than requiring a processing queue.
It is particularly strong for talking-head vlog content where the majority of cuts are dialogue-based.
💡 Pro tip: When using text-based editors, highlight only the sections you want to keep on a first pass, rather than marking everything to cut. It is faster and less error-prone.
Wan 2.7 Videoedit takes a different approach. It accepts a text instruction describing what you want to change and applies it directly. This is useful when you want to swap backgrounds, change visual style, or modify specific clips without going back to the original footage.
Smart trimming without scrubbing
Before any creative editing, raw footage needs to be trimmed. AI trimming tools analyze your clip for silence, camera shake, and low-quality moments and remove them automatically.
The Trim Video tool on PicassoIA lets you set exact start and end points programmatically, which is useful when you already know the timestamp ranges you need. For vlogs with a predictable structure, you can define the trim rules once and apply them consistently across multiple recordings.
For footage that needs to be broken into multiple segments, Video Split cuts your video at precise time intervals automatically. This is particularly useful for batch-processing a day's worth of footage into scene-sized chunks before you begin the creative edit.
Putting clips back together
Once trimmed and split, you need to reassemble. Video Merge combines multiple clips into a single continuous video in seconds. Upload your clips in order, let the tool concatenate them, and you have a rough assembly cut ready for the next stage.
AI Captions That Sync Perfectly
Autocaption in one click
Captions are no longer optional. Platforms prioritize captioned content, and a significant portion of viewers watch without sound. Manually timestamping subtitles is one of the most tedious parts of vlog post-production, and AI has made it entirely unnecessary.
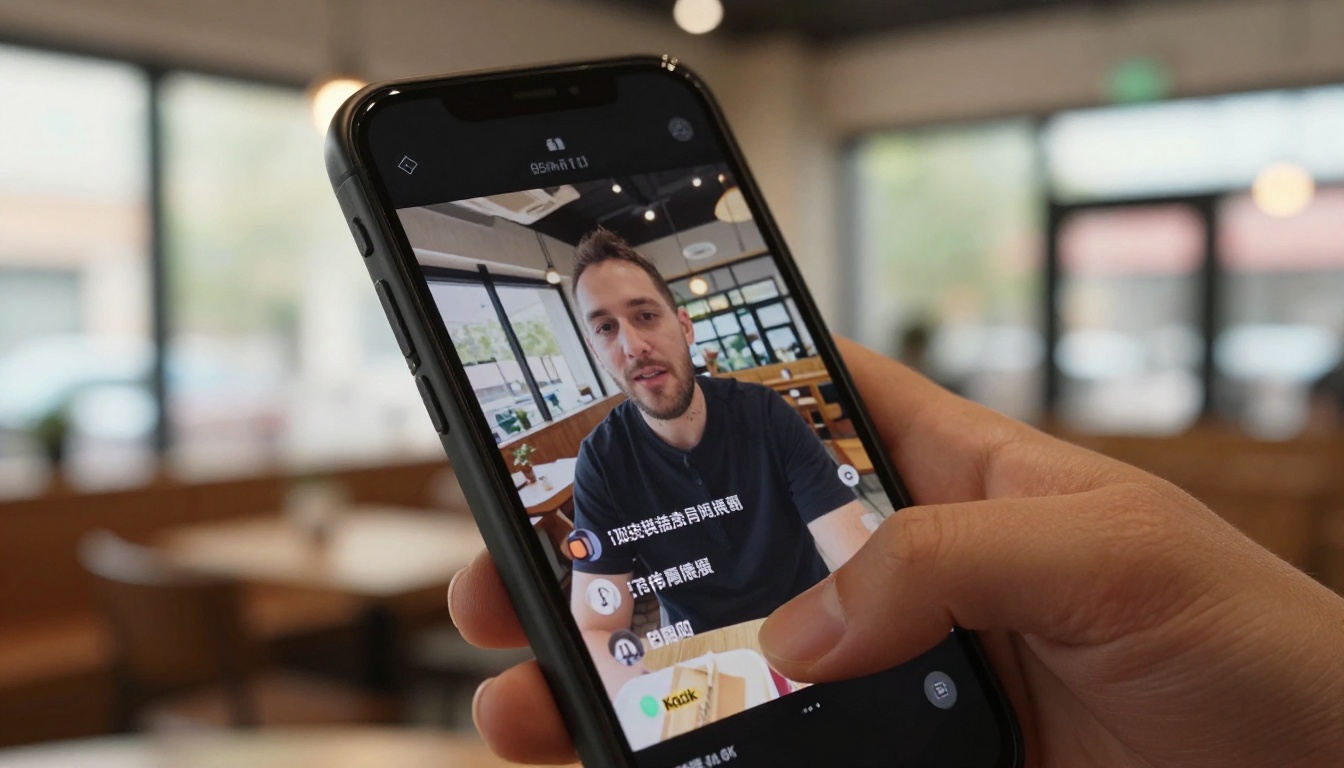
Autocaption by Fictions AI generates and burns accurate subtitles directly into your video. The model handles multiple accents and speech patterns reliably, and it outputs the captions with proper timing sync so you do not need to manually adjust timestamps after the fact.
The captioning happens at the model level, which means the output is a single video file with captions already embedded. No separate subtitle file to manage, no syncing step, no format conversion.
Why captions do more than just accessibility
Beyond accessibility, captions serve an important function for watch time:
- Silent autoplay: Most social feeds autoplay without sound. Captions are the only reason someone continues watching.
- Search indexing: Platforms use caption text to understand video content and serve it to relevant searches.
- Retention on cuts: Captions give viewers a visual anchor during quick edits, reducing the jarring effect of fast-paced cutting.
💡 Tip: After generating captions, review the transcript for misheard words. Product names, locations, and technical terms are the most common errors.
Restyle and Fix Your Vlog Visually
Color and style without the learning curve
Color grading is intimidating if you have never done it before. Even with tutorials, getting skin tones right takes practice. AI-driven restyling tools skip that learning curve entirely.
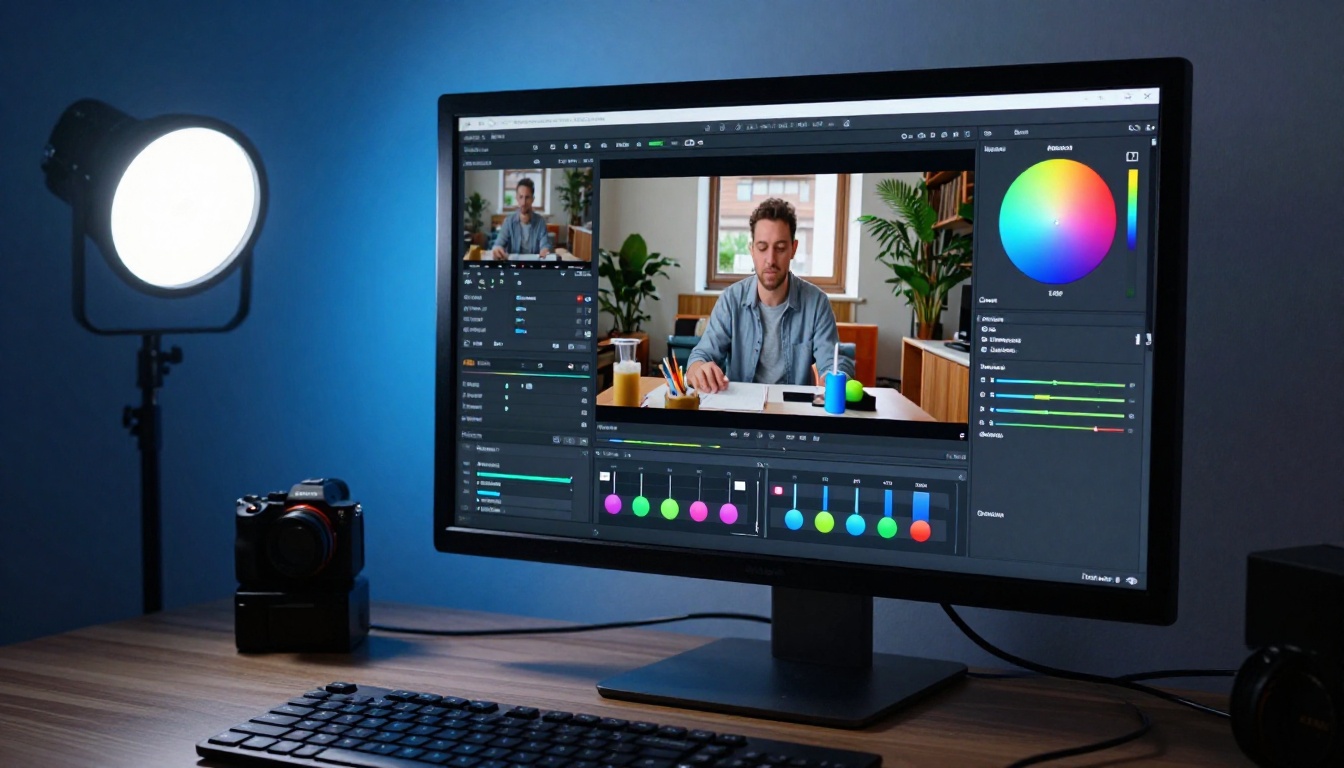
Modify Video by Luma AI lets you describe the visual style you want in plain text. Type "warm golden hour tones, cinematic contrast" or "clean bright daylight look, slightly desaturated" and the model applies that aesthetic across your footage. For vlog content it is more than sufficient and dramatically faster than manual grading.
For more targeted visual changes, Gen 4 Aleph by Runway allows you to recut and restyle specific sections of a video. If one scene does not match the color tone of the rest of your vlog, you can isolate and fix it without re-exporting the entire file.
Kling o1 goes further, allowing full text-driven video rewriting. If a background looks bad, you can instruct the model to change it. If the lighting on a shot is wrong, you describe what you want and it adjusts.
Erase what does not belong
Distracting objects in the background are a common problem in spontaneous vlog filming. A garbage can in the corner, a stranger walking through your shot, an accidental product placement.
Video Erase Object by Bria identifies and removes objects from video frames. You mark the object you want gone, the model tracks it through the footage and fills in the background plausibly. This kind of editing would have required a professional post-production team just a few years ago.
LTX 2 Retake works at the section level. If a specific segment of your vlog looks bad, you can replace that section without re-filming. The model generates replacement footage consistent with the surrounding context.
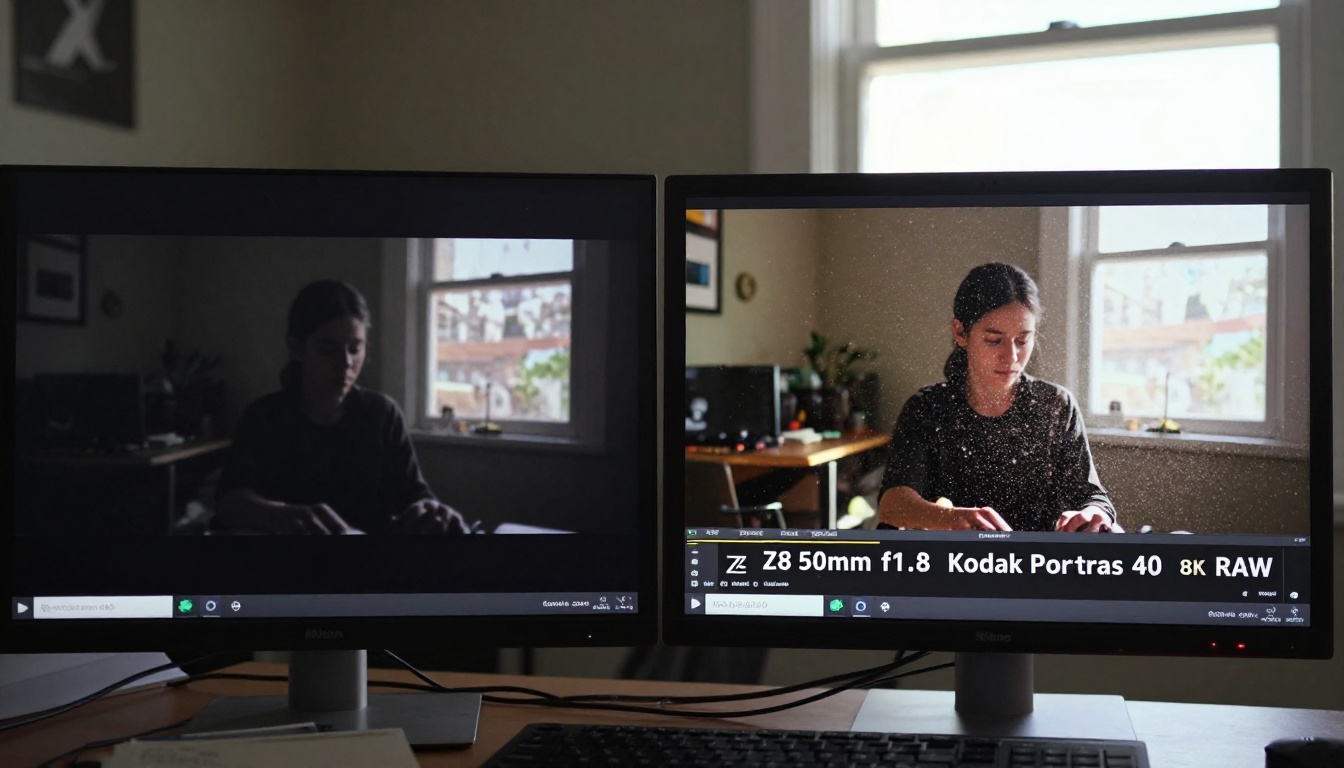
Add Sound Without a Studio
AI-generated sound effects that actually fit
The difference between amateur and professional video content often comes down to sound design. Natural ambient sounds, subtle transitions, and background audio textures make a massive difference in perceived quality, but recording them manually is time-consuming.
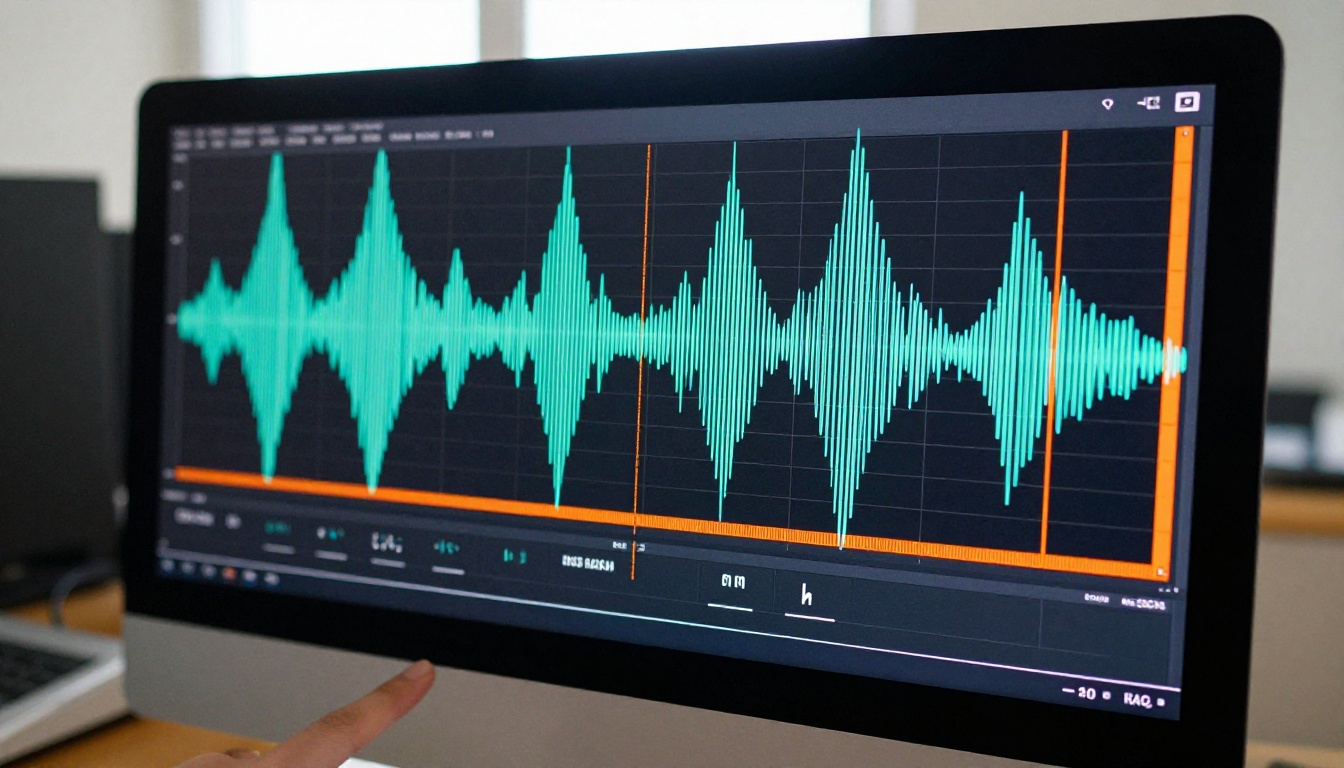
Video To SFX v1.5 by Mirelo analyzes your video and generates contextually appropriate sound effects automatically. If your vlog shows someone pouring coffee, it generates the sound of liquid. If you cut to an outdoor scene, it adds ambient environmental audio. The sync is automatic.
Thinksound takes this further with contextual audio reasoning. It does not just match sound to visual events — it considers the emotional tone of the scene and generates audio that fits the mood.
MMAudio specializes in generating AI-composed background audio that does not conflict with your voice. For vlogs where you are talking throughout, background music not designed for speech often causes masking issues. MMAudio's output is specifically calibrated for voice-over scenarios.
The audio merge workflow
Once you have your AI-generated audio elements, Video Audio Merge lets you combine them with your existing video soundtrack. You can replace the original audio entirely or mix it at a custom volume ratio.
💡 Tip: Use Extract Audio first to pull the existing audio track from your video and check the levels, then merge the AI audio at a lower volume than your voiceover.
Going from 1080p to 8K
Most vloggers film in 1080p because it is the default for most cameras. Publishing in higher resolution is increasingly relevant as 4K displays become standard, but re-filming in 4K is not always an option.

Video Increase Resolution by Bria upscales footage to 8K without the artifacts typical of older upscaling methods. The model uses AI-driven reconstruction to add realistic detail to low-resolution frames, not just interpolation. The result holds up on large displays.
Real ESRGAN Video is a strong alternative for upscaling to 4K. It uses the ESRGAN architecture trained specifically on video content, which handles motion and temporal consistency better than image-only upscalers.
Adapting for different platforms
Different platforms have different aspect ratio requirements. TikTok and Instagram Reels expect 9:16 vertical video. YouTube expects 16:9. If you filmed in one format, Reframe Video by Luma AI intelligently reframes your footage to any aspect ratio, keeping the subject centered as the crop changes.
You do not need to re-film for each platform. One recording, automatically adapted for multiple formats.
How to Use PicassoIA for Your First AI-Edited Vlog
All the tools in this article are available on PicassoIA without installing software. Here is a practical workflow for your first AI-edited vlog:
Step 1: Trim and split your raw footage
Start with Trim Video or Video Split to create clean clip segments from your raw recording.
Step 2: Apply text-based edits
Upload your trimmed clips to Lucy Edit 2. Read the transcript, remove what you do not want, and download the edited clip.
Step 3: Add captions
Run the edited clip through Autocaption. Review the output for any misheard words, then download the captioned version.
Step 4: Fix the visuals
Use Modify Video to apply a consistent color style. If specific objects need to be removed, run those clips through Video Erase Object first.
Step 5: Add audio
Run your video through Video To SFX v1.5 for sound effects, then blend with background music using Video Audio Merge.
Step 6: Upscale and reformat
Use Video Increase Resolution to boost resolution, then Reframe Video to create platform-specific versions.
💡 Realistic expectation: Your first AI-edited vlog will still need some manual review. The second will need less. By the fifth, you will have a repeatable workflow that takes a fraction of the time you used to spend.
The biggest shift is not speed, though that matters. It is that the barrier between filming something and publishing it drops dramatically. When editing a vlog takes six hours, you naturally film less because the downstream cost is too high. When it takes forty-five minutes, you film more, try more, and publish more consistently.
Consistency is what actually grows a vlog audience. Not perfection. Not production quality that rivals a television studio. Consistent output, reliably published, at a quality level that does not embarrass you.
AI editing tools make that achievable for individual creators without a production team. The editing is no longer a creative bottleneck. It is a step you automate.
PicassoIA gives you browser-based access to all these tools without subscriptions to multiple services or local software installs. Pick the workflow steps that match your current pain points, try them on your next recording, and see what the output looks like. The footage is on your phone. The tools are ready. The gap between the two is now much smaller than it used to be.


