How to Blend Two Photos into One with AI (Perfect Results Every Time)
Blending two photos into one used to take hours in Photoshop. Today, AI photo blending tools can do it in seconds with photorealistic accuracy. This article walks you through the best AI models, workflows, and prompting tips for seamless photo composites every time.
You have two photos. Maybe it's a portrait and a perfect landscape background. Or two faces you want to combine for a creative project. Or a product shot that needs a lifestyle context it was never photographed in. Whatever your use case, blending two photos into one with traditional tools like Photoshop takes skill, time, and a lot of trial and error. With AI, the same result takes seconds, and the output is photorealistic enough to fool the eye.
This is not about filters or overlays. Modern AI photo blending works at a structural level, matching lighting, shadows, depth, and perspective across both source images so the final result looks like it was always one photograph. The technology behind this has expanded dramatically in 2024 and 2025, and right now there are models purpose-built specifically for multi-image compositing.
Why Photo Blending Used to Be So Hard
The Old Photoshop Problem
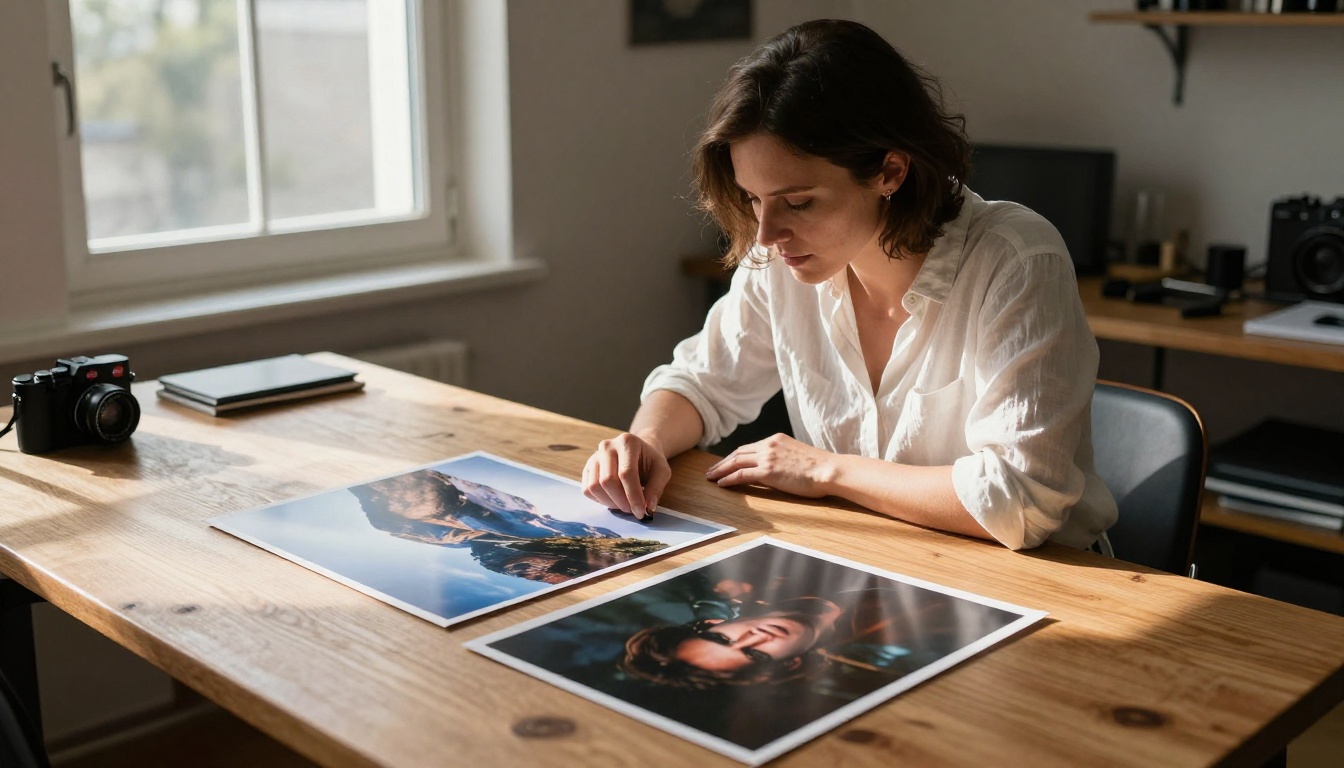
Anyone who has spent hours cutting around hair in Photoshop knows the pain. Manual masking, adjustment layers, matching color temperatures, fixing shadow directions, battling halo effects at the edges. Even experienced retouchers spend 30 minutes to 2 hours on a single decent composite. And that's before you account for skill level.
The result was that only designers and photographers with serious Photoshop skills could create convincing blended photos. Everyone else got awkward cutouts with mismatched lighting and obvious seams.
What Actually Makes a Blend Look Real
A realistic photo blend requires several things to be true at the same time:
Lighting consistency: Both images must appear lit from the same direction and with the same color temperature.
Perspective matching: The horizon lines, vanishing points, and scale must align.
Edge quality: The boundary between subjects needs natural softness, not a sharp digital cutout.
Shadow and reflection logic: Shadows must fall in directions that make physical sense.
Grain and texture matching: Film grain, noise, and surface texture must be consistent across both sources.
Traditional tools handle each of these manually. AI handles all of them simultaneously, in one inference pass.
The Right Models for the Job
Multi Image Kontext Pro: Built for Blending
The most purpose-built tool for this workflow is Multi Image Kontext Pro. It accepts two or more reference images and uses them as visual anchors to generate a new image that incorporates elements from both. You're not just overlaying two photos. The model re-generates the scene with full awareness of both inputs, which is why the results look so natural.
It's part of the Flux Kontext family, which is currently the leading architecture for instruction-following image generation. The "multi-image" capability is what separates it from standard text-to-image generators.
💡 Best for: Portrait plus background composites, product plus lifestyle blending, dual-person scene construction.
Flux Kontext Dev for Single-Photo Remixing
If you only have one source image and want to blend it with a new environment described in text, Flux Kontext Dev is the right tool. You feed it a photo and a text instruction, and it edits the image while preserving the subject's identity and lighting context.
This works especially well for background replacements and style transfers where you want the original subject to remain intact.
💡 Best for: "Place this person on a Paris street in golden hour" type of edits.
Qwen Image Edit Plus for Scene Editing
Qwen Image Edit Plus treats the image like a canvas and follows natural language instructions to add, remove, or modify elements. For blending workflows, it's powerful when you want to insert a specific element from a description into an existing photo.
There's also Qwen Image Edit Plus LoRA Fusion, specifically designed for product blending scenarios. It places items from one photo into the scene of another with product-level accuracy.
How to Blend Two Photos Step by Step
Step 1: Choose Your Two Source Photos
Not all photo pairs blend well. The trick is choosing images that share at least one compatible element:
Factor
What to Look For
Lighting direction
Both lit from roughly the same side
Color temperature
Both warm or both cool
Resolution
Ideally similar megapixels
Perspective
Matching eye level or camera height
If both photos share at least 2 of these 4 factors, your AI blend will look significantly more convincing.
Step 2: Upload to Multi Image Kontext Pro
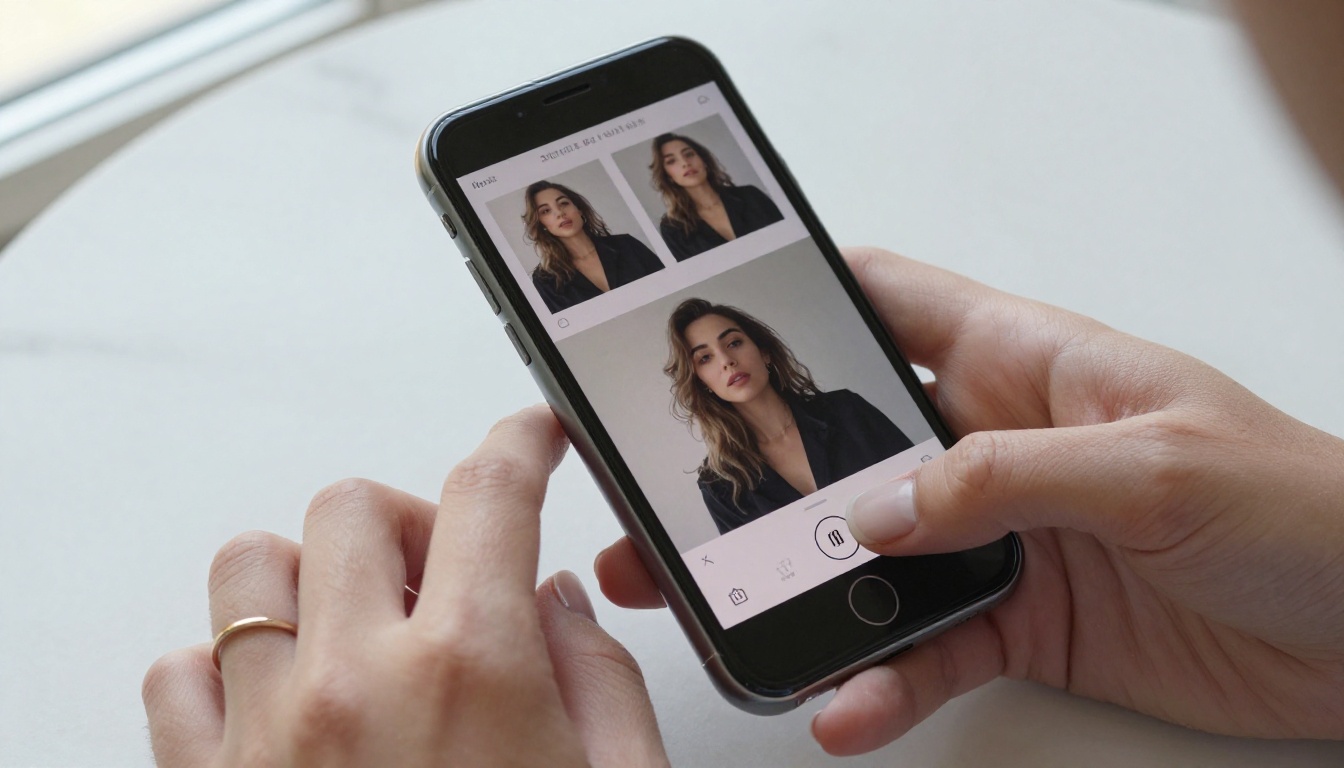
Open Multi Image Kontext Pro on Picasso IA. The interface accepts multiple image uploads. Drag your two photos into the input slots.
At this point you don't need to do any pre-editing. The model ingests raw photos directly.
Step 3: Write the Blend Instruction
This is where most people go wrong. The prompt is not a description of what you want to see. It's an instruction to the model about how to combine the two inputs.
Good prompt structures:
"Blend the subject from Image 1 into the scene from Image 2, matching the lighting direction and maintaining photorealistic quality"
"Place the woman from Image 1 standing in the garden from Image 2, adjusting shadows to match the afternoon sunlight"
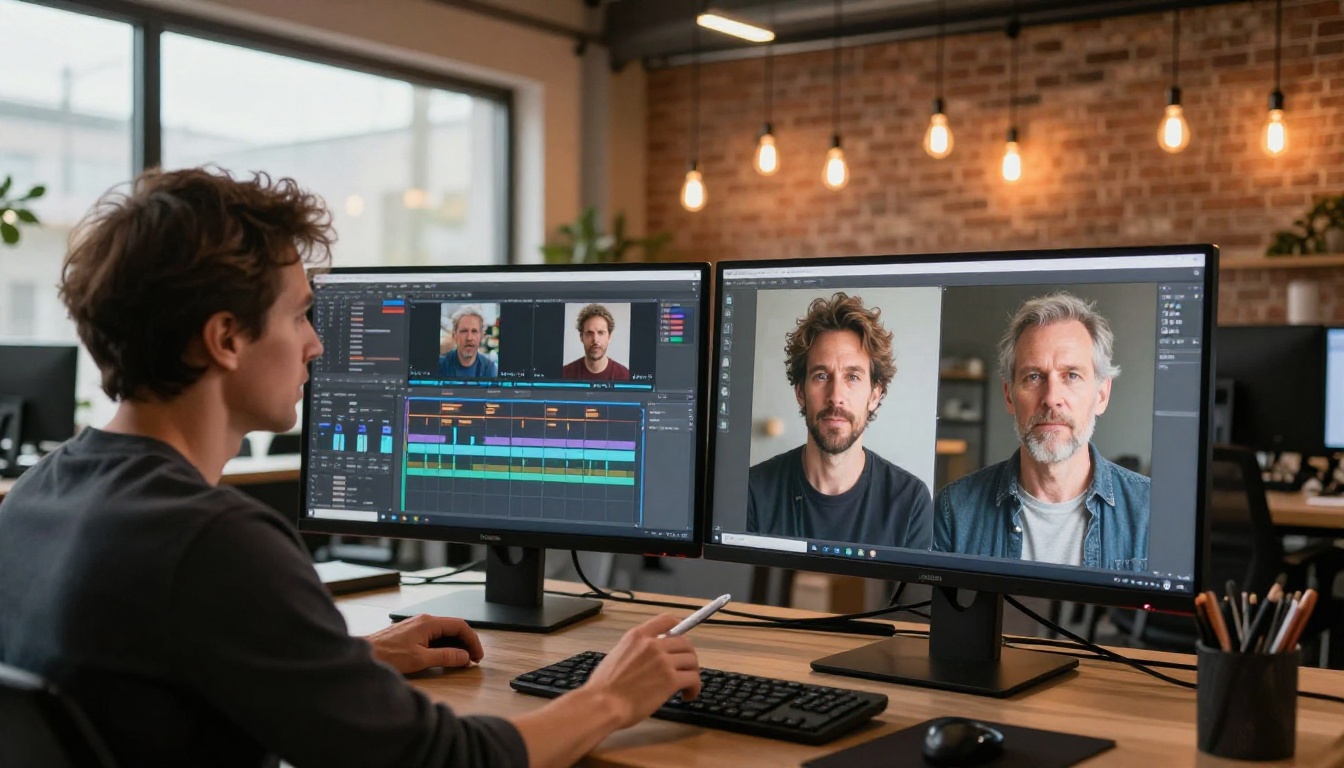
"Combine both portraits into a single seamless double exposure, with the face from Image 1 dominant in the center"
What to avoid:
"Two photos merged together" (too vague, no instruction)
"Make it look nice" (no actionable directive)
"AI blend" (not a real instruction)
Step 4: Adjust Output Settings
Set aspect ratio to 16:9 for landscape composites or 1:1 for square social media outputs. Run at maximum quality settings for final outputs.
Step 5: Review and Refine
First outputs are rarely perfect. Common issues and fixes:
Halo around subject: Add "no edge artifacts, seamless integration, soft natural edges" to your prompt.
Mismatched lighting: Add "match the lighting from Image 2, warm afternoon sunlight from the left".
Wrong scale: Add "the subject should appear the same scale as other elements in the scene".
Color mismatch: Add "unified color grading, consistent color temperature throughout".
One or two refinement passes is usually all you need.
5 Photo Blend Types That Work
Portrait into Landscape
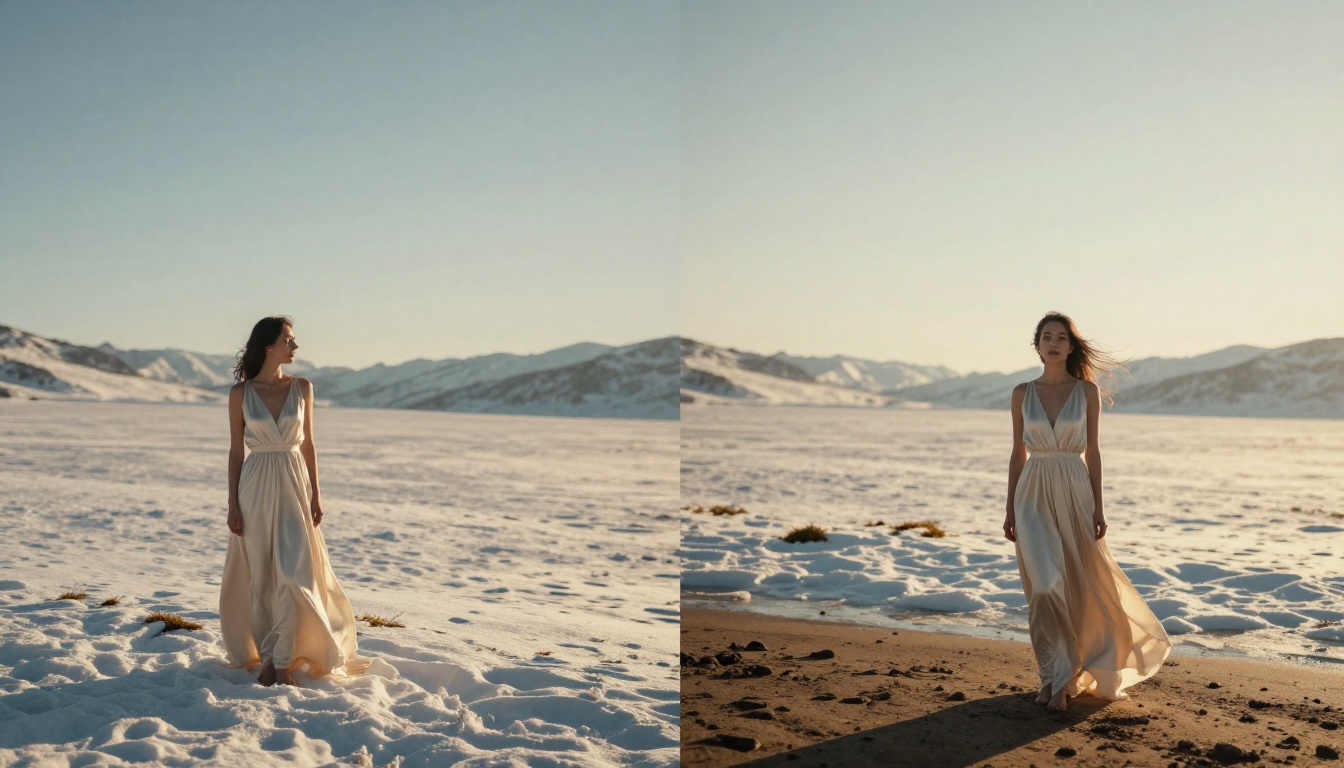
This is the most common use case. A person photographed in a studio or on a plain background gets placed into a specific real-world environment. The AI preserves the person's exact appearance while generating realistic environmental interaction: shadows falling on the ground, environmental light reflecting on skin, depth-of-field matching.
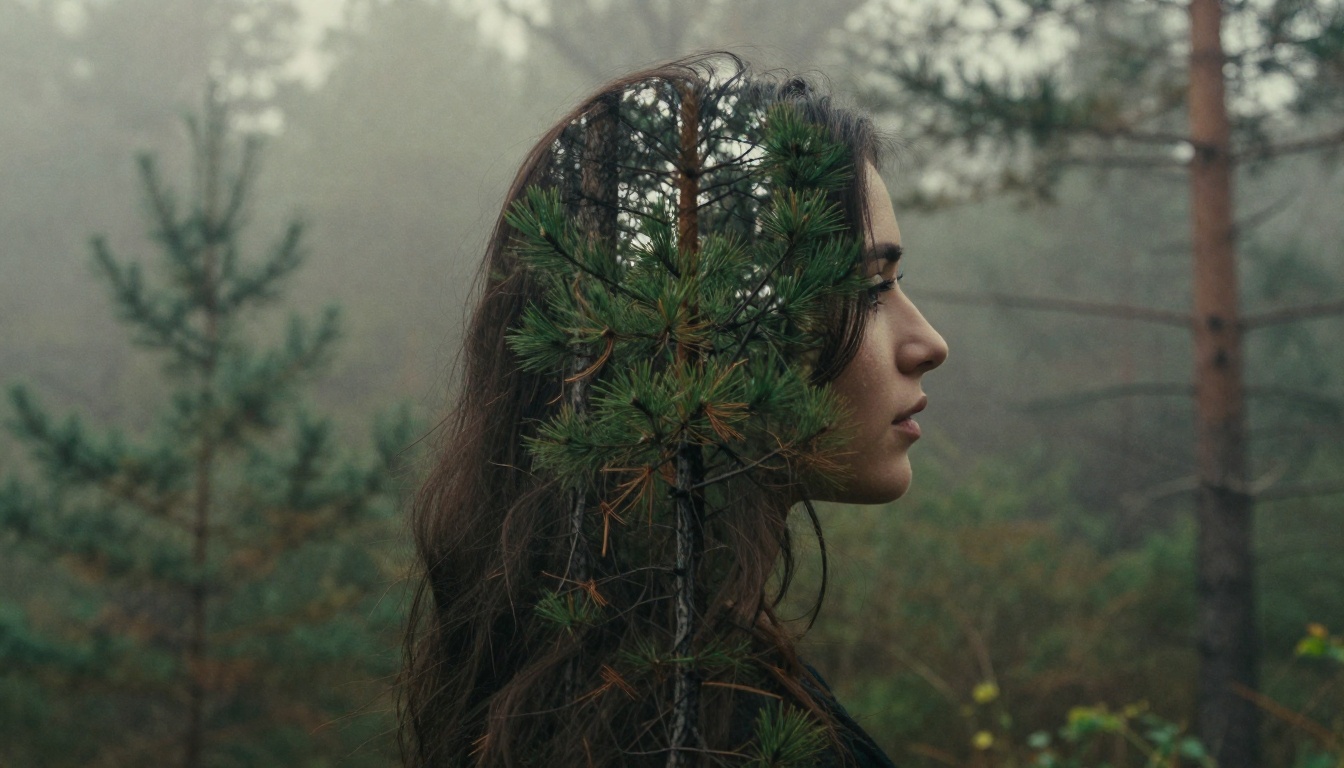
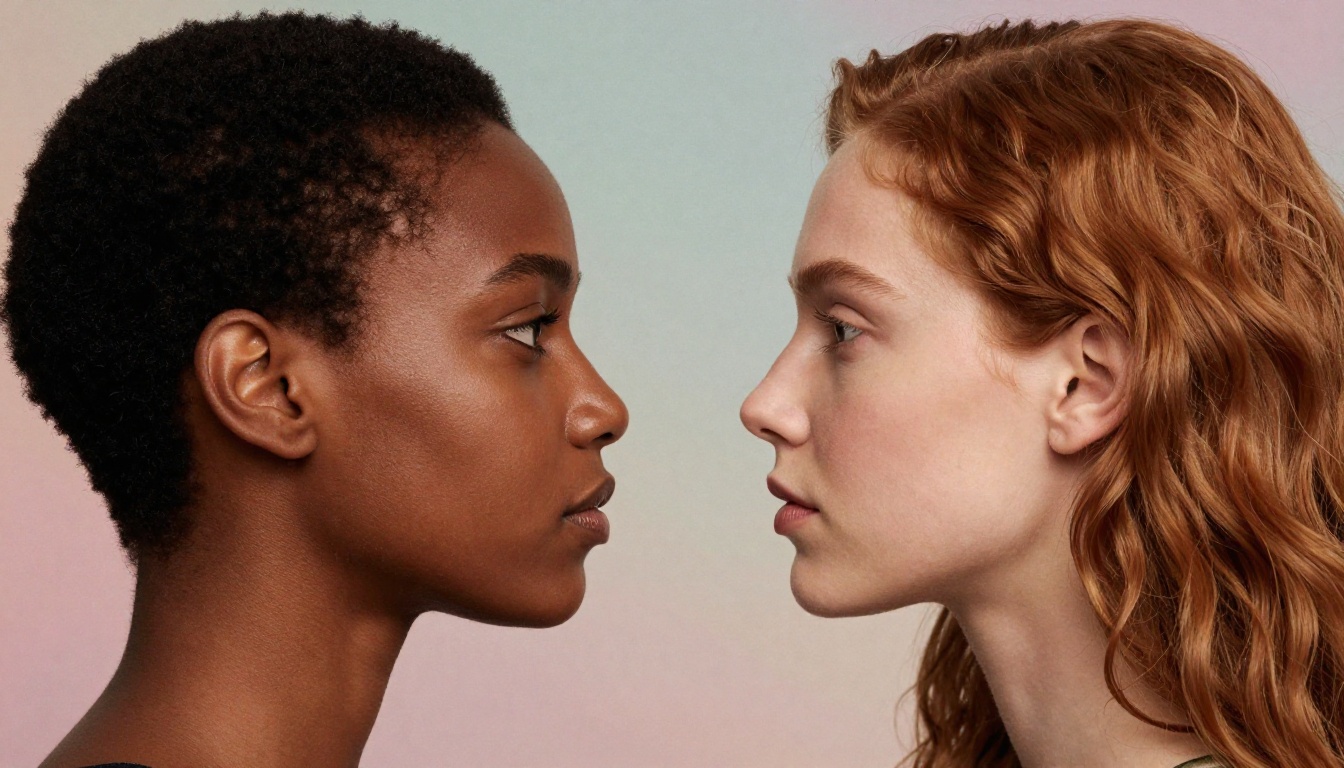
Two faces, or a face and a landscape, occupying the same frame in a painterly but photorealistic way. The silhouette of one subject filled with the texture or scene of another.
This effect used to require meticulous Photoshop masking. With AI, describe it directly: "Create a double exposure where the woman's silhouette is filled with the forest landscape from Image 2, maintaining photorealistic detail throughout."
Background Swaps with Subject Preservation
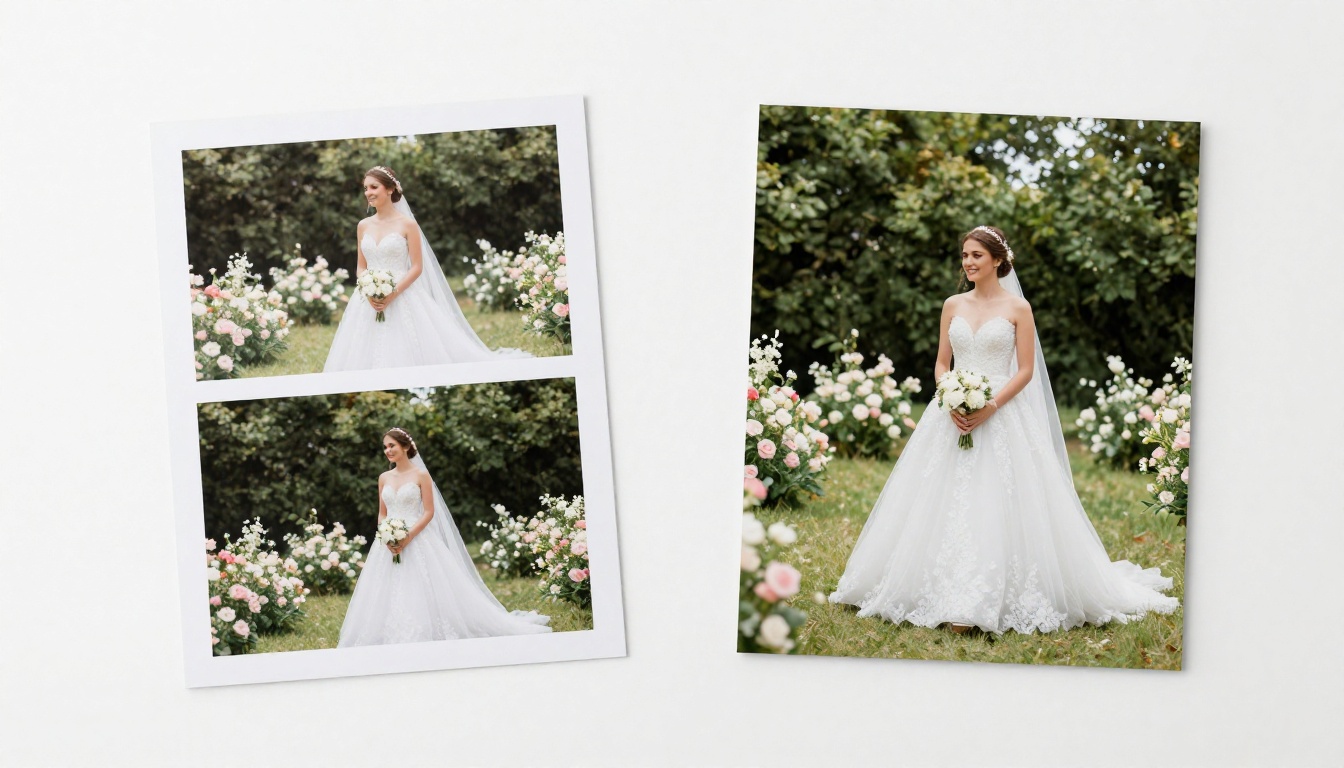
Replace a flat or distracting background with something cinematic. The subject stays identical. Their shadows, reflections, and lighting interactions adapt to the new environment.
Flux Kontext Dev and Flux Fill Pro are both excellent here. Flux Fill Pro is particularly useful when you want to expand the canvas first and fill the new edges with matching content before compositing.
Dual Environment Splits
A single image that shows two completely different environments simultaneously, split horizontally or vertically at the midpoint with a seamless transition. City meets forest. Summer meets winter. Indoor meets outdoor.
These work as artistic statements and perform very well on social media. The AI handles the perspective and lighting mismatch between environments automatically.
Product Plus Lifestyle Compositing
A product photographed in a studio gets placed into a real lifestyle scene. Perfume on a marble countertop. Sneakers on a city street. Skincare in a rainforest.
Qwen Image Edit Plus LoRA Fusion is purpose-built for this specific workflow and produces commercially viable results. Environmental reflections on product surfaces and matching shadows are handled automatically.
Example:
"Place the woman from Image 1 standing naturally in the forest path from Image 2. Match the dappled morning light falling from above. Maintain photorealistic skin texture and a soft shadow under her feet. Seamless integration, no visible compositing artifacts."
The more specific you are about light direction and shadow logic, the better the model performs.
Common Mistakes That Ruin Blends
Mistake
What Happens
Fix
No lighting instruction
Inconsistent light directions
Specify "light from [direction]"
Over-describing style
Model ignores blend instructions
Keep style instructions at the end
Conflicting environments
Unrealistic result
Choose environments that share one element
Skipping shadow mention
Floating subjects
Add "natural shadow beneath the subject"
Generic quality terms
No effect
Use "photorealistic, 8K, film grain"
When to Use Other Tools in the Workflow
Flux Fill Pro for Edge Problems
Sometimes the blend is almost perfect except for artifacts or unnatural edges at the subject boundary. Flux Fill Pro solves this. Upload the blended result, paint a mask over the problem edges, and instruct the model to fill them naturally. It reads the surrounding context and generates seamless replacement pixels.
It also handles outpainting, useful when your composite subject is too close to the frame edge and needs more canvas room.
Realistic Vision for Portrait Detail
When the blend involves faces and you want maximum photorealistic quality in the skin, Realistic Vision v5.1 is excellent for a final pass. Feed the composited portrait back in with instructions to increase detail in facial features without altering the composition.
Flux 2 Pro for High-Stakes Output
For final outputs that need to be print-quality or used in professional campaigns, Flux 2 Pro produces the highest resolution and most photorealistic results. Use it for the final generation pass after confirming your composition concept with faster models.
What the Results Actually Look Like
The range of what AI photo blending can produce has expanded dramatically. Here are real examples of blend types producing photorealistic, publication-quality results today:
A fashion model photographed indoors, placed onto a sun-drenched Santorini rooftop with correct skin highlights and horizon alignment
Two architectural photographs of different buildings blended into a single unified facade that looks physically plausible
A product shot of a watch placed on the wrist of a model from a completely separate photo session, with matching skin tones and natural shadow
A pet portrait placed into a specific landscape from a travel photo, with correct grass and ground plane interaction
These are not fantasy results. They are repeatable outputs using the current generation of models available on Picasso IA.
3 Things That Still Trip People Up
Wrong Model for the Task
Not every model handles every blend type equally well. Using a general text-to-image model like Flux Dev for a multi-image composite where you need to preserve both source subjects will give you a generic interpretation, not a faithful blend. Match the model to the task:
If you try to blend a photo shot with harsh midday overhead sun with a photo shot in soft overcast studio light, no model will produce a convincing result because the physics simply do not reconcile. Choose source photos that share a plausible lighting universe.
Expecting Perfect on the First Try
The blend process is iterative. First generation confirms composition. Second confirms lighting. Third confirms edge quality. Three generations is a normal workflow, not a sign the tool isn't working.
Now It's Your Turn
Every photographer, designer, brand, and creator has photos sitting unused because they don't quite work on their own. AI photo blending changes that calculus completely. That awkward portrait with a boring background becomes a cinematic campaign image. Those two product photos from different sessions become a single cohesive visual.
The models on Picasso IA are available right now. Multi Image Kontext Pro is the fastest way to start blending real photos in minutes. Upload your two source images, write a clear blend instruction using the prompt structure above, and run your first generation. The process is genuinely simple once you understand that the quality of your prompt determines the quality of your blend.
Pick two photos from your library, open Picasso IA, and see what happens when you stop treating your photos as separate assets and start treating them as ingredients.