Dark footage has a way of showing up at the worst moments. You spend hours shooting a wedding reception in a candlelit ballroom, a birthday party in a basement, or an interview in a badly lit office, and when you sit down to edit, you realize the entire clip is too dark to use. Reshooting is not an option. The moment is gone. What you have is what you have, and now you need to fix it.
That is exactly where AI video brightening steps in. Instead of the manual, frame-by-frame guesswork of traditional exposure correction, AI tools analyze the entire clip, detect shadow regions, recover buried pixel data, and redistribute light in a way that looks natural rather than blown out. The results are not magic, but they are often close enough to save footage that would otherwise end up in the bin.
This article walks through why dark footage happens, what AI does differently to fix it, how to build a reliable correction workflow, and which tools on PicassoIA give you the best shot at recovering usable clips from seemingly ruined material.
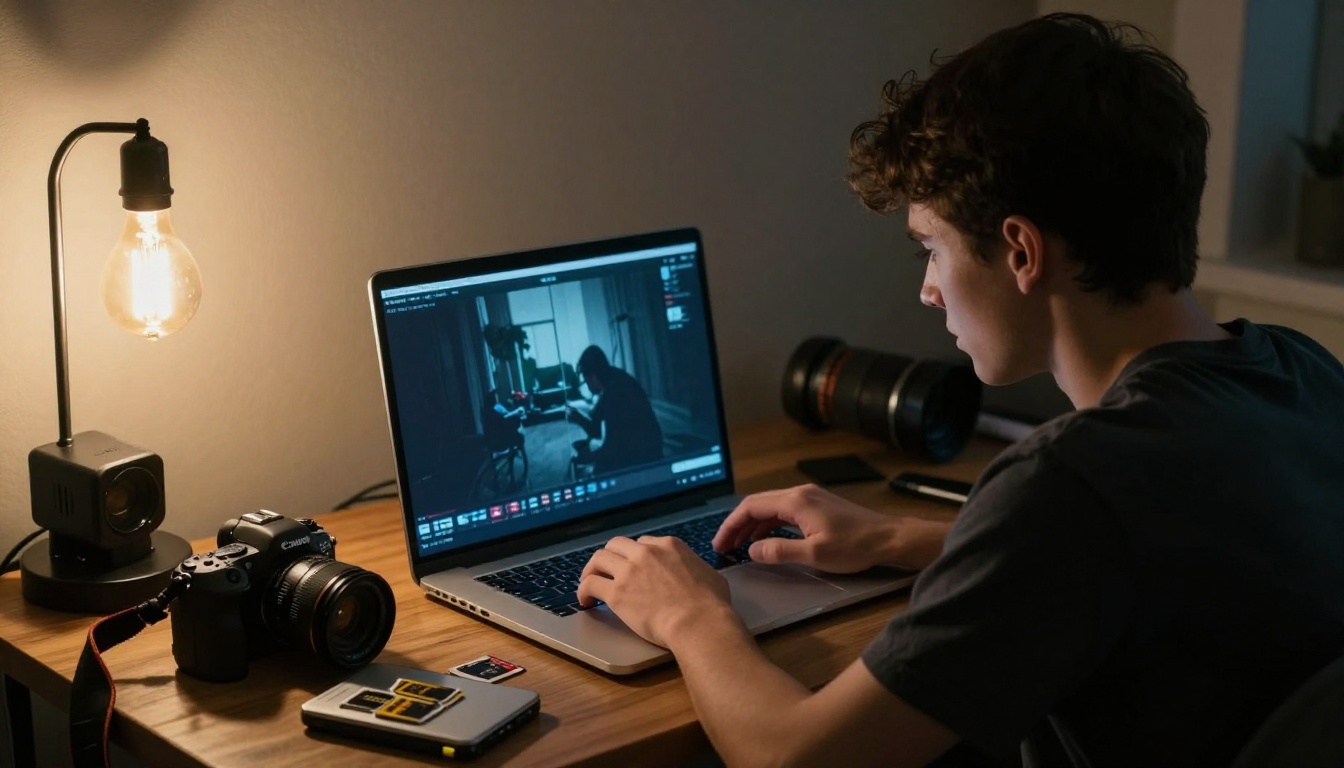
Camera sensors have a ceiling
Every camera sensor has a dynamic range limit. Push it past that ceiling in a low-light scene and the shadows clip to pure black. The pixel data simply is not there. But more commonly, what looks solid black on screen actually holds recoverable shadow information compressed into a narrow band of pixel values that the human eye cannot distinguish at a glance but that AI processing can separate and stretch.
Shooting at high ISO makes the problem worse. Lifting exposure in post raises noise with it, so what started as slightly dark footage becomes bright but unusable because of the grain. AI tools that address brightness correction and noise reduction simultaneously produce far cleaner results than any sequential manual workflow.
Auto exposure working against you
Auto exposure performs well in controlled environments. In dim venues, it often underexposes to protect the few bright practical lights in the frame from blowing out, leaving the subject and background in shadow. The camera is technically doing its job. But the result is footage where everything reads as unusable even though the data is there.
This is the most recoverable category of dark footage. The information exists in the file. You just need a tool smart enough to pull it out without destroying surrounding tones in the process.
Mixed lighting situations
Indoor spaces lit by a combination of window light, overhead fluorescents, and warm practical lamps create exposure traps. The camera picks one of those light sources to expose for. Everything else falls into shadow. The white balance shifts unpredictably between cuts. The end result is dark, color-cast footage that looks far harder to fix than it actually is with the right AI processing tool.
What AI Does Differently
Pixel-level shadow recovery
Traditional exposure correction in editing software works across the whole frame uniformly. Raise the exposure slider and everything gets brighter, including the areas that were already correctly exposed. You end up with washed-out midground and blown highlights while trying to fix the shadows. The result rarely looks natural.
AI approaches this differently. A well-trained model segments the frame by luminance regions, applies targeted brightening only to the shadow zones, and adjusts the surrounding tones to make the transition seamless. Shadows lift, highlights are preserved, and the midtones remain largely untouched. The correction feels like it was always part of the original footage rather than a post-production patch.
Noise suppression as part of the same pass
Brightening dark footage without addressing noise produces grainy, distracting video. AI-based solutions trained on large datasets of noisy and clean footage can remove that grain while simultaneously restoring brightness, because they treat both problems as a single optimization rather than two separate corrections.
This is the critical difference from manual workflows. You are not working against yourself. There is no step where fixing one problem makes another one worse.
Temporal consistency across frames
A single bright frame in an otherwise dark clip is easy to fix manually. A 45-second clip where every frame needs correction is a different challenge. AI video models process clips with temporal awareness, which means the brightness level stays consistent from frame to frame rather than flickering between corrections. This is something that no frame-by-frame manual process can replicate at the same speed.
Pushing brightness too far
The most common error is overcorrection. Lifting shadows by 30 to 40 percent often reveals all the detail you need. Pushing to 70 or 80 percent creates a flat, washed-out image with a grey cast sitting where the blacks used to be. AI tools with automatic exposure calibration avoid this by using reference luminance data to find the optimal correction point, so you are not relying on guesswork.
If you are doing a manual pre-pass before running through AI, start conservative. You can always apply a second pass for more lift. You cannot easily pull back an overcorrected clip without re-processing from the original.
Ignoring the color shift
Dark footage corrections almost always shift color temperature. Lifting shadows in cool indoor environments tends to push the image toward green or magenta, depending on the dominant light source. Fix exposure first, then do a secondary white balance correction rather than trying to address both simultaneously in a single slider adjustment. The two corrections interact with each other in ways that make them difficult to dial in at the same time.
Skipping the reference monitor check
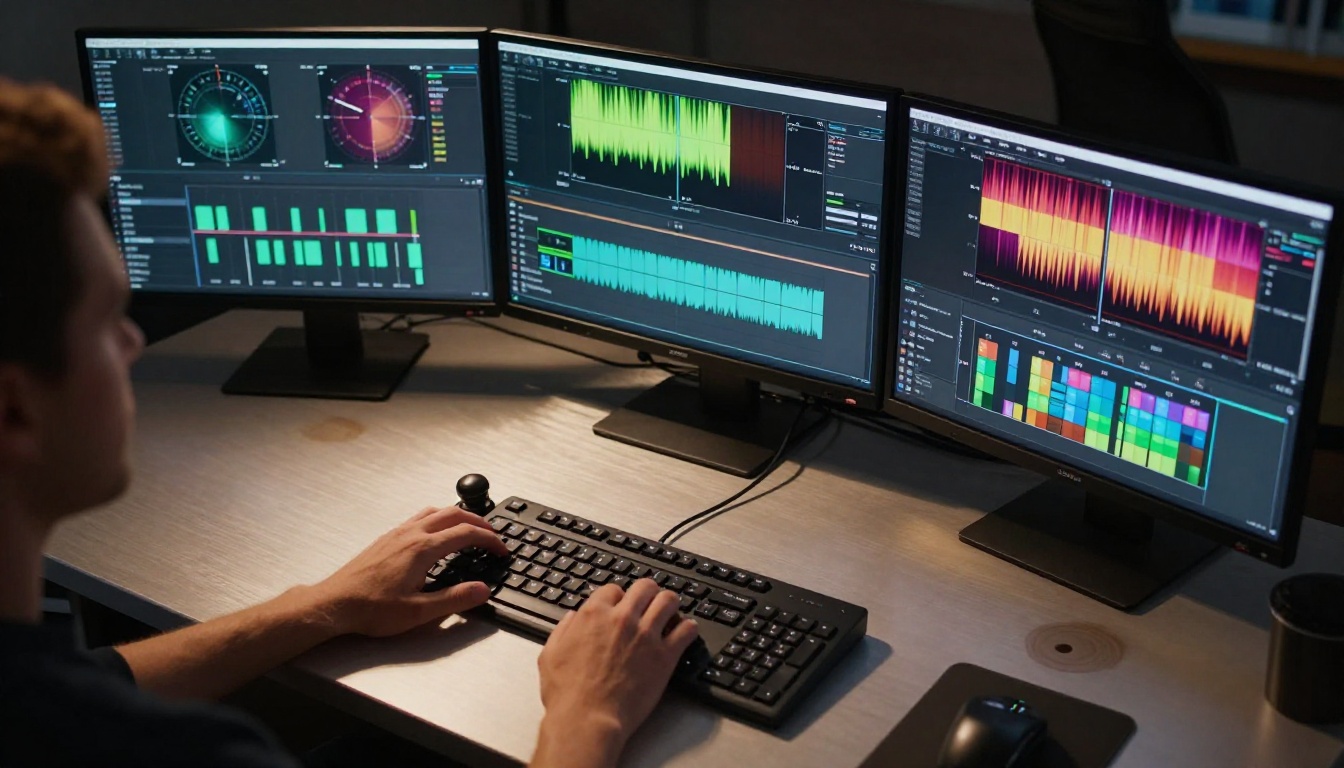
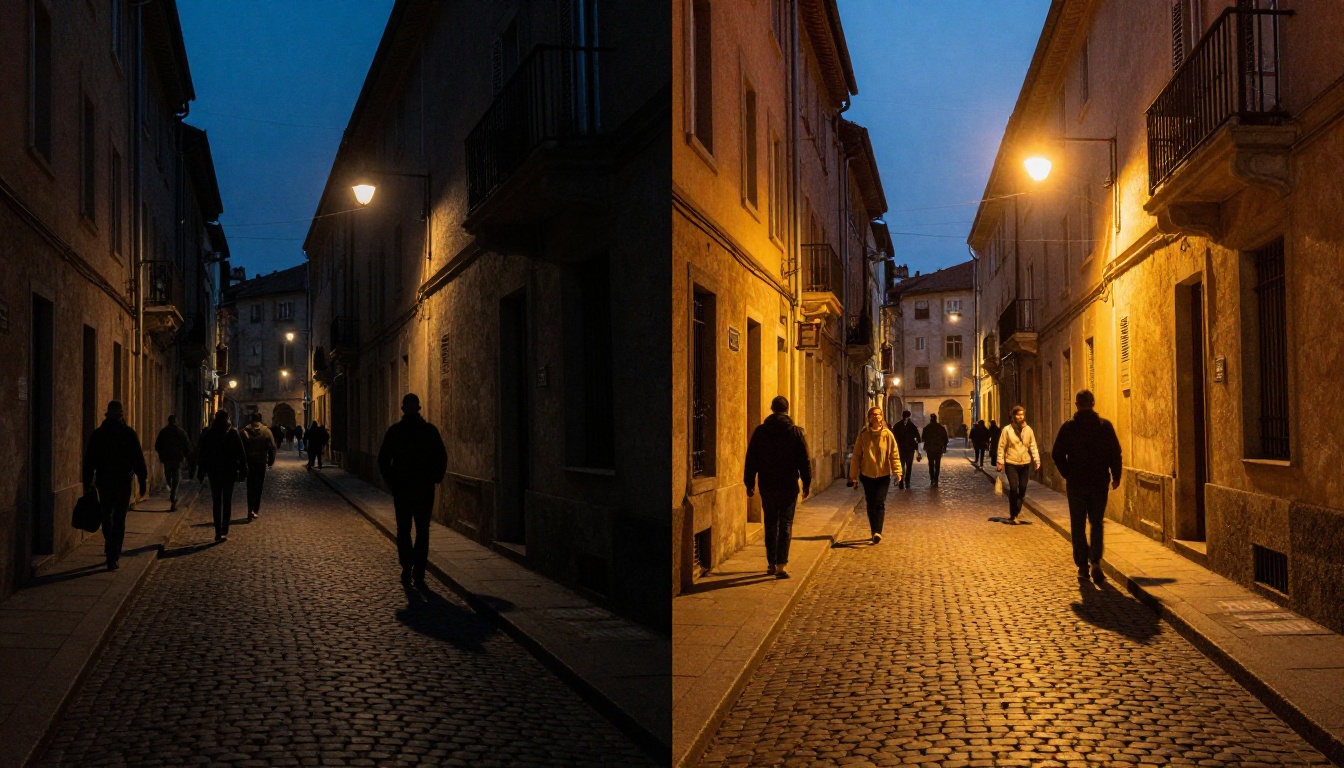
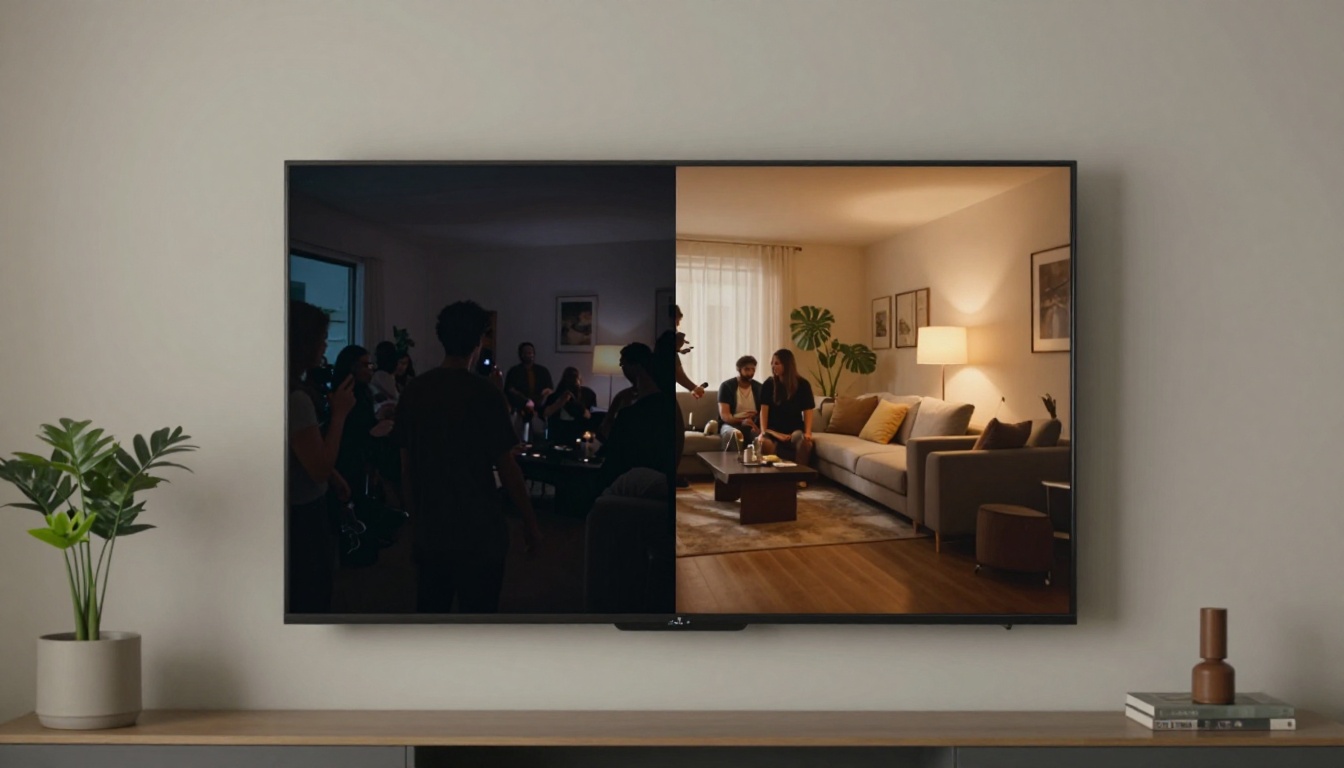
Corrections that look great on a laptop screen can appear completely overexposed on a calibrated broadcast monitor or a consumer television. Always do a split-screen comparison at full resolution before final export. What reads as a clean fix in your editing bay might look like a blown-out mess on a client's screen.
Step 1: Assess the footage before touching anything
Not all dark footage has the same problem. Before you apply any correction, scrub through the clip and ask yourself: Is this crushed to pure black, or is it just underexposed? If the shadows are completely crushed, there is no recoverable data regardless of the tool you use. If the image is dark but retains visible texture in the shadow areas, that footage can be brought back.
The fastest diagnostic: pull up the histogram. If the left edge shows a solid wall of data touching the zero point with no gap, you have crushed shadows and very limited recovery potential. If there is even a small gap between the data and the left edge, the shadow detail is there and AI can work with it.
Step 2: Match the tool to the problem type
| Problem Type | Recommended Approach |
|---|
| Underexposed with heavy noise | AI denoising and brightness in a single pass |
| Crushed blacks in isolated regions | Localized correction or rotoscope mask |
| Dark but low-noise footage | Exposure lift followed by AI upscaling for clarity |
| Night footage with motion blur | Stabilization pass then brightness correction |
| Mixed exposure across cuts | Per-clip AI correction for temporal consistency |
Matching the tool to the specific problem type saves time and produces better results than applying a single correction strategy to every clip.
Step 3: Process, compare, then upscale
Run the clip through the AI brightening tool and compare the output against the original at the same zoom level. Look at shadow areas, highlight stability, skin tone accuracy, and the noise floor. If the output passes those checks, the optional next step is AI upscaling, which compounds with the brightness correction to produce a noticeably sharper and cleaner final result at higher resolution.
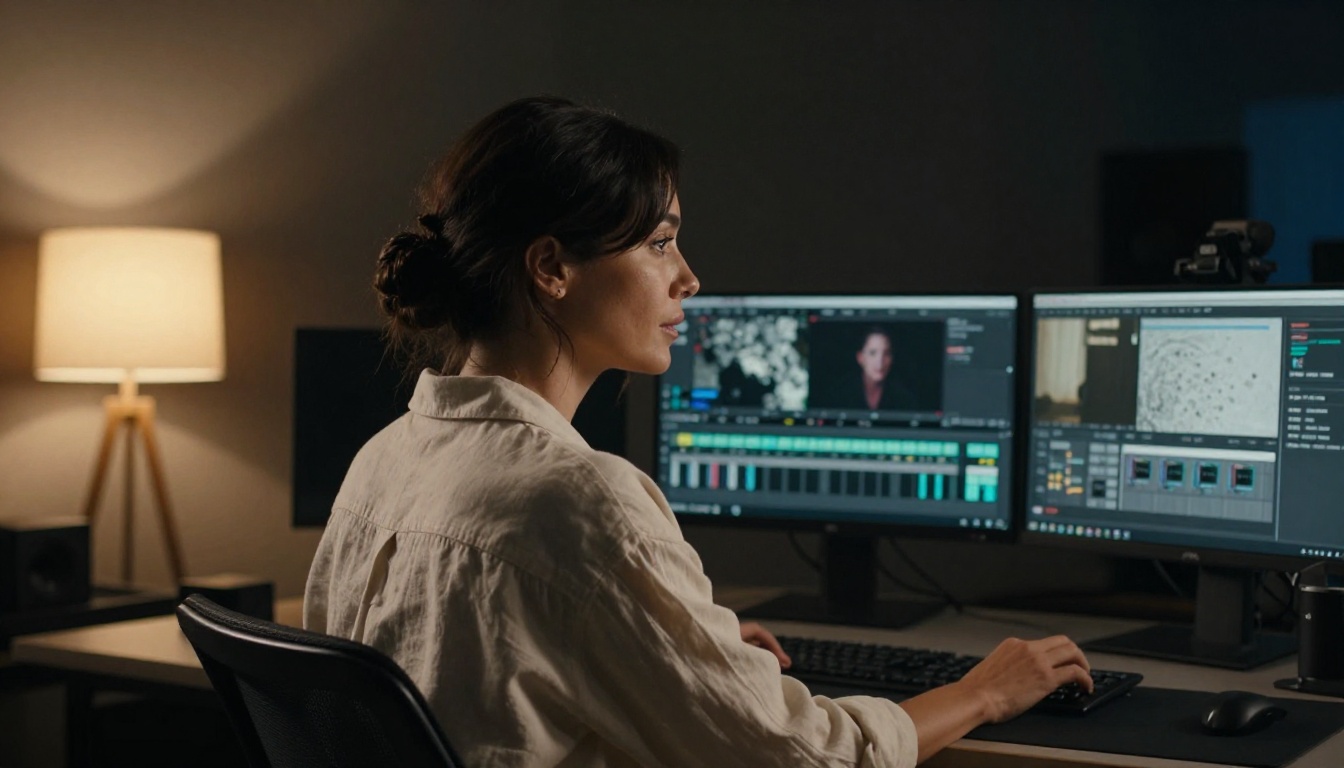
PicassoIA offers browser-based AI video processing models that address low-light footage as part of their broader quality improvement pipeline. No software installation, no export queue, no waiting days for a render farm. Each model processes your clip directly in the browser.
Crystal Video Upscaler by philz1337x
The Crystal Video Upscaler pushes footage to 4K with a processing pipeline that includes per-frame detail reconstruction. When working with dark source material, the upscaling pass restores pixel data in shadow areas by interpolating from surrounding frame information, which lifts apparent brightness and reduces the visible noise that standard upscaling would only make worse.
The per-frame reconstruction approach makes this model particularly effective on event footage, concert videos, and documentary clips where the original was shot at high ISO in dim conditions.
Best for: Dark footage that also needs a resolution improvement. The combined brightness and clarity output is dramatically better than either correction applied alone.
Topaz Video Upscale targets footage at up to 4K and 120fps. Topaz Labs has a long track record in the video restoration and archival space, making this model particularly effective with footage that carries significant noise and low exposure from older camera systems or challenging shooting conditions.
The model's core strength is temporal consistency. It does not process each frame in isolation, which means brightness corrections hold stable across cuts and across the full length of a clip without flickering, the way a simple per-frame filter would.
Best for: Interview footage, documentary work, or any project where stable, consistent brightness across the entire timeline matters more than dramatic visual correction.
Upscale v1 by Runwayml combines resolution recovery with perceptual quality improvements and handles dark footage well because its training set includes a wide range of underexposed source material. The output tends toward a clean, natural look rather than the over-sharpened appearance that some upscaling models produce on restored footage.
The processing time is fast relative to the quality gain, which makes it the practical choice for social media content, event highlight reels, and short-form video where turnaround time is part of the equation.
Best for: Social media content, event footage, and short-form video where clean output at speed matters.
3 Situations Where AI Brightening Saves the Shot
Wedding footage shot in dim venues
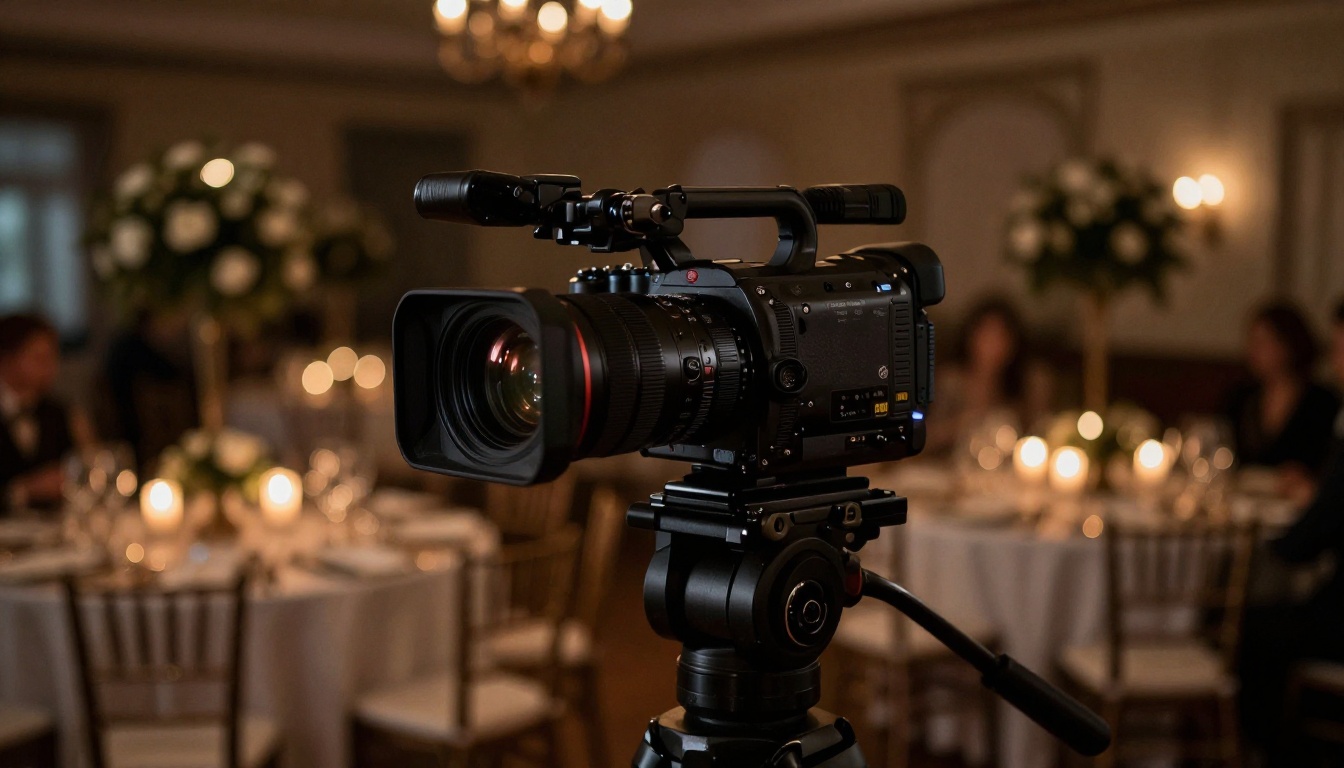
Wedding venues are notoriously difficult to shoot in. Candlelit tables, low-hanging chandeliers, and soft practical lamps are beautiful in person and nearly unusable on camera without dedicated lighting setup. AI brightness correction has become the standard recovery method for wedding videographers working in venues where rigging additional lights would ruin the atmosphere the couple actually paid for.
The workflow is straightforward: export the dark clips as a batch, run them through an AI video quality model, compare the output, and deliver. Most wedding footage shot at ISO 3200 or higher in a dim reception hall can be brought back to a usable, presentable state in a single processing pass.
Night documentary footage
Documentary shooters rarely control their environment. Filming in a street market at night, inside a bar, in a parking garage, or during any situation where lighting is purely practical means working with what exists. The footage captures something real but may be too dark to cut with the rest of the piece.
AI brightening works particularly well on documentary material because the noise patterns in high-ISO, low-light footage are heavily represented in AI training datasets. The models have processed thousands of similar clips and reliably separate noise from actual shadow detail, which is the core problem that makes dark documentary footage so difficult to rescue with standard tools.
Indoor interviews gone wrong
An interview shot with a window behind the subject is one of the most common exposure disasters in video production. The camera exposes for the bright window, and the subject becomes a dark silhouette. If the subject has any shadow texture at all, AI correction can bring the face back to a usable exposure level while keeping the window from blowing out completely.
This works because the subject and background sit at very different luminance levels. A well-trained AI model identifies the subject as the primary region of interest, applies targeted brightening there, and leaves the already-bright areas relatively unchanged. It is a correction that would take a skilled colorist significant time to execute manually, done in a single automated pass.
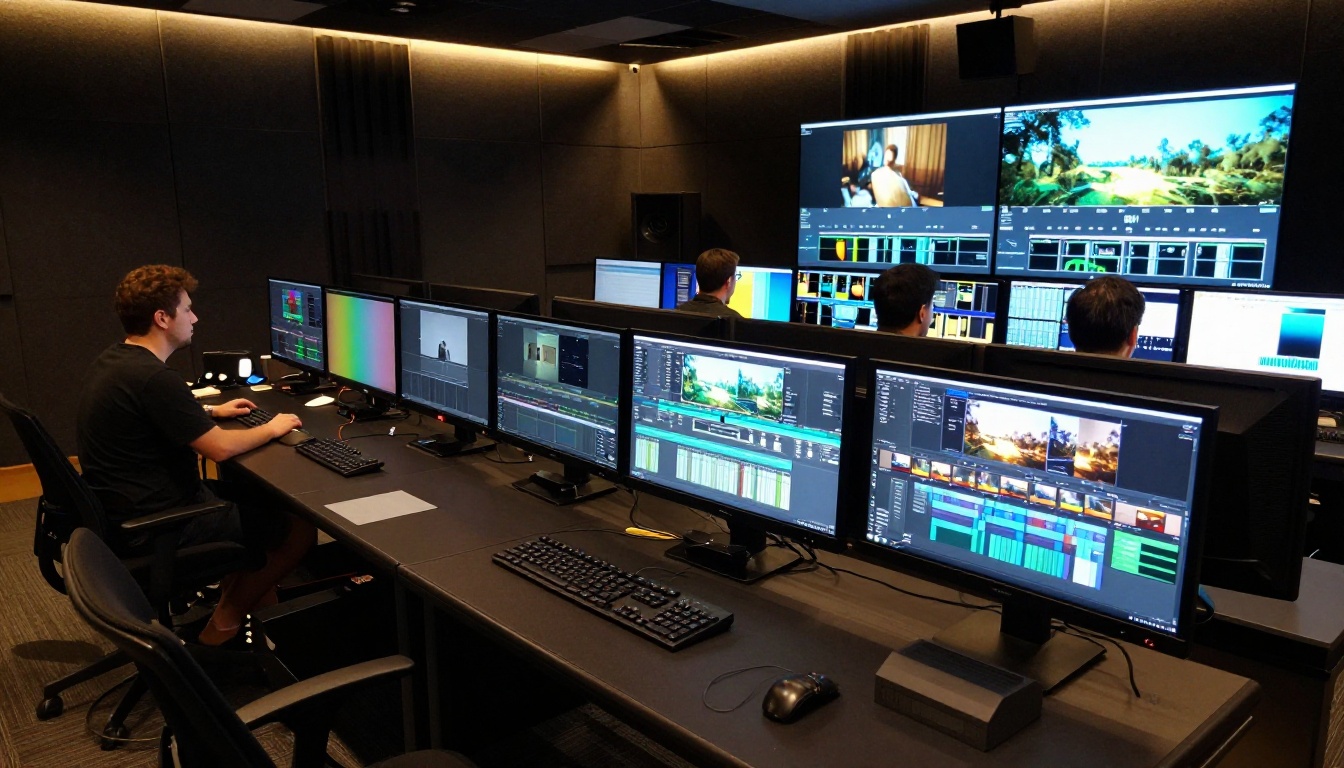
How to Read the Output Before You Export
AI processing is not always perfect. Run these checks before you commit to an export and you will catch problems before they become client feedback:
- Shadow detail: Are faces and textures in previously dark areas actually visible, or just a brighter shade of grey with no distinguishable detail?
- Highlight stability: Did the correction push already-bright areas into clipping or overexposure?
- Color accuracy: Does skin tone look natural, or has the brightness lift shifted it toward green, orange, or magenta?
- Noise floor: Is the grain reduced, or has the processing redistributed it at a different spatial frequency that is equally distracting?
- Temporal stability: Scrub through the full clip. Does the brightness level hold steady throughout, or does it shift between frames?
If any check fails, run the clip through a second pass with adjusted parameters or try a different model. Most AI video tools on PicassoIA allow you to adjust settings between runs without re-uploading the source file.
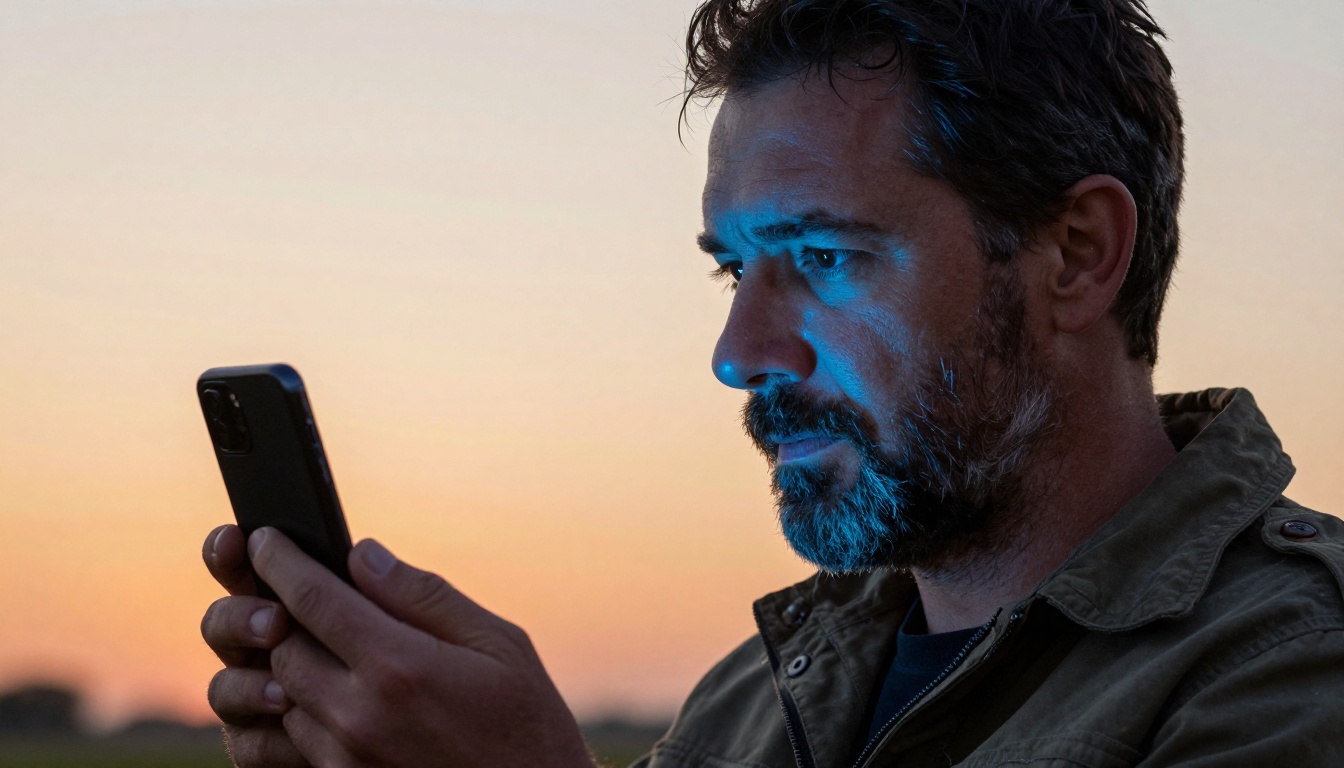
Dark footage is not automatically wasted footage. The moment is real, the emotion is real, and in most cases the data needed to recover it is still sitting in the file. What used to require expensive dedicated software, hours of manual color work, or a complete reshoot now takes minutes with browser-based AI video processing.
The models on PicassoIA handle the processing. You bring the footage. The Crystal Video Upscaler, Topaz Video Upscale, and Upscale v1 by Runwayml are available right now, in your browser, with no software installation.
Drop your dark clip into PicassoIA, pick the model that fits your use case, and see what the AI pulls out of it. The results tend to surprise people who have spent years manually fighting with exposure sliders and accepting that some footage simply cannot be saved.


