How to Build AR Assets with AI: From Concept to Deployment
Building photorealistic AR assets no longer requires a team of specialists. This article walks through a proven AI-driven pipeline covering texture generation, normal map creation, mesh optimization, and deployment, with specific model recommendations for each stage of the workflow.
Building AR assets used to take weeks. A single photorealistic product model could require a professional 3D artist, a photographer for reference shots, a texture painter, and a rigger to optimize polygon counts for mobile hardware. AI has collapsed that pipeline. Today, you can go from a text prompt to a deployment-ready AR asset in hours, not weeks, and the results are good enough for production.
This is not about replacing artists. It is about giving artists, developers, and solo creators a workflow that was previously locked behind studio budgets. Whether you are building AR for e-commerce, gaming, architecture visualization, or social filters, the same AI-driven pipeline applies.
What AR Assets Actually Need
Before touching any AI tool, you need to understand what makes an AR asset work. Unlike a regular 3D model for film or print, AR assets live in real-time environments on constrained hardware. That changes everything about how you build them.
Polygon Budget
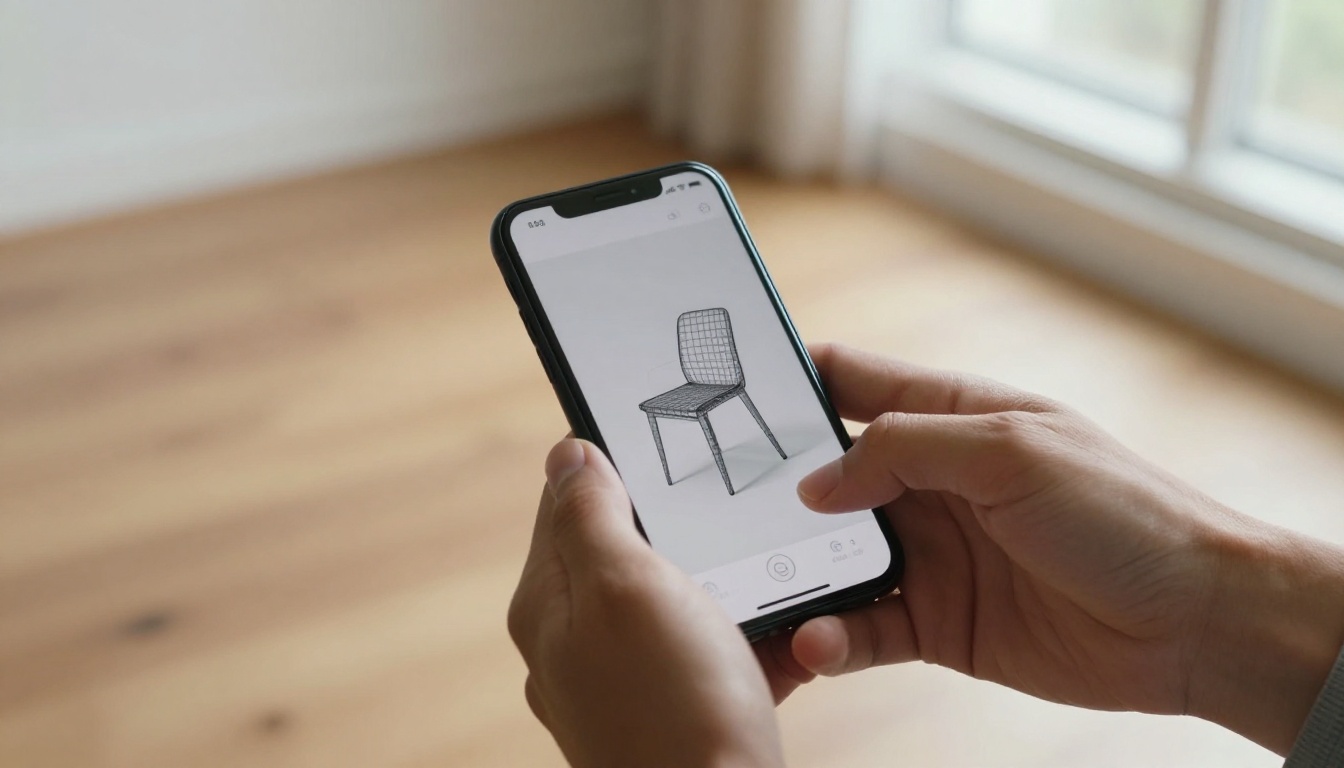
AR on mobile devices runs at 60fps. A single complex object should stay below 10,000 polygons for mid-range phones. High-end AR headsets like Vision Pro or Quest 3 allow more, but the rule is the same: every polygon costs performance.
PBR Material Set
Modern AR engines (ARKit, ARCore, WebXR) use physically-based rendering. That means your asset needs at minimum:
Albedo (Base Color): The raw surface color without lighting baked in
Normal Map: Fakes surface detail without adding geometry
Roughness Map: Controls how shiny or matte a surface appears
Metallic Map: Defines metallic vs. non-metallic surface areas
Ambient Occlusion (AO): Pre-baked shadow detail in crevices
File Format Requirements
Most AR pipelines accept GLB/GLTF (web, Android), USDZ (iOS, Apple Vision Pro), or FBX (Unity, Unreal). Bake all textures before export and always verify the asset renders correctly in the target SDK before submitting to production.
💡 Always target the lowest-spec device in your user base. A model that looks great on desktop becomes a slideshow on a mid-range Android phone.
The AI-First Asset Pipeline
The traditional workflow goes: concept sketch, high-poly sculpt, retopology, UV unwrap, texture painting, baking, optimization. Each step takes hours. The AI-first pipeline restructures this entirely.
Step 1: Concept Generation
Start with an AI image generator to define the visual language of your asset. You are not generating the final texture yet. You are generating reference art that defines material, color, proportion, and mood.
Flux Pro excels here. Its photorealistic output gives you reference images that feel real, which is exactly what you need to communicate intent to downstream tools or your own modeling process.
Write prompts that describe the object's material properties, not just its appearance:
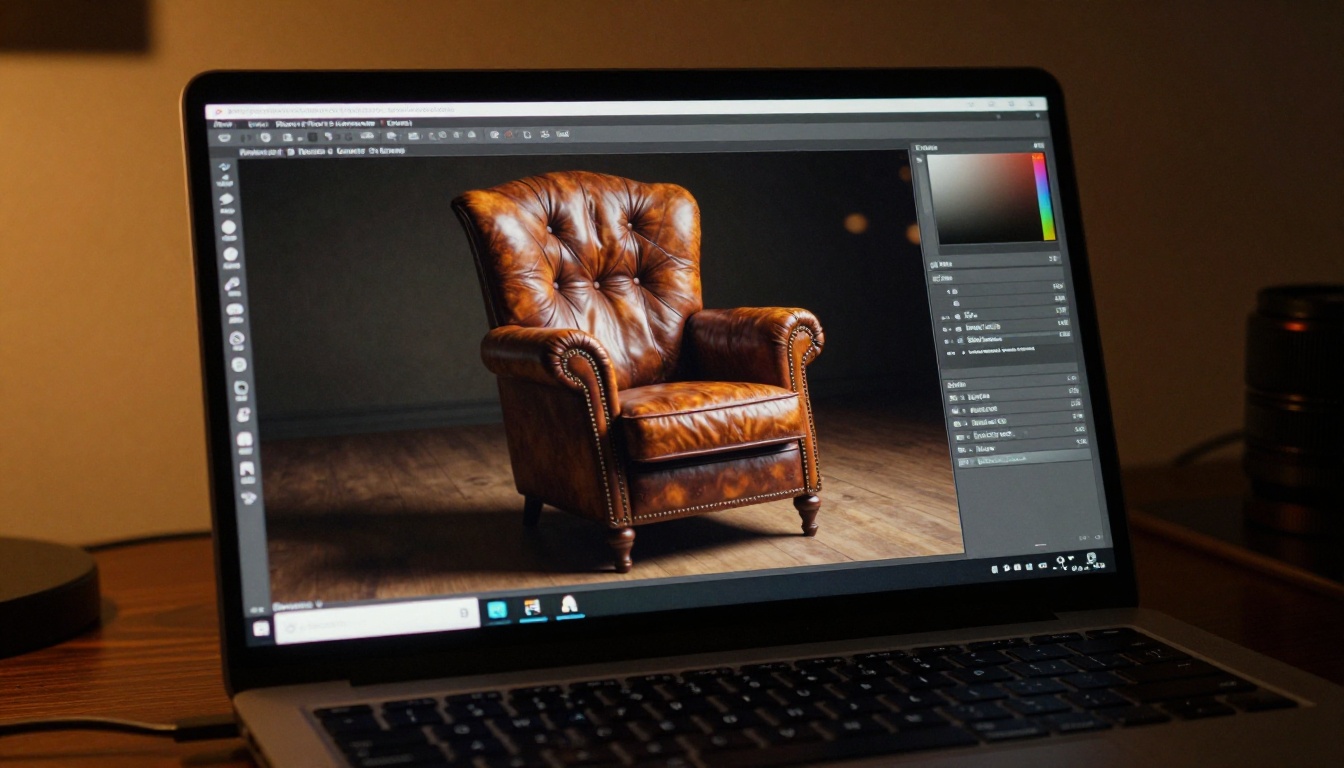
Vintage leather armchair, dark cognac tone, worn armrests with visible stitching,
matte finish on wooden legs, neutral studio lighting, orthographic front view,
product photography, 8K, 1:1 ratio
Generate 4 to 6 variations. Pick the one that best captures the material story you want to tell.
Step 2: Texture Generation
This is where AI pays off most dramatically. Instead of hand-painting textures or buying stock assets, you generate them directly.
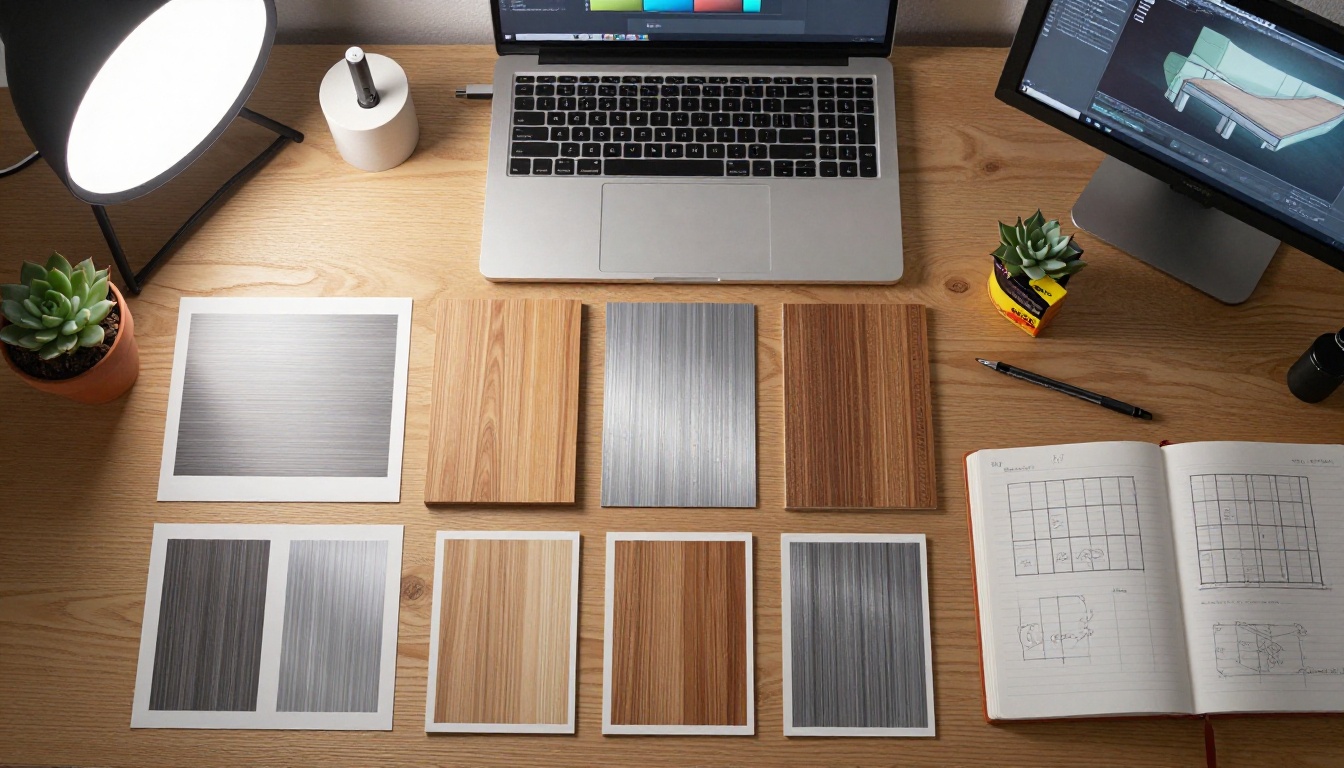
GPT Image 1.5 handles complex texture prompts with strong material fidelity. Seedream 4.5 generates 4K outputs by default, giving you the resolution headroom to crop, tile, and repurpose across multiple map types.
For tileable textures, keep your prompt simple and avoid perspective cues:
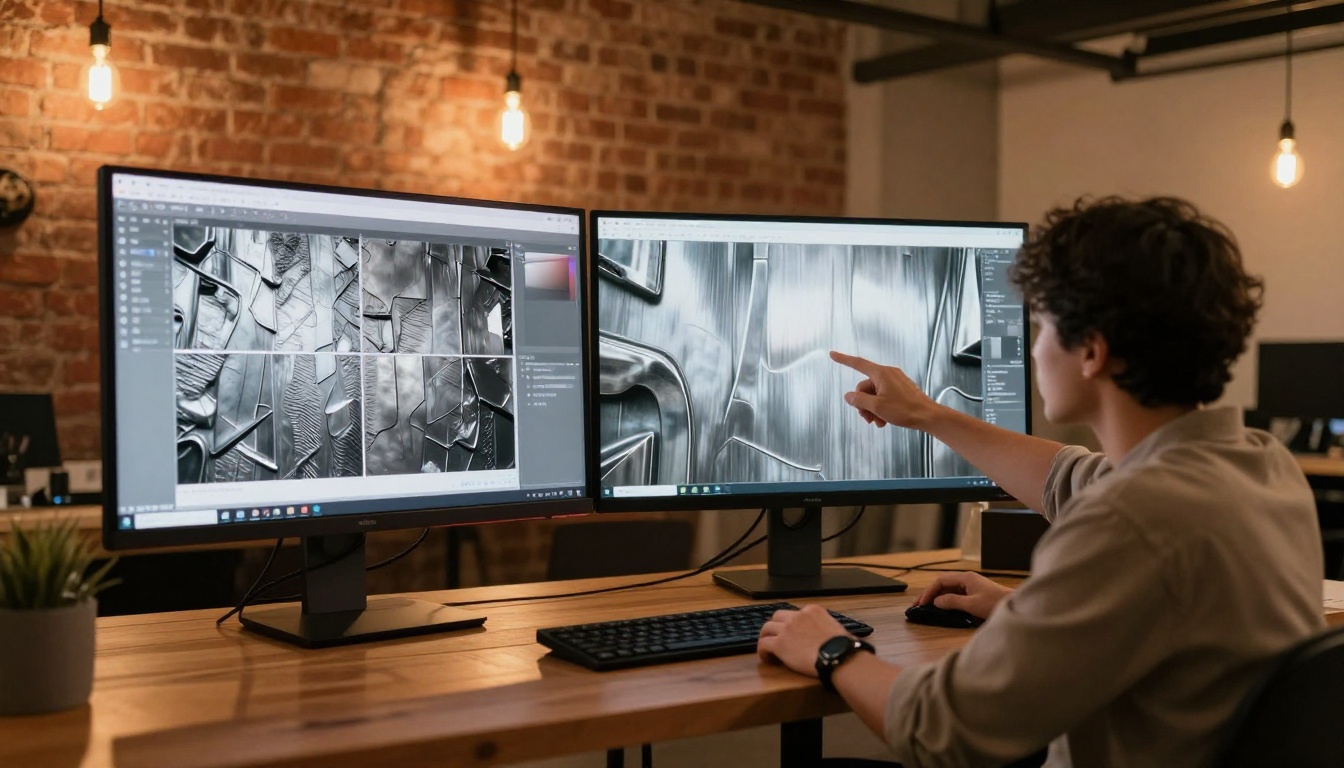
Seamless brushed aluminum surface, fine horizontal grain, slight reflectivity variation,
neutral gray, studio lit, top-down, macro photography, 4K
For unique object surfaces (non-tileable), use wider prompts that describe the whole surface at once:
Full surface of a ceramic coffee mug, matte white glaze, subtle imperfections,
hand-thrown texture, uniform lighting from above, no shadows
Step 3: Normal Map Extraction
Raw AI images are albedo maps. To get normal maps from them, you have two practical options:
AI-to-normal tools: Software like Normal Map Online, Materialize, or built-in tools in Substance Painter can derive normal maps from a flat image. Not perfect, but very fast.
Prompt for depth cues: Generate the same texture with strong raking side light to emphasize surface relief, then use that version to guide manual normal painting.
💡 Generate two versions of the same texture: one with flat even lighting for the albedo, one with dramatic side lighting for normal map derivation. Keep both in your project folder.
Step 4: 3D Model Creation
You have three practical routes for producing the base mesh:
Route
Speed
Quality
AI Involvement
Manual modeling from AI reference
Slow
High
Reference only
Photogrammetry from AI-generated prints
Medium
High
Medium
AI 3D generators (Meshy, TripoSR, Shap-E)
Fast
Medium
Full
Hybrid: AI base mesh, manual cleanup
Medium-fast
High
High
For production AR work, the hybrid route wins consistently. Use an AI 3D generator to get your starting mesh, retopologize manually, and apply your AI-generated textures.
Generating Textures That Work in AR
Most AR texture failures come from the same three mistakes. Knowing them saves hours of frustrating iteration.
Mistake 1: Wrong Color Space
AI generators output images in sRGB. Most AR engines expect albedo maps in sRGB, but roughness, metallic, and AO maps in linear color space. Import your AI textures with the correct color space settings or your material will look visually broken at runtime.
Mistake 2: Directional Lighting Baked In
When you generate a texture with strong one-directional lighting, that shadow is permanently baked into the albedo map. In AR, the real-world lighting shifts constantly as users move their devices. A baked shadow that does not match the real light direction looks instantly artificial.
Fix: Generate all textures with flat, even, overcast lighting. Use your roughness and AO maps to add visual depth instead of relying on baked lighting.
Mistake 3: Oversaturated Colors
AI generators push saturation for visual appeal in isolation. AR surfaces in real environments need more neutral base colors because the rendering engine and real-world ambient light will naturally add color cast on top.
Desaturate your albedo maps by 15 to 25% before use. The results look dramatically more convincing in real AR environments.
Using PicassoIA for the Full Texture Workflow
Flux Kontext Pro is particularly strong for iterative texture refinement. Unlike standard text-to-image models, Kontext lets you use an existing image as a reference and modify specific areas with text prompts. This is ideal for the AR texture workflow because you can:
In the prompt field, describe your surface material with maximum specificity: material type, surface condition, lighting setup, camera angle
Set Aspect Ratio to 1:1 for square seamless textures, or 16:9 for panoramic environment maps
Set Quality to the highest available setting. Texture maps benefit from every bit of detail
Generate 4 to 8 variations and select the one with the most even lighting and richest surface detail
Download the PNG at full resolution
Import into your texturing software (Substance Painter, Blender, or directly into Unity/Unreal)
💡 Enable prompt upsampling in Flux Pro settings. The model expands your short prompt into a detailed description before generation, consistently producing better material surface detail.
Optimizing for Real-Time AR Performance
Great textures on a poorly optimized mesh will still fail in AR. Performance optimization is as important as visual quality.
Texture Resolution Strategy
Bigger is not always better in AR. The real question is texel density: how much texture resolution covers each unit of real-world surface area.
For a coffee mug (about 10cm tall in the real world), 512x512 is sufficient for mid-range devices. For a sofa (200cm wide), you might need 2048x2048 for the cushion fabric alone.
Recommended texture resolutions by asset size:
Asset Size
Albedo
Normal
Roughness/Metallic
Small object (phone, mug)
512x512
512x512
256x256
Medium object (chair, lamp)
1024x1024
1024x1024
512x512
Large object (sofa, table)
2048x2048
2048x2048
1024x1024
Polygon Reduction Without Quality Loss
After retopology, use your AR SDK's LOD (Level of Detail) system. Most AR frameworks support LOD chains:
LOD 0: Full detail (closest to camera)
LOD 1: 50% polygon reduction
LOD 2: 25% of original (furthest distance)
Generate your LOD textures using Qwen Image 2 Pro by prompting at progressively lower effective detail. Lower-LOD textures should have simplified, bolder detail patterns that read clearly at small sizes and compressed resolutions.
Compression Settings by Platform
Before export, compress your textures using the appropriate format for your target platform:
iOS (USDZ): ASTC 4x4 for albedo, ASTC 6x6 for roughness and metallic maps
Android (GLB): ETC2 RGBA for albedo with transparency, ETC2 RGB for opaque maps
WebXR: KTX2 with Basis Universal compression for maximum cross-browser compatibility
Working with AI-Assisted Photogrammetry
Photogrammetry captures real objects by photographing them from dozens of angles and reconstructing 3D geometry automatically. AI has strengthened this process in two specific ways.
AI Photo Enhancement Before Processing
Photogrammetry software works best when input photos have consistent, diffuse lighting. If your reference shots have mixed lighting or harsh shadows, use an AI image editor to normalize them before feeding them into the reconstruction pipeline.
Stable Diffusion 3.5 Large with inpainting can partially remove problematic shadows from reference photos. Paint a mask over the shadowed region and prompt the model to fill it with a neutral, evenly lit version of the same surface.
Synthetic Photogrammetry with AI
You do not need a physical object to run photogrammetry. Generate multiple consistent views of a 3D object using AI and feed those into photogrammetry software. This is called synthetic photogrammetry, and it works best on simple geometric objects.
Use Flux Dev LoRA to generate consistent multi-angle shots of a product. Train a LoRA on your concept reference images first, then generate front, side, back, top, bottom, and 45-degree angled views with matching lighting. Feed 10 to 15 views into Meshroom or Reality Capture for reconstruction.
Results are best for objects with distinct surface geometry: furniture, appliances, shoes, and architectural detail elements.
Batch Processing and Team Workflows
At scale, manual generation becomes the bottleneck. Structuring your AI texture pipeline for a team requires the same discipline as any other production asset workflow.
Build a Prompt Library
Create a shared library of proven texture prompts. Each entry should include:
Material tag (for search and filtering)
Prompt text (copy-paste ready)
Model used (Flux Pro, GPT Image 1.5, Seedream 4.5, etc.)
Generation settings (resolution, aspect ratio)
Post-processing notes (desaturation amount, color space, tiling adjustment)
A library of 50 to 100 proven prompts dramatically accelerates production. Artists spend time selecting and refining rather than starting from scratch on every asset.
Quality Checkpoints
Before any AI-generated texture goes into a model, it should pass three checks:
Lighting check: Is the lighting even? No directional shadows baked in?
Tileability check: For seamless textures, does it tile without visible seams at the edges?
Color space check: Is it imported in the correct color space for its map type?
Version Control for AI Outputs
AI generations are not deterministic by default. If you lose the seed number, you cannot reproduce the exact output. Always save:
The full prompt text
The seed number
The model name and version
The full-resolution output file
Use a consistent naming convention: [object]_[maptype]_[model]_[seed].png. For example: armchair_albedo_fluxpro_4829371.png.
Build Your First AR Asset Today
The barrier to high-quality AR asset creation has never been lower. Flux Pro, GPT Image 1.5, Flux Kontext Pro, and Seedream 4.5 are all available now, require no installation, and produce results that compete with studio-quality asset pipelines.
The best way to internalize this workflow is to pick one simple object, a mug, a book, a small lamp, and build a complete AR asset from scratch using only AI-generated textures. Start with concept generation, move through texture creation, apply the maps to a base mesh in Blender, export as GLB, and test it in WebXR using model-viewer.
By the end of that first project, you will have a clear picture of exactly where AI accelerates your specific workflow and where you still need manual control. That is the real value: not replacing the process, but making every step faster and less dependent on specialized skills that used to take years to build.
Start generating your first AR textures on PicassoIA today and see exactly how quickly the gap between idea and finished asset closes.