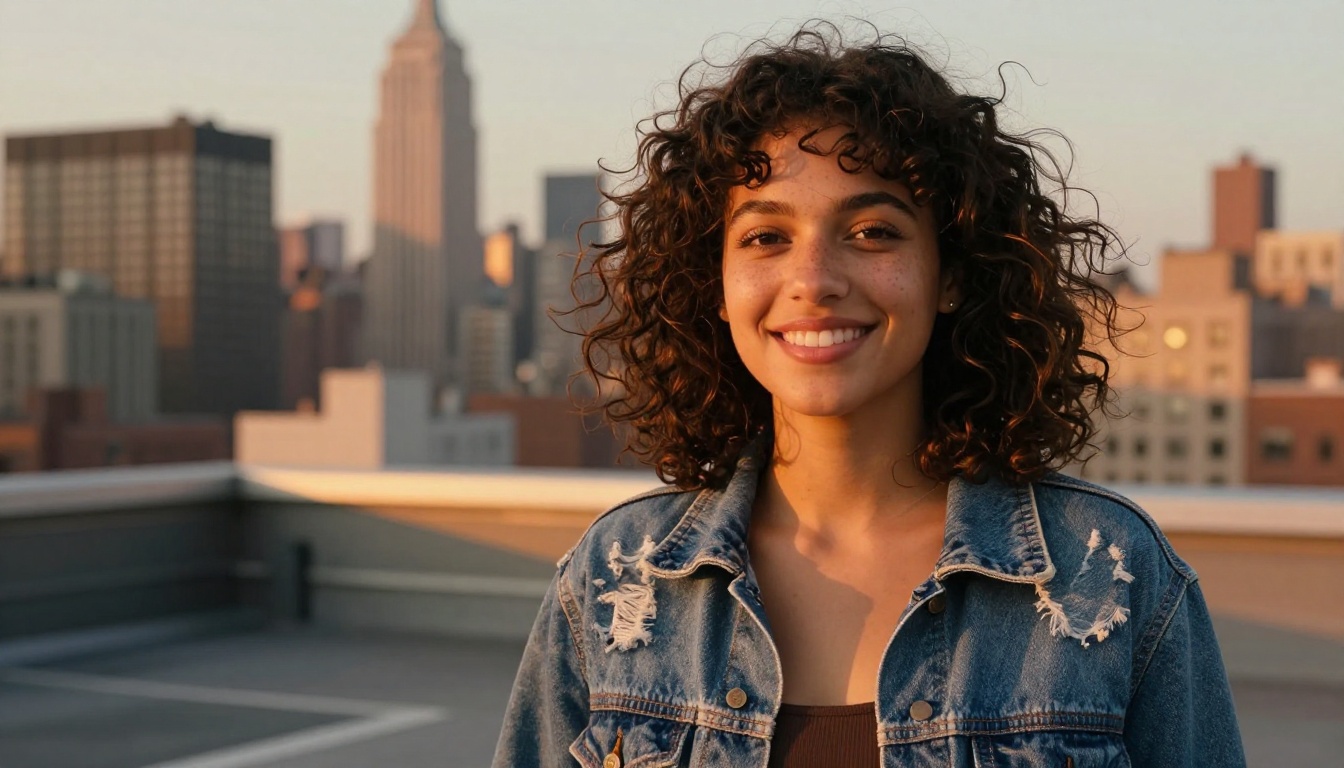
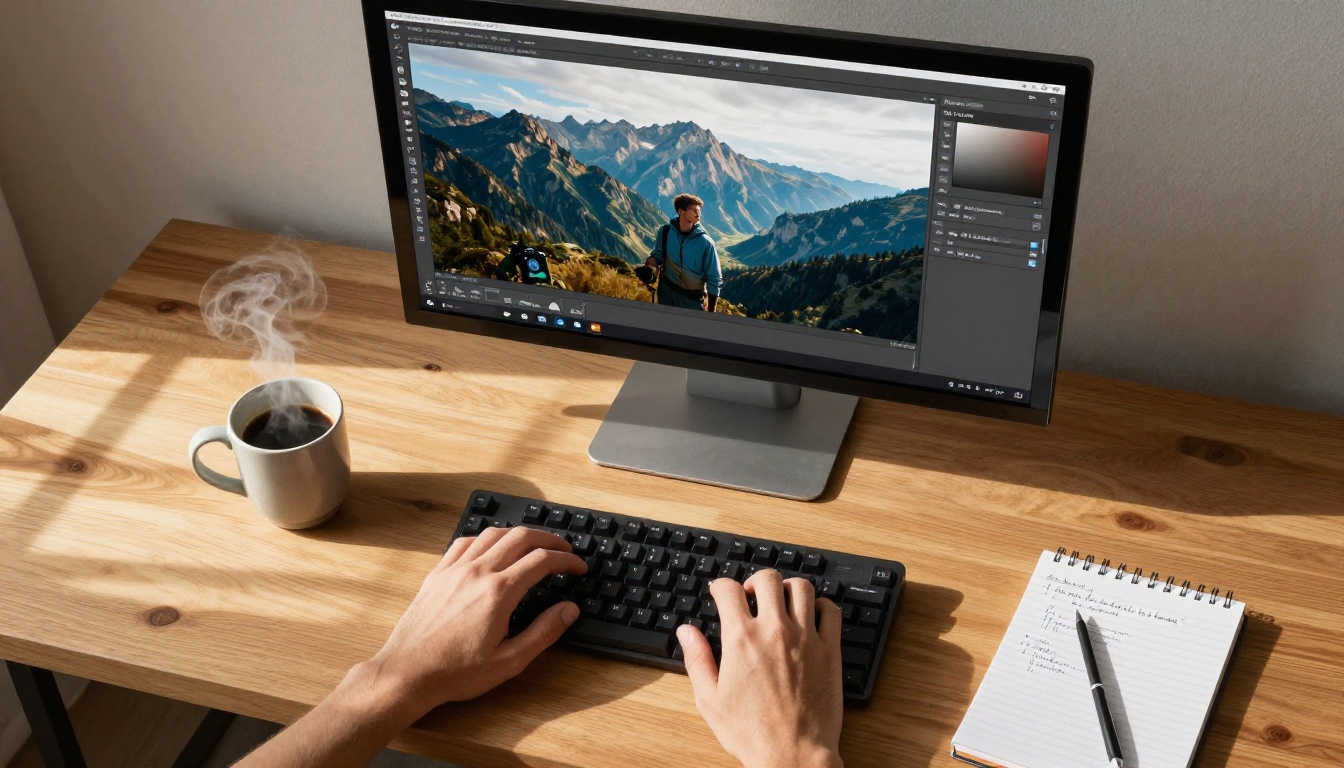
Changing a photo background used to mean hours in Photoshop, a masking pen, and the kind of patience most people simply don't have. AI has changed that completely. Now you can remove any background, drop in a new scene, and get a professional result in under a minute, with no editing skills required at all.
This isn't about cutting corners. It's about using the right tools. And the tools available today are genuinely good.
Why Backgrounds Make or Break a Photo
Most people focus on the subject when they take a photo. But anyone who has spent time on visual content knows the background carries enormous weight. A stunning portrait shot in a cluttered kitchen looks amateur. The same portrait placed in front of a moody forest or a clean white studio looks like it cost money.
The background is not just scenery. It sets the mood, communicates professionalism, and directs the viewer's attention.
The Problem with Bad Backgrounds
Real-world photography is messy. You're shooting a product photo but there's a power outlet on the wall. You're taking a professional headshot but the background is a beige curtain. You want a dramatic environmental portrait but you can't travel to Iceland.
These aren't excuses. They're reality. And AI background replacement solves every one of them.
What AI Actually Does Differently
Traditional background removal relied on manual selection tools, which required tracing edges by hand. AI uses deep learning models trained on millions of images to identify exactly where the subject ends and the background begins, including notoriously difficult areas like flyaway hair, transparent fabrics, and fine fur.
The result is clean, natural cutouts that look like they were done by a professional retoucher, produced in seconds.
The 3 Ways AI Changes Backgrounds
Not all background changes are the same. There are three distinct approaches, and knowing which one to use changes your results dramatically.
Method 1: Remove and Replace
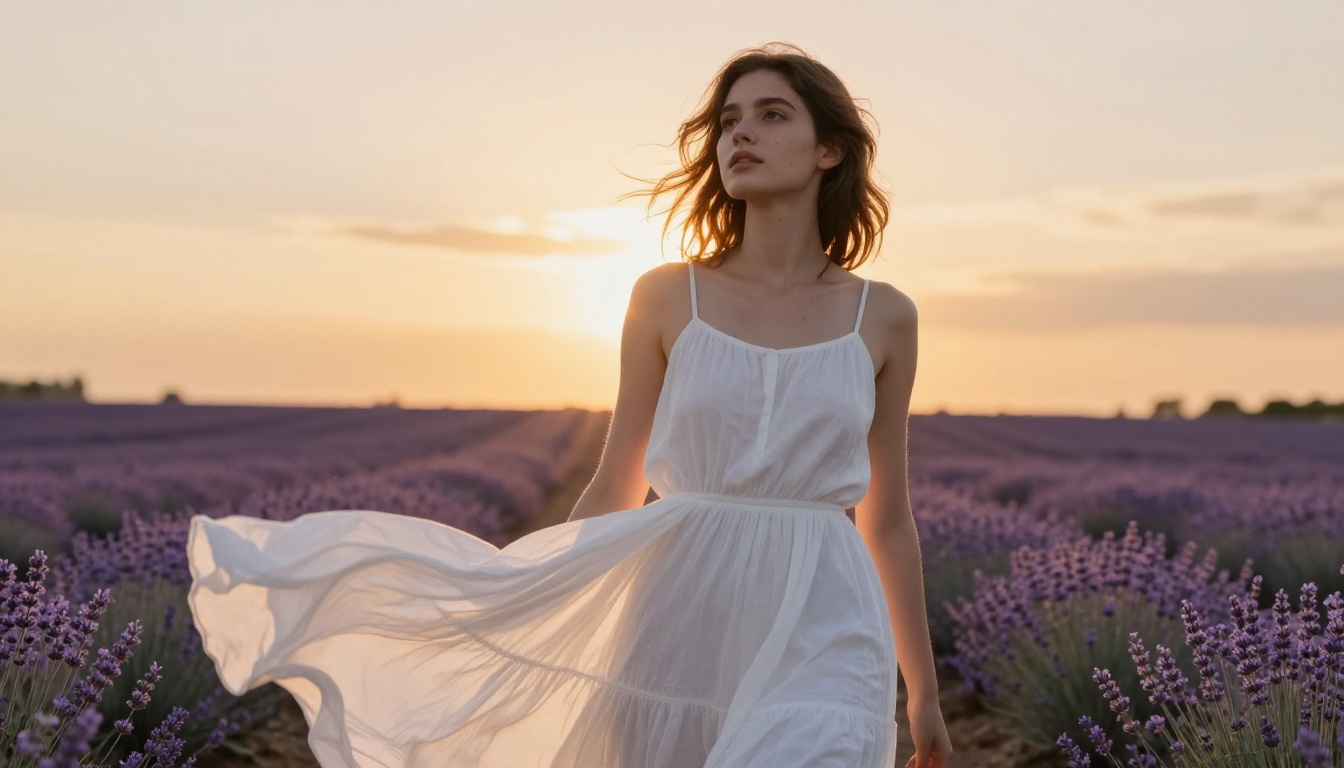
The most common approach. An AI model isolates the subject, removes everything else, and you drop in a new background image. This is the core workflow of tools like Bria Remove Background, which produces clean transparent cutouts with precise edge handling.
Best for: portraits, product photos, and any image where the subject has clear separation from the background.
Method 2: Generate a New Scene
Instead of using a real background photo, you describe the scene you want and an AI generates it. Tools like Qwen Image Edit Plus and PicassoIA Image Editor Pro accept text instructions like "place this subject in front of the Eiffel Tower at sunset" and rebuild the entire scene around your original subject.
This gives you infinite creative control over backgrounds that could never be photographed.
Method 3: Full AI Recomposition
The most creatively ambitious method. Models like Flux Redux Dev take a portrait and recompose it into a fully generated image, matching lighting and atmosphere with the new background. The result looks like the photo was always taken in that environment, not composited.
Best AI Models for Background Changes
Not every model is built for the same job. Here's what each tool does best, and when to reach for it.
Bria Remove Background
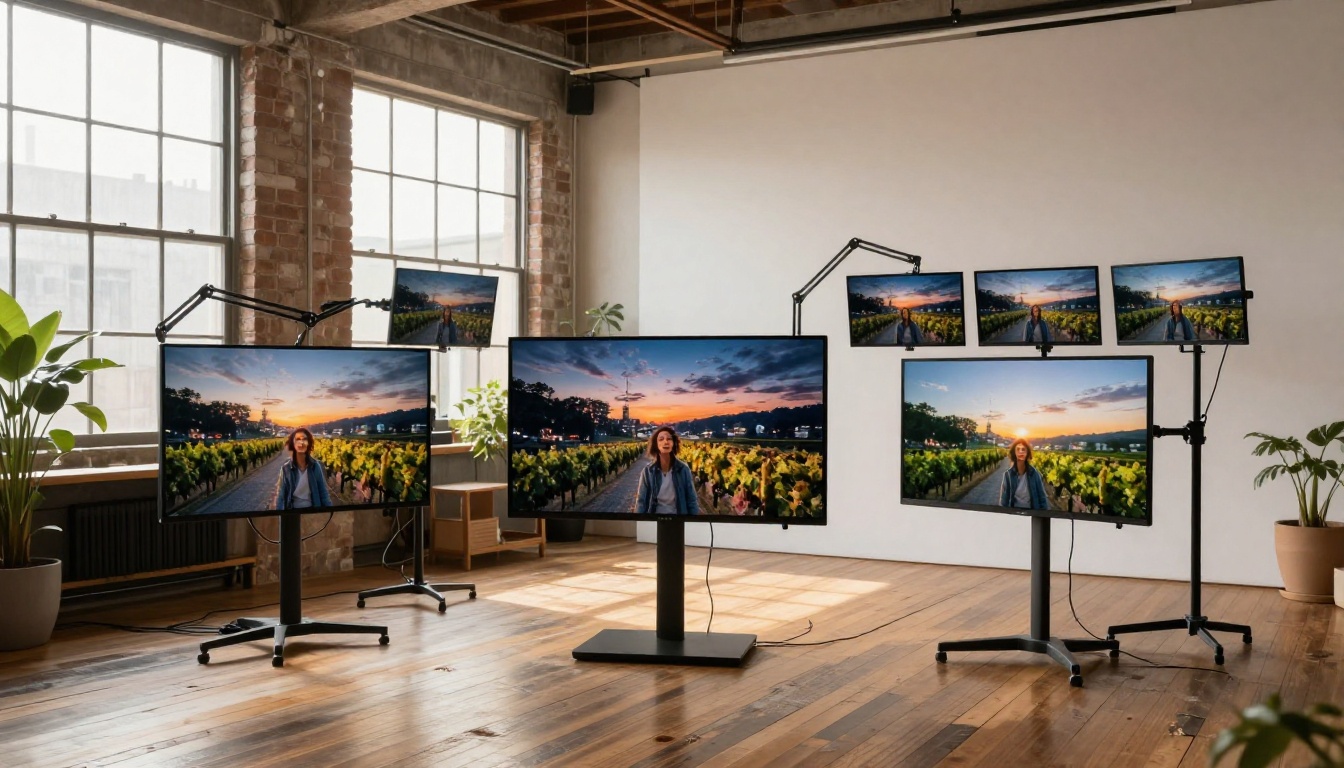
Bria Remove Background is the dedicated specialist. Built specifically for clean, commercial-grade background removal, it handles fine edges better than most general-purpose tools. For product photos or portraits at volume, this is the model to reach for first.
💡 Tip: Bria works best on photos with reasonable subject-to-background contrast. Avoid pure white subjects on white backgrounds.
PicassoIA Image Editor Pro
PicassoIA Image Editor Pro is the all-in-one solution. It combines background removal, inpainting, and text-guided scene replacement in a single interface. Upload a photo, type "replace the background with a sunny beach in Greece," and it handles the entire workflow.
It's ideal for creative work where you want a generated scene rather than a stock photo.
Qwen Image Edit Plus
Qwen Image Edit Plus excels at understanding natural language instructions. You describe what you want changed and the model interprets your intent accurately. This makes it particularly useful for non-technical users who want to describe their desired result rather than navigate settings manually.
Flux Redux Dev
Flux Redux Dev takes a different approach entirely. Rather than simply removing and replacing a background, it generates image variations that maintain the subject's likeness while allowing full creative recomposition. Results look photographically natural, not composited.
GPT Image 2
GPT Image 2 brings strong instruction-following to image editing. It handles nuanced prompts about lighting, environment, and mood with impressive accuracy, making it a solid choice when your background description is detailed and specific.
How to Use Bria Remove Background on PicassoIA
Here is the exact workflow for removing and replacing a background using Bria Remove Background on PicassoIA.
Step 1: Open the Model
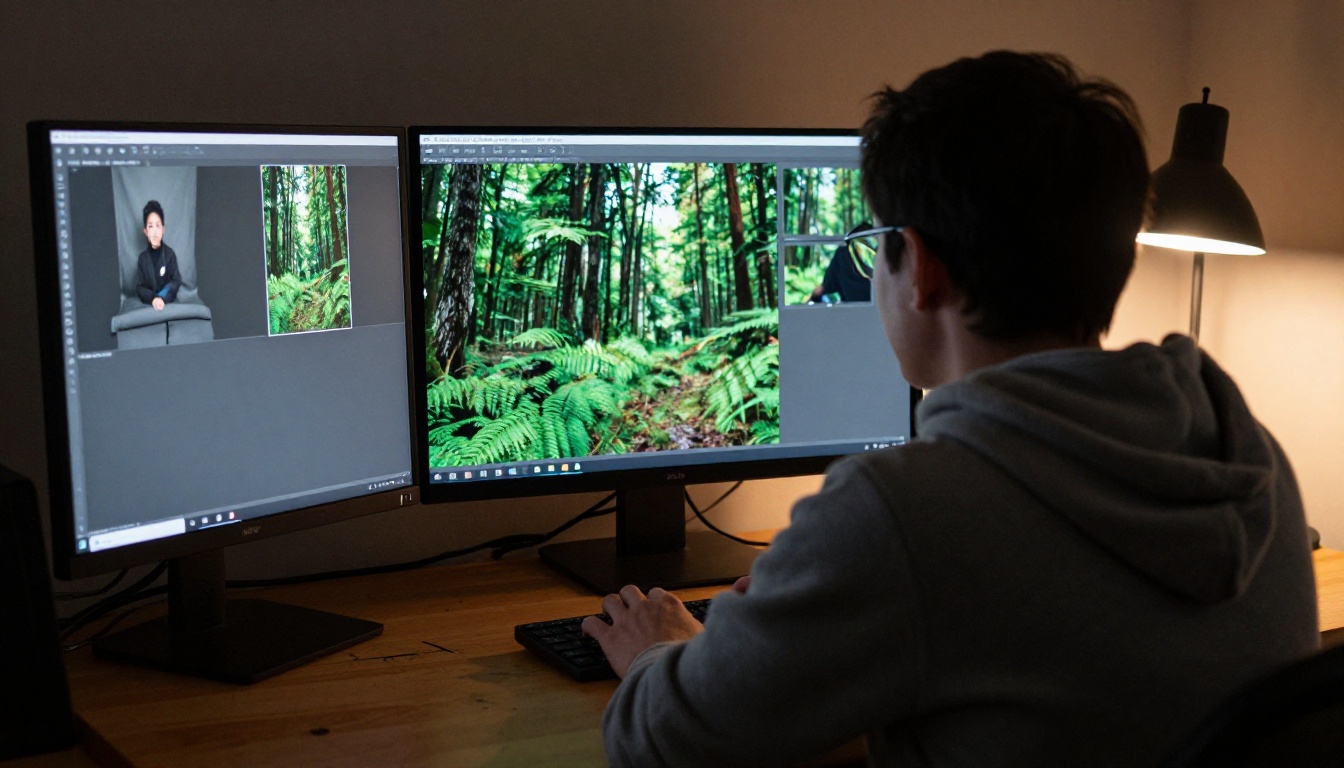
Go to Bria Remove Background on PicassoIA. The interface loads directly in your browser. No specialized software installation is required.
Step 2: Upload Your Photo
Click the upload area and select your photo. For best results:
- Use photos with at least 1000px on the short side
- Make sure the subject is well-lit and in sharp focus
- Avoid extreme backlighting, which can confuse edge detection
Step 3: Run the Removal
Click generate. The AI processes your image and returns a version with the background fully removed, rendered as a transparent PNG. Processing takes between 5 and 20 seconds depending on image complexity.
Step 4: Apply a New Background
Once you have the transparent cutout, you have two options:
- Use PicassoIA Image Editor Pro to add a generated AI background by describing the scene you want in plain text
- Download the PNG and composite it yourself with any image editor
💡 Pro tip: When describing a background in PicassoIA Image Editor Pro, match the lighting direction in your description to the original photo. This makes the composite look far more convincing.
Step 5: Download and Use
Download the final image as a JPG or PNG. The output is ready for immediate use in social media, e-commerce listings, portfolios, or presentations.
Getting the Best Results
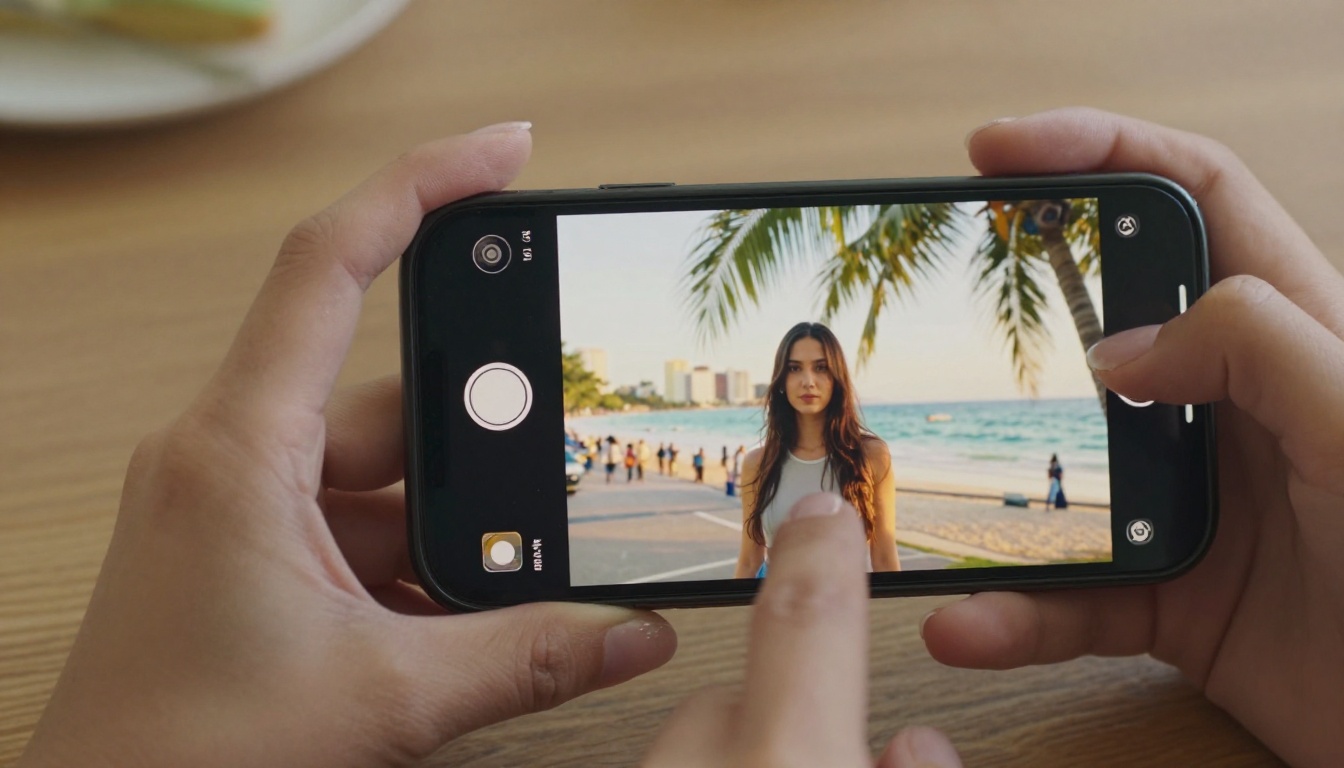
The AI does the heavy lifting, but your input quality determines the output quality. These factors affect results more than any other.
Photos That Work Best
| Photo Type | Removal Quality | Notes |
|---|
| Portraits with clear lighting | Excellent | Clean edges on hair and skin |
| Product photos on solid color | Excellent | High contrast makes detection easy |
| Outdoor photos with clear subject | Good | Works well with decent separation |
| Group shots | Moderate | Multiple subjects increase complexity |
| Photos with glass or transparency | Moderate | Partially transparent edges are difficult |
| Dark subject on dark background | Poor | Low contrast confuses edge detection |
Common Mistakes to Avoid
Using low-resolution images. AI models perform better with more pixel data. A 4MP photo gives the model more information to work with than a compressed 800px JPEG.
Ignoring lighting consistency. The most common sign of a fake composite is mismatched lighting. A subject lit from the right placed in front of a scene lit from the left always looks wrong. Describe the light source in your background prompt to match the original.
Expecting perfect results on flyaway hair. Even the best models struggle with extremely fine, backlit hair strands against complex backgrounds. Shoot against a contrasting backdrop when you know you'll be swapping it later.
Tips for Hair and Fine Details
Hair is the hardest part of background removal. Here's what actually helps:
- Shoot against a contrasting background color relative to hair color (light background for dark hair, dark for light)
- Avoid extremely complex hairstyles in photos where you know you'll be swapping backgrounds
- After removal, use PicassoIA Image Editor Pro to clean up any remaining edge artifacts with inpainting
Use Cases That Actually Matter
The technology is only useful if you know where to apply it. These are the real-world scenarios where AI background changing delivers the most value.
Product Photography on a Budget
E-commerce sellers spend significant money on professional product photography. The white-background studio shot that platforms like Amazon require costs anywhere from $20 to $150 per product at a professional studio.
With Bria Remove Background, you photograph your product anywhere with decent light, remove the background, and get a clean white or custom result in seconds. The quality difference between AI removal and a professional studio backdrop is now negligible for most product categories.
Social Media and Profile Photos
A professional headshot changes how people perceive you online. Most people don't have access to a photographer or a clean backdrop. AI background replacement closes that gap entirely.
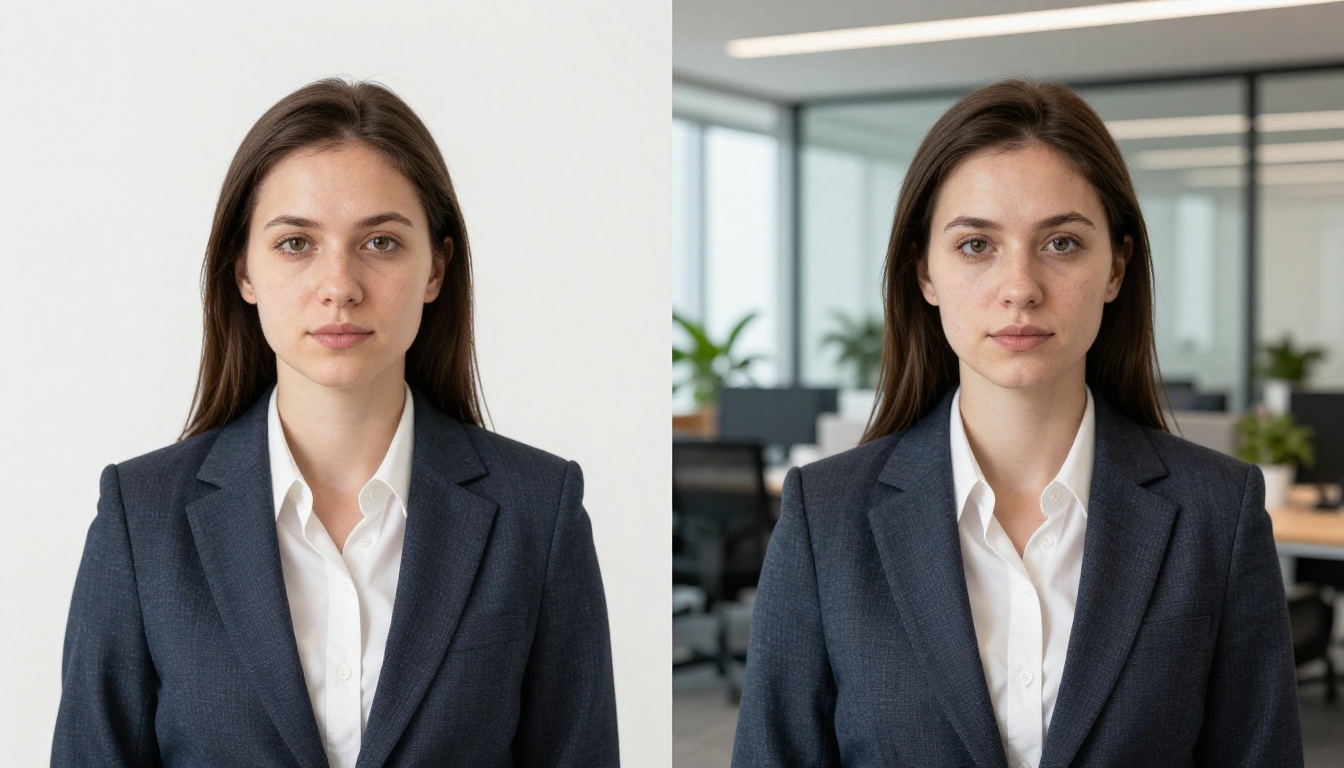
Photograph yourself in good natural light, upload to PicassoIA, and use Qwen Image Edit Plus to describe your ideal professional environment. The model generates a convincing background that matches your industry and aesthetic.
Real Estate and Architecture
Real estate photography depends heavily on context. An exterior shot under grey weather looks less appealing than the same photo under a sunny blue sky. AI background tools can replace dull skies, add greenery to bare landscaping in winter photos, and make interiors appear brighter without reshooting.

Fashion and Creative Shoots
Fashion photography increasingly uses AI background generation to place clothing shots in aspirational environments without expensive location shoots. A summer dress photographed in a studio can be placed on a Santorini terrace or a Miami beach using Flux Redux Dev, with lighting and shadow automatically adapted to match the new setting.
Comparing AI Methods Side by Side
When Results Look Fake
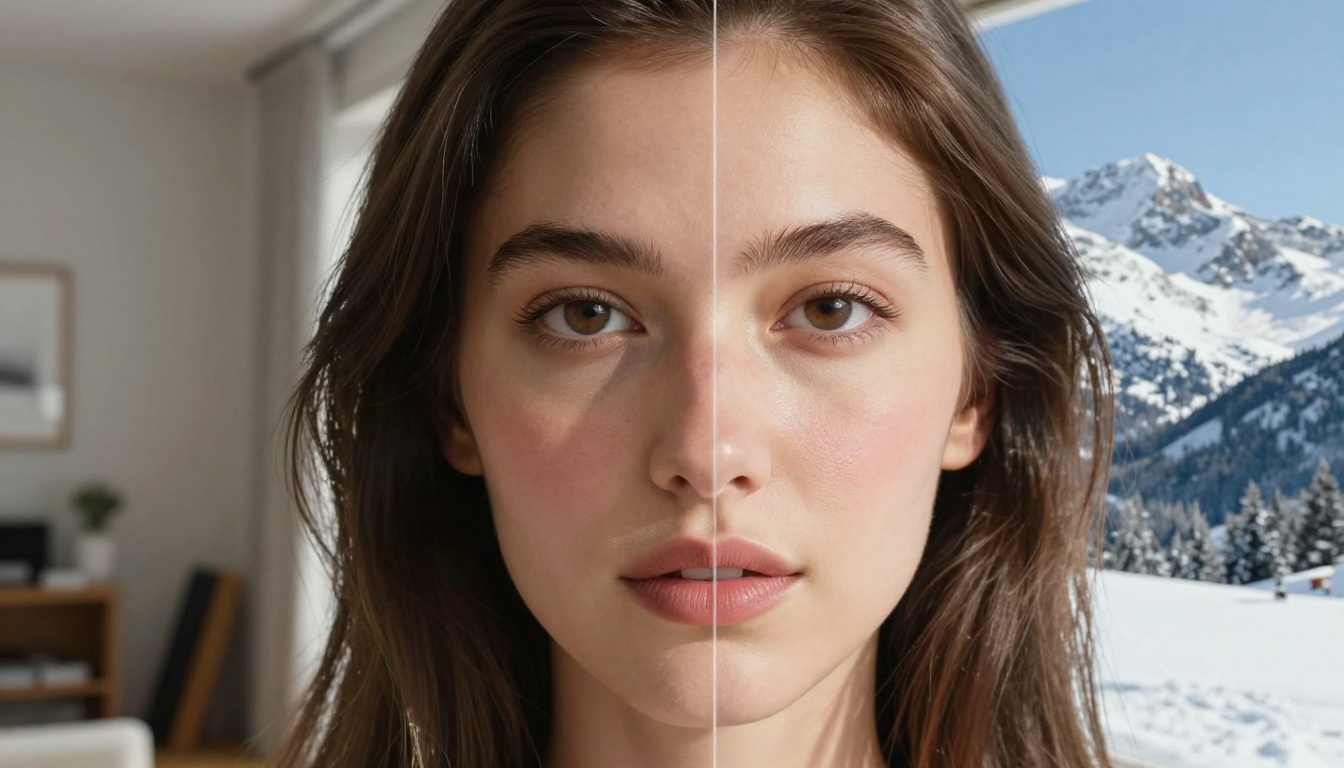
Not every AI background swap looks convincing out of the box. Here's how to tell when something isn't working and what to fix.
The Halo Problem
A white or light fringe around the subject after removal is called a halo. It happens when the AI includes pixels from the original background in the cutout. Fix it by using the edge-refinement settings in PicassoIA Image Editor Pro, or by placing the subject on a slightly darker background to make the fringe less visible.
Depth Mismatch
If your subject was photographed with a wide-angle lens and your new background has strong telephoto compression, the two simply don't look like they belong together. Match the depth of field and lens character in your background description when generating a new scene with Qwen Image Edit Plus.
Missing Shadows
Real subjects cast shadows. When a subject is composited onto a background with no shadow, the brain immediately reads it as fake. When using PicassoIA Image Editor Pro for instruction-based editing, include "cast a natural ground shadow" in your description to maintain realism.
Color Temperature Clashes
A subject photographed under warm indoor tungsten light will look wrong against a background with cool blue-toned outdoor light. When generating backgrounds, specify the color temperature: "warm golden hour light" or "cool overcast daylight" to match what's already on your subject.
Start Creating Right Now
Every model mentioned in this article is available on PicassoIA without needing specialized software or technical knowledge. Whether you're a seller who needs clean product photos, a creative who wants dramatic composite portraits, or someone who simply wants a better profile photo, the tools are ready.
Start with Bria Remove Background for a clean cutout, then bring your subject into PicassoIA Image Editor Pro to drop in whatever scene you can imagine. The entire workflow takes less than two minutes once you've done it once.
Upload your first photo and see what's possible. The background you always wanted for that shot is one text prompt away.