Restaurants spend thousands on food photography. A single hero shot for a menu can cost $500 or more when you factor in the photographer, food stylist, and post-production. AI changes all of that. With the right text prompt and a capable image model, you can produce photorealistic 3D food visuals in minutes, not days.
This is not about replacing creativity. It is about making high-quality food visuals accessible to everyone, from solo food bloggers to major restaurant chains running seasonal campaigns.
Why Food Brands Are Moving to AI Visuals
The economics are undeniable. A professional food photo shoot costs between $1,000 and $10,000 per day. AI generation costs cents. But beyond cost, there is a speed argument: when you need 50 product images for a new menu launch, you cannot wait two weeks for a photographer to become available.
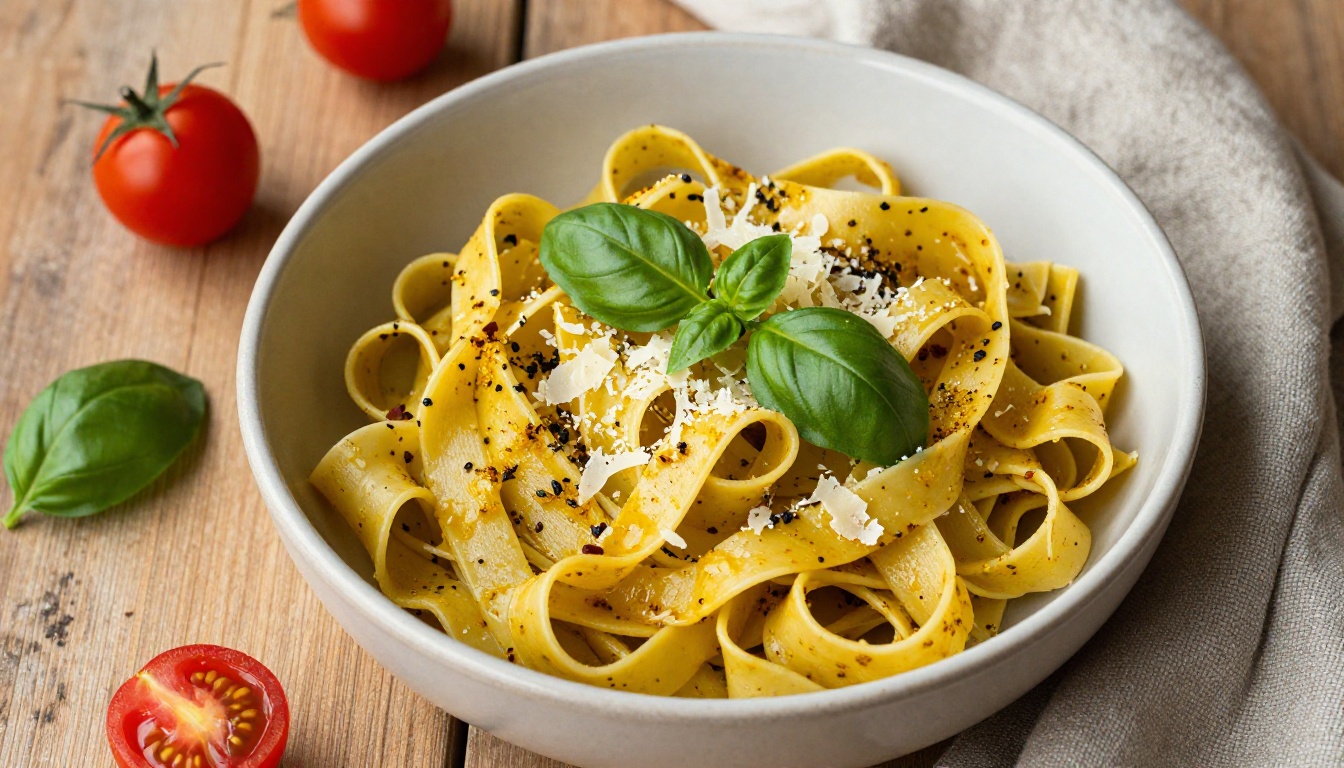
There is also a consistency advantage. Once you define a style in a prompt, every image follows that same lighting, angle, and color palette. No more inconsistencies between photos shot on different days with different setups.
The brands winning right now are treating AI food visuals as a core asset production pipeline, not an experiment.
Who Is Actually Using This
- Restaurant chains generating seasonal menu images at scale
- Food delivery platforms producing product shots for new listings
- Recipe bloggers illustrating posts without owning professional gear
- Food startups building investor decks with premium-looking product shots
- Packaged goods brands visualizing products before physical production
What Makes AI Food Images Look 3D
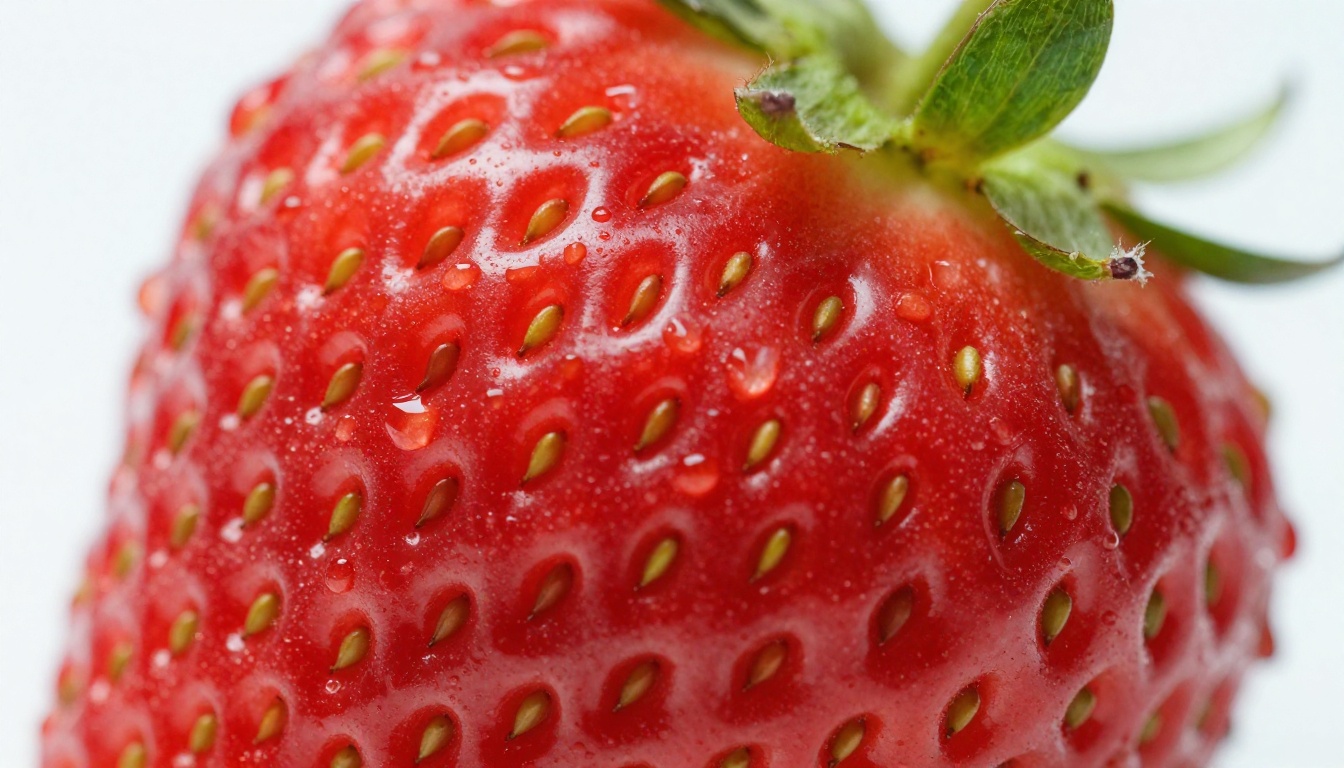
The "3D" quality in AI food images comes from how the model interprets depth cues in your prompt. It is not an actual 3D render pipeline. It is photorealistic image synthesis that mimics the visual properties we associate with dimensionality.
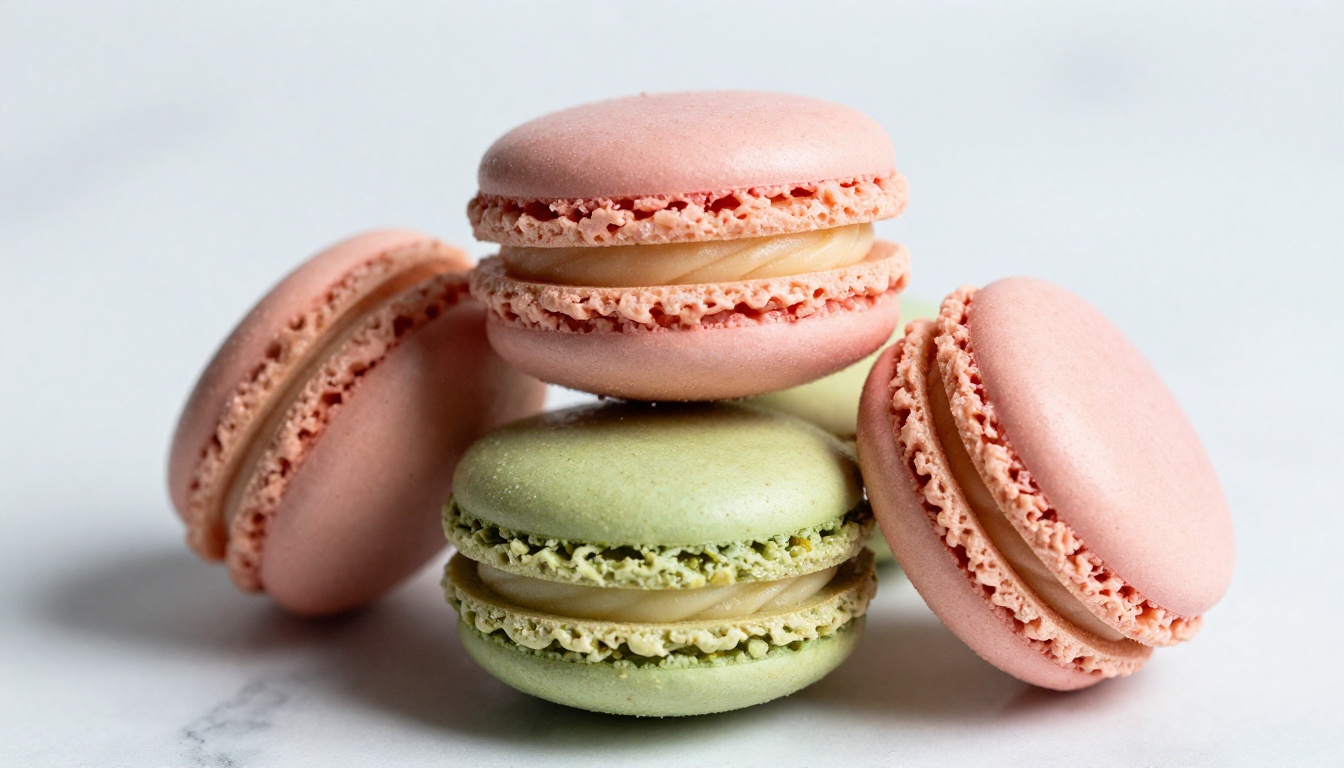
Four elements create that 3D sense in AI food photography:
| Depth Element | What It Does | Prompt Keyword |
|---|
| Shallow depth of field | Separates subject from background | f/1.4, f/1.8, bokeh |
| Specular highlights | Creates surface shine and volume | specular highlights, glossy |
| Shadow directionality | Anchors objects in space | volumetric side lighting, shadows |
| Texture contrast | Differentiates surfaces | visible texture, grain, pores |
When these four elements work together in a prompt, the result reads as three-dimensional to the human eye, even though it is a flat image. The AI has learned from millions of photographs where these cues appear together naturally.
The Role of Lighting in Depth Perception
Lighting direction is the single most powerful depth indicator in food photography. A flat overhead light flattens everything. A side light at 30-45 degrees reveals texture and creates shadows that tell the eye "this surface has volume."
In prompts, be specific: warm golden volumetric side lighting from camera left at 30 degrees produces dramatically better results than just good lighting. Specificity is the difference between a flat image and one that looks like it was shot in a professional studio.
Best AI Models for Food Visualization
Not every text-to-image model handles food the same way. Some excel at smooth surfaces and gradients (good for desserts), others at fine texture detail (better for bread, meat, and vegetables). Here are the models on PicassoIA that deliver the strongest food photography results:
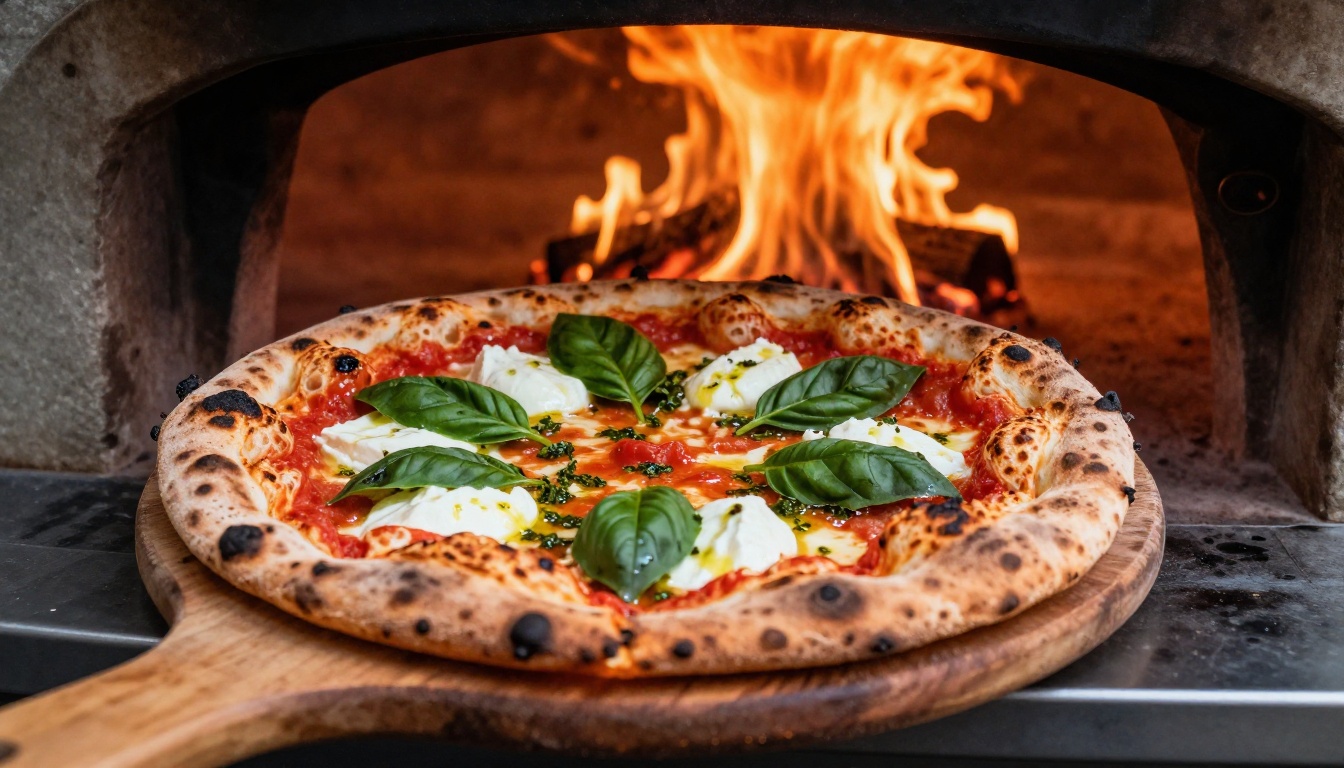
PicassoIA Image is the platform's flagship generation model. It handles photorealistic food prompts exceptionally well, particularly for complex dishes with multiple ingredients. The model interprets lighting and texture descriptors with high fidelity.
Flux Kontext Dev is the go-to for iterative food styling. You can feed it a base food image and rewrite specific elements: change the plate color, swap the garnish, adjust the sauce drip. This makes it invaluable for building a consistent product image library.
Flux Kontext Fast delivers the same editing power as Kontext Dev but optimized for speed. When you are running batch production on 50 menu items, fast turnaround matters.
GPT Image 2 excels at following complex, multi-part prompts with high accuracy. If your food prompt specifies 12 different ingredients with precise placement, GPT Image 2 will attempt to honor each one.
Dreamina 3.1 produces cinematic 4MP images, which gives you the resolution needed for large-format print applications like restaurant signage, packaging, and menu boards.
Flux Fast is the speed-tier option when you need drafts quickly to iterate on composition and style before committing to a high-quality final render.
💡 Tip: Use Flux Fast to prototype 5-10 composition variations in minutes. Once you lock in a composition you like, switch to PicassoIA Image or Dreamina 3.1 for the final high-fidelity version.
How to Write Prompts for 3D Food Images
Prompt writing is the real skill here. The model is only as good as the instructions you give it. Food prompts have a specific anatomy that consistently produces professional results.
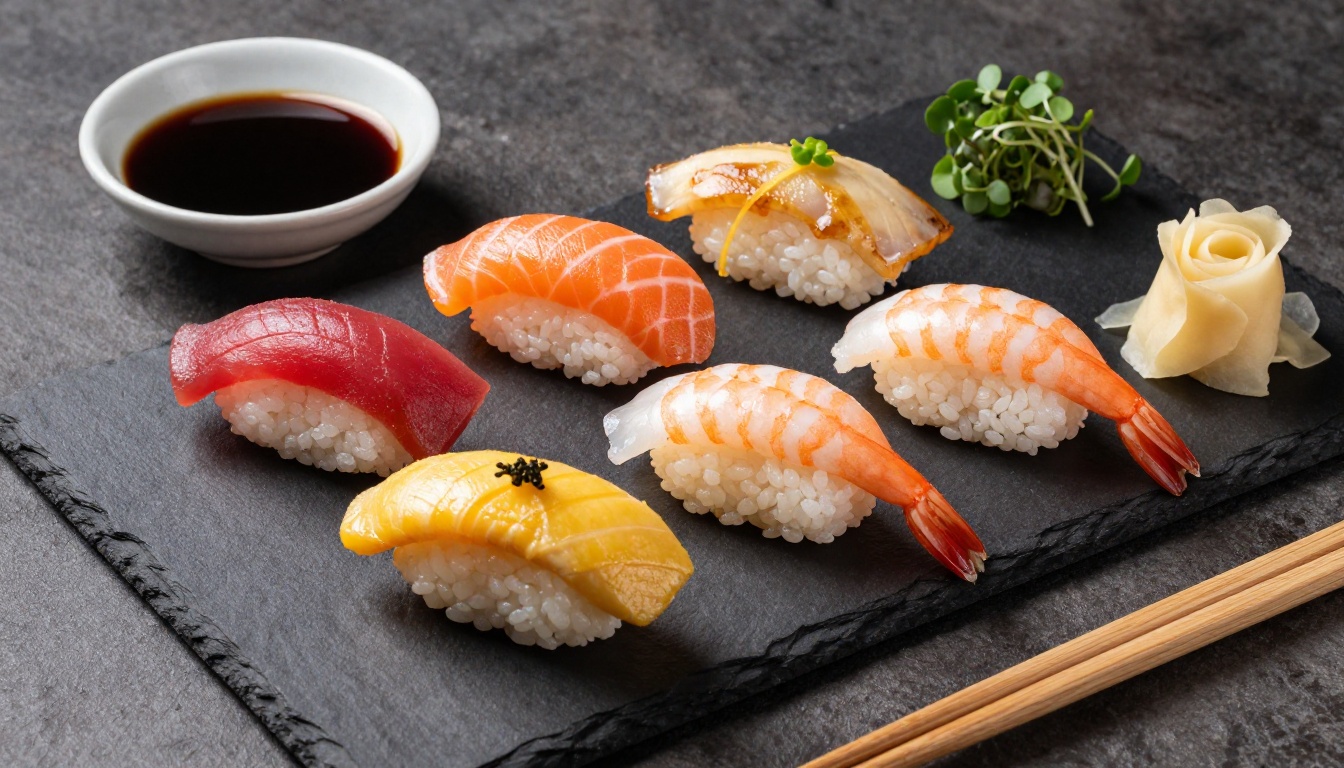
The 5-Part Food Prompt Formula
1. Subject with specificity
Do not write "a burger." Write "a wagyu beef double smash burger with melted aged cheddar, caramelized onions, and brioche bun." Every adjective adds information the model uses to generate texture and detail.
2. Surface and environment
"On a dark slate surface" or "in a wide ceramic bowl on an aged oak table" gives the model the spatial context it needs to place the food convincingly and cast appropriate shadows.
3. Lighting specification
"Warm golden volumetric side lighting from camera left" or "cold overhead softbox light" radically changes the output. Be directional and specific about color temperature.
4. Camera and lens
"85mm f/1.4 telephoto side view" or "35mm wide angle overhead flat lay" tells the model what perspective and depth of field to simulate. This is what creates the photographic 3D feel.
5. Film and quality modifiers
"Kodak Portra 400 film grain, RAW 8K photography, photorealistic" signals the aesthetic you want. These modifiers push the model toward naturalistic results over digital-looking outputs.
Prompts to Avoid
| Weak Prompt | Why It Fails |
|---|
| "A beautiful pizza" | No specificity, produces generic results |
| "3D food render" | Triggers CGI aesthetics, looks synthetic |
| "High quality food photo" | Vague, no technical direction |
| "Realistic sushi" | No lighting, angle, or texture detail |
The difference between a weak prompt and a strong one is not creativity. It is precision.
How to Use PicassoIA for Food Models
PicassoIA makes AI food model creation accessible without any technical setup. You do not need API keys, local hardware, or software installation. Everything runs in the browser.
Here is the exact workflow:
Step 1: Choose your model
Go to PicassoIA Image for general food photography generation. For iterative editing or restyling existing food photos, open Flux Kontext Dev.
Step 2: Set your aspect ratio
For food photography intended for web use, 16:9 works well for hero images. For Instagram or mobile menus, switch to 1:1 or 9:16. For menu boards and print, 4:3 gives you more vertical space for tall subjects.
Step 3: Write your prompt using the 5-part formula
Start with subject specificity, add environment, then lighting, camera specs, and quality modifiers. Paste the full prompt into the generation field.
Step 4: Generate and iterate
Run your first generation. Evaluate the depth cues, lighting direction, and texture. If the depth feels flat, add shallow depth of field, 85mm f/1.4 to the prompt. If the texture looks synthetic, add organic imperfection, film grain, Kodak Portra 400.
Step 5: Upscale for production
Once you have the composition you want, use the super-resolution tools on PicassoIA to upscale your output to 4K or 8K for print-ready files.
💡 Tip: For product shots where you want to swap backgrounds later, generate the food on a simple neutral surface first. Background removal and replacement tools on the platform make this seamless.
Real-World Uses for AI Food Images
The applications go well beyond menu photography. Here is where food brands and creators are getting the most value:
Menu Design and Restaurant Marketing
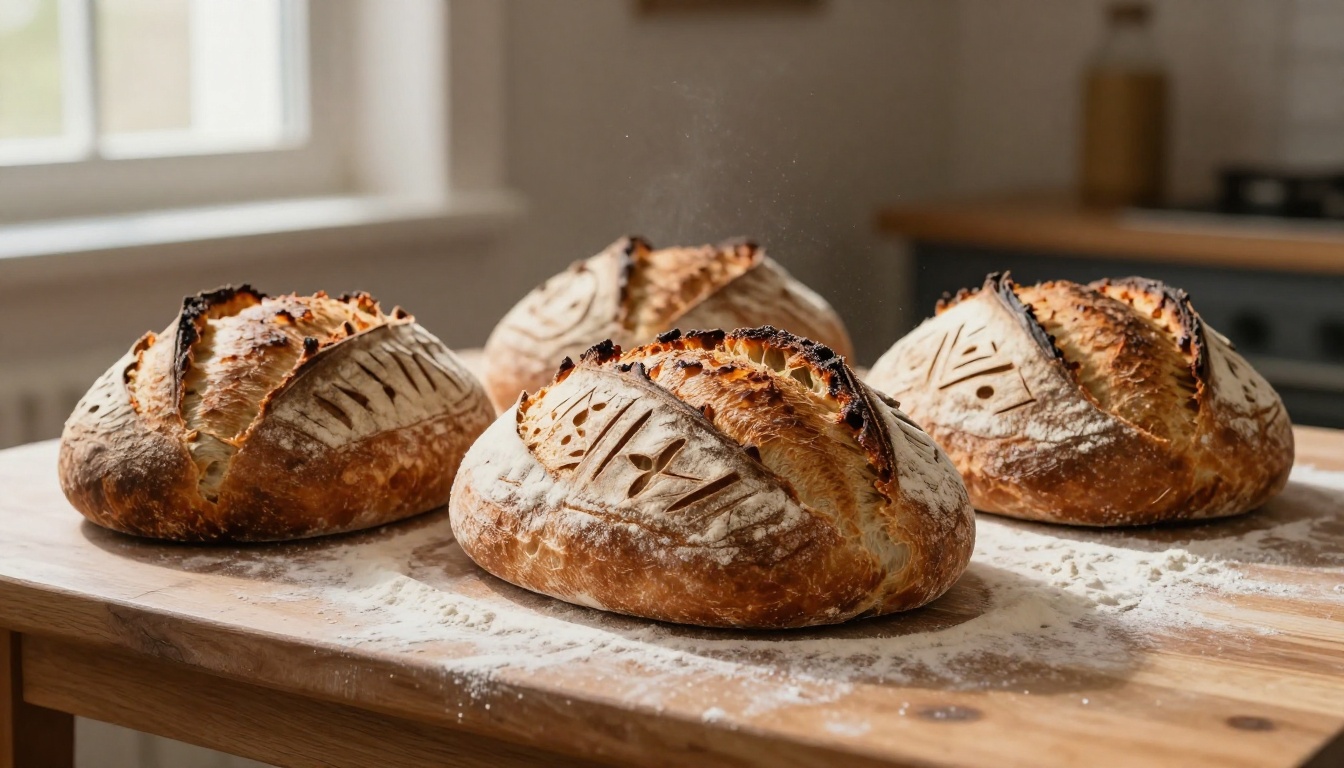
A fast casual restaurant chain can generate a full seasonal menu's worth of food imagery in a single afternoon. Every dish gets a hero shot, a thumbnail, and a social media variant, all with consistent lighting and styling.
Food Packaging and Product Development
Before a product ever goes into physical production, brands can generate photorealistic product shots for investor presentations, crowdfunding campaigns, and early marketing materials. This is particularly powerful for food startups that need to move fast.
Recipe Content and Blogging
Recipe bloggers can illustrate every step of a recipe with AI-generated food photography, producing content at a scale that would be impossible with a camera setup. Each image in the recipe flow gets its own precise prompt.
Social Media Content Production
Food brands running daily social media content can batch-produce a full month of food visuals in one session. The consistency of AI generation means every post maintains the brand's visual identity.
E-commerce and Delivery Platforms
For food delivery platforms onboarding hundreds of new restaurant partners per month, AI food imagery fills the gap when partners cannot provide professional photography themselves.
3 Mistakes That Kill Food Image Quality
Most bad AI food images trace back to the same three errors:
1. Using "3D render" in your prompt
This is counterproductive. Writing "3D render" or "CGI" signals the model to produce a synthetic digital look, not a photographic one. Instead, use photorealistic, RAW photography, and film grain to push toward naturalistic output.
2. Skipping lighting direction
A food image without directional lighting looks flat and unappetizing. Even if you only add one lighting descriptor, make it directional: side lighting from camera left or window light from above right.
3. Being vague about the dish
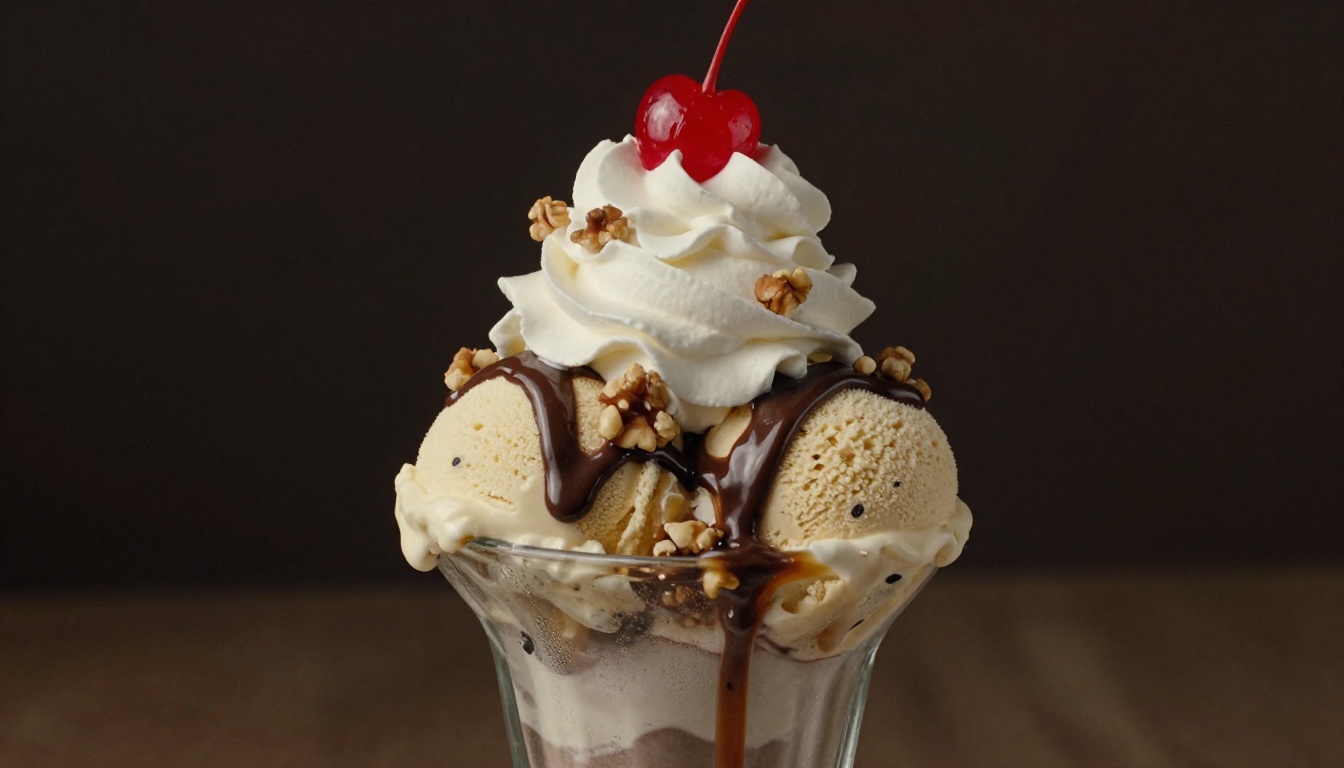
"A bowl of soup" produces generic output. "A steaming bowl of miso ramen with hand-cut chashu pork, soft-boiled marinated egg halved to reveal orange yolk, green onion threads, and nori sheets in a lacquer black bowl" produces something specific, appetizing, and dimensional.
Advanced Tips for 3D Depth
For users who want to push beyond basic results, these techniques add significant depth to AI food images:
| Technique | How to Apply |
|---|
| Foreground elements | Add scattered herb leaves in foreground, slightly out of focus to create a depth layer in front of the main subject |
| Steam and condensation | Steam rising from hot surface and condensation droplets on cold glass add environmental detail that reads as authentic |
| Cross-sections | Prompting a sliced or split version of the food reveals interior texture and creates visual interest |
| Negative space | Large areas of clean surface around the food increase perceived volume by isolating the subject |
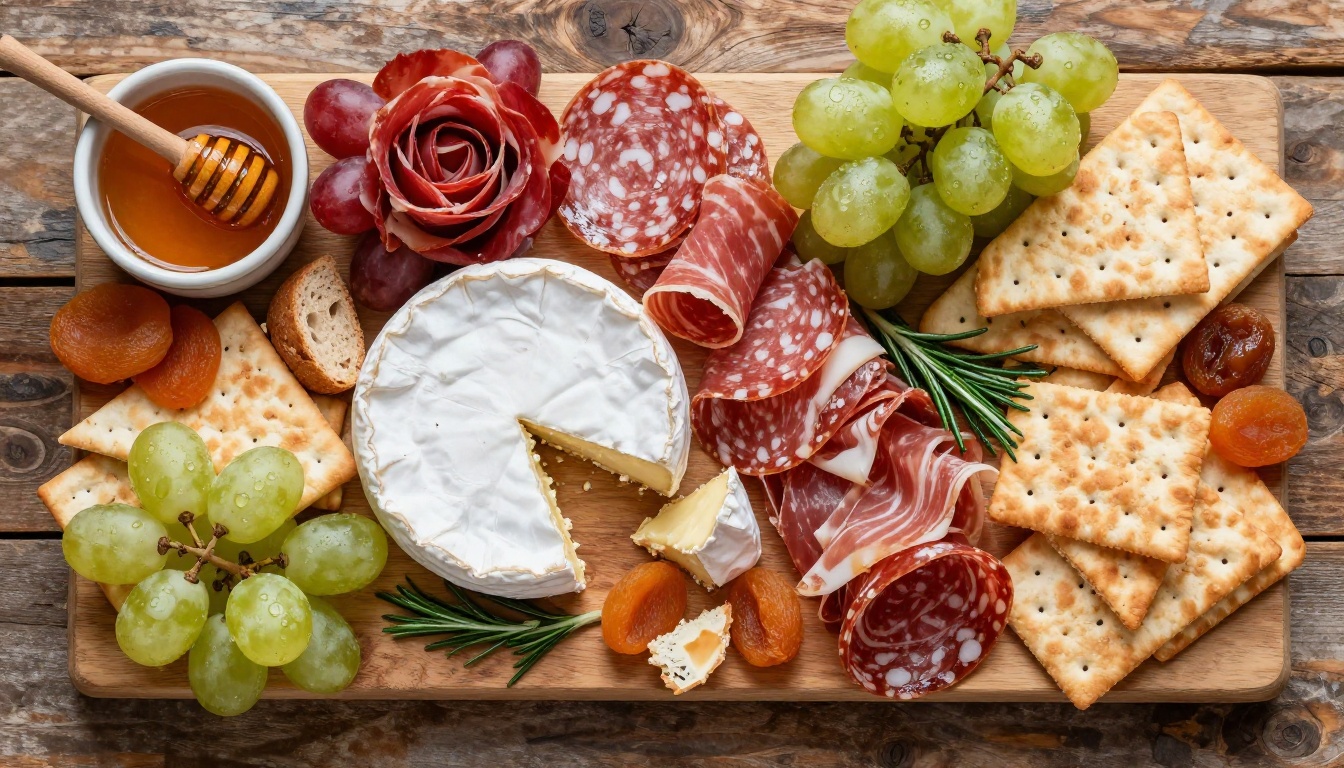
💡 Tip: The Flux Redux Dev model on PicassoIA lets you upload a reference food image and generate variations with controlled depth and styling changes. This is the fastest way to build a consistent image library from a single hero shot.
Comparing AI Food Models by Use Case
Different projects need different tools. Here is a quick reference:
| Use Case | Recommended Model | Why |
|---|
| Menu hero shots | PicassoIA Image | Best photorealism, handles complex dishes |
| Batch production | Flux Fast | Speed optimized for volume work |
| Photo editing and restyling | Flux Kontext Dev | Iterative image editing with prompt control |
| High-res print | Dreamina 3.1 | 4MP cinematic output for large format |
| Complex multi-ingredient prompts | GPT Image 2 | Strong prompt adherence for precise dishes |
| Background replacement | Flux Kontext Fast | Fast editing for environment swaps |
Start Generating Your Food Models Now
The barrier to professional food visualization has dropped to zero. What used to require a photographer, a food stylist, a lighting setup, and a post-production team now requires a good prompt and the right model.
Write a prompt for your most important dish right now. Describe it with specificity: the ingredients, the plating surface, the lighting direction, the camera angle. Run it through PicassoIA Image. The first result will probably surprise you. The third or fourth, after iterating on the prompt, will likely be something you actually want to use.
For print-quality output, move to Dreamina 3.1. For batch production across a full menu, use Flux Fast to draft compositions quickly, then finalize in PicassoIA Image. For restyling photos you already have, Flux Kontext Dev gives you surgical control over every element.
Food photography has always been about making food look better than it tastes. AI just made that goal significantly easier to reach.


