The way 3D artists build props for Blender has shifted dramatically. A workflow that used to demand hours of hunting for photo references, manually painting diffuse maps, and endlessly tweaking material nodes now compresses into a fraction of that time thanks to AI image generators. If you model props for games, film, or personal projects, this is not a trend to watch from the sidelines.
Why AI Rewires the Prop Pipeline
Every prop in Blender starts with a question: what does this thing actually look like? Before you place a single vertex, you need to know how light hits the surface of aged leather, how rust bleeds from iron rivets, or how the grain of worn oak behaves at different angles. Gathering that visual data used to mean hours of photography or expensive stock libraries.
The Old Way vs. the AI Way
| Stage | Traditional | AI-Assisted |
|---|
| Reference gathering | 1-3 hours browsing | 5-10 minutes generating |
| Texture creation | Hand-painted or sourced | AI-generated PBR maps |
| Concept iteration | Days per variant | Minutes per variant |
| Style consistency | Difficult across assets | Reproducible with seeds |
💡 The biggest shift is not speed, it is specificity. You can now ask for "a rusted iron padlock with a chipped chrome finish under diffuse overcast light" and get exactly that reference in under a minute.
What You Actually Save
Time is the obvious gain. But what matters more for most prop artists is the ability to iterate. When a game director asks you to switch a medieval wood barrel from oak to a more fantasy-stylized bleached birch, the old workflow meant starting the texture hunt over. With AI, you adjust your prompt and re-generate.
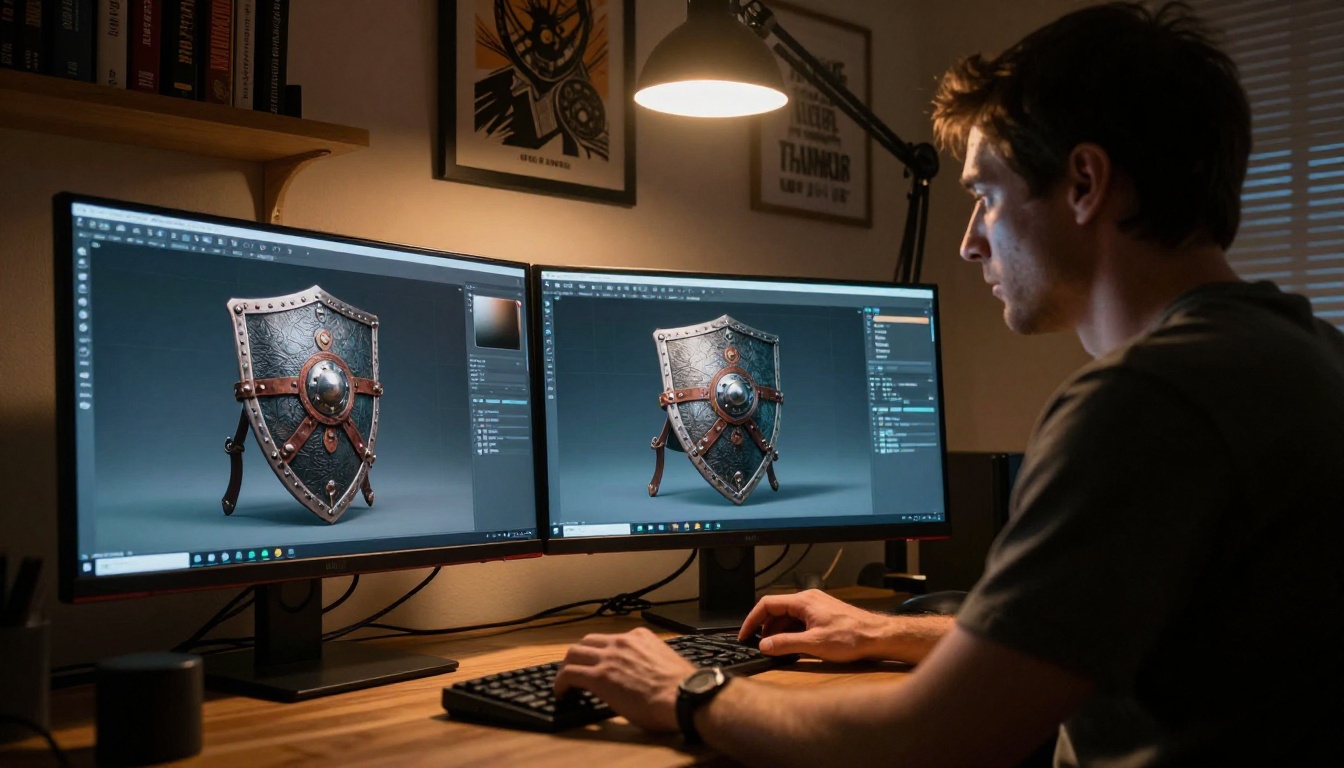
Concept variation is also dramatically faster. Need five versions of the same shield with different weathering levels? That is a five-prompt session, not a five-day task.
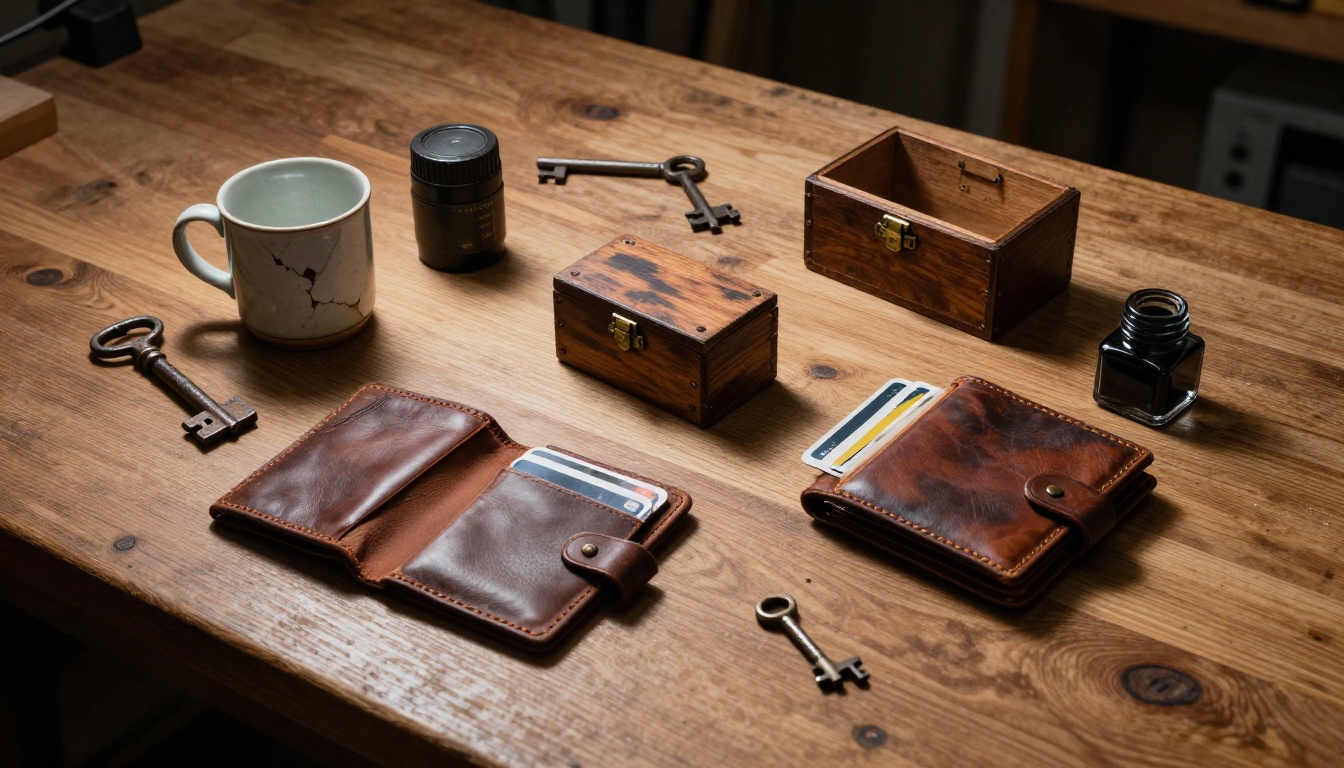
Gathering References in Minutes
The first practical step in any prop project is building a reference sheet. AI image generators have made this step nearly instant.
What Makes a Good Reference Image
A useful reference for Blender prop work has three qualities. First, it shows the surface material under neutral or single-source lighting, so you can read the actual diffuse color without color spill contaminating it. Second, it shows the object from multiple angles so you can understand volume without guessing. Third, it captures the kind of surface wear or aging that matches your art direction.
AI models trained on billions of photographs can produce exactly this on demand.
Generating Concept Art Fast
When you need concept iterations, not just photographic references, Flux 1.1 Pro on PicassoIA handles this particularly well. Its ability to follow detailed material descriptions produces images that work directly as modeling guides without needing cleanup.
For rapid-fire iteration where you want 10 versions in a session, Flux Schnell gives you generation speed without a significant quality trade-off at reference scale.
Prompt structure matters here. Instead of vague prompts like "wooden crate", write something like: "A weathered oak shipping crate, iron corner brackets with surface rust, stenciled letters, studio neutral lighting from upper left, close-up detail shot, 85mm lens, photorealistic."
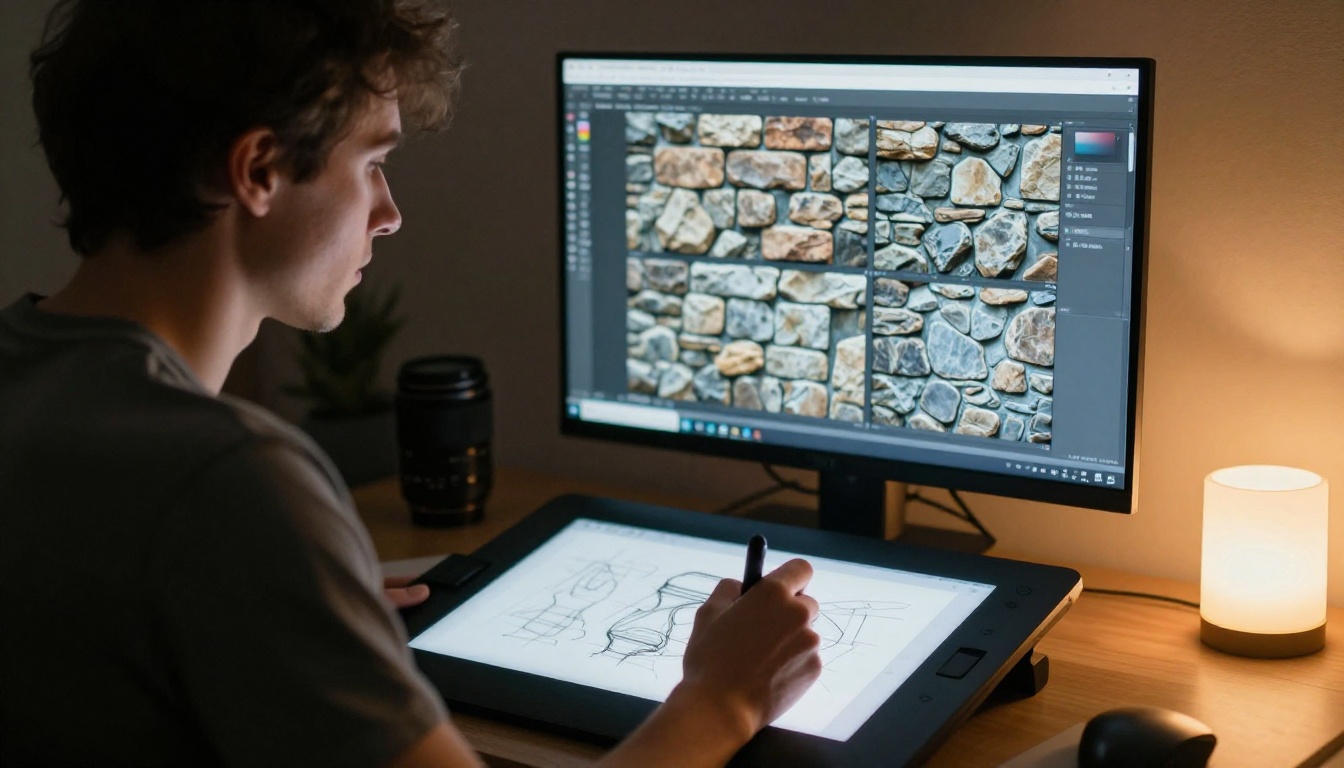
AI Texture Maps: The Real Time Saver
References help you model. Textures make your prop believable. This is where AI integration into the Blender workflow provides its most measurable impact.
Albedo, Normal, and Roughness Explained
A Blender material that reads as photorealistic relies on at least three texture maps working together inside the Principled BSDF shader:
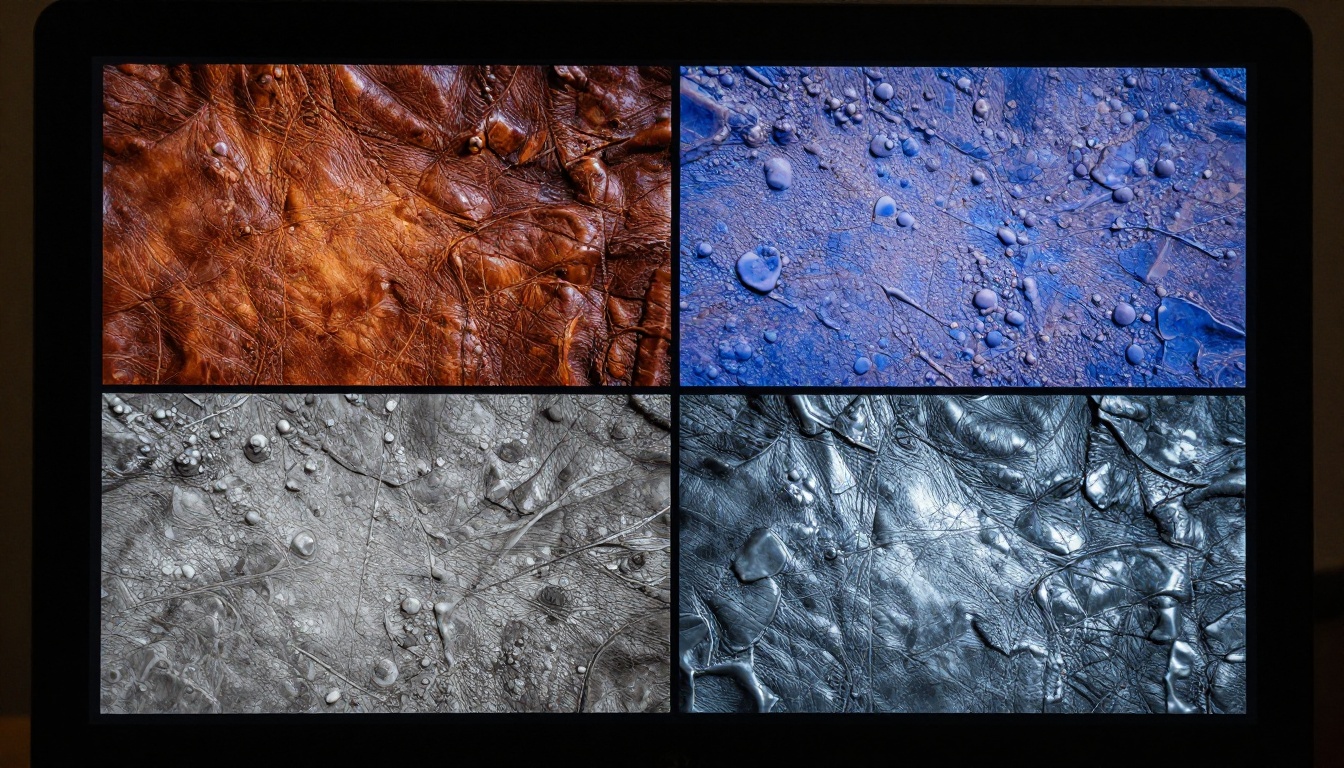
- Albedo (Base Color): The raw diffuse color of the surface without any lighting baked in. An AI-generated photo reference serves as your starting albedo.
- Normal Map: Encodes surface micro-detail as direction data in RGB channels. This is what makes flat polygon surfaces appear to have scratches, rivets, or wood grain without adding geometry.
- Roughness Map: Controls how sharp or blurry specular reflections are. Polished metal sits near zero; raw concrete sits near one.
💡 Tip: When generating textures with AI, prompt for "neutral flat lighting, seamless tile, no shadows" to get images that are immediately usable as albedo maps without correction.
Best AI Models for Texture Generation
Flux 1.1 Pro Ultra produces 4MP outputs, which is significant for texture work because high-resolution input directly translates to crisper normal maps when you process them in Blender or a dedicated tool like Materialize. The extra resolution gives you more data to work with when extracting surface detail.
Stable Diffusion 3.5 Large Turbo remains a strong option for PBR workflows because its training data included a high proportion of material photography. It tends to produce flat, well-lit surface shots when prompted correctly.
For extreme photorealism in base textures, Imagen 4 handles fine surface detail with a level of sharpness that is difficult to match with other generators, particularly useful for skin, fabric weave, and organic materials.
Using PicassoIA for Prop Design
PicassoIA gives you access to the full suite of current frontier image generators through a single interface. For prop artists, this matters because different models excel at different material categories.
Flux 1.1 Pro for High-Detail Props
Flux 1.1 Pro handles complex prop descriptions with high instruction-following accuracy. When you write a detailed prompt describing a specific prop, Flux 1.1 Pro reproduces the described object with fewer hallucinated elements than most competing models.
For a prop like a medieval apothecary bottle, a well-structured prompt might read: "A small round-bottomed glass apothecary bottle, slightly greenish antique glass with air bubbles, cork stopper, aged wax seal drips, studio lighting from upper-left, white surface, close-up, photorealistic, 8K."
The result functions immediately as both a concept reference and a starting point for your albedo map.
Prompting for Specific Materials
The models available on PicassoIA respond well to material-specific language. Here is a quick reference for prompting common Blender prop materials:
| Material | Prompt Keywords |
|---|
| Aged wood | "wood grain, weathered, gray patina, splits and cracks, studio lit" |
| Rusted iron | "surface rust, iron, flaking oxidation, cool neutral light, seamless" |
| Polished leather | "smooth leather, subtle sheen, neutral lighting, close-up, no shadows" |
| Stone | "granite surface, matte, natural light, close-up, high resolution" |
| Worn fabric | "linen weave texture, washed out, flat lay, diffuse studio light" |
Flux Kontext Pro adds another layer here. You can take an existing image and edit specific material attributes through text prompts. Generated a leather texture but want it scuffed rather than polished? Flux Kontext Pro lets you direct that change without starting over.
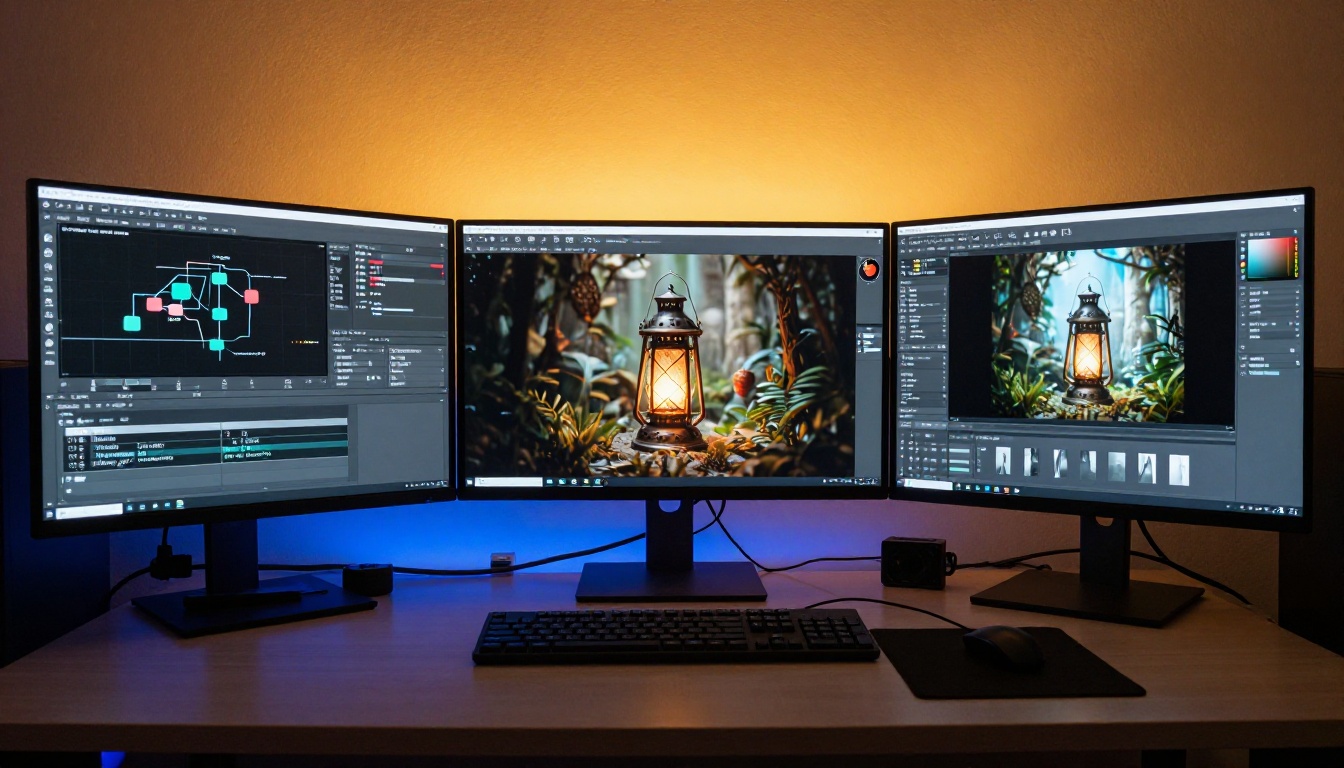
From AI Image to Blender Material
Generating the images is only half the workflow. Bringing them into Blender and converting them into working materials is where the process becomes concrete.
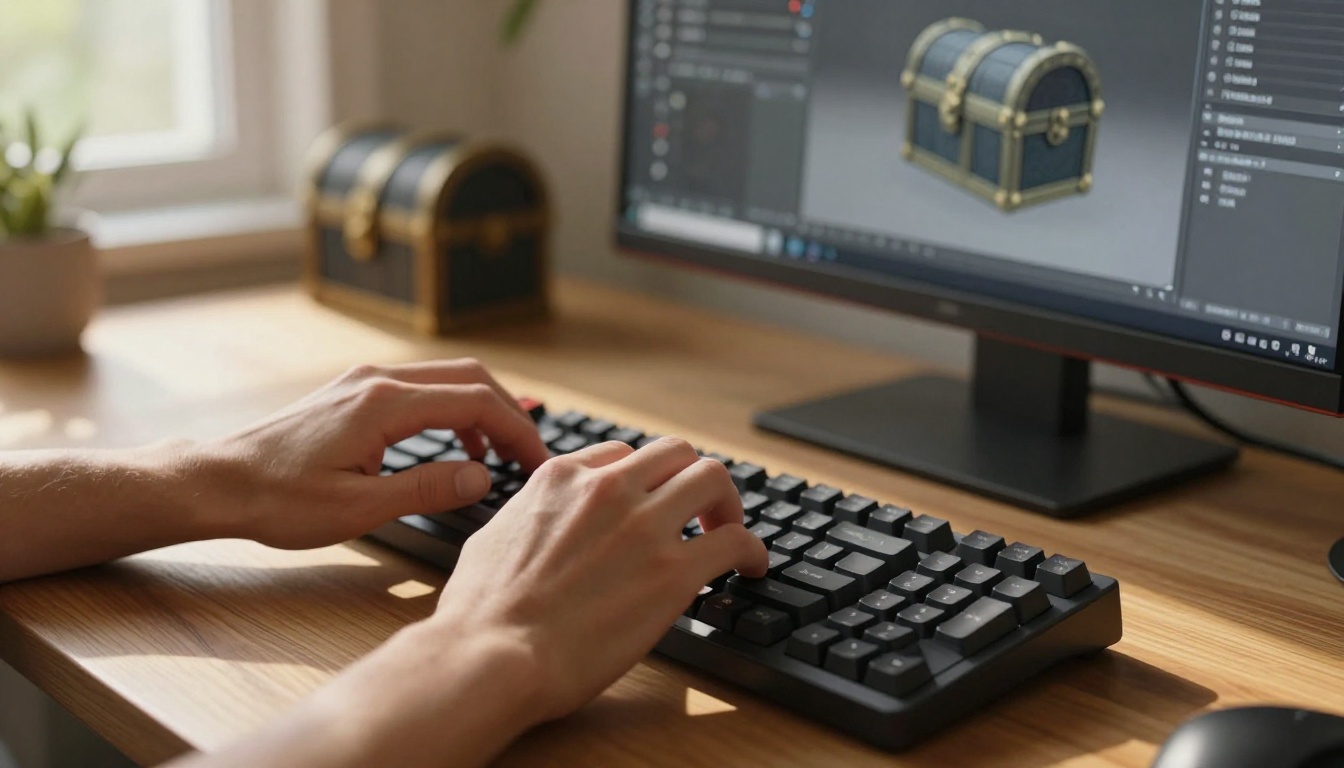
Setting Up the Principled BSDF Node
In Blender's shader editor, the Principled BSDF is your central node for photorealistic materials. The standard setup for an AI-assisted prop texture involves:
- Import your AI-generated albedo image into an Image Texture node
- Connect it to the Base Color input on the Principled BSDF
- Add a second Image Texture node set to Non-Color for your normal map
- Route it through a Normal Map node before connecting to the Normal input
- Add a third Image Texture node (Non-Color) for roughness, connected to the Roughness input
💡 Critical step: Always set normal map and roughness textures to Non-Color in the Image Texture node. Blender applies gamma correction to color-space images, which will corrupt the data in these maps and produce incorrect shading.
Projecting Images onto Geometry
For props with complex geometry, direct UV projection of AI-generated images is often the fastest path to a textured result. In Blender:
- Enter Edit Mode and select the faces you want to texture
- Use UV Unwrap (Smart UV Project works well for hard-surface props)
- In the UV Editor, scale and position your UV islands to align with the corresponding area on your AI-generated texture
The advantage of this approach is that you can use multiple AI-generated textures on a single prop by assigning different material slots to different geometry sections. The barrel body gets one wood texture, the iron hoops get a separate rust texture generated independently.
Fixing UV Maps the Smart Way
UV unwrapping complex props manually is tedious. This is where AI-assisted reference images help indirectly. When you generate multiple views of the same prop from different angles, you have a visual guide for how to seam and orient UV islands without interpreting pure wireframe data.
A clean UV layout follows two rules: minimize stretch (visible in Blender's UV overlay as a color gradient from blue to red), and place seams where they will be least visible in the final render.
Batch-Generating Prop Variants
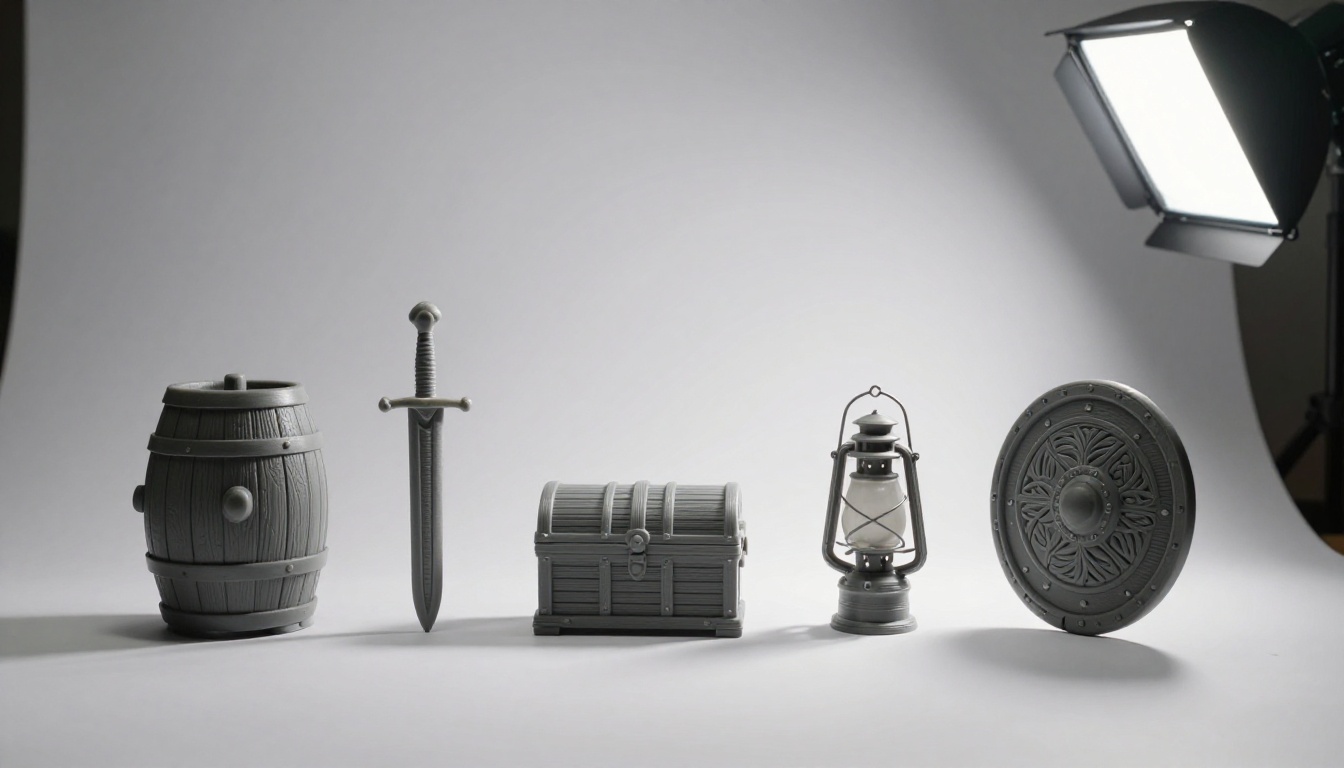
One of the most powerful aspects of AI-assisted prop work is the ability to generate systematic variant sets. A game environment might need six types of barrels at different stages of weathering. An architectural visualization might need a dozen versions of the same brick texture with subtle variation to avoid repetition tiling.
AI generators handle this through two approaches: prompt variation and seed variation.
Prompt variation means writing a set of prompts that describe the same base object at different states. "New oak barrel, fresh stain" versus "aged oak barrel, weathered gray, splits at stave joints." Each prompt produces a distinct variant with consistent geometry but divergent material states.
Seed variation means fixing the model, fixing the prompt, and varying only the random seed. This produces a family of images that share the same composition and material reading but with natural micro-variation in surface detail, ideal for preventing texture repetition in large-scale environments.
Keeping Style Consistent Across Assets
Style consistency across an entire prop set is one of the harder problems in game art. When props are made across multiple sessions, they can feel visually disconnected.
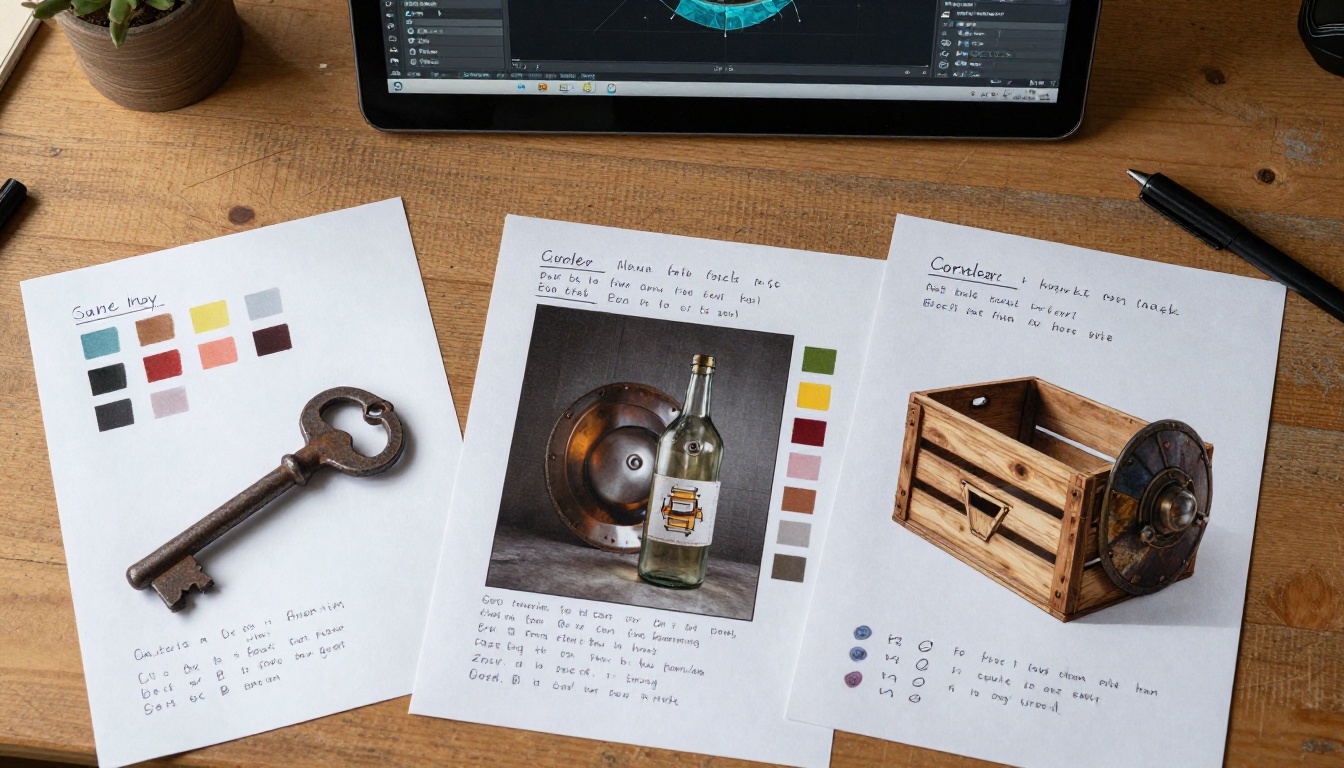
With AI tools, consistency comes from two places. First, a locked prompt template that all variations derive from, defining lighting setup, camera angle, and material finish before varying the specific object description. Second, GPT Image 2 with its strong instruction-following allows precise style parameters to persist across a large batch of generations.
Common Mistakes to Avoid
Several problems recur when artists first start integrating AI into their Blender prop pipeline:
- Lighting baked into the texture: Prompting for dramatic lighting produces beautiful images but terrible albedo maps. The shadow information from the AI lighting gets baked into the texture and creates incorrect shading in Blender's PBR renderer. Always prompt for flat, diffuse, or neutral studio lighting.
- Over-relying on one model: Different AI models have different strengths. Flux 1.1 Pro excels at architectural and hard-surface materials. Imagen 4 handles organic surfaces with more nuance. Using both strategically produces better results than committing to one.
- Ignoring resolution: Generating at low resolution and upscaling inside Blender introduces blur into normal maps. Generate at the highest available resolution and downscale only if needed.
- Skipping the seamless step: Most AI-generated images are not seamlessly tileable out of the box. For repeating surface textures, you need to either prompt specifically for seamless output or process the image in Blender's compositor using the Offset node to check and fix tiling seams.
Putting It All Together
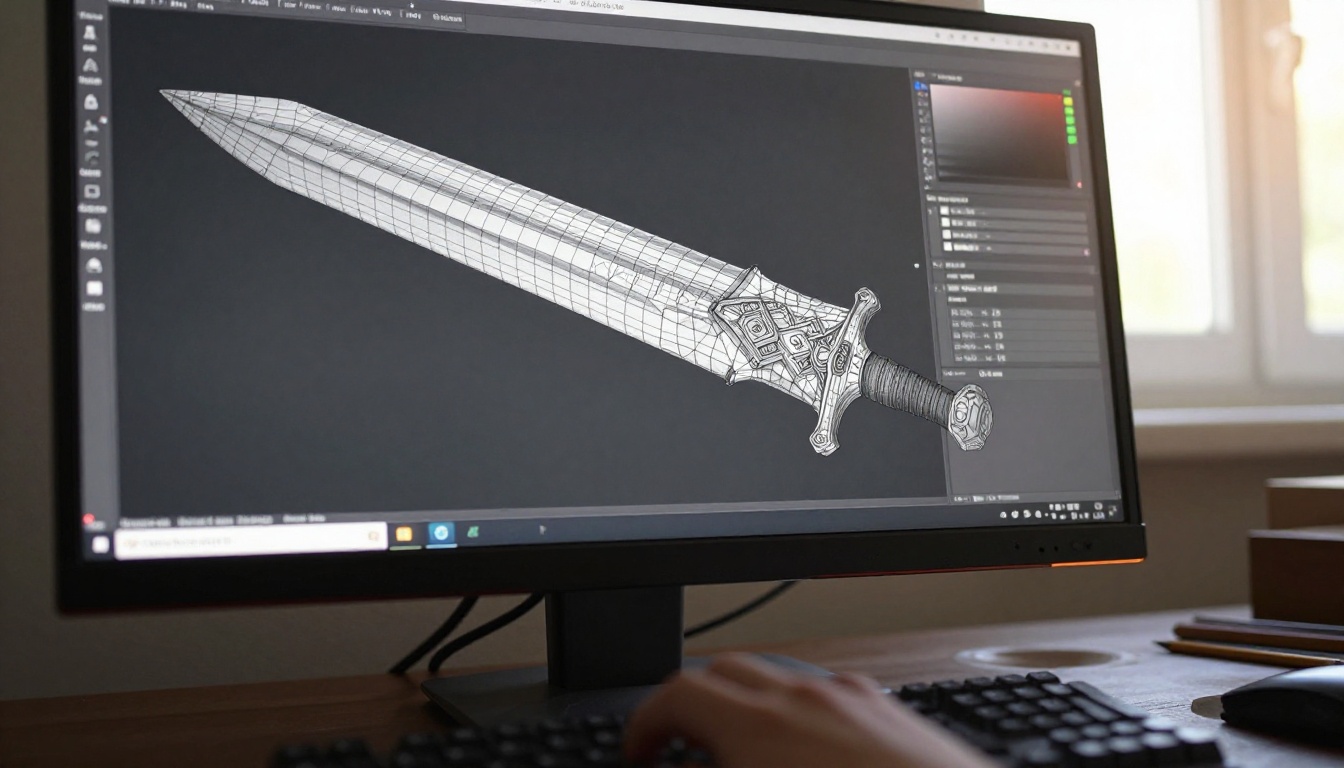
The workflow described above reduces what used to be a day-long texture pass on a single prop to something closer to two hours. Here is the consolidated sequence:
- Write a detailed prop description
- Generate reference images from multiple angles using Flux 1.1 Pro
- Generate flat-lit surface images for albedo maps
- Use Flux 1.1 Pro Ultra for high-resolution texture detail
- Import and set up materials in Blender's Principled BSDF
- UV unwrap and project textures onto geometry
- Render a test with HDRI lighting to check material reading
- Iterate on texture prompts if the material reads incorrectly
The quality ceiling for this workflow is high. Props built this way can match hand-crafted texture work when the prompt engineering is precise.
Try It Yourself on PicassoIA
The best way to feel the difference this workflow makes is to run a single prop project from start to finish using AI-generated references and textures. Pick one object, something simple with a clear material, a rusted bolt, a wooden plank, an old ceramic pot, and work through all the stages above.
PicassoIA puts Flux 1.1 Pro, Flux Schnell, Stable Diffusion 3.5 Large Turbo, Imagen 4, and GPT Image 2 accessible through one interface. You can switch models within the same session to compare output quality for a specific material type without managing separate accounts or API keys.
For prop artists working in Blender, the question is no longer whether AI belongs in the pipeline. It is which part of your current process you want to speed up first.


