Hologram effects used to belong to big-budget film sets and corporate tech showcases. Now, with the right AI text-to-image models, anyone with a browser can produce photorealistic holographic projections in under two minutes, starting from a plain text description or an existing photograph.
This article breaks down exactly how the hologram look works visually, which AI models produce it most convincingly, and how to write prompts that actually get you there. Whether you want a floating human silhouette, a projected cityscape, or a translucent face hovering in darkness, the workflow is the same once you know what signals the brain is reading.
What a Hologram Effect Actually Needs
Before writing a single prompt, it helps to understand what makes an image read as a hologram to the human eye. The brain identifies a holographic projection through a specific cluster of visual signals, and AI models respond to language that triggers all of them simultaneously.
Transparency and Layered Light
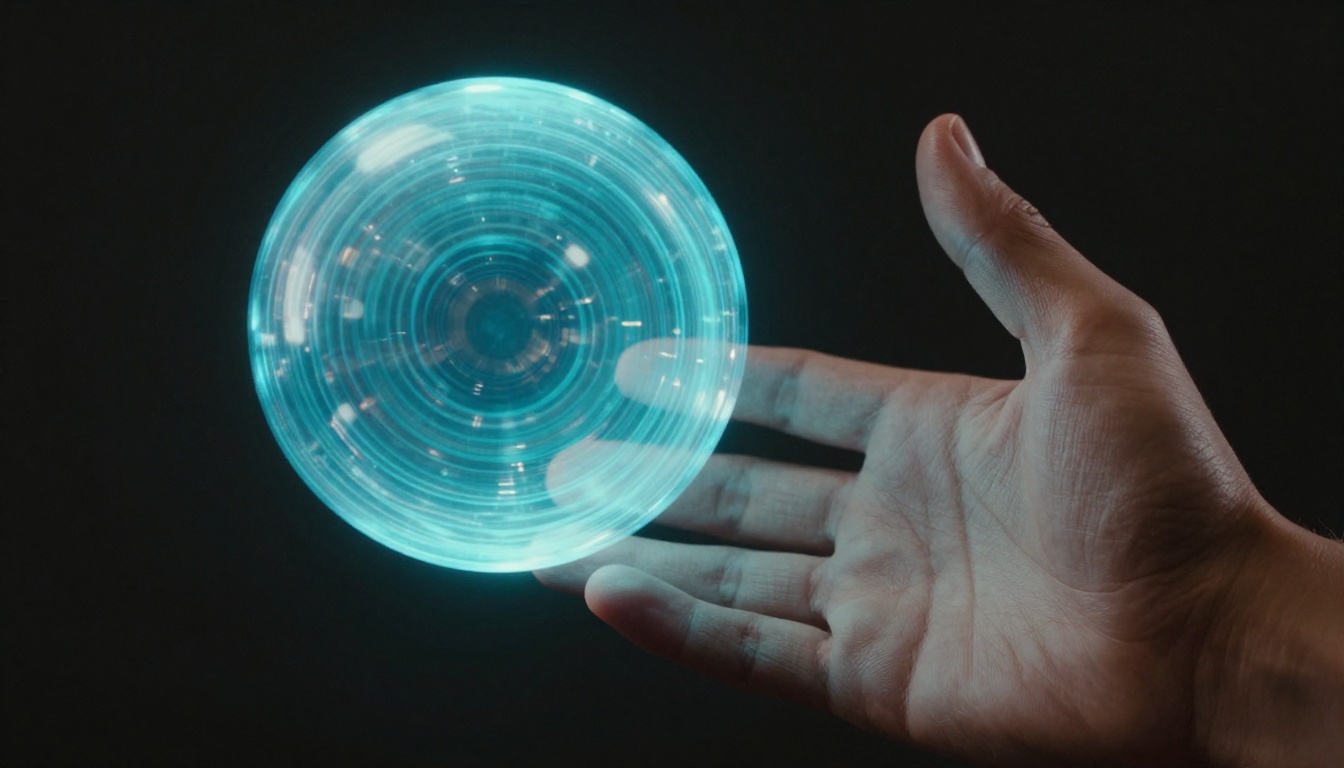
Real holograms transmit light through their form rather than reflecting it off a surface. In an image, this reads as a semi-transparent subject where you can faintly see through the figure to whatever lies behind. The essential quality is partial opacity: not a ghost, not a solid object, but something in between with visible internal structure made of stacked light planes.
Edge Glow and Light Diffraction
The boundary between a holographic form and surrounding darkness should carry a faint luminescent rim, mimicking how projected light scatters at its outer edge. Words like "edge luminescence", "rim light diffraction", and "prismatic border" in your prompts directly influence this detail. Without it, the subject reads as a cutout rather than a projection.
High-Contrast Dark Backgrounds
No hologram effect reads clearly on a bright or cluttered background. The projection needs to float against near-total darkness to produce the depth contrast that signals "projected light" to the eye. This is one of the most overlooked factors when prompt results come back flat. Be explicit about it every time.
Surface Reflection Below the Subject
A projection casts light onto the surface beneath it. A subtle glow pool or floor reflection below the holographic subject anchors it in space and convinces the eye that the light is real and physical, not painted on. Including this detail in prompts adds the final layer of believability.
AI Models That Do This Best
Not every text-to-image model handles translucency and light physics equally well. Some excel at raw photorealism, others at precise prompt adherence. Choosing the right one matters more here than with most other visual effects.
For Generating Hologram Images from Text
| Model | Strength | Best For |
|---|
| Flux 1.1 Pro Ultra | 4MP photorealism, fine light detail | Cover shots, portrait holograms |
| Flux.1 Dev | Detailed prompt adherence | Complex multi-element scenes |
| Imagen 4 | Richly lit photorealistic output | Atmospheric hologram environments |
| PicassoIA Image | Fast, versatile generation | Quick iterations and variations |
| SDXL | Free, broad style range | Experimenting without limits |
💡 Flux 1.1 Pro Ultra consistently produces the cleanest light physics for hologram prompts because its photorealistic base handles the subtle interaction between transparency and environmental lighting better than lower-parameter models.
For Editing an Existing Photo into a Hologram
If you already have a portrait or scene and want to convert it, editing-focused models are the better path than starting from scratch:
- Flux Kontext Max: Rewrites any image based on a text instruction. Prompt it to "convert this portrait into a translucent blue holographic projection against a dark background" and it preserves the original composition while applying the effect throughout.
- Qwen Image Edit Plus: Strong at targeted edits. Works well for adding glow edges and transparency to specific areas without disrupting the rest of the image.
- PicassoIA Image Editor Pro: The all-purpose editing tool on the platform, ideal when you need multiple rounds of adjustment on the same source image.
Writing Prompts That Work
The difference between a flat, unconvincing result and a genuinely striking hologram image is almost entirely in prompt construction. Here is what separates the two.
The Anatomy of a Hologram Prompt
A working hologram prompt has four components stacked in sequence:
- Subject description: What the hologram depicts (person, object, landscape)
- Light physics language: How the holographic light behaves (translucent, semi-transparent, edge-lit, refracting, prismatic)
- Environmental contrast: The dark setting the hologram floats within and the surface reflection below
- Camera and film specifics: Lens, aperture, film stock — this forces the AI to treat the output as photography rather than illustration
Here is a working example broken down by component:
"Translucent blue holographic projection of a woman's silhouette floating mid-air in a dark studio, layered semi-transparent light planes with cyan luminescence, polished obsidian floor reflecting the glow below her, Canon EOS R5 35mm f/2.8, Kodak Portra 400 film grain, photorealistic RAW 8K"
Each phrase earns its place. Remove "Kodak Portra 400 film grain" and the result often tips into CGI territory. Remove "polished obsidian floor reflecting" and the subject loses its environmental anchor and reads as floating in nothing rather than projected into a space.
Words That Work, Words That Kill the Effect
Include these in every hologram prompt:
translucent, semi-transparent, layered light planesedge diffraction, prismatic rim, volumetric lightphotorealistic RAW 8K, Kodak Portra 400 film grainpolished floor reflection, dark studio, pure darkness- Specific camera and lens notation (Canon, Sony, 85mm, f/1.8)
Avoid these — they push results toward non-photorealistic outputs:
glowing, neon, cyberpunk, sci-fi renderdigital art, 3D render, illustration, CGIelectric (often triggers oversaturated, blown-out results)futuristic aesthetic (pushes toward concept art rather than photography)
The camera notation detail is worth emphasizing. Specifying "shot on Canon EOS R5 with 85mm f/1.8" signals to the model that this is photography, not a rendered scene. That single addition often resolves the CGI quality problem without changing anything else.
Step-by-Step on PicassoIA
The workflow below works whether you are starting from a text prompt or editing an existing photo. Follow it in order rather than jumping ahead.
Step 1: Pick Your Entry Point
Open PicassoIA Image if you are generating from scratch. If you have a photo to convert, open Flux Kontext Max or Qwen Image Edit Plus instead. The generating path gives you more control over the visual physics. The editing path is faster if you already have a specific subject.
Step 2: Build the Prompt Using the Four-Part Structure
Construct your prompt in order: Subject + Light Physics + Environment + Camera. For editing tools, frame it as a direct instruction: "Apply a translucent blue holographic projection effect to the subject, preserve the original composition, dark background, photorealistic, Kodak Portra 400 film grain."
Step 3: Set the Aspect Ratio to 16:9
Hologram images read best in widescreen because the dark negative space around the subject amplifies the floating quality. A square crop compresses that breathing room and the effect loses impact.
Step 4: Check Output Against Three Criteria
Before accepting any result, verify these three things:
- Can you see through the subject? If it is fully opaque, the prompt did not land. Add "partial transparency, see-through form" and regenerate.
- Is there a visible edge glow? If edges are hard-cut, add "rim light diffraction, prismatic border, edge luminescence".
- Is the background dark enough? If not, add "surrounded by pure darkness, deep vignette, no ambient light".
Once you have a result you like, run it through Flux Redux Dev to generate controlled variations. This model creates multiple versions from a reference image, letting you explore different lighting angles and transparency intensities without rewriting the prompt from scratch each time.
5 Hologram Variations Worth Trying
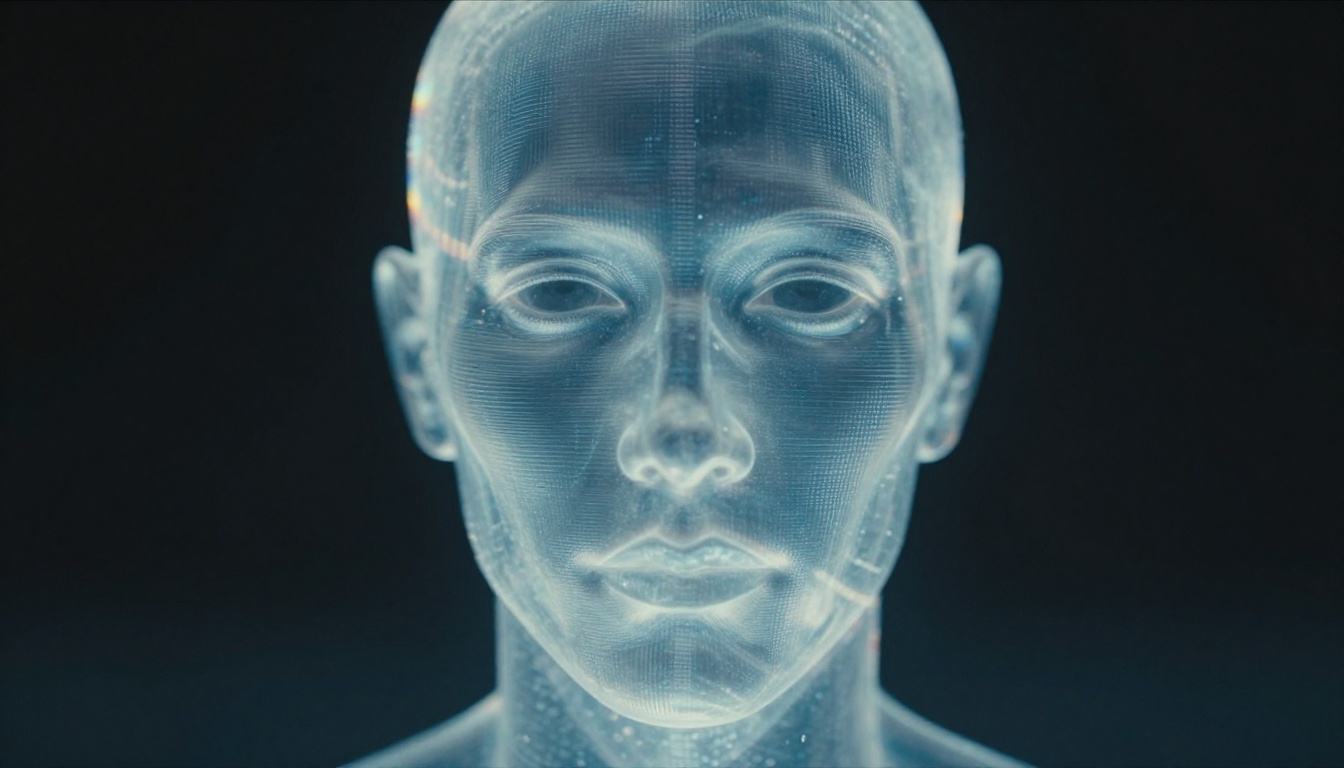
The hologram aesthetic is not one single look. These five directions each produce distinct results with different strengths:
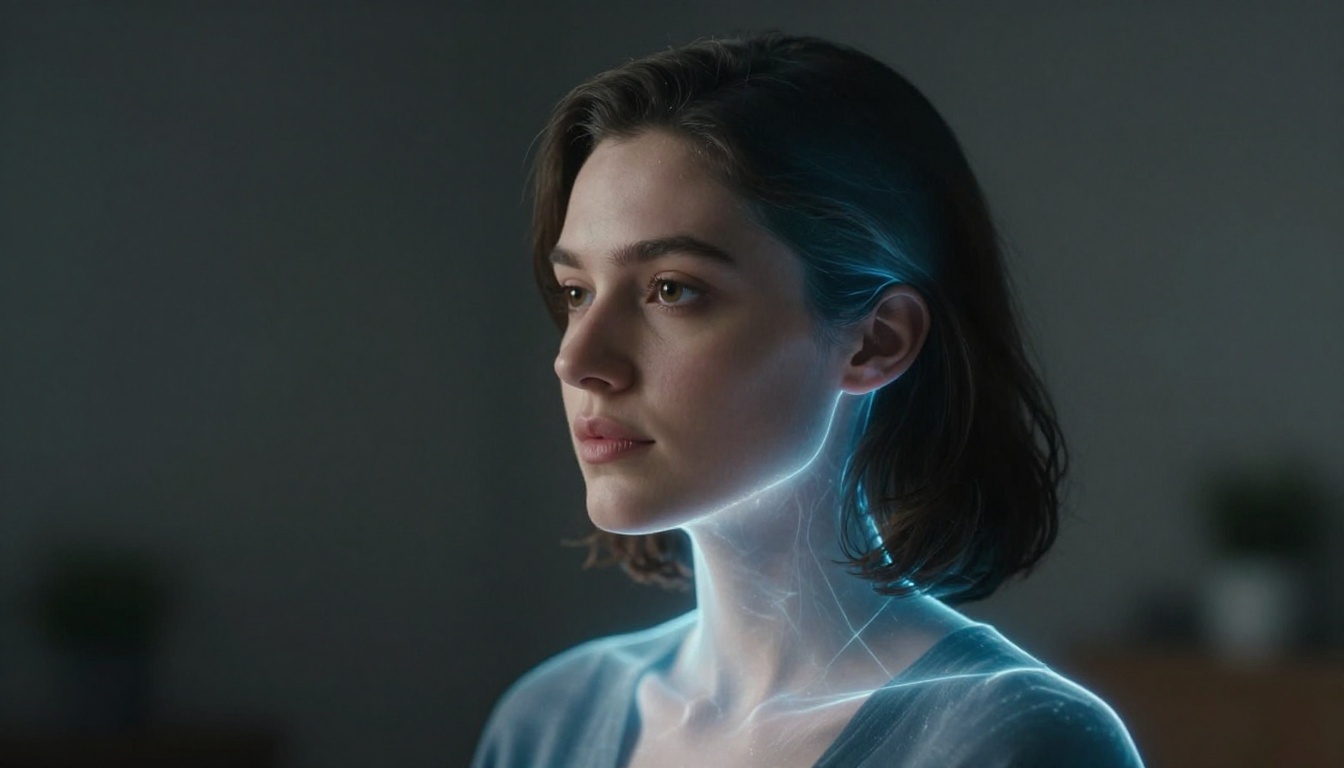
- Portrait hologram: A person's face or full body rendered as a floating transparent projection. Works well for profile cards, social media headers, and editorial photography.
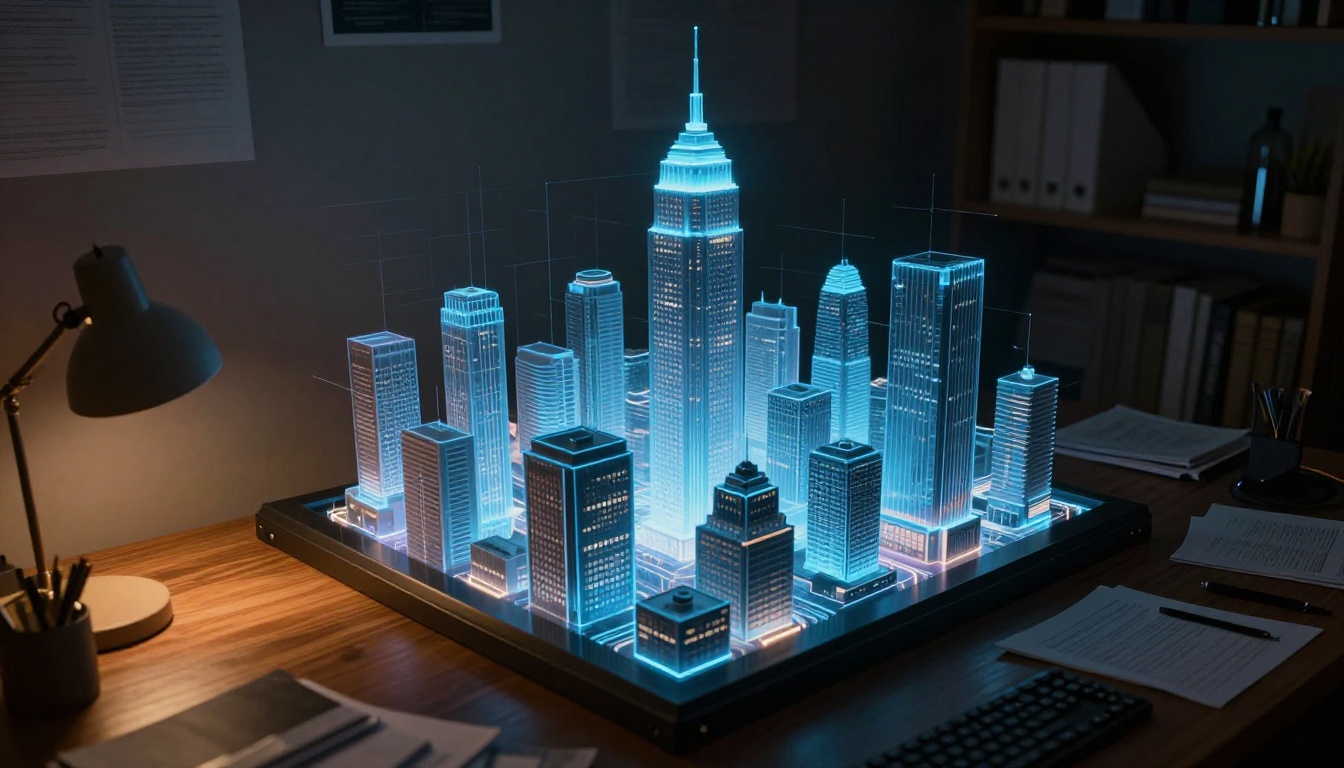
- Data visualization hologram: Abstract maps, city grids, or geometric structures projected in mid-air above a desk or in a cupped hand. Ideal for product mockups and tech-forward branding.
- Ghost silhouette: A human figure with the body mostly transparent and only the outline glowing. More minimal, works at any scale, and the fastest to generate successfully.
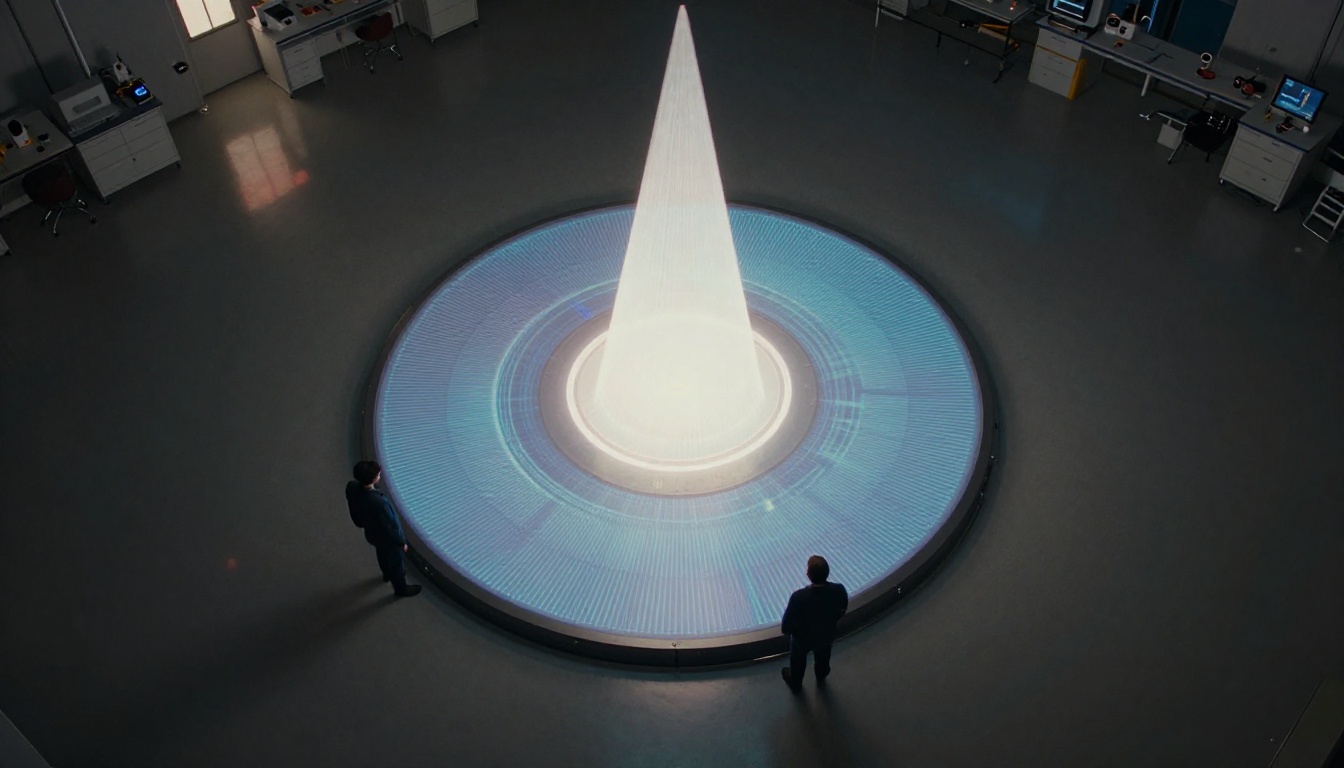
- Environmental projection: An entire landscape or cityscape projected as a hologram floating in a room. Strong for concept art and world-building visuals.
- Layered face close-up: A face split into multiple translucent planes at slightly different depths, creating a parallax holographic look. The most visually striking of the group and the most dependent on model quality.
💡 The ghost silhouette and layered face variations respond especially well to Flux 1.1 Pro Ultra because its high-resolution output preserves the fine edge details that make those effects convincing at full zoom.
Why Most Attempts Fail
Most hologram prompts produce disappointing results for three predictable reasons. Recognizing them before you generate saves significant iteration time.
Too Much Color Saturation
When you use words like "glowing blue", the AI oversaturates the hue and produces something that reads as a neon sign rather than a projected light form. Color descriptors need to be specific and restrained: ice-blue, pale cyan, cool white luminescence rather than bright blue glow or vivid electric light.
Wrong Background Choice
A white, grey, or naturally lit background destroys the holographic illusion immediately. The subject needs near-total darkness behind it. Be explicit in every prompt: surrounded by darkness, black studio background, no ambient light, pure shadow behind subject. If you are editing an existing photo, darken the background first using Qwen Image Edit Plus before applying the hologram effect.
Missing the Floor Reflection
A projected light form casts a glow onto the surface below it. Without this detail, the subject looks composited rather than projected. Always add polished floor reflecting the holographic light below or surface glow from projection base to anchor the figure physically in the space.
💡 For editing existing photos, Qwen Image Edit Plus lets you target just the background with a text instruction. Darken it separately before applying the hologram layer, rather than trying to accomplish both in one step.
Real Uses for This Effect
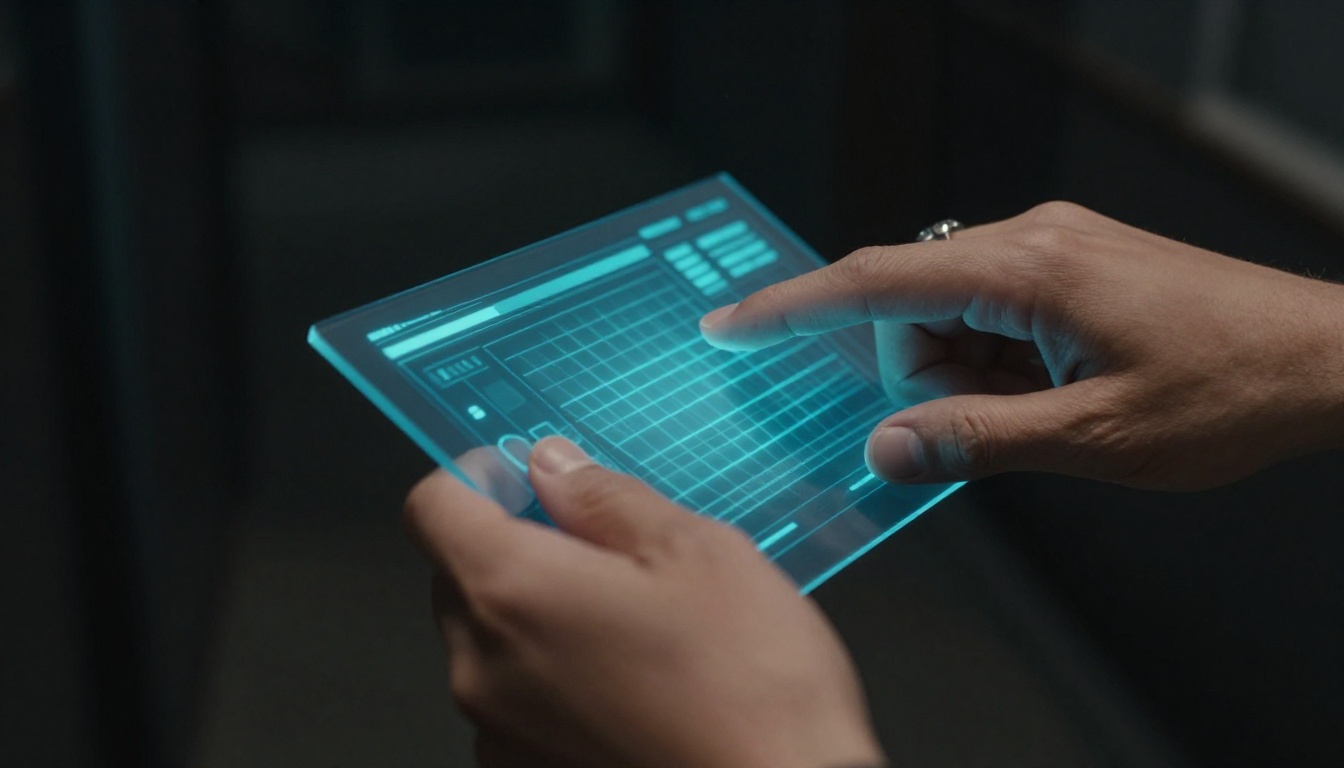
The hologram effect is not purely aesthetic. These are the contexts where it earns its place and communicates something specific:
| Use Case | What It Communicates | Recommended Model |
|---|
| Tech product mockups | Precision, innovation, cutting-edge positioning | Flux 1.1 Pro Ultra |
| Music and event visuals | Scale, spectacle, presence | Imagen 4 |
| Portrait photography | Artistic identity, editorial edge | PicassoIA Image |
| Brand concept art | Innovation, transparency as visual metaphor | Flux.1 Dev |
| Social media content | Novelty, visual stopping power in feeds | SDXL |
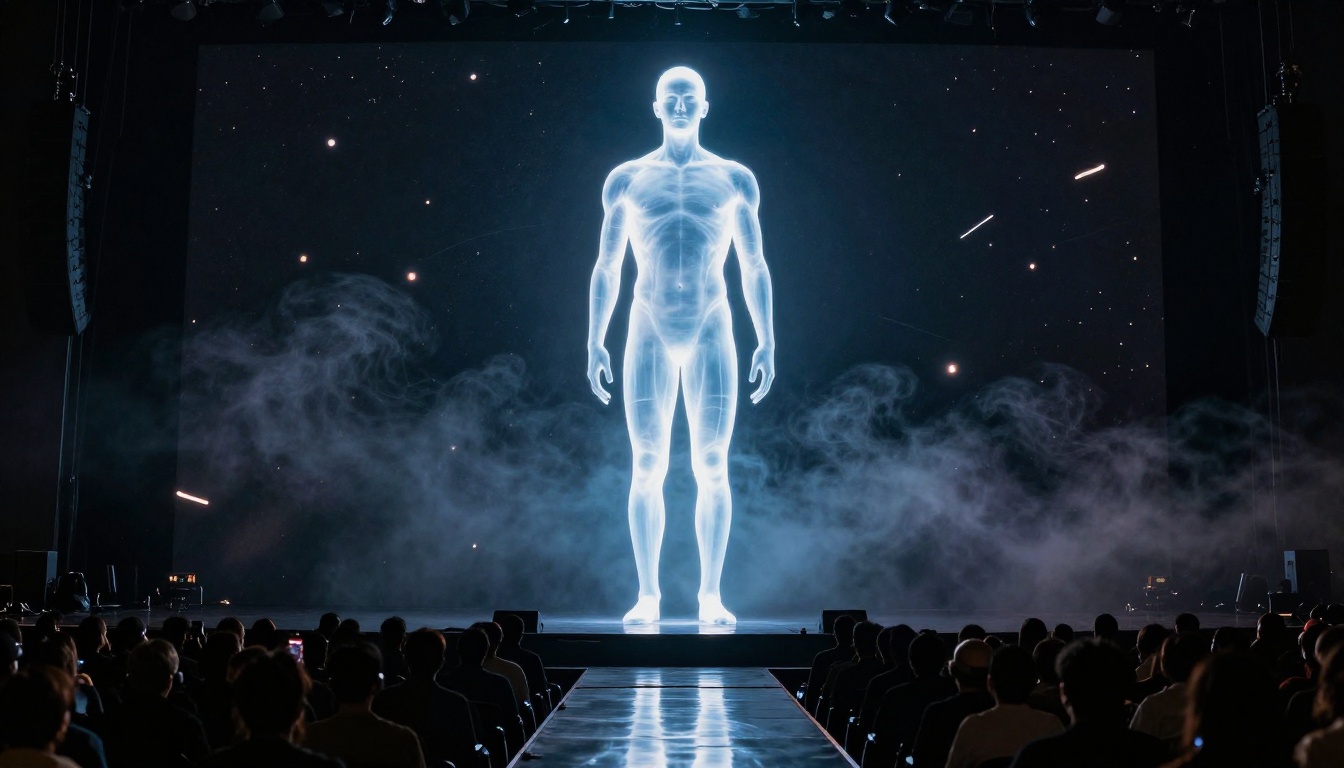
When the same visual has a clear purpose, the effect lands harder. A hologram portrait for a musician's release announcement reads differently from the same image placed without context. Let the use case drive decisions about transparency level, color temperature, and subject complexity. A data visualization hologram for a tech brand needs colder, more precise light than a fashion editorial hologram portrait.
The effect also scales well across output formats. At full resolution it works for print and editorial. At compressed web resolution the high-contrast dark background ensures the holographic quality reads even at thumbnail size, which matters more than most people realize when the image ends up in a social feed or article header.
Start Creating Yours
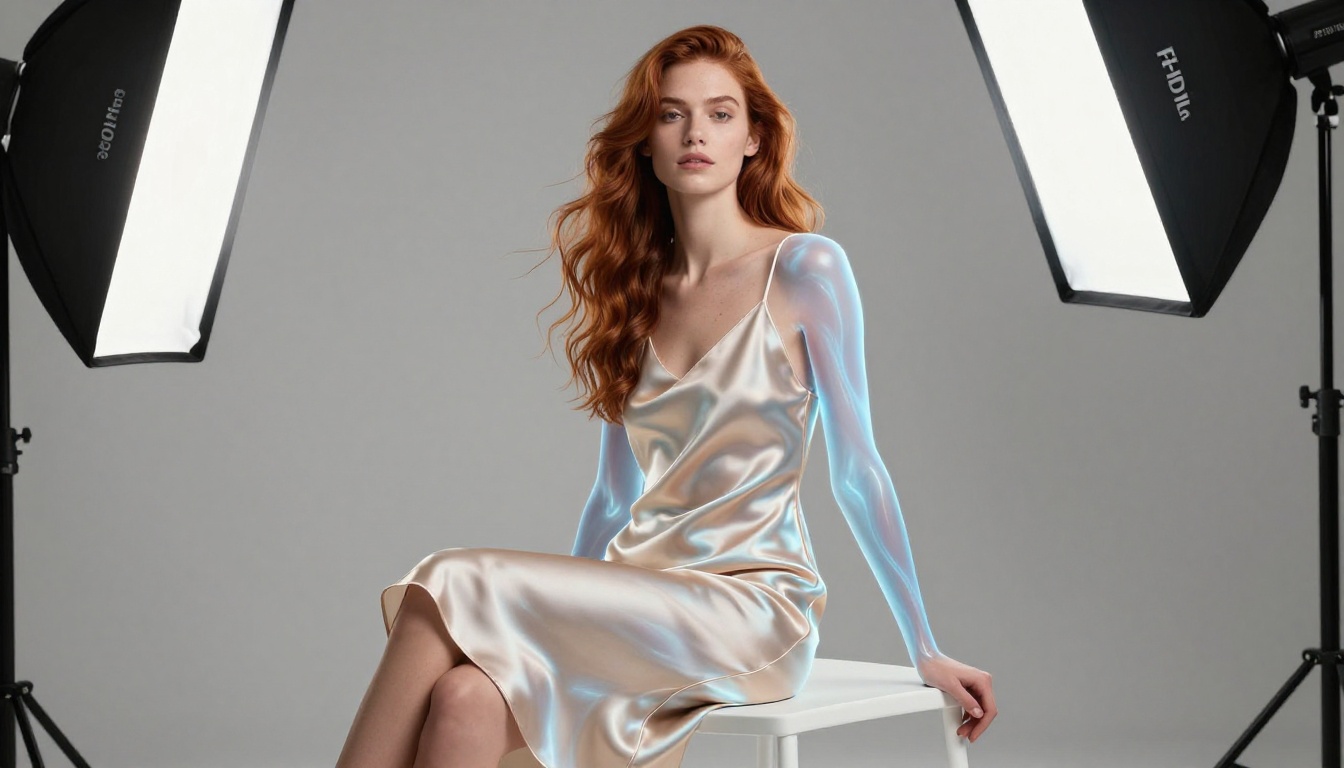
The hologram effect is one of the more rewarding AI image challenges precisely because it requires the prompt to work on multiple levels simultaneously: subject, light, physics, environment, and camera. When all four elements align, the result is immediately recognizable as something with real visual impact, and it does not read as generic AI output because the photorealistic light physics ground it in something that looks physically possible.
The best starting point is PicassoIA Image for a first-generation attempt from text. From there, Flux Kontext Max lets you dial in the specific effect on an existing photo without losing the original composition. Once you have a result you are satisfied with, Flux Redux Dev generates controlled variations so you are picking from a range rather than starting over each time.
Pick a subject, build the prompt using the four-part structure, set the ratio to 16:9, and run it. The first result will show you exactly which of the three failure points to address, and from there it is a short iteration loop to the image you actually wanted.


