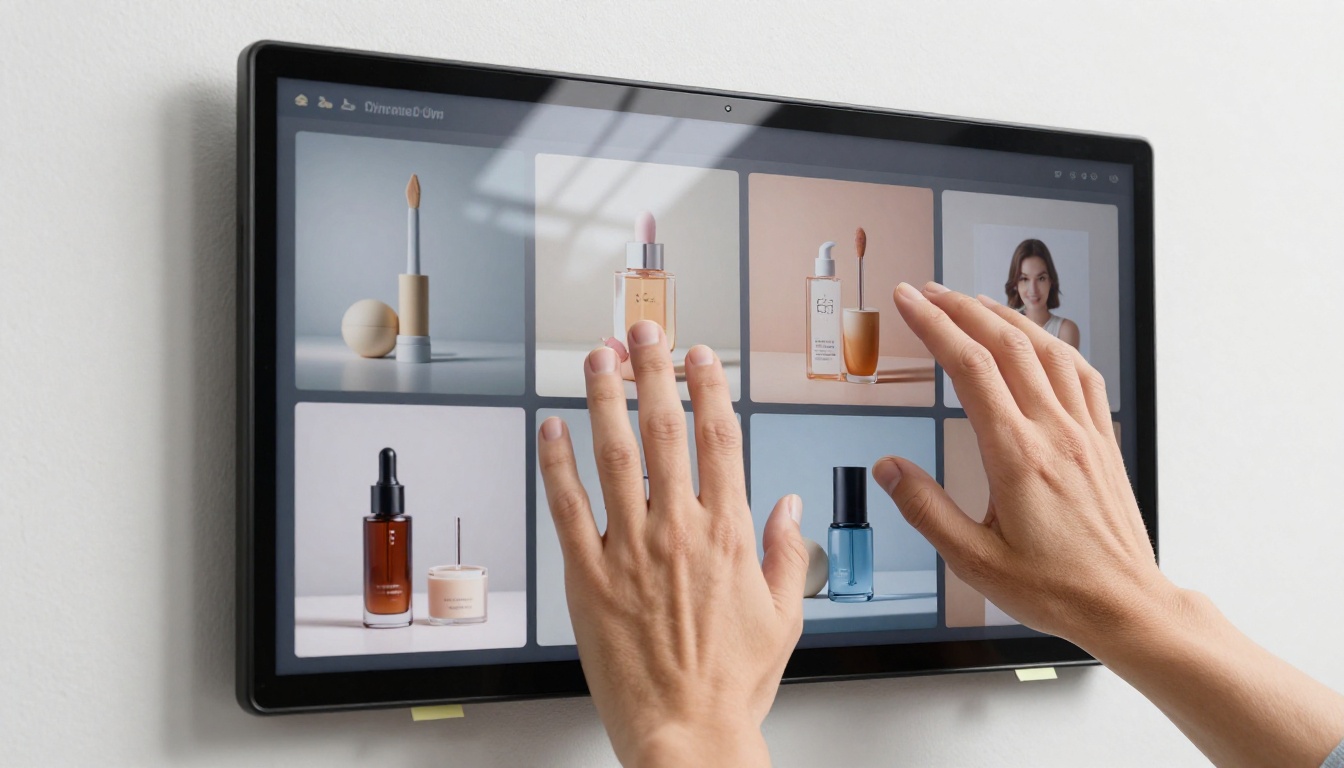
Running a full ad campaign used to mean booking photographers, renting studios, and spending thousands on assets. AI image generation has changed the math completely. This article shows you how to plan, generate, and deploy a full ad campaign using AI images across every format and channel, without a single photo shoot.
Running a full ad campaign used to require a production budget, a hired photographer, a studio rental, and at least three rounds of client revisions before you even got a usable asset. Today, you can generate an entire campaign's worth of photorealistic images in an afternoon. AI image generation has crossed the threshold where the output is genuinely ad-ready, and the teams and solo marketers who know how to use it are shipping campaigns at a pace that was simply impossible before.
This is the practical breakdown of how to actually do it: from planning your visual brief, to picking the right model for each asset type, to organizing everything into a deployable campaign that holds together across channels.
Why AI Images Changed the Cost of Advertising
The Production Budget Problem
Before AI image generation, a product photo shoot for a mid-size brand could run anywhere from $2,000 to $20,000 once you factored in the photographer day rate, location or studio fees, lighting equipment, props, and post-production retouching. A full campaign requiring 20 to 30 unique assets often meant choosing between quality and volume.
AI image generation collapses that cost structure entirely. The per-image cost drops to cents. The time from concept to usable asset drops from days to minutes. And crucially, you can iterate without financial penalty. If a visual direction isn't working, you try a different prompt, not a different vendor.
💡 The real ROI of AI image generation for ad campaigns is not just cheaper assets. It's the ability to test 10 visual directions in a single afternoon and only spend real money producing the one that performs.
Speed Without Sacrificing Quality
The concern most marketers have when they first start using AI images for ads is quality. Will it look real enough to put on a billboard? Will it hold up at large sizes? The answer, with the right models and the right prompts, is yes. Flux Dev and Flux 1.1 Pro produce images with the texture fidelity and lighting accuracy that traditional photography delivers. The outputs pass without a second look when placed in real ad contexts.
Planning Your Campaign Before You Generate Anything
Define Your Visual Language First
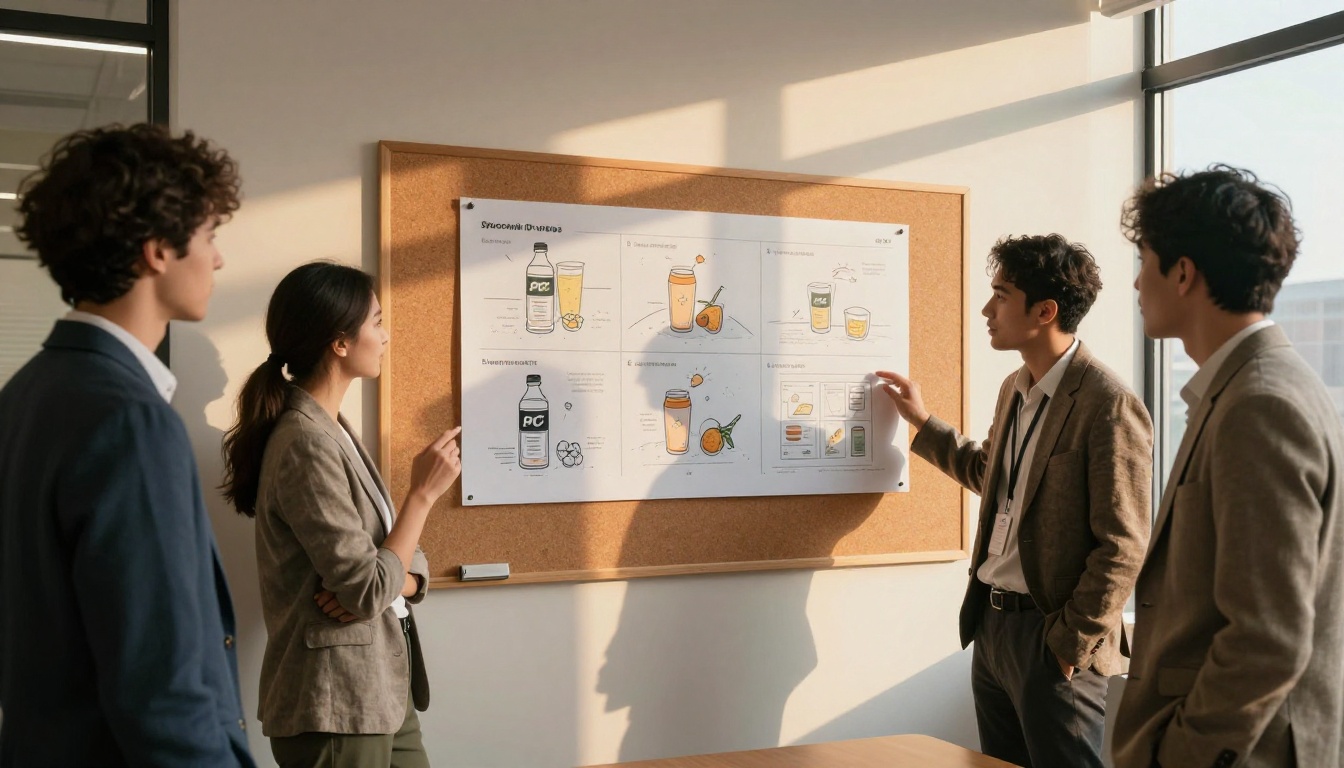
The biggest mistake people make with AI-generated ad campaigns is starting with image generation before they have a clear visual brief. The result is a collection of visually inconsistent assets that could not plausibly belong to the same brand.
Before you open any image generator, write down:
The campaign mood: Warm and intimate? Clean and clinical? Bold and high-energy?
The color palette: 2 to 3 dominant colors that all images should feature or complement
The subject matter: People, products, environments, or a combination
The lighting style: Natural daylight, studio strobe, golden hour, overcast
The camera aesthetic: Is this campaign editorial? Commercial? Documentary?
Once these are fixed, they become part of every prompt you write. Consistency at the prompt level creates consistency in the output.
Mapping Content to Ad Placements
Different ad placements have different visual requirements. A Facebook feed ad at 1200x628 pixels reads differently than a vertical Instagram story at 1080x1920. Plan your asset matrix before you start generating:
Placement
Ratio
Visual Priority
Meta Feed
1.91:1
Headline readability, product prominence
Instagram Feed
1:1
Aesthetic, brand color presence
Instagram Story
9:16
Full-bleed impact, vertical composition
Google Display
16:9
Clean background, product isolation
Email Header
3:1
Wide, simple, fast-loading composition
Billboard
14:4.5
Extreme horizontal, single focal point
This matrix tells you how many unique image generations you actually need and what the compositional constraints are for each.
Choosing the Right AI Model for Each Asset Type
Not every AI model produces the same kind of output. The choice of model is one of the highest-leverage decisions you make when building an ad campaign.
Flux Models for Photorealistic Product Shots
Flux Dev excels at photorealistic output with accurate lighting and surface texture. It handles product photography prompts particularly well because it respects physical lighting logic. If you describe a specific light source position, it places it correctly. If you describe a material, it renders the texture accurately.
Flux Pro raises that quality ceiling further for scenarios where output quality is the priority over generation speed. Use it for hero images, the main campaign visual, or any asset that will run at large sizes.
Flux Schnell is the fast iteration version. Use it during the prompt development phase when you are testing visual directions. Once you find a prompt that works, switch to Flux 1.1 Pro for the final output.
SDXL for Versatile Campaign Visuals
SDXL handles a wider stylistic range than the Flux models and is particularly strong when you need lifestyle and environmental shots where the scene matters as much as the subject. It also has strong support for ControlNet, which becomes important when maintaining compositional consistency across a series.
Stable Diffusion 3.5 for Creative Variety
Stable Diffusion 3.5 Large is a strong choice when your campaign calls for more conceptual or abstract visual directions. It interprets prompt language with more creative latitude, which can produce unexpected results that work well for brand awareness campaigns where stopping power matters more than product accuracy.
How to Use Flux Dev on PicassoIA
Flux Dev is available directly on PicassoIA and is one of the most effective models for producing ad-quality product and lifestyle photography. Here is how to get the best results.
Step 1: Write a Structured Prompt
The prompt structure that produces consistently strong ad images follows this format:
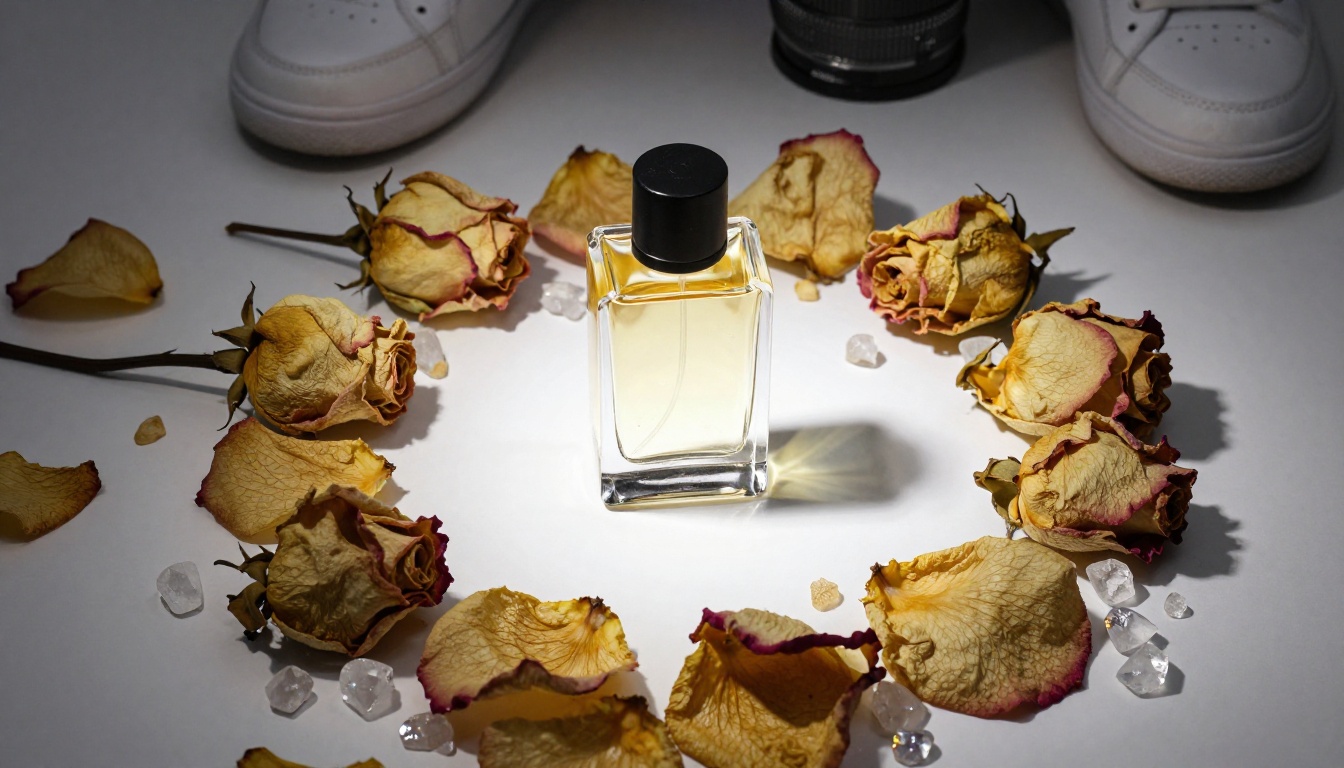
"A glass serum bottle with a matte white label sitting on a smooth marble surface, surrounded by fresh eucalyptus sprigs and water droplets on the marble, soft diffused studio light from directly above creating even shadowless illumination, shot on Hasselblad X2D with 80mm lens at f/4.0, glass surface showing light refraction and microscopic scratches, marble texture showing fine grey veining, photorealistic RAW 8K photography"
The more specific you are about physical properties (light direction, surface texture, lens focal length), the more photorealistic the output.
Step 2: Use the Right Aspect Ratio
PicassoIA lets you set the aspect ratio before generating. Match it to your target placement from the asset matrix above. Generating at 16:9 for a feed ad means you will need to crop or resize, which can cut important parts of the composition. Generate at the correct ratio from the start.
Step 3: Iterate Before Committing
Run 4 to 6 generations of each prompt before deciding on a final version. Slight variations in composition, lighting angle, and subject positioning occur between generations even with the same prompt. Choose the output that best fits the compositional requirements of that placement, then run it through Super Resolution if you need print-ready scale.
Building Each Ad Format
Hero Images and Banners
The hero image is the most important asset in any campaign. It sets the visual tone for everything that follows. For hero images, prioritize:
A single clear focal point (product or person, not both competing)
Negative space on one side for headline text overlay
Lighting that creates depth and dimension
A color temperature that matches your brand palette
Generate at 16:9 for web hero banners and at 1.91:1 for display ads. Use Flux Pro for the final hero image. Quality here sets expectations for the entire campaign.
Social Media Feed and Story Formats
Social feed images need to stop a scroll. That means high contrast between subject and background, vibrant color that stands out in a content stream, and a composition that reads clearly at thumbnail size.
For Instagram Stories and TikTok ads, the composition needs to work vertically. Generate at 9:16. Place the product or subject in the center third of the frame to avoid overlap with UI elements at top and bottom.
💡 Test your generated ad images by placing them in a real social feed mockup tool before finalizing. What looks great at full size often reads differently as a small card in a busy feed.
Email Headers and Product Showcases
Email headers favor wide, clean compositions. A 3:1 or wider aspect ratio forces you to simplify the scene. Product-on-surface shots work well here. Keep the background neutral so the email content below remains readable.
For product showcase images inside email bodies, 1:1 square formats with clean white or light neutral backgrounds give you maximum flexibility for layout.
Maintaining Brand Consistency at Scale
Creating a Prompt Template
The fastest way to maintain visual consistency across dozens of generated images is a prompt template. This is a base prompt that contains all your fixed visual language elements, with variable slots for the specific subject or scene.
Example template for a beauty brand:
"[SUBJECT DESCRIPTION], [ENVIRONMENT], warm volumetric morning light from the left casting long soft shadows, shot on Canon EOS R5 with 85mm f/1.8 lens, [TEXTURE DETAILS], Kodak Portra 400 film grain, photorealistic RAW 8K photography, muted warm color grade with cream highlights"
Every image generated with this template will share the same lighting direction, camera aesthetic, film emulation, and color grade. The subjects and environments change. The visual language stays locked.
Using ControlNet for Structure Control
When you need multiple images that share the same composition, such as a before-and-after pair or a product series where each product sits in exactly the same position, ControlNet gives you positional control that prompt language alone cannot provide. Available through SDXL, it lets you feed a reference image and constrain the output to match its structural layout while generating completely new visual content.
This is particularly useful for retail product campaigns where 10 different products need to appear in the same environment shot with identical framing.
From Images to a Full Campaign
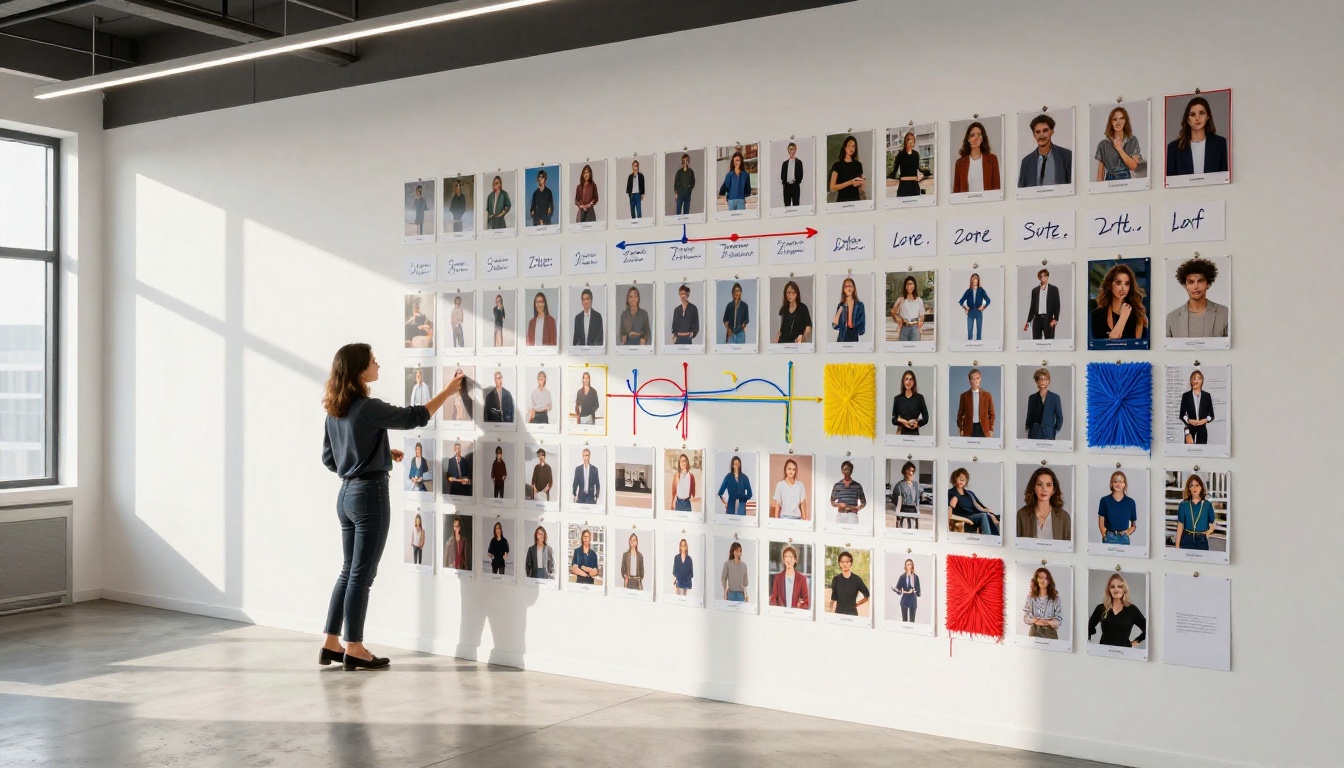
Organizing Assets by Channel
Once you have generated your full image set, organize them by channel before sending anything to a designer or uploading to an ad platform. A clear folder structure prevents errors:
Label every file with its placement, dimensions, and version number. Ad platforms have specific technical requirements and the wrong file in the wrong folder is an expensive mistake.
Adding Super Resolution for Print-Ready Files
AI image generators typically produce output at resolutions that work for digital placements but fall short for large-format print. If your campaign includes any print formats (posters, billboards, event signage), run those files through Super Resolution on PicassoIA before sending them to print. It upscales 2x to 4x while preserving and enhancing edge sharpness, which means your AI-generated images can genuinely work at billboard scale.
The Full Campaign Checklist
Before you launch, run through this checklist to make sure your AI-generated campaign is actually ready:
All images generated at the correct aspect ratio for each placement
Visual language (lighting, color grade, camera aesthetic) consistent across all assets
Hero image verified at full resolution with no visible artifacts
Print-format images processed through Super Resolution
All assets organized by channel and labeled correctly
Ad copy text fits cleanly over the designated negative space in each image
Social assets tested in feed mockups at actual display size
A/B variants ready (at least 2 per placement for performance testing)
The barrier to a professional, visually cohesive ad campaign is no longer budget or access to a photography team. It is knowing how to write a prompt that produces the image you actually need. That skill develops quickly with practice.
PicassoIA gives you direct access to Flux Dev, Flux 1.1 Pro, Flux Pro, SDXL, Stable Diffusion 3.5 Large, and 90+ other text-to-image models in one place, along with tools for super resolution, background removal, and image restoration that round out a full ad production workflow.
Pick a campaign you have been putting off because of production cost. Write out your visual brief. Start with one prompt for your hero image. The rest of the workflow follows from there.