That old cassette recording of your grandfather's voice. The interview captured on a 1970s reel-to-reel. The concert bootleg that survived three decades in a shoebox. These files carry history, but the noise that comes with them, tape hiss, electrical hum, ambient rumble, and analog crackle, makes them hard to listen to and nearly impossible to use professionally. AI denoising has changed that completely. What once required a professional mastering studio and thousands of dollars in equipment can now be done on a laptop in under an hour. This article walks through exactly how.
What Ruins Old Audio
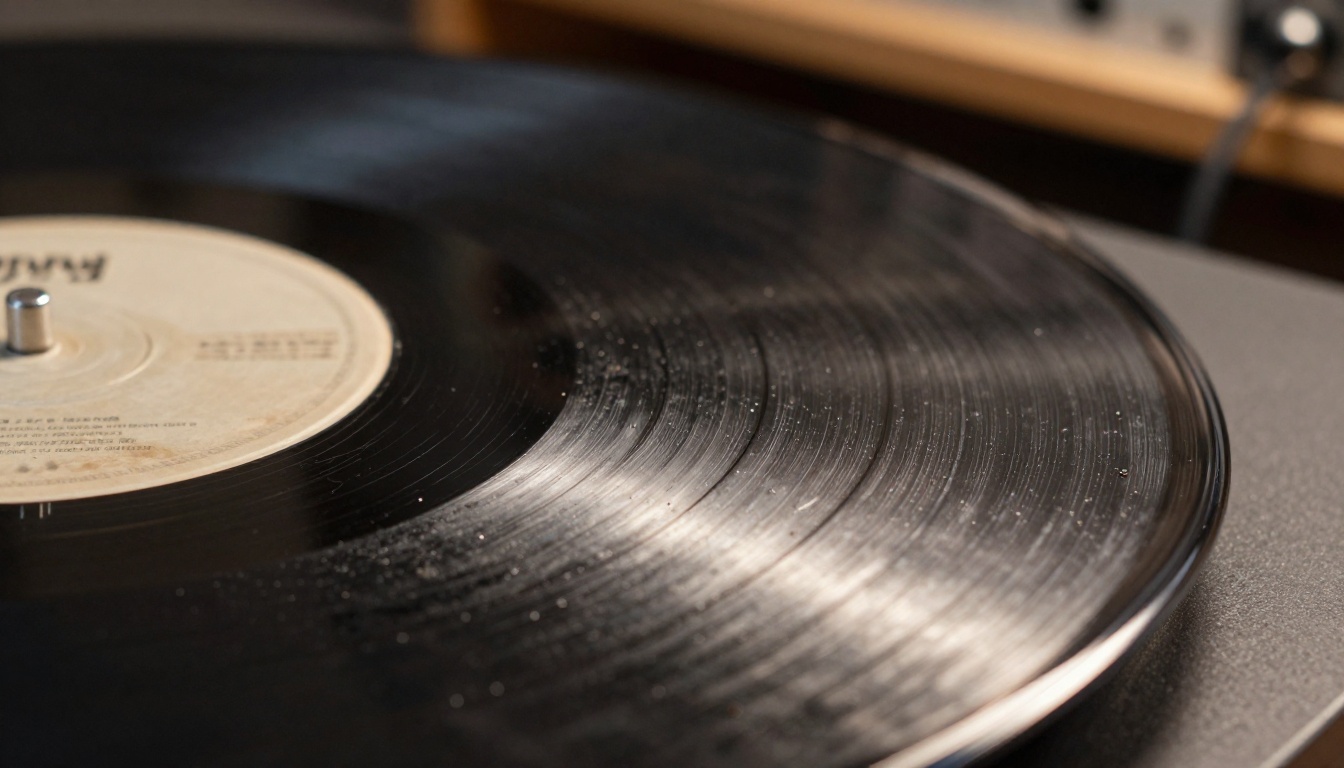
The 3 Types of Noise in Vintage Recordings
Not all noise is the same, and knowing what you're dealing with changes how you approach the fix.
Broadband noise (also called white noise or tape hiss) is the most common problem in old recordings. It's the constant "ssssh" sound that lives beneath every second of audio on magnetic tape. The older the tape, the worse it gets as the magnetic oxide layer degrades over decades of storage.
Tonal noise is a fixed-frequency hum, usually 50Hz or 60Hz depending on the electrical grid of the country where the recording was made. It comes from poorly shielded equipment picking up power line interference. It has a distinct, almost musical quality that stands out from the rest of the signal, and it's particularly stubborn because it often sits right in the middle of the vocal frequency range.
Impulse noise shows up as crackles, pops, and clicks. Vinyl records are notorious for this, but it also appears in recordings where equipment experienced sudden electrical surges, physical handling, or deteriorated tape splice points.
| Noise Type | Source | Sound Character |
|---|
| Broadband/Tape Hiss | Magnetic tape degradation | Constant "ssssh" |
| Tonal Hum | Electrical interference (50/60Hz) | Steady low drone |
| Impulse Noise | Physical damage, electrical spikes | Pops, clicks, crackle |
| Room Noise | Ambient environment bleed | Constant background wash |
Why Manual Editing Falls Short
Traditional noise reduction in digital audio workstations like Audacity or Pro Tools works by sampling a section of "noise only" audio and then applying that noise profile across the entire file. It works reasonably well for simple broadband noise but falls apart fast when:
- The noise profile shifts throughout the recording
- The noise overlaps spectrally with the voice or instrument you want to preserve
- Multiple noise types are layered on top of each other
- The original recording is already low in dynamic range
Manual editing also requires hours of careful work. Getting parameters wrong by even small increments creates artifacts, the dreaded "underwater" effect where voices sound processed and hollow, stripped of their natural resonance.
How AI Denoising Actually Works
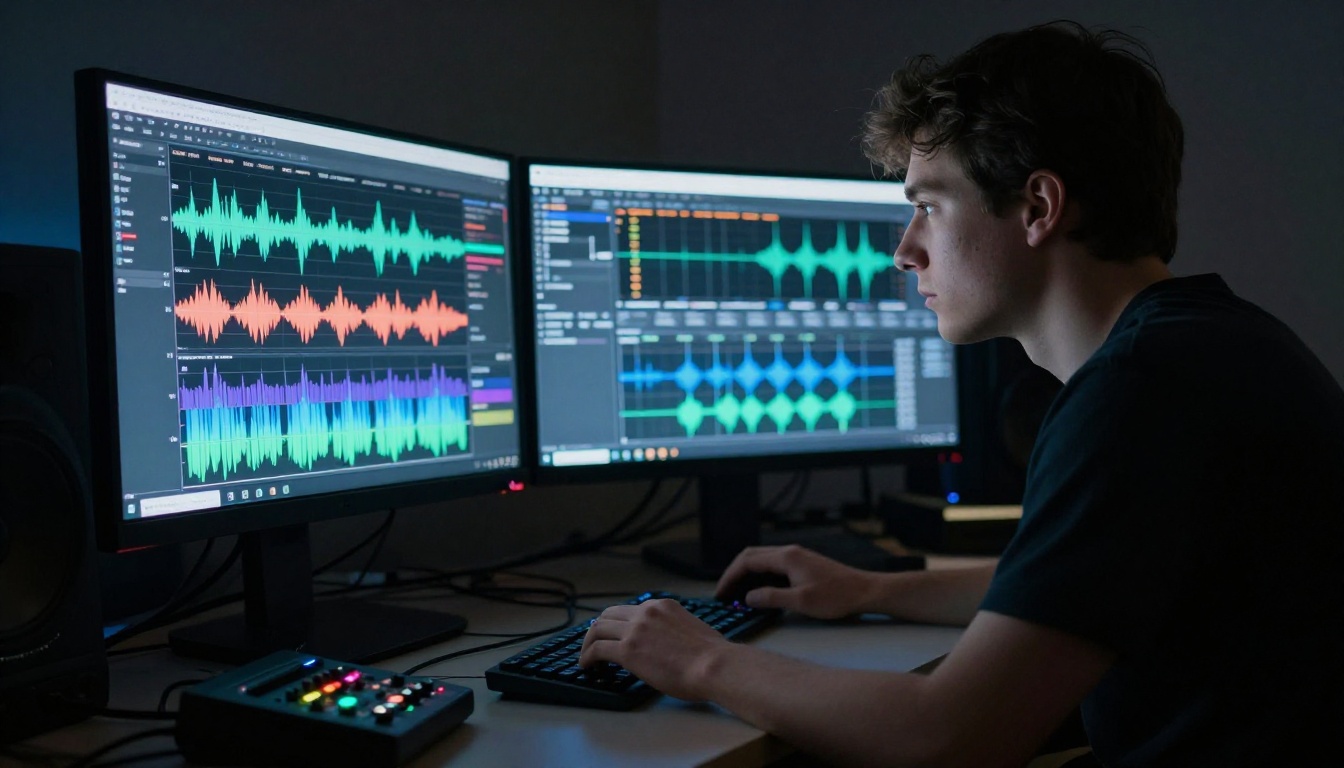
This is where things get genuinely interesting. AI-based audio restoration doesn't just apply a static filter. It listens and makes informed decisions about what to keep and what to remove.
Spectral Analysis vs. Deep Learning Models
Classical tools use spectral subtraction: they analyze the frequency spectrum of a noise profile and subtract it from the full signal. The math is straightforward, but the results are mechanical. The tool doesn't "know" what a voice sounds like. It simply subtracts frequencies without judgment about what belongs to the signal and what belongs to the noise.
Modern AI models are built on millions of hours of clean and noisy audio pairs. They absorb, at a deep statistical level, what speech sounds like, what music sounds like, and what noise looks like in a spectrogram. When you run a file through a trained model, it isn't doing subtraction. It's doing reconstruction.
The model identifies which parts of the signal are most likely to be noise, which are most likely to be speech or music, and regenerates the audio accordingly. The result is dramatically cleaner, with far fewer processing artifacts. This is why AI tools consistently outperform traditional methods on complex, multi-layered recordings.
The Difference Between Noise Reduction and Noise Removal
This distinction matters for practical use:
Noise reduction lowers the volume of noise without fully eliminating it. The hiss is still present, just quieter. This is the safer approach for musical recordings where aggressive processing can strip out harmonics and warmth that define the original character.
Noise removal (what modern AI models do at full strength) attempts to completely isolate and delete the noise signal. At 100% intensity, this can give voices a slightly processed quality. The sweet spot for most restorations sits around 60-80% intensity, preserving naturalness while delivering a clean output.
💡 For speech recordings, push the noise removal harder. For music, keep some of the original texture to preserve warmth and overtones.
The landscape of AI audio tools has expanded rapidly over the past two years. Here are the categories and specific tools worth knowing.
Free vs. Paid Options
Free tools like Adobe Podcast Enhance (web-based) and Audacity with the RNNoise plugin offer solid results for speech recordings. They're limited in maximum file length, don't handle music well, and often require multiple passes to achieve professional results. For a quick cleanup of a short recording, they're entirely adequate.
Paid plugins like iZotope RX 11, Accusonus ERA Bundle, and Waves Clarity Vx Pro are the industry standard for professional restoration work. They offer batch processing, stem-specific denoising, and precise control over the restoration algorithms. iZotope RX is the closest thing the audio restoration world has to a universal standard tool.
AI-first cloud platforms are the newest category. These services accept an audio file, run it through a neural network in the cloud, and return a cleaned version without requiring any technical knowledge or software installation. LALAL.AI, Descript, and Podcastle all fall into this space.
| Tool Category | Examples | Best For | Cost |
|---|
| DAW Plugins | iZotope RX 11, Waves Clarity | Professional archive restoration | $99-$499 |
| Web-Based AI | Adobe Podcast, Podcastle | Quick speech cleanup | Free-$15/mo |
| Cloud AI | LALAL.AI, Descript | Mixed-source file restoration | $15-$40/mo |
| Open Source | Audacity + RNNoise | Basic broadband noise only | Free |
What to Look for in a Denoising Tool
Before choosing a tool, match it to your specific use case. These are the criteria that separate adequate from excellent:
- File format support: WAV and FLAC preserve quality throughout processing. If a tool only accepts MP3, you lose data through compression before the AI even starts working.
- Batch processing: Essential if you're restoring an archive of dozens or hundreds of files.
- Stem separation: Advanced tools isolate vocals from instruments before denoising each separately, which dramatically improves music restoration quality.
- Real-time preview: You need to hear the effect before committing to a destructive export. Any professional-grade tool includes this.
- Artifact detection: The best tools flag when they've introduced processing artifacts rather than leaving you to discover them on playback.
- API or automation support: For large archives, the ability to script batch jobs saves hours of manual processing time.
Step-by-Step: Denoise a Recording with AI
The actual workflow is more straightforward than most people expect. Five steps, executed in the right order, produce professional results consistently.
Prepare Your Audio File
Before touching any denoising software, spend five minutes on file preparation. This single step has more impact on final quality than any parameter adjustment inside the tool itself.
- Export at the highest quality available from your source. If digitizing from tape, capture at 24-bit/96kHz minimum.
- Do not normalize before denoising. Normalization raises the entire signal level, which raises the noise floor with it, making the AI's job harder.
- Trim silence from the start and end. This gives the tool a cleaner signal boundary to work with.
- Make a backup copy before processing. Always keep the original unprocessed file. AI restoration is impressive but not reversible once you've overwritten the source.
- Check for DC offset. Old recording equipment sometimes introduces a slight DC offset in the waveform that causes problems in processing. Most DAWs can remove this automatically in a single step.
Choose the Right Tool for Your Noise Type
Different noise types respond best to different approaches:
- Tape hiss only: Any broadband noise reduction tool works well. Start at 50% reduction and increase in small increments until the hiss disappears without introducing artifacts.
- 60Hz electrical hum: Apply a notch filter set precisely to 60Hz (or 50Hz for European recordings) before running AI denoising. The AI performs significantly better when obvious tonal noise is already addressed first.
- Vinyl crackle and pops: Use a dedicated click/pop removal pass first, then apply broadband noise reduction as a second pass.
- Multiple noise types layered: Process in order: clicks first, hum second, broadband last. Reversing this order produces noticeably inferior results.
Fine-Tune the Output
After the initial AI pass, resist the urge to export immediately. These steps make a substantial difference:
- A/B the original against the cleaned version at multiple points throughout the file. Listen specifically for artifacts: over-smoothed consonants in speech, missing transients in percussion, hollowness in piano notes.
- Adjust the reduction amount rather than running a second full pass. A second pass amplifies any artifacts introduced by the first.
- Apply a gentle high-shelf boost at 8-12kHz after denoising. Noise reduction tends to soften the top end. A subtle boost of 1.5-2dB restores perceived clarity and air.
💡 Export your final file as FLAC or WAV, not MP3. You've just restored quality, don't discard it in a lossy final export.
After Denoising: What Comes Next
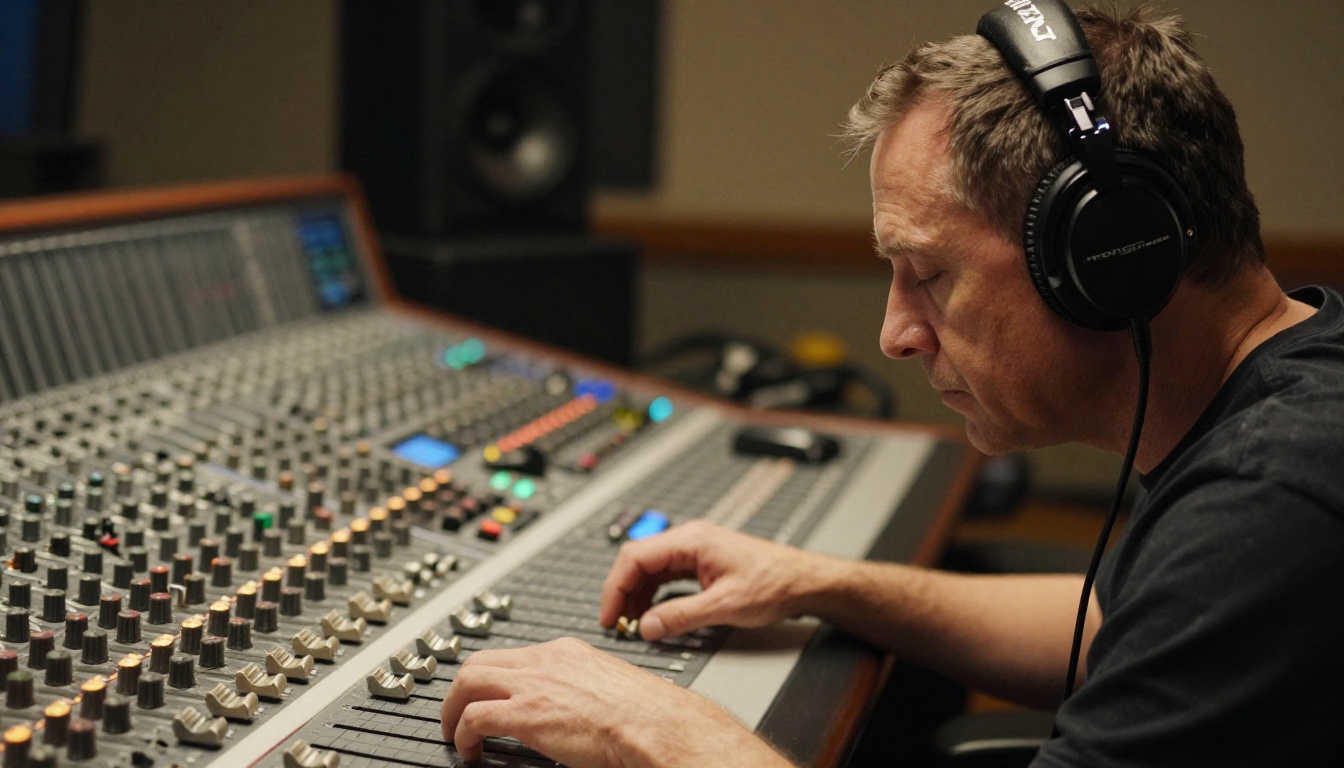
A clean audio file opens up workflows that simply weren't possible with the noisy original.
Transcribe Your Restored Audio
This is where the process becomes genuinely valuable for archivists, journalists, researchers, and documentary makers. A denoised recording can be fed directly into speech-to-text AI with dramatically higher accuracy than the same model would achieve on the noisy source file.
On PicassoIA, GPT-4o Transcribe handles restored speech with strong accuracy across accents and dialects, producing clean time-stamped transcripts in minutes. For multilingual archives, Granite Speech 4.1 2B by IBM supports six languages and processes audio with remarkable precision on restored recordings. Gemini 3 Pro handles long-form audio files with consistent accuracy, making it the right choice for hour-long interviews, oral histories, or documentary recordings.
The combination of AI denoising followed by AI transcription can turn a crackling, barely audible cassette from 1978 into a searchable, citable text document in under an hour.
Restore Old Video Alongside the Audio
Many old recordings exist as part of video files: home movies from the 1980s, recorded lectures from VHS, archival documentary footage. Once you've restored the audio track, the visual side deserves the same treatment.
PicassoIA's Crystal Video Upscaler and Video Upscale by Topaz Labs use frame-by-frame AI processing to sharpen, clean, and upscale old footage to 4K resolution. Combining audio denoising with video upscaling produces a full restoration that makes archival material genuinely watchable and shareable.
Common Mistakes That Ruin the Process
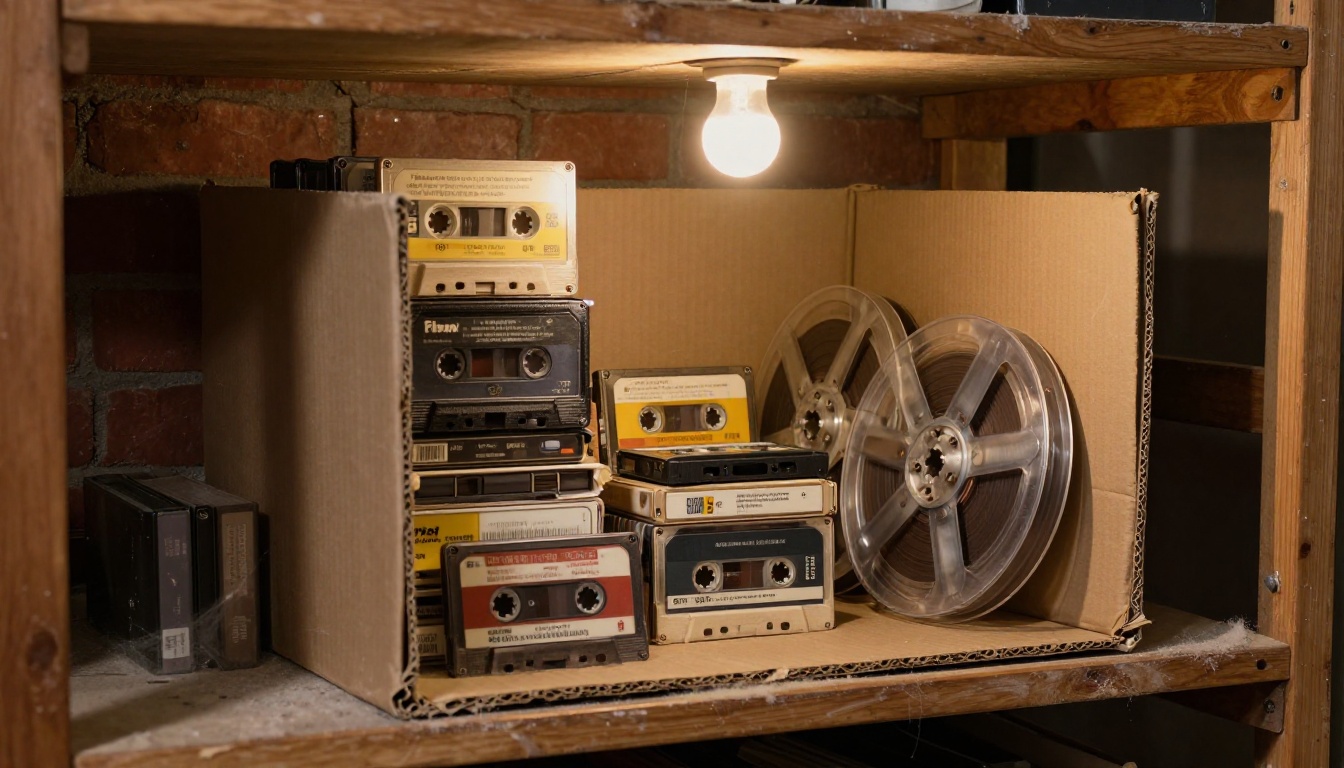
Over-Denoising
The most common error, and the hardest to notice while you're in the middle of the work. When you push noise reduction too aggressively, the AI starts removing signal that resembles noise but isn't. Voices develop a watery, robotic quality. Piano notes lose their natural decay. Acoustic guitars sound like they're being played in a sealed container, stripped of the room reflections that gave them life.
The principle: use the minimum amount of noise reduction that makes the recording comfortable to listen to. Perfect silence is not the goal. Listenability is.
Wrong File Format Input
Running an MP3 through an AI denoiser is a common beginner mistake with predictable results. MP3 compression creates its own artifacts, a form of ringing and pre-echo around transients. When you then apply noise reduction, the tool attempts to process both the original noise and the compression artifacts simultaneously. The result is almost always worse than using a lossless source.
If your only available source is MP3, the workflow changes: accept that some compression artifacts will remain, reduce the noise reduction intensity by 20-30% compared to what you'd use on a lossless file, and prioritize clarity of speech over technical perfection.

Stack Tools Strategically
No single tool solves every problem. Professional restoration engineers routinely chain multiple tools in sequence, each handling the specific noise type it's best designed to address. The order of operations matters enormously.
A practical restoration chain for a typical old cassette recording:
- Declicker: Remove pops and clicks first, before any other processing
- Dehum: Apply a notch filter at 50Hz or 60Hz to address electrical hum
- Broadband AI denoiser: Primary noise floor reduction pass
- EQ: Subtle high-shelf boost to restore clarity lost in denoising
- Limiter: Optional final step to control peak levels before export
Each step addresses one specific problem without interfering with the work the other tools are doing. The cumulative result is dramatically cleaner than any single tool could produce alone.
Reference Track Method
Before starting any processing, find a professionally recorded piece of audio in the same genre as your restoration target. A clean 1960s jazz recording if you're restoring jazz. A clean interview from the same era if you're working on oral history. A clean acoustic guitar recording if you're restoring a folk archive.
Keep this reference track open in your DAW and regularly compare it against your restoration in progress. This prevents reference fatigue, the condition where, after an hour of listening to noisy audio, anything sounds clean by comparison. Regular exposure to a known-good reference keeps your judgment calibrated.
💡 Your ears adapt to noise faster than you think. Take a 10-minute break every 45 minutes during restoration work. Fresh ears catch artifacts that fatigued ears consistently miss.
Transcribe and Repurpose Your Restored Audio
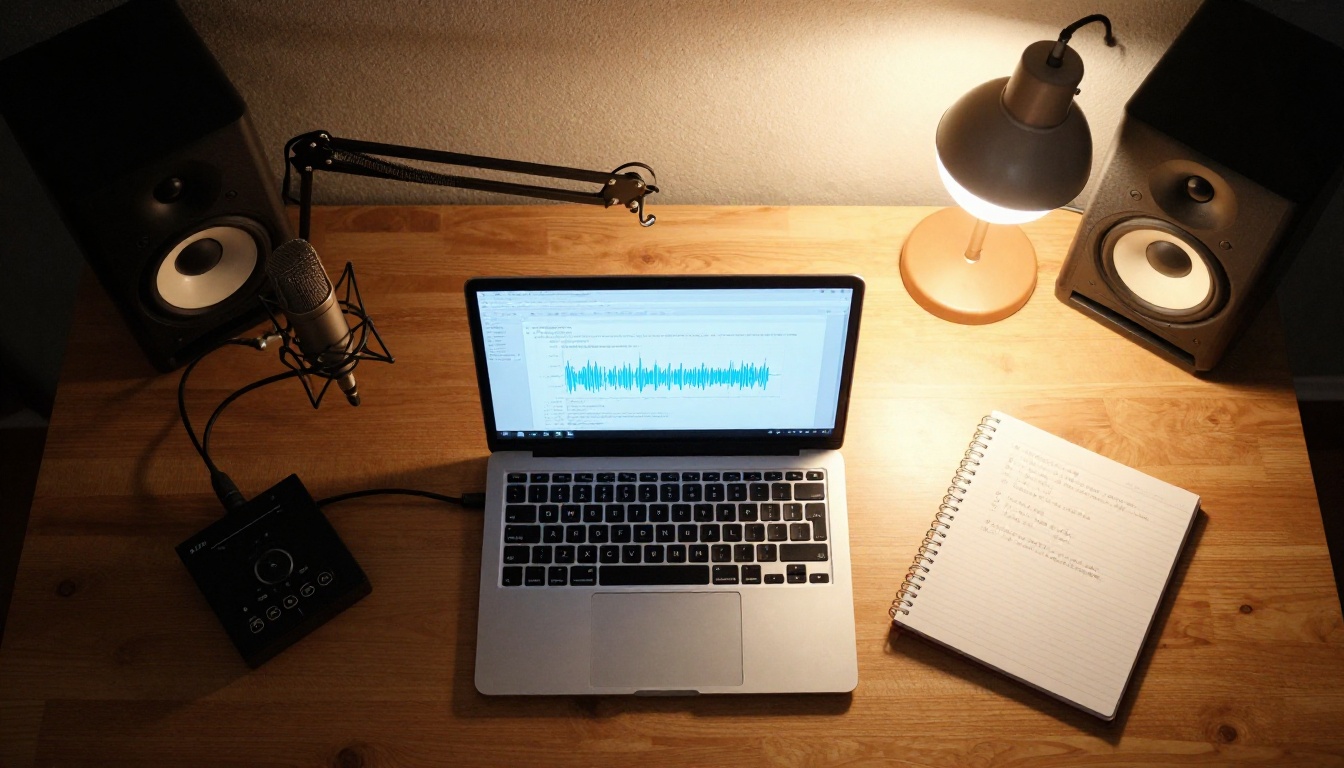
Once the audio is clean, the possibilities multiply. A restored recording can become many different things, each valuable in its own right:
- A podcast episode ready for direct distribution without further processing
- A transcribed oral history suitable for archival, publication, or academic citation
- A voiceover track for documentary or educational video production
- Source material for journalism where audio clarity affects the credibility of the piece
- A remastered album release from an old live performance that never got a proper release
The workflow that makes all of this possible starts with a single clean file. That's what AI denoising provides: the clean slate that all subsequent work depends on. The tools to produce that clean slate have never been more accessible or more capable.
What's worth noting is how the combination of AI denoising and AI transcription changes what's possible for archivists working at scale. An institution sitting on 500 hours of oral history recordings from the 1970s, previously too noisy to transcribe reliably, can now process the entire collection in days rather than years. The recordings don't just become listenable. They become searchable.
Bring Your Old Recordings Back to Life
Everything covered in this article points to one practical reality: AI has made professional-quality audio restoration available to anyone with a computer and a recording worth preserving. You don't need a mastering studio, decades of training, or expensive hardware to produce results that would have required all three a decade ago.
The recordings sitting in that archive box haven't degraded beyond recovery. The hiss, the hum, the crackle, these are problems AI now solves routinely. Start with the right file preparation, use the right tool for each noise type, process in the correct order, and resist the urge to over-process. The recording that comes out on the other side will surprise you.
On PicassoIA, the next step after restoration is ready and waiting. Bring your cleaned audio file to GPT-4o Transcribe for fast, accurate transcription. Use Granite Speech 4.1 2B for multilingual archives spanning six languages. Hand off hour-long recordings to Gemini 3 Pro for long-form transcript generation. If the recording comes with video, run the footage through Crystal Video Upscaler or Video Upscale by Topaz Labs for a full audio-visual restoration that does justice to the original material.
The recordings worth keeping deserve the work. The tools are ready when you are.


