You don't need a $500 camera to look sharp on video calls. The real problem isn't your hardware. It's what happens to your footage after the sensor captures it. Compression artifacts, poor lighting response, sensor noise, and aggressive encoding all strip away detail before the image ever reaches the other person's screen. AI changes that equation entirely, and it's more accessible than most people realize.
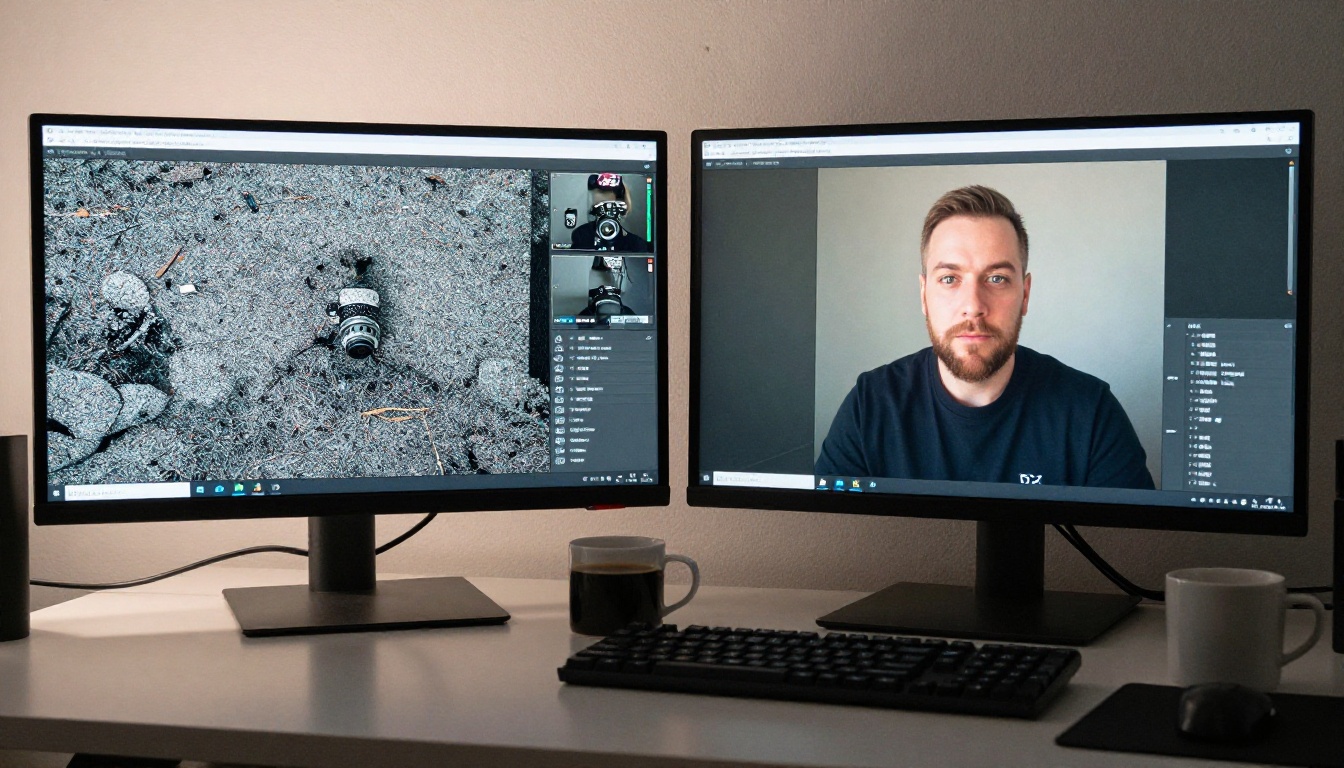
Most people blame their webcam. That's rarely the actual issue.
The Resolution Problem Is More Complex
A 1080p webcam sounds impressive, but consumer sensors rarely deliver true 1080p detail. The image signal processor inside the camera applies heavy sharpening, noise reduction, and compression that softens edges and smears fine detail. By the time your footage reaches a video call platform, it's been encoded again, losing another generation of quality. What started as a 1080p capture can look like 480p on the receiving end.
Low Light Destroys Quality Fast
Camera sensors hate low light. When the environment is dim, your webcam cranks up the ISO equivalent, which floods the image with chroma and luminance noise. Fine detail gets buried under a layer of grain. AI noise reduction algorithms, unlike traditional filters, analyze the structure of the image rather than just blurring pixels together. The result is dramatically cleaner footage that retains edge detail.
Compression Makes Everything Worse
Video call apps like Zoom, Google Meet, and Teams apply their own compression on top of whatever your webcam outputs. A constrained upload bandwidth setting can drop your video bitrate so low that faces become blocky and motion creates visible artifacts. AI upscaling applied after recording can recover significant detail from compressed footage.
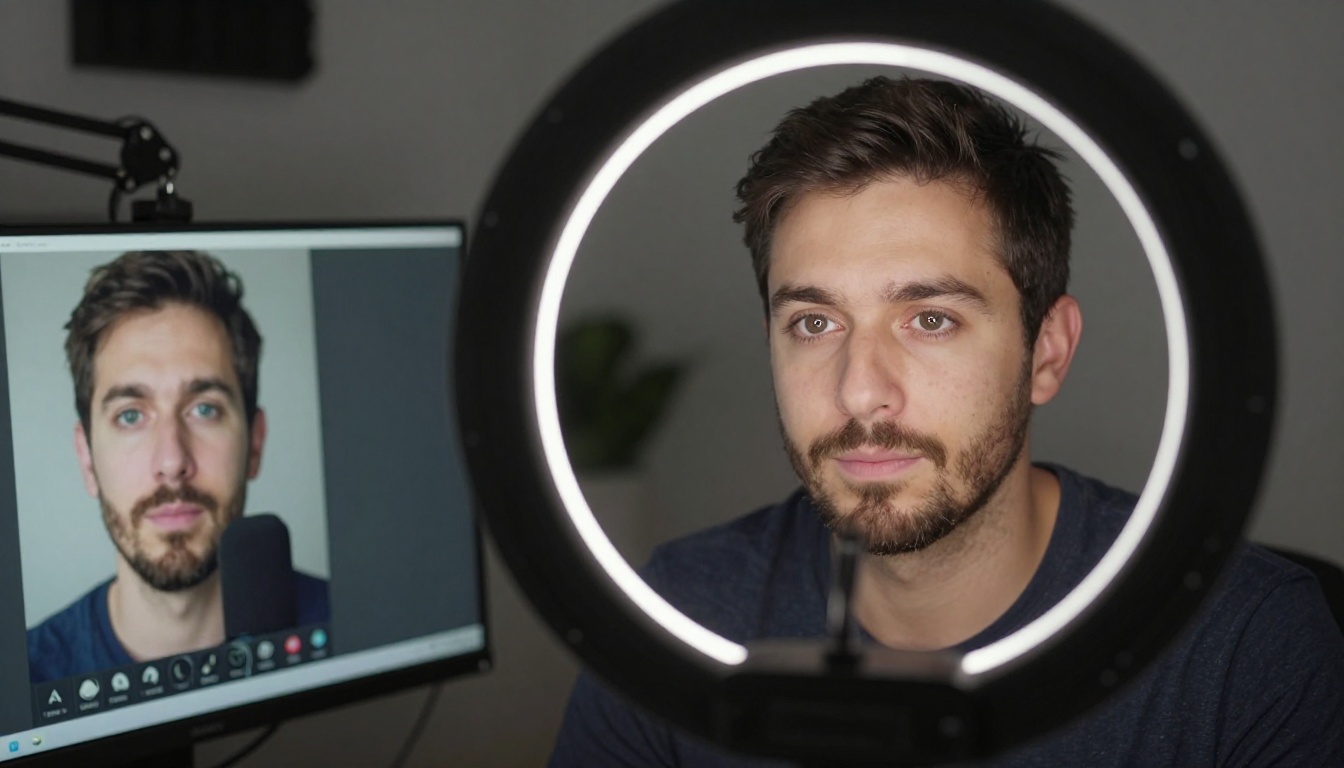
What AI Actually Does to Your Video
It's worth being specific about the mechanisms here, because not all AI processing is the same.
Upscaling vs. Sharpening
Traditional sharpening increases edge contrast, which can make footage look crisper but introduces halos and doesn't add real detail. AI upscaling, by contrast, uses neural networks trained on millions of image pairs. The model learns what high-resolution detail should look like given a low-resolution input, then synthesizes that missing information pixel by pixel. The difference in output quality is significant.
Noise Reduction That Preserves Detail
Classic denoising blurs a region to average out noise, which also blurs genuine texture. AI denoising identifies which pixel variation is noise versus which is actual surface detail, such as skin pores, hair, and fabric texture, and removes only the noise. The result is clean footage that doesn't look like it was run through a beauty filter.
Frame Interpolation for Smoother Motion
Some AI models go further and synthesize intermediate frames to increase apparent frame rate, turning 30fps footage into 60fps. This is especially useful for recorded video that will be edited and uploaded rather than streamed live.

These are the specific tools that produce the best results on real-world webcam footage.
Crystal Video Upscaler
Crystal Video Upscaler is built specifically for portrait footage, making it one of the strongest choices for webcam video. It upscales to 4K while preserving facial detail and producing smooth, natural-looking results. Upload your recorded clip and it processes the entire sequence frame by frame using its AI pipeline.
💡 Tip: Crystal Video Upscaler works best on footage shot at 1080p. Feeding it lower-resolution input still improves quality, but 1080p input gives the most natural-looking 4K output.
Topaz Video Upscale
Topaz Video Upscale from Topaz Labs is widely regarded as the benchmark for AI video processing. It combines upscaling with motion-adaptive denoising and artifact removal. The model handles compression artifacts particularly well, which makes it ideal for footage that has already been through a video call platform's encoding.
| Feature | Crystal Video Upscaler | Topaz Video Upscale |
|---|
| Max output | 4K | 4K at 120fps |
| Noise reduction | Standard | Motion-adaptive |
| Best for | Portrait and webcam | Compressed footage |
| Speed | Fast | Standard |
Runway Upscale v1
Upscale v1 by Runway uses Runway's proprietary video AI pipeline to add resolution and clarity. It's a solid option when you want results through a clean, browser-based interface without local processing requirements.

Step-by-Step: Using Crystal Video Upscaler on PicassoIA
Here's the exact workflow to take a recorded webcam clip and dramatically sharpen its quality.
Step 1: Record Your Webcam Footage
Record your webcam clip in the highest quality your setup allows. Most webcam software and video call recording tools produce MP4 files. If you have options, choose a higher bitrate setting before recording, as this gives the AI more actual detail to work with rather than compression artifacts.
Step 2: Open Crystal Video Upscaler
Go to Crystal Video Upscaler on PicassoIA. You'll see the upload interface directly in your browser. No software installation is required.
Step 3: Upload Your Clip
Drag and drop your webcam recording onto the upload area. The model accepts MP4, MOV, and common video formats. For clips longer than a few minutes, expect processing to take proportionally longer.
Step 4: Set Your Output Resolution
Choose your target resolution. For most webcam footage, select 4x upscaling to reach 4K output. If you want to keep file sizes smaller, 2x is still a substantial improvement over the original.
Step 5: Process and Download
Click run and wait for the job to complete. Download the processed file when it's ready. The difference is immediately visible, particularly in facial detail, edge sharpness, and reduced noise throughout.

When You Need Image Super Resolution Instead
Video upscaling works on recorded clips. But if you need to improve a screenshot from a video call, a profile photo taken on webcam, or a still frame extracted from footage, you need an image-specific model.
The Right Tool for Still Frames
Clarity Pro Upscaler specializes in photorealistic upscaling of portrait images. It's built to handle the specific challenges of face photography: skin texture, hair, eyes, and lighting. For webcam screenshots, it produces remarkably sharp results.
Crystal Upscaler is another strong option for portrait stills, particularly effective at 4x upscaling while retaining natural-looking detail without over-sharpening.
For General-Purpose Upscaling
Real ESRGAN is one of the most tested open-source upscaling models available. It handles a wide range of content well and produces clean, artifact-free output at 4x scale. Google Upscaler offers another reliable option for general image upscaling without losing detail.
For the highest possible output, Topaz Image Upscale goes up to 6x and is particularly effective at preserving micro-detail like pores and fabric texture that other models tend to smooth over. P Image Upscale rounds out the lineup with fast processing suitable for quick iterations.
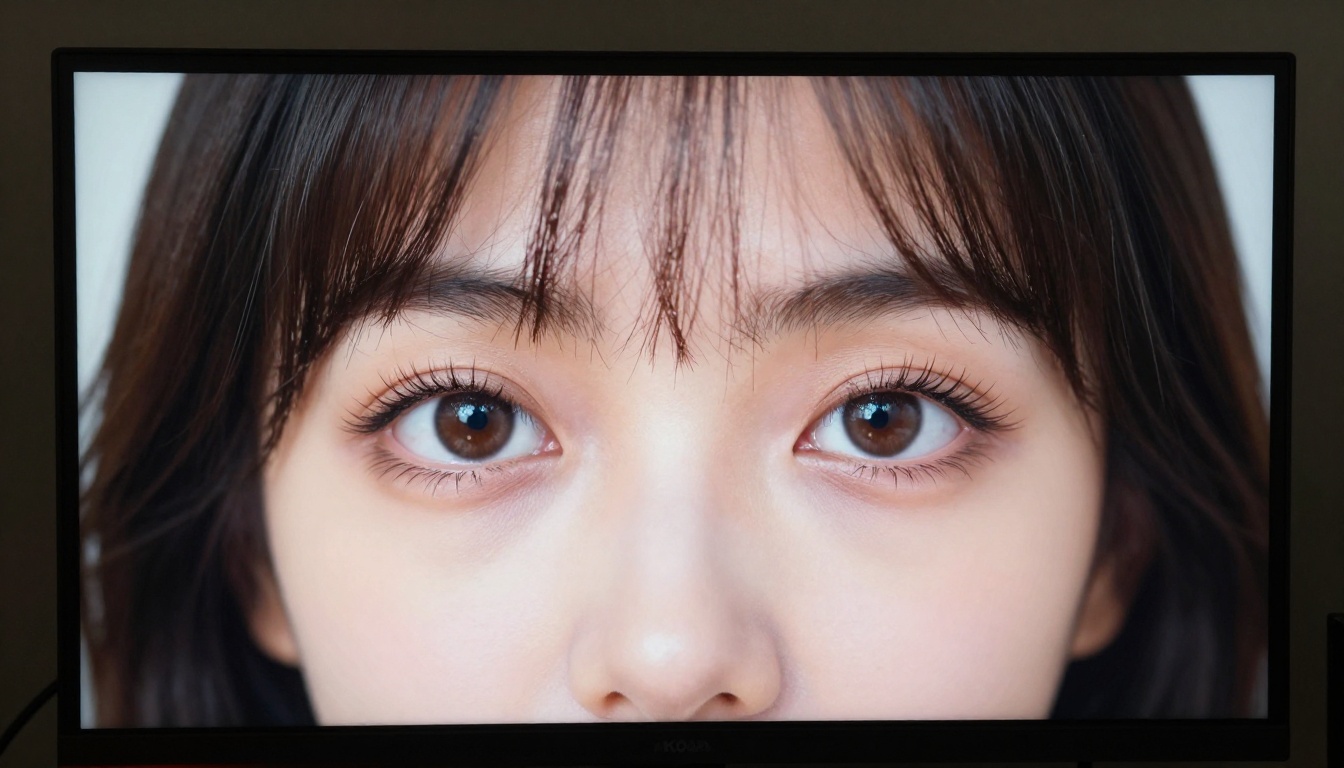
Lighting Changes That Multiply AI Results
AI works best when it has real detail to work with. A well-lit shot processed through an AI upscaler looks dramatically better than a dark, noisy shot run through the same model. A few targeted changes to your lighting setup multiply the output quality significantly.
Position the Light in Front of You
The single most impactful change is moving your light source to face you directly. Light from the side or behind creates deep shadows, forces your camera to compensate with higher gain, and buries the facial detail that AI models rely on to work well. A ring light or a desk lamp positioned at roughly eye level and directly in front of you eliminates most of this.
Color Temperature Matters
Mixing warm incandescent bulbs with cool daylight from windows creates competing color casts that AI models struggle with. Match your light sources to a consistent color temperature, ideally around 5500K (daylight), for the cleanest base footage.
💡 Tip: Tape a piece of white paper to the ceiling above your desk and bounce a lamp off it. This creates soft, even diffused light that is ideal for AI processing without buying dedicated lighting gear.
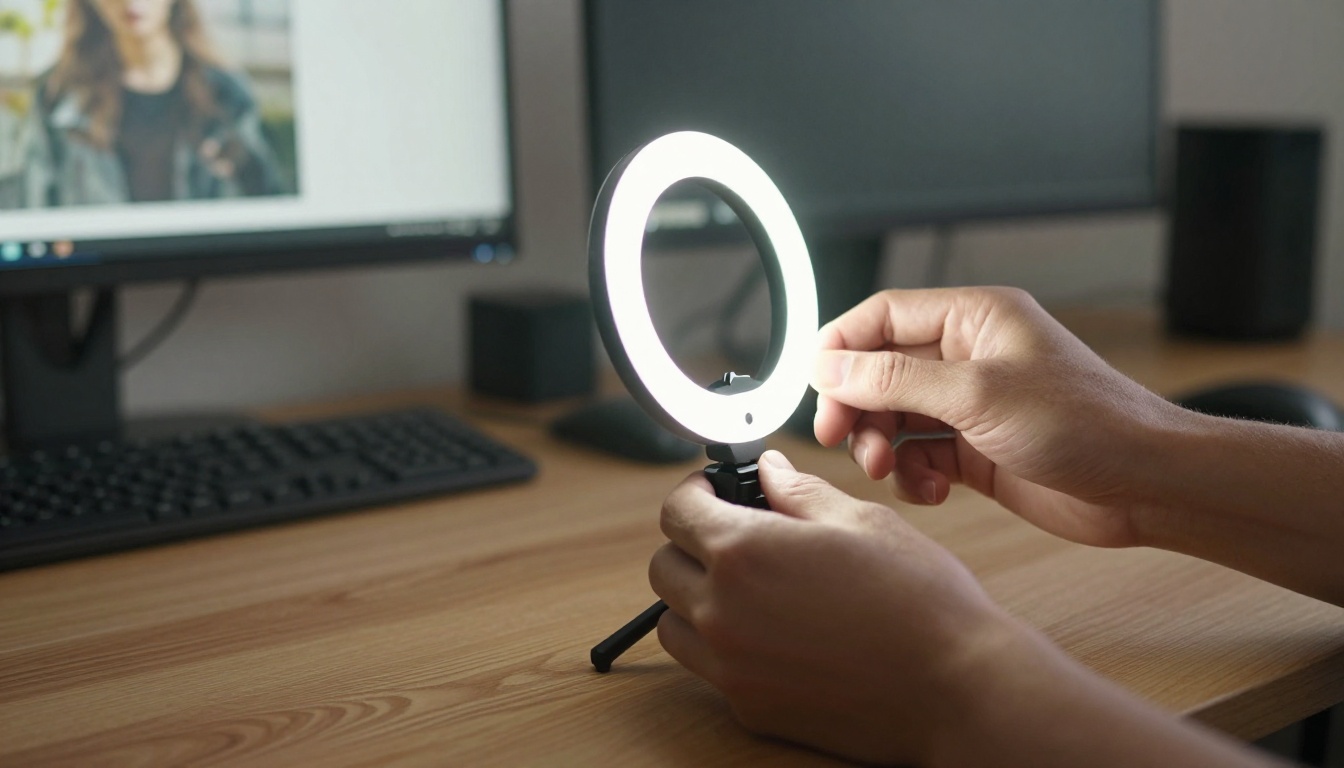
4 Common Mistakes That Ruin Results
Even with excellent AI tools, a few common errors consistently produce disappointing output.
-
Starting with heavily compressed source footage: If you're downloading a recording from a video call that was already compressed during transmission, the AI has less actual information to work from. Record locally whenever possible for the cleanest source material.
-
Over-upscaling: Jumping from a 480p source directly to 4K in one step produces more artifacts than going from 1080p to 4K. Match your upscaling ratio to your source resolution for the most natural results.
-
Ignoring audio sync: AI video processing can introduce small timing delays between video and audio if the tool doesn't handle audio passthrough correctly. Always check sync after processing before distributing the file.
-
Processing footage with motion blur: AI upscalers sharpen static detail but can make motion blur more visible and distracting. Reduce movement during recording or stabilize footage first.
💡 Tip: Process a 10-second test clip before running the full video. This saves significant processing time when experimenting with different settings or comparing models.

Software Settings Worth Adjusting Before Recording
Before relying entirely on post-processing, a few software adjustments can meaningfully improve source quality.
Webcam Driver Settings
Most webcam drivers expose manual controls for exposure, white balance, and sharpness. Turn off automatic exposure if you're in a stable lighting environment. Auto-exposure constantly shifts brightness, which creates inconsistency that is difficult to fix in post. Set white balance manually once and leave it fixed for the session.
Video Call App Quality Settings
Zoom, Teams, and Meet all have video quality settings buried in preferences. Look for options that allow HD or Full HD output and disable any built-in background blur or noise suppression if you plan to apply AI processing afterward. Stacking multiple noise reduction passes degrades genuine detail.
Recording Codec Choice
If you're recording locally rather than through a call app, choose a codec with a higher bitrate. H.264 at a high bitrate setting preserves more detail than the default settings most screen recording tools apply. This gives the AI more genuine information to work with and produces noticeably better output.
Real Results Without New Hardware
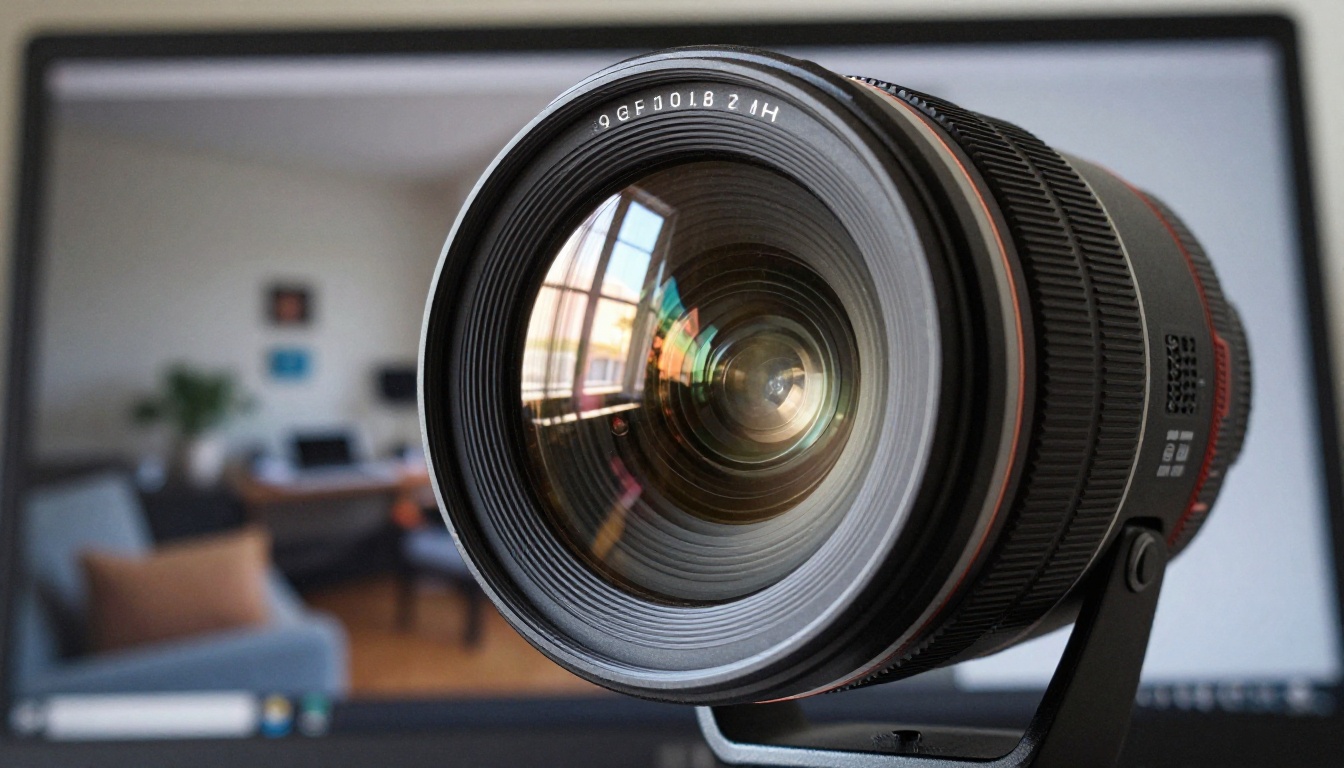
The gap between what a mid-range webcam captures and what AI processing can produce is substantial. A 1080p clip recorded in decent lighting, processed through Crystal Video Upscaler or Topaz Video Upscale, consistently outputs footage that competes with cameras costing significantly more. The same applies to profile photos and video thumbnails processed through Clarity Pro Upscaler or Topaz Image Upscale.
The workflow takes minutes once you've done it once. Record, upload, process, download. All the models on PicassoIA run in the cloud, so your local hardware doesn't limit what's possible.
Before vs. after breakdown:
| What changes | Before AI | After AI |
|---|
| Resolution | 1080p apparent | True 4K detail |
| Skin texture | Smeared or noisy | Natural and defined |
| Edge sharpness | Soft, compressed | Crisp and accurate |
| Noise levels | Visible grain | Mostly eliminated |
| File size | Same as original | Larger but sharper |
PicassoIA has all of these models available directly in the browser, no local installation needed. The fastest way to see what AI upscaling does for your footage is to record a short 30-second clip with your current webcam, upload it to Crystal Video Upscaler, and compare the output side by side with the original.
For still images, start with Clarity Pro Upscaler and run a test at 4x. For general footage cleanup, Topaz Video Upscale handles the full combination of upscaling, denoising, and artifact removal in one pass.
Most people who run their first clip through one of these models don't go back to their original workflow. The results are that immediate and that visible.


