Every billboard job starts with a moment of dread. The client sends over their logo as a 200x200 pixel PNG, and you need to print it at 14 feet wide. Without the right tools, that logo turns into a blurry, pixelated embarrassment visible from a hundred yards away.
That problem is now solvable in minutes.
AI upscaling has fundamentally changed how designers, print shops, and marketing teams prepare assets for large-format output. Instead of begging clients for vector files that may not exist, or spending hours manually retracing logos in Illustrator, you can now feed a low-resolution image into an AI model and receive a print-ready file with sharp edges, accurate colors, and genuine detail reconstruction, not just smoothing or blurring.
This article breaks down exactly how to enlarge logos for billboards with AI: which tools work, which models perform best on logo shapes, and the precise steps to go from a tiny JPEG to a billboard-ready asset.
Why Low-Res Logos Destroy Billboard Jobs
The numbers behind billboard resolution
A standard highway billboard is 14 feet tall by 48 feet wide. At the industry-standard print resolution of 15 DPI for large-format outdoor advertising (viewed from at least 50 feet), that translates to a minimum pixel requirement of 2,100 x 8,640 pixels for the full board.
If a client sends a 400x400 pixel logo for a billboard panel that needs the logo to be 3 feet wide, that logo alone requires 540 x 540 pixels at minimum, assuming the absolute lowest acceptable DPI. For better quality or closer viewing distances, you need 2x or 4x that.
Most logos that clients send fall catastrophically short. Here is what that typically looks like in practice:
| Source File Size | Billboard Logo Size Needed | Scale Factor | Traditional Result |
|---|
| 200 x 200 px | 1,080 x 1,080 px | 5.4x | Severely pixelated |
| 400 x 400 px | 1,080 x 1,080 px | 2.7x | Blurry, soft edges |
| 800 x 800 px | 1,080 x 1,080 px | 1.35x | Slightly soft |
| 1600 x 1600 px | 1,080 x 1,080 px | 0.67x | Print-ready |
What "just stretching" actually does
Standard image scaling algorithms, whether bicubic, bilinear, or nearest-neighbor, do not add information. They redistribute existing pixels across a larger canvas. The result is predictable: crisp edges become soft, sharp letterforms become fuzzy, and brand colors bleed into each other.
This is why a 200px logo scaled to 1080px in Photoshop looks like it was photographed through frosted glass. The software is making its best guess, and its best guess is a blur.
Note: Raster upscaling without AI is essentially asking software to invent detail it never had. It cannot. AI upscaling, by contrast, has been trained on millions of image pairs and knows what real edges, textures, and letterforms look like at high resolution.
What AI Upscaling Actually Does
Traditional vs. AI interpolation
Traditional upscaling fills in new pixels by averaging the color values of neighboring pixels. Simple, fast, and consistently mediocre.
AI upscaling uses trained neural networks that have processed millions of low-resolution to high-resolution image pairs. The model recognizes letterform shapes, geometric curves, and color transitions. When it encounters a blurry logo, it does not average, it reconstructs.
The difference is visible at a glance. Traditional upscaling makes everything uniformly soft. AI upscaling produces actual sharpness at the edges, genuine texture recovery in solid color fills, and preserved contrast ratios between elements.
How the reconstruction works
Modern AI upscaling models use architectures like ESRGAN (Enhanced Super Resolution Generative Adversarial Networks) and diffusion-based methods. Here is the simplified process:
- The model analyzes the low-resolution input in small patches
- It compares each patch to patterns absorbed during training
- It predicts the most statistically likely high-resolution version of each patch
- It stitches the patches back together with edge-blending to avoid seams
- Post-processing sharpens the output and normalizes color values
For logos specifically, the geometric regularity of letterforms and brand marks actually helps the model. Logos are more predictable in structure than photographs, which means AI models can reconstruct them with impressive accuracy even from very degraded sources.
The Best AI Models for Logo Upscaling
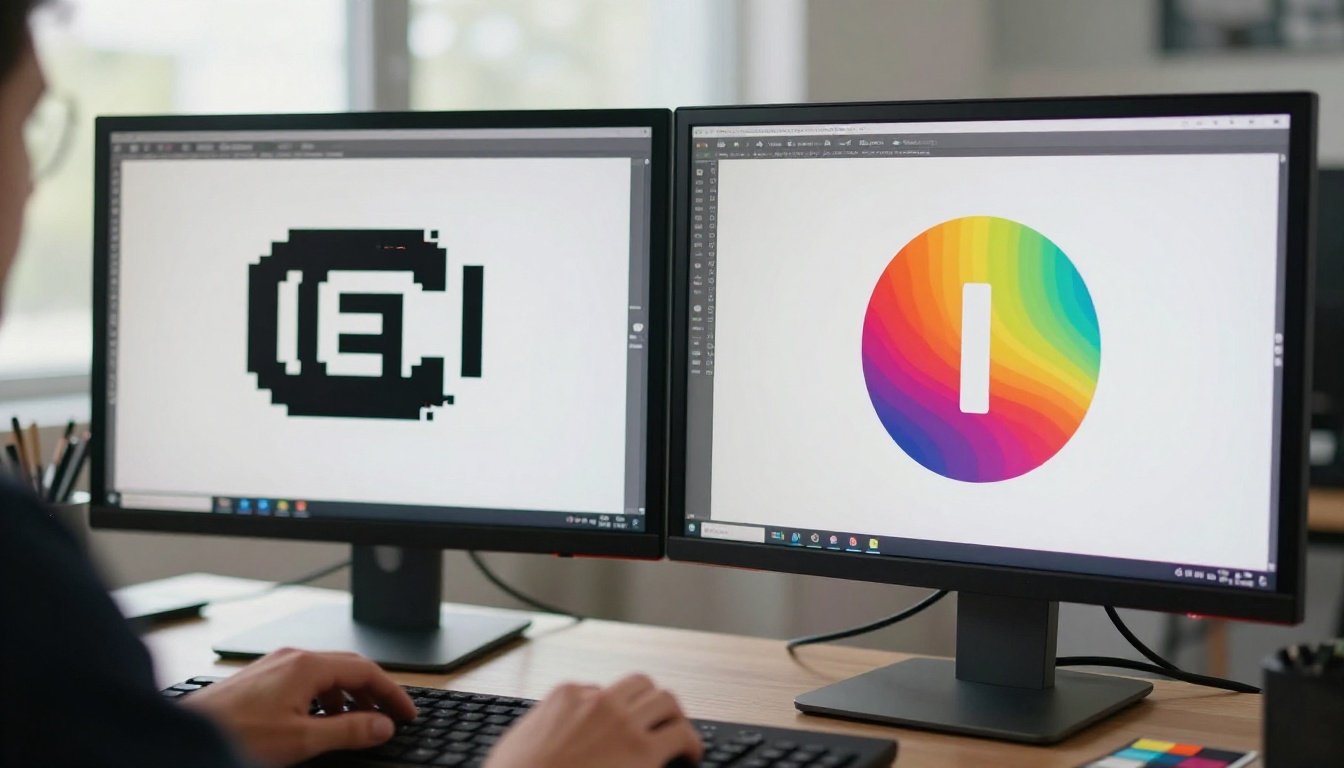
Not all upscaling models perform equally on logos. Photographic upscalers optimize for skin tones, natural textures, and organic detail. Logo upscalers need to handle geometric precision, solid fills, and hard edges without introducing hallucinated texture.
These are the top performers available right now:
Tip: For logos with heavy JPEG compression artifacts, run Real ESRGAN first to clean the artifacts, then apply Clarity Pro Upscaler for the final resolution boost. This two-pass approach consistently outperforms single-pass upscaling on damaged source files.
How to Use Clarity Pro Upscaler on PicassoIA
Clarity Pro Upscaler is purpose-built for detail-heavy upscaling tasks. It performs particularly well on logos because it uses a creativity-guided sharpening system that preserves geometric edges while recovering fine detail in text and iconography.
Step 1: Prepare your source file
Before uploading, do a quick audit of your source logo:
- Remove white backgrounds if possible. A transparent background gives the upscaler clean edges to work with, since white backgrounds create artificial contrast at logo boundaries that the model must then work around
- Save as PNG, not JPEG. If you only have a JPEG, that is fine, but work with the highest-quality version you have. Every JPEG re-save introduces new compression damage
- Note the current dimensions. You need to know your starting size to calculate your target scale and confirm the output meets print specs
Step 2: Upload and configure
- Navigate to Clarity Pro Upscaler on PicassoIA
- Upload your source logo file
- Set the scale factor: for most billboard jobs, 4x is the right target. If you need more, run two passes (4x, then 2x) rather than pushing to 8x in one step
- Set creativity to a low value (0.1 to 0.2) for logos. Higher creativity adds texture detail that looks great on photographs but can introduce unwanted noise on solid fills
- Set resemblance high (0.8 to 1.0) to keep the output faithful to the original brand colors and shapes
Step 3: Run and verify
Hit generate. Processing typically takes 15 to 45 seconds depending on input size. When the output appears:
- Zoom to 100% and inspect at actual pixel dimensions
- Check the edges of letterforms: they should be clean and sharp, not soft or haloed
- Check solid color fills: they should be uniform, not mottled or noisy
- Check fine details like thin strokes, serifs, or small icons within the logo
Step 4: Export for the print shop
Once verified, download in the highest quality option available. For billboard production:
- TIFF is ideal for print, if the print shop accepts it
- PNG is the safest lossless format for digital delivery
- Never send a JPEG to a print shop for a billboard job. Even at maximum quality, JPEG compression will degrade the edges you just spent time recovering
Tips for Best Billboard Results
Start with the highest source file you have
AI upscaling is powerful, but it is not magic. Starting from a 100px logo and expecting billboard-ready output at 4x will produce a 400px output, still far below what most jobs require. Collect every version of the logo the client has. Old PDFs, presentations, website screenshots at 2x retina resolution, anywhere the logo appears at a meaningful size. The larger the starting file, the better the upscaled result.
Tip: Ask clients for their original brand guidelines PDF. These documents frequently embed logos at much higher resolutions than the standalone files clients typically send as email attachments.
Vector first, raster AI second
If any version of the logo exists as an SVG, EPS, or AI file, use it. Vector files are resolution-independent: you can export them at any pixel dimension without quality loss. AI upscaling should be your tool when no vector file exists, not a replacement for proper vector assets.
That said, when the vector file is unavailable, AI upscaling now genuinely closes the gap for most practical billboard applications.
Color profile and DPI settings
When the print shop sends their specs, they will usually specify:
- Color mode: CMYK for most physical printing, RGB for LED digital billboards
- DPI requirement: Typically 15 to 72 DPI for large format, depending on viewing distance
- Bleed area: Usually 3 to 6 inches on each side
AI upscalers output in RGB by default. Convert to CMYK in Photoshop after upscaling, not before. Converting to CMYK before upscaling can cause color shifts, since most models were trained exclusively on RGB data.
For the DPI setting, remember this: DPI is metadata, not a property of the image itself. A 4000x4000 pixel image contains the same data regardless of whether the DPI tag says 72 or 300. What matters for print is the raw pixel count relative to the physical print size. Calculate pixels needed, then verify your upscaled output hits that number.
Common Mistakes That Ruin Print Jobs
These are the errors that even experienced designers make when preparing billboard assets:
Upscaling a JPEG multiple times. Each time you save a JPEG, it re-compresses and degrades. If you save a JPEG, upscale it, then save the result as another JPEG, you compound the damage. Always export upscaled results as PNG or TIFF.
Setting creativity too high. When using Clarity Pro Upscaler or Crystal Upscaler, high creativity settings on logos produce an over-sharpened, crunchy appearance with halos around edges. Keep creativity low for geometric shapes; save high creativity for photographic elements.
Ignoring the background. Logos on transparent backgrounds upscale differently from logos on white backgrounds. The model attempts to reconstruct detail at every boundary it finds. White backgrounds create artificial edges at the logo perimeter. Remove backgrounds before upscaling, then composite onto whatever background the billboard design requires.
Sending the wrong color space. Sending an RGB file to a print shop that expects CMYK will result in color shifts, sometimes dramatic ones, in the final output. Blues can shift purple. Oranges can shift red. Always confirm the color space requirement before sending files to production.
Pushing for maximum scale in one pass. If you need an 8x upscale, do not attempt it in a single step. Run 4x, verify the output quality, then run another 2x pass. Each pass gives the model clean, high-quality input to work from rather than stretching the original degraded file to its limit.
Choosing the Right Model for Your Logo Type
Different logo styles respond differently to upscaling models. Here is a practical decision breakdown:
Simple wordmarks and logotypes (text-only logos)
Use Google Upscaler or Bria Increase Resolution. These models handle clean geometric shapes and uniform fills extremely well at high speed.
Complex logos with fine detail (intricate icons, thin strokes, gradients)
Use Clarity Pro Upscaler or Topaz Image Upscale. These models excel at recovering fine structural detail and are worth the slightly longer processing time on high-stakes jobs.
Damaged or heavily compressed logos (JPEG artifacts, noise, discoloration)
Start with Real ESRGAN to clean the source file first, then apply your preferred upscaler for the resolution boost in a second pass.
Portrait-based logos (logos with human faces or photographic elements)
Use Crystal Upscaler, which is specifically optimized for facial and portrait detail recovery.
What the Final Output Looks Like
Here is a realistic picture of what you can expect from AI upscaling on a real logo job.
A print shop receives a client's 512x512 pixel PNG logo. The billboard panel requires the logo at 2,048x2,048 pixels (a 4x upscale). Running the source file through Topaz Image Upscale at 4x produces:
- Sharp, clean letterform edges with no haloing
- Solid color fills that are uniform and noise-free
- Fine details like thin strokes and small graphic elements that are visibly crisper than the source
- A file that pre-press software accepts without triggering low-resolution warnings
The same result through traditional Photoshop bicubic upscaling produces the opposite: soft, muddy edges, banding in gradients, and a rejection from pre-press quality checks.
Note: AI upscaling does not perform miracles on logos that are severely damaged, extremely low resolution (under 100px), or heavily distorted. In those cases, manual vectorization in Illustrator remains the most reliable path to print-ready output. AI upscaling is best treated as a powerful recovery tool for usable-but-insufficient source files.
One more practical note on timing: most AI upscalers on PicassoIA process a standard logo in 15 to 60 seconds. On a deadline-driven print job, that is the difference between making the press time and missing it.
Ready to Upscale Your Logo
The super-resolution tools on PicassoIA give you direct access to the best AI upscaling models available, including Clarity Pro Upscaler, Topaz Image Upscale, Real ESRGAN, Google Upscaler, and Bria Increase Resolution, all accessible without software installation or a local GPU.
Upload your logo, pick the model that matches your use case from the table above, and receive a billboard-ready file in under a minute. For jobs with tight deadlines and clients who cannot locate their original brand assets, that speed matters enormously.
Whether you are working on a single hoarding panel or a full campaign rollout across dozens of outdoor sites, starting with properly sized and sharpened assets protects the print quality of every board in the campaign. Bad assets at the source mean bad prints at scale, no matter how good the printer is.
Try it now: upload your logo to the PicassoIA super-resolution collection and see what AI upscaling does on your specific file before committing to a print run. The difference is visible in seconds.