Printing a logo on a 14x48-foot billboard is not the same as printing it on a business card. The file needs to be dramatically larger, the resolution requirements shift entirely, and a logo that looks sharp on screen can turn into a blurry mess when it hits the vinyl press. That gap is where most brands get burned, and where AI upscaling has become a practical, accessible fix.
Why Billboard Printing Destroys Weak Files
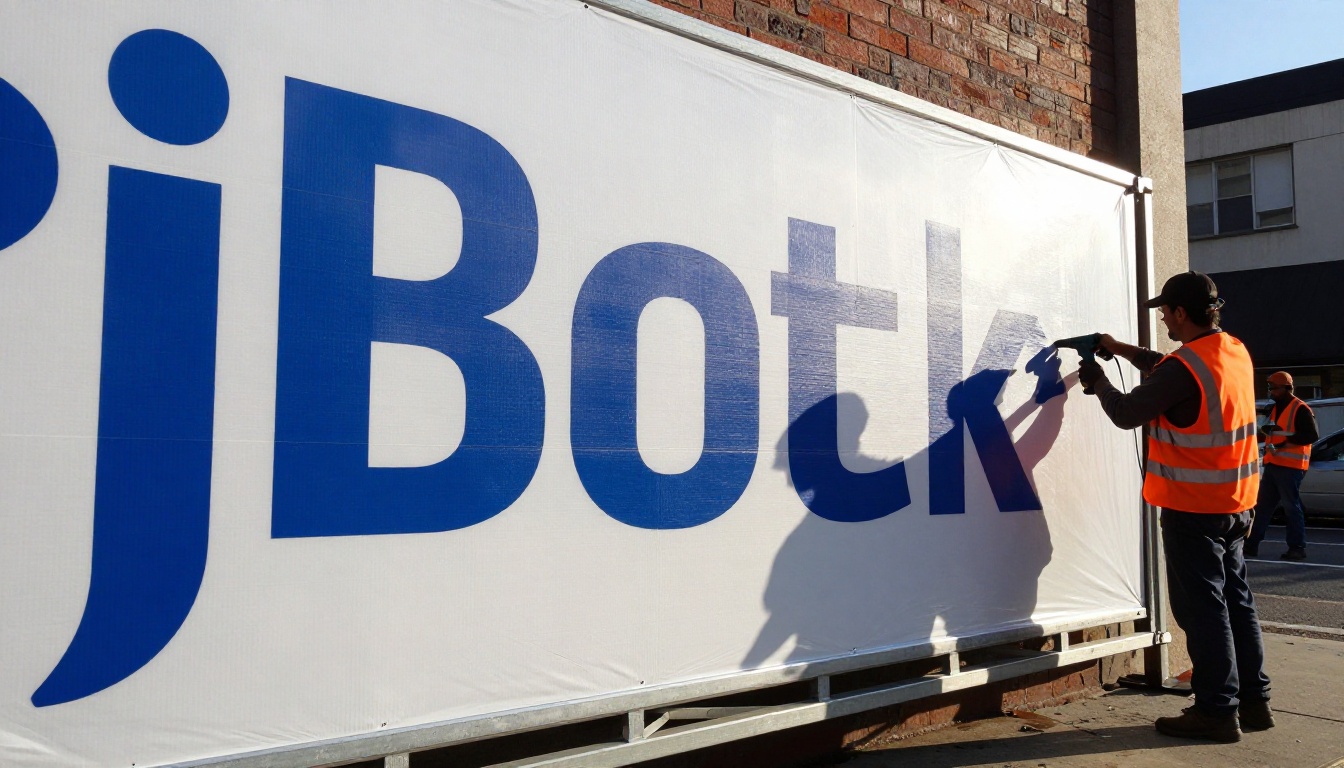
Large-format printing operates on completely different rules than screen design. When you see a billboard from 50 meters away, the print house still outputs it at a specific dots-per-inch count. The further the viewing distance, the lower the required DPI. But "lower" is relative, and the raw pixel count needed to fill a 14-foot-tall by 48-foot-wide surface is enormous.
A standard screen logo saved as a 72 PPI JPEG at 400x400 pixels would need to be scaled to roughly 40,800 x 14,400 pixels to cover a standard bulletin billboard at 25 DPI. That's a 100x enlargement. No standard resize tool produces clean output at that scale from a low-res source.
The DPI Problem Nobody Talks About
DPI requirements for outdoor advertising are misunderstood. Print shops often specify "150 DPI at full size" for billboards, which sounds straightforward until you do the math on what your source file actually needs to contain.
| Billboard Type | Typical Size | Min DPI at Size | Minimum Source Pixels |
|---|
| Standard Bulletin | 14x48 ft | 25 DPI | 4,200 x 14,400 px |
| Junior Poster | 5x11 ft | 50 DPI | 3,000 x 6,600 px |
| Digital LED Board | 10x36 ft | 10 DPI | 1,200 x 4,320 px |
| Building Wrap | Varies | 15-25 DPI | 7,200+ px tall |
The irony is that a 72 PPI web logo at 400px wide would need to be upscaled by a factor of 36 to meet even the minimum requirements for a standard bulletin billboard.
Raster vs. Vector: What Actually Matters
Vector files (SVG, AI, EPS) are infinitely scalable because they're math, not pixels. If you have a vector version of your logo, that's always the first choice for billboard prep. But most brands, especially smaller ones, don't have clean vector files. What they have is a PNG pulled from a website, a JPEG from an old email, or a low-res export from a presentation.
That's exactly where AI super resolution changes the outcome. It doesn't just stretch pixels: it synthesizes new detail using patterns built from millions of images. The result is a file that holds up at large scale in ways traditional bicubic or Lanczos interpolation simply cannot match.
What AI Super Resolution Actually Does
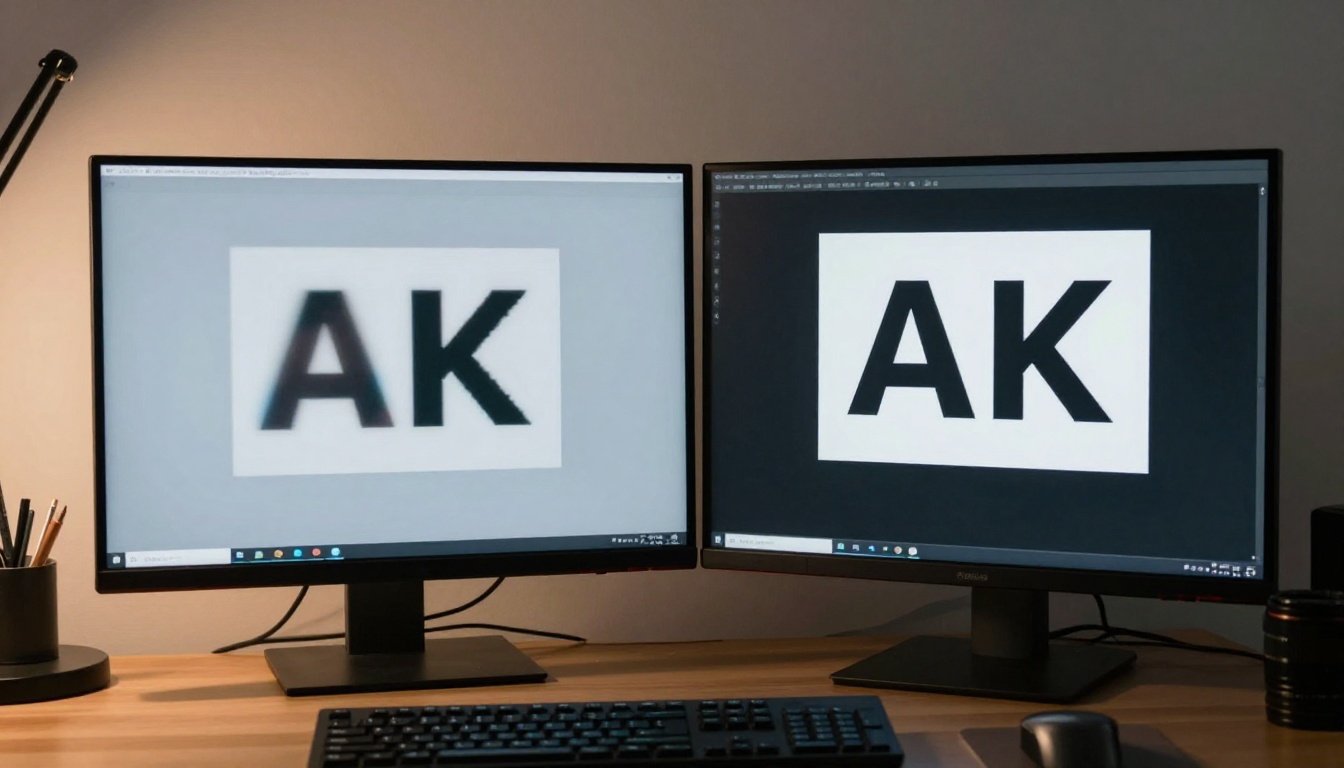
Standard image resizing spreads existing pixels across a larger canvas. It's the reason photos look blurry when you zoom in too far. The algorithm has no data to fill the new space, so it guesses by averaging adjacent colors. That produces the characteristic soft, smeared quality of a badly upscaled image.
AI upscaling works from a different premise. The models are trained on enormous datasets of high-resolution and low-resolution image pairs. The model absorbs the statistical relationship between degraded image signals and the sharp original. When given a low-resolution input, the model doesn't average: it reconstructs, adding edge sharpness, texture coherence, and detail that is statistically likely to be correct.
For logos specifically, this is powerful. A logo has strong geometric structure, hard edges, and limited color ranges. AI models excel at reconstructing exactly these characteristics.
How the Model Fills Missing Detail
The reconstruction process happens through a convolutional neural network (in older models like Real ESRGAN) or a diffusion-based process (in newer models like Clarity Pro Upscaler). The network passes the image through multiple processing stages, each adding a layer of refined detail. Edges are sharpened. Textures are coherently synthesized. Colors are corrected for consistency.
The output isn't a guess at what was there: it's a statistically informed reconstruction that aligns with how the original image would have looked at higher resolution.
3 Reasons AI Beats Manual Scaling
- Speed: An AI upscaler processes a 4x enlargement in seconds. Manual vector retracing can take hours.
- Consistency: The same model produces the same quality every time. Manual results depend on operator skill.
- Accessibility: No specialized software. No design background required. Upload, process, download.
Best AI Models for Logo Upscaling
Not all upscaling models perform equally on logos. Some are tuned for photography, some for portraits, and a few are genuinely optimized for graphics with hard edges. Here is a breakdown of what's available on PicassoIA and what each model does best.
Topaz Image Upscale (6x)
Topaz Image Upscale is the highest-ceiling option available, capable of enlarging an image up to 6x its original dimensions. For a 500x500px logo, that means a 3,000x3,000px output, which clears the minimum threshold for many billboard formats.
Topaz models are particularly strong on structured graphics because the edge-preservation algorithm was tuned against a diverse mix of photographic and graphic content. The result on logos is sharp, with minimal halo artifacts around hard edges.
Best for: Small source files where maximum enlargement is needed.
Clarity Pro Upscaler
Clarity Pro Upscaler sits in a different category: it doesn't just enlarge, it actively reconstructs photorealistic texture and micro-detail. For logos that include photographic elements, gradients, or complex texture fills, Clarity Pro produces noticeably richer output than basic ESRGAN-style models.
Best for: Logos with photographic elements, complex gradients, or texture-based typography.
Google Upscaler (4x)
Google Upscaler provides a clean, reliable 4x enlargement with strong edge coherence. It's one of the most consistent performers across a range of input quality levels. Feed it a 600x200px horizontal logo and get a 2,400x800px output that holds up at poster and small billboard scale.
Best for: Quick, reliable 4x output where input quality is moderate.
Real ESRGAN (Free)
Real ESRGAN is the workhorse of the open-source upscaling world. It's a 4x model with strong performance on logos and graphics, and it's free to use on PicassoIA. ESRGAN was specifically trained to handle the kind of compression artifacts common in JPEG logos pulled from websites.
Best for: Budget processing of compressed or degraded source logos.
Recraft Crisp Upscale
Recraft Crisp Upscale is optimized for maximum edge sharpness. On logos with clean geometric shapes, flat fills, and clear outlines, it produces one of the crispest outputs available. The trade-off is that it can over-sharpen complex textured areas.
Best for: Simple wordmarks, geometric logos, flat-style brand marks.
Bria Increase Resolution (4x)
Increase Resolution by Bria takes a different architectural approach and tends to preserve color fidelity particularly well. For brand logos where exact color accuracy is critical, this model's color-preservation behavior is worth noting.
Best for: Brand-sensitive logos where color accuracy cannot be compromised.
Model Comparison at a Glance
How to Upscale a Logo on PicassoIA
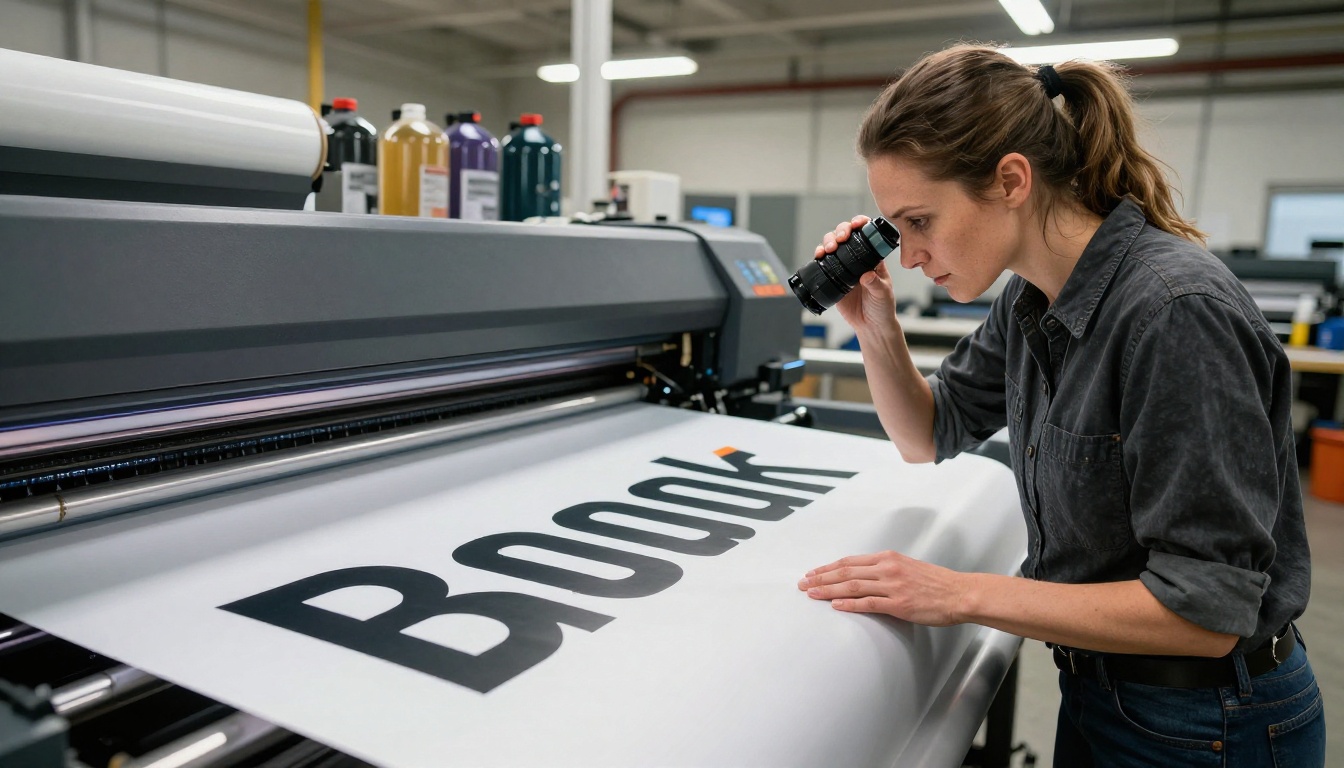
PicassoIA gives you direct access to all the models above without any software installation or API setup. The workflow is three steps.
Step 1: Pick the Right Model
Start by identifying your logo type. Flat geometric wordmark? Start with Recraft Crisp Upscale. Complex logo with gradient fills or photography? Go to Clarity Pro Upscaler. Very small source file that needs maximum enlargement? Topaz Image Upscale at 6x is the starting point.
If you're unsure, Real ESRGAN is a safe free default that works well across most logo types.
Step 2: Upload and Process
Navigate to the chosen model page on PicassoIA. Upload your logo file. PNG is preferred over JPEG for logos, since JPEG compression introduces artifacts that upscaling can amplify. Select your target scale factor and run the model.
Processing takes between 5 and 30 seconds depending on the model and input file size.
💡 If your logo has a white background, remove it first before upscaling. Clean transparent-background PNGs upscale more accurately because the model doesn't have to reconcile logo edges against a hard white border.
Step 3: Verify and Download
Before downloading, zoom into the output at 100%. Check three things:
- Edge quality: Hard edges on letters and geometric shapes should be sharp, not soft or haloed.
- Color consistency: Colors should match the source without shifts in hue or saturation.
- Artifact check: Look for repeating texture patterns or painterly smearing, which indicates the model over-generated texture.
If the result doesn't pass, try a different model. Running two or three variants takes less than two minutes total.
Billboard DPI Requirements That Actually Matter
Knowing what resolution your print house actually needs prevents the most common mistake: delivering a file that looks fine on screen but fails QC at the printer.
Standard Bulletin Billboard (14x48 ft)
The industry standard for viewing distances of 50 feet or more is 15-25 DPI at full physical size. At 25 DPI, a 14x48 billboard needs a file that is 4,200 x 14,400 pixels minimum.
If your source logo is 400x400px and you need it to span 8 feet of that 48-foot width, the logo alone needs to be approximately 2,400 pixels wide in your final file.
Junior Poster (5x11 ft)
Closer viewing distances demand higher DPI: 50-75 DPI at full size. A 5x11 foot junior poster at 75 DPI requires a 4,500 x 9,900 pixel file. This is where 4x upscaling often falls short and a 6x model like Topaz Image Upscale becomes necessary for small source logos.
Transit and Bus Shelter Ads
Viewed at arm's length, bus shelter ads require 100-150 DPI at full size. A standard 4x6 ft shelter panel at 150 DPI needs a 7,200 x 10,800 pixel file. For this format, even 6x AI upscaling may not be enough from a very small source. You may need to upscale twice: once to an intermediate size, then again from that intermediate output.
💡 Always ask your print vendor for their exact pixel dimensions spec, not just DPI. Pixel dimensions eliminate the unit-conversion confusion entirely and give you a concrete target to hit.
3 Mistakes That Ruin Upscaled Logo Prints
Upscaling handles the resolution problem, but it doesn't solve every preparation issue. These three mistakes account for the majority of failed billboard submissions.
Using JPEG as the Source
JPEG compression introduces block artifacts around hard edges, and AI models amplify those artifacts during upscaling. The blocky compression pattern becomes more visible at large scale, not less. Always source from PNG or TIFF when upscaling for print.
If you only have a JPEG, run it through P Image Upscale first at a low scale (2x) to smooth out JPEG artifacts before doing your primary upscale pass. This two-step process consistently produces cleaner output than single-pass JPEG upscaling.
Ignoring Color Mode (CMYK vs. RGB)
AI upscaling tools work in RGB. Offset and many large-format printers work in CMYK. The color conversion can shift significantly if you're working with brand-critical Pantone colors.
The correct workflow is:
- Upscale in RGB on PicassoIA
- Convert to CMYK in your design application
- Do a color-proof check before final submission
Do not send an RGB file to a CMYK printer and assume they'll handle the conversion correctly. The print house will convert, but the result may not match your brand specification.
Skipping the Scaled Proof
Before sending a 14,400-pixel-wide file to the printer, generate a scaled proof at the actual intended viewing distance. Print a 1:10 scale version (so your 48-foot billboard becomes a 4.8-foot proof), pin it to a wall, and stand back. If it looks sharp at 5 feet on the proof, it will look sharp at 50 feet on the billboard.
What you're checking is not resolution. At this scale, resolution is sufficient by definition. What you're checking is whether the design reads clearly, colors are correct, and the logo is legible against its background.
How Multiple Passes Work for Extreme Scale
When the source file is very small (under 200px in any dimension), single-pass upscaling can over-generate and produce hallucinated texture in flat color areas. The solution is multi-pass upscaling.
Pass 1: Upscale 2x using Recraft Crisp Upscale or Real ESRGAN. This brings the file to a stable intermediate resolution.
Pass 2: Upscale the intermediate file 2x or 3x using Topaz Image Upscale or Clarity Pro Upscaler. Starting from a higher-quality input, the second pass produces significantly better edge quality.
The total effective scale is 4x to 6x, but the quality ceiling is meaningfully higher than a single 6x pass from a very small source.
💡 Between passes, check the intermediate output for artifacts before running the second pass. It's faster to fix a problem at intermediate scale than after the final 6x enlargement.
When AI Upscaling Is Not Enough
AI upscaling is a powerful tool, but it has real limits. If your source logo has any of the following characteristics, upscaling alone will not produce a print-ready file:
- Severely degraded source: Heavy compression, screenshot-quality input, or images with watermarks baked in.
- Distorted proportions: A logo that was stretched or squeezed before you received it.
- Font-based wordmarks with unknown typefaces: If upscaling a wordmark still shows rough edges after multiple passes, the correct fix is font matching and re-typesetting in a vector application.
In these cases, the output of AI upscaling can be used as a visual reference for a designer who then redraws elements in vector, rather than as the final deliverable. This hybrid workflow, AI upscale plus manual vector cleanup, is often faster than pure manual vector tracing from scratch.
Putting It All Together
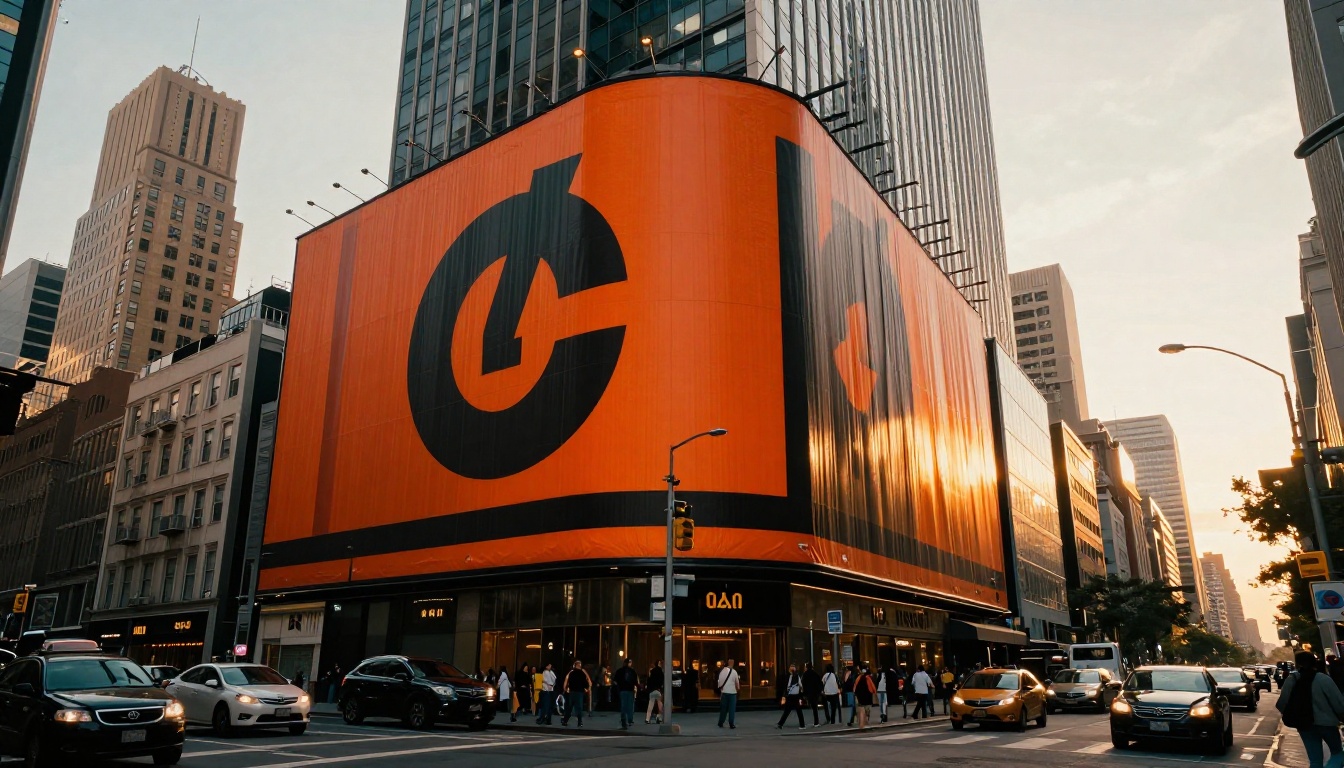
The workflow for scaling a logo to billboard-ready output is repeatable and takes less than ten minutes for most cases:
- Source: Get the highest-quality original you have (PNG over JPEG, largest available dimensions).
- Background: Remove background before upscaling if needed.
- Model selection: Match the model to your logo type using the reference table above.
- Upscale: Run on PicassoIA. Use multi-pass if source is very small.
- Verify: Check edges, colors, and artifacts at 100% zoom.
- Color convert: Switch from RGB to CMYK in your design application.
- Proof: Generate a scaled proof before submitting to the printer.
The step most people skip is Step 7. That one check prevents the most expensive mistake in large-format printing: discovering the problem after 500 square feet of vinyl is already printed.
Start Scaling Your Logo Right Now
PicassoIA gives you direct access to nine professional-grade super resolution models, all available in your browser with no software to install. Whether you're preparing a logo for a highway billboard, a bus shelter panel, or a trade show backdrop, the processing time is under a minute and the output quality is genuinely production-grade.
Pick your model based on your logo type, run the upscale, verify the output, and hand it to your print vendor with confidence. The Topaz Image Upscale at 6x is a reliable starting point for most billboard work. For crisp flat logos, try Recraft Crisp Upscale. For logos with rich photographic content, Clarity Pro Upscaler is worth the extra processing time.
Every tool mentioned in this article is available on PicassoIA. Try your first upscale in the next five minutes and see whether the output clears your printer's resolution threshold before you ever talk to a designer.


