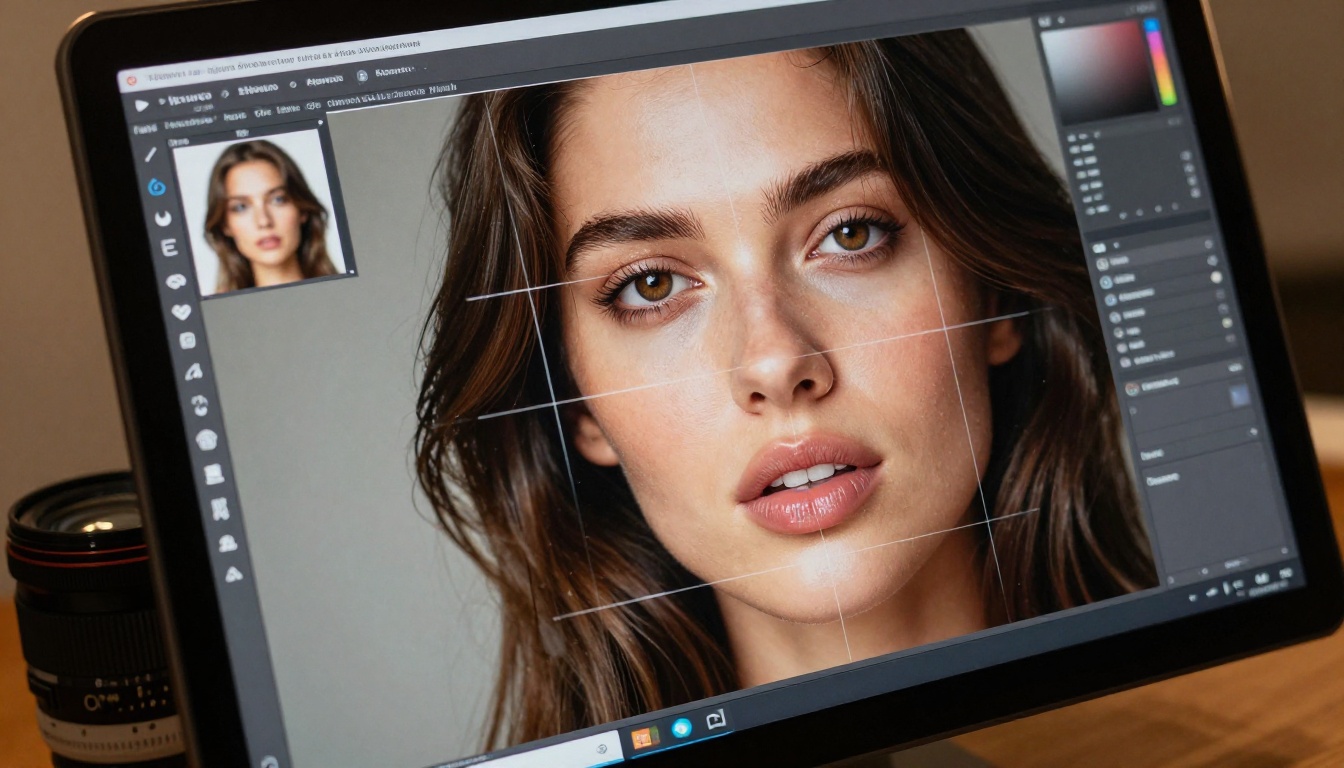
Bad lighting is responsible for more ruined photos than any other single issue. You take a shot with perfect composition, the right moment, the right subject, and then you open it on your computer and the whole thing is too dark, too bright, or washed in a weird color cast. That is a deeply frustrating experience.
The good news: AI has changed what is possible when it comes to fixing lighting in photos. Not just basic exposure sliders, but genuine neural-network-level correction that can pull detail from near-black shadows, roll back blown highlights, and rebalance the entire tonal structure of an image without the gray, muddy look that traditional editing always left behind.
This is what AI does well, and this article will show you exactly how to use it.
Why Lighting Ruins So Many Good Photos
The 4 Problems That Show Up Constantly
Most bad lighting in photos falls into one of four categories. Knowing which one you are dealing with helps you choose the right fix.
| Problem | What It Looks Like | Common Cause |
|---|
| Underexposure | Dark image, crushed black shadows, lost detail | Low light, wrong camera settings |
| Overexposure | Blown-out whites, no highlight detail, flat areas | Bright sun, flash too close |
| Backlight | Subject is silhouetted, background is bright | Sun or window behind subject |
| Color Cast | Yellow, blue, or green tint over the whole image | Indoor fluorescent, shade, tungsten |
Each of these feels like a different problem. Technically they are. But AI photo editing treats them all the same way: as a pixel-level reconstruction task where the model predicts what the correct tonal values should be based on millions of reference images it was trained on.
What the Camera Always Gets Wrong
Camera sensors have a limited dynamic range. That is the gap between the darkest shadow they can record and the brightest highlight. The human eye can handle roughly 21 stops of dynamic range. A high-end camera handles 14 at best.
When you shoot in mixed lighting, or when the contrast in the scene is higher than what the sensor can capture, the camera makes a choice. It protects the highlights and lets the shadows go dark, or it protects the midtones and clips both ends. There is no perfect automatic answer.
AI does not increase the sensor's dynamic range after the fact. What it does is learn to predict missing detail from context. When a shadow is so dark that there is almost no data, the model fills in what should be there based on what it knows about real-world textures, faces, and objects. The result is not a perfect retrieval of lost data. It is an intelligent reconstruction, and it looks convincing.
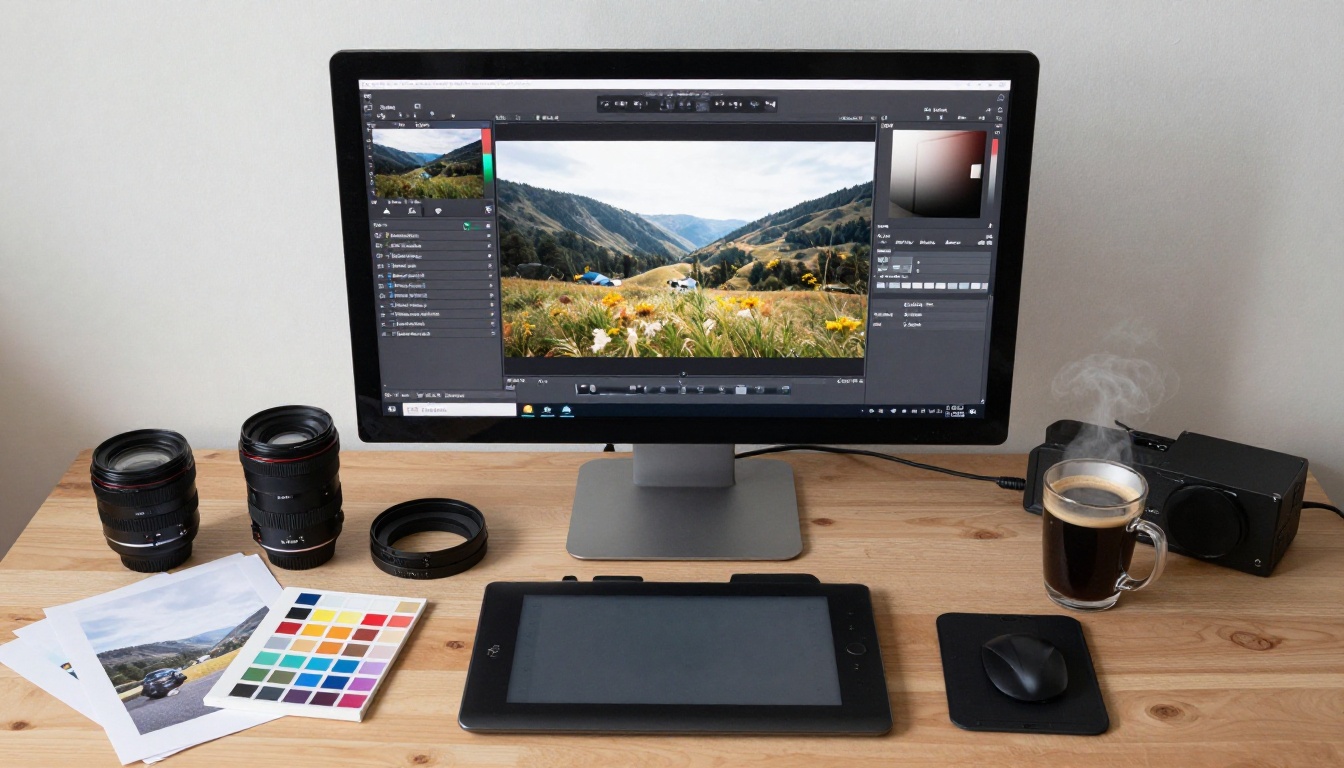
How AI Reads and Fixes a Photo
Shadow Recovery Without Noise
Traditional shadow recovery in Lightroom or Photoshop works by amplifying the signal in dark areas. The problem: amplifying a weak signal also amplifies the noise embedded in it. Push shadows too far in a traditional editor and you get a grainy, splotchy result full of color noise.
AI shadow recovery works differently. Instead of amplifying raw pixel values, the model analyzes the entire image for context, identifies regions that should contain detail (a face, a building edge, fabric folds), and reconstructs those areas using learned texture patterns. The result is clean, natural-looking detail without the noise artifact.
💡 Practical tip: AI shadow recovery works best when the original photo was shot in RAW format. JPEG files compress shadow data aggressively, which leaves less for the model to work with. If you shoot RAW, always process from the RAW file.
Highlight Rolloff Done Right
Recovering blown highlights is harder than recovering shadows. When a pixel is fully saturated at 255, 255, 255 in all three channels, there is truly no data there. The AI model cannot invent detail that was never captured.
What it can do is use surrounding context to produce a natural-looking rolloff into the blown area, so the transition from detailed midtone to the bright zone looks smooth and film-like rather than abrupt and digital. This alone makes a significant difference in how the final image reads.
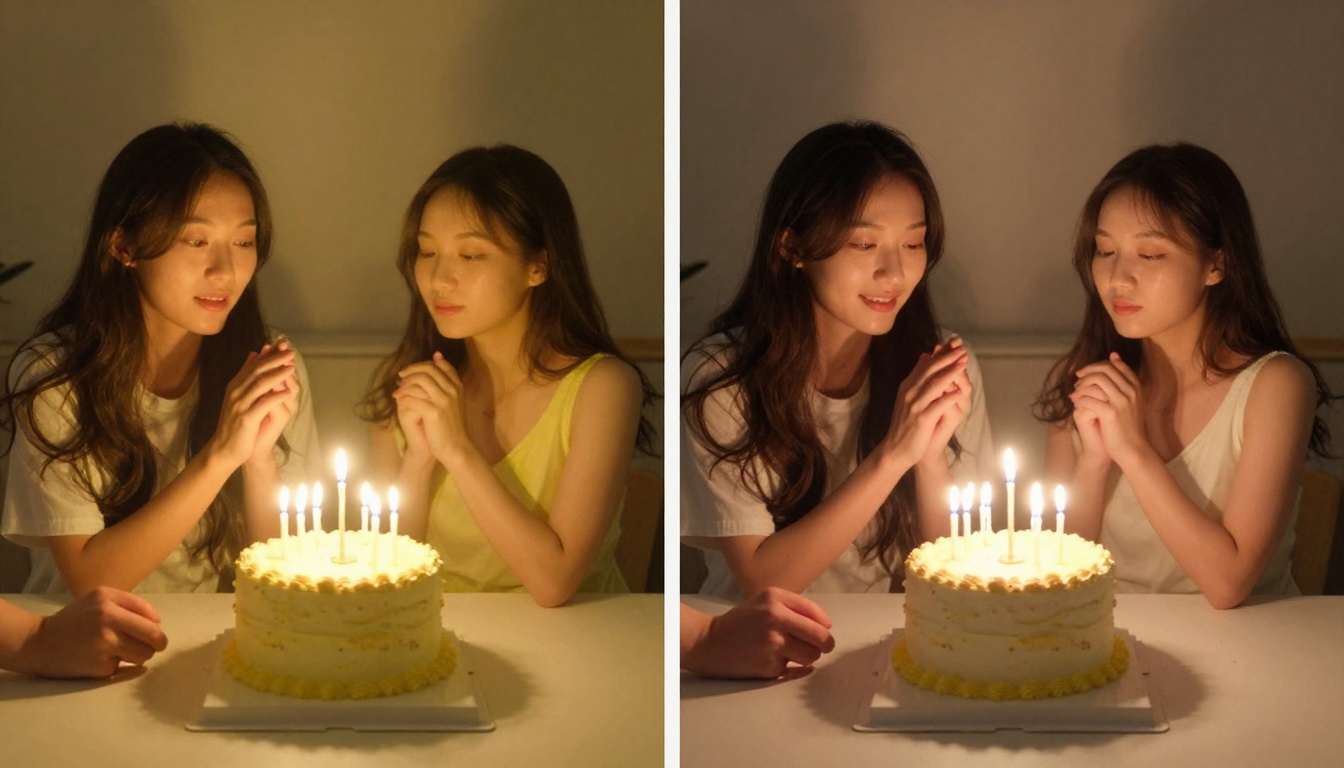
Fix Overexposed Photos with AI
Overexposure is common in outdoor photography, especially when shooting toward bright sky or in direct midday sun. The sky goes white, skin tones lose all definition, and the image looks flat.
How Overexposure Correction Works
The AI model identifies overexposed zones by looking for areas of uniform high brightness with no texture variation. It then maps those zones against the midtones and shadows in the image to determine the correct tonal relationship and reconstructs realistic detail using texture learned from training data.
For portraits, this often means restoring skin texture, pore detail, and hair highlights that the original shot blew out completely. For landscapes, it means bringing back cloud structure and sky gradient that appeared as a solid white block.
What to Expect from the Results
- Portraits: Natural skin tones, recovered hair highlights, restored facial shadow structure
- Landscapes: Realistic sky gradient, visible cloud texture, balanced foreground and sky ratio
- Architecture: Restored window detail, less blown facade surfaces, natural stone and brick texture
- Beach and water: Wave detail in bright areas, sand texture in high-exposure zones
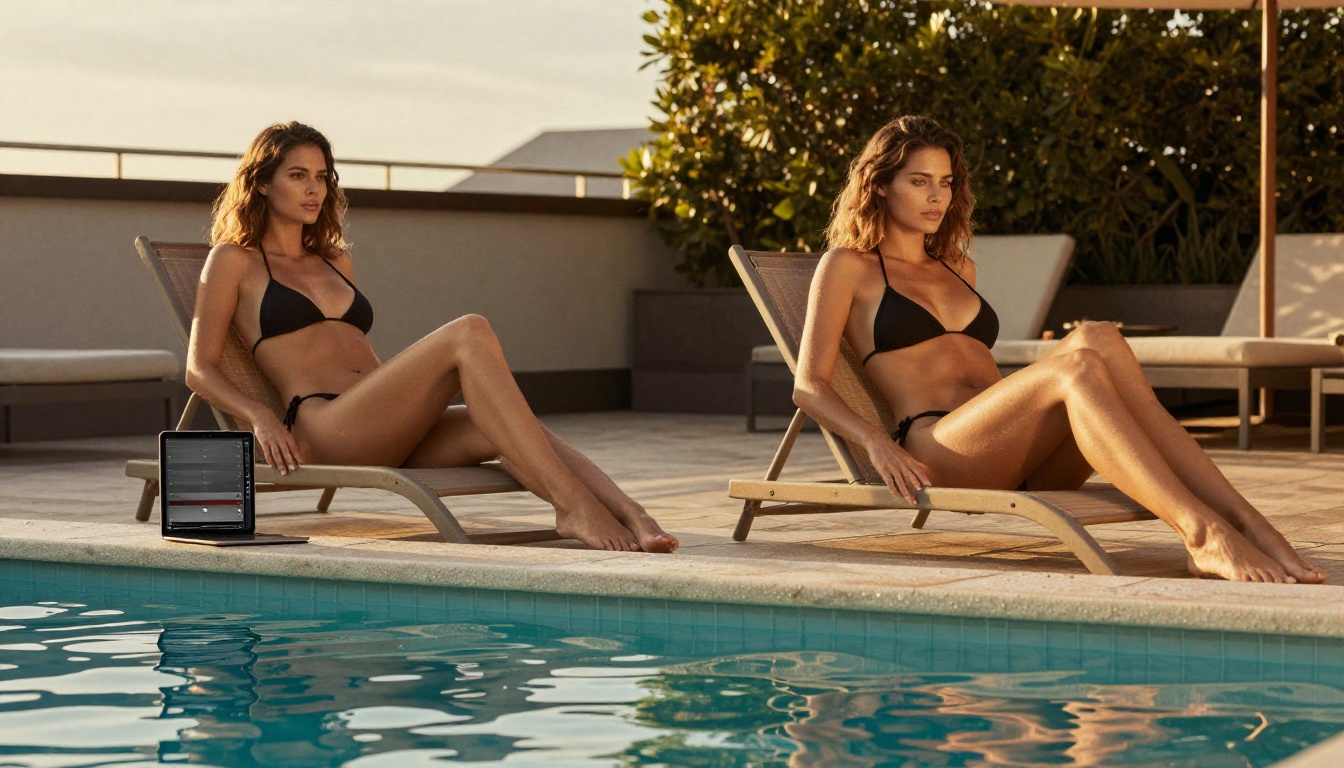
Fix Dark and Underexposed Photos with AI
Underexposure is the most common lighting problem in everyday photography. Indoor shots at parties, restaurant photos taken without flash, concert photography, night street scenes. These all suffer from the same issue: not enough light hit the sensor.
Pulling Detail from Near-Black Areas
This is where AI genuinely outperforms every traditional editing method. A well-trained model can look at a near-black area and, based on context (the shape of a face, the line of a jacket collar, the edge of a building), reconstruct realistic texture and detail that appears natural.
💡 Real use case: A photo from a wedding reception, taken at an indoor venue with dim amber lighting. The background guests are completely black. AI shadow recovery can often reveal faces, clothing, and background details that a human editor would consider unrecoverable.
Avoiding the Muddy Look
The classic failure mode of aggressive shadow lifting is a flat, gray, desaturated image. You bring up the shadows, but everything in those areas looks wrong because the color and contrast were also destroyed along with the exposure data.
AI models trained on high-quality photographic datasets handle this by simultaneously recovering luminance, color, and micro-contrast in the shadow regions. The result should look like a properly exposed photo, not like a shadow-pushed photo.
Fix Backlit Photos with AI
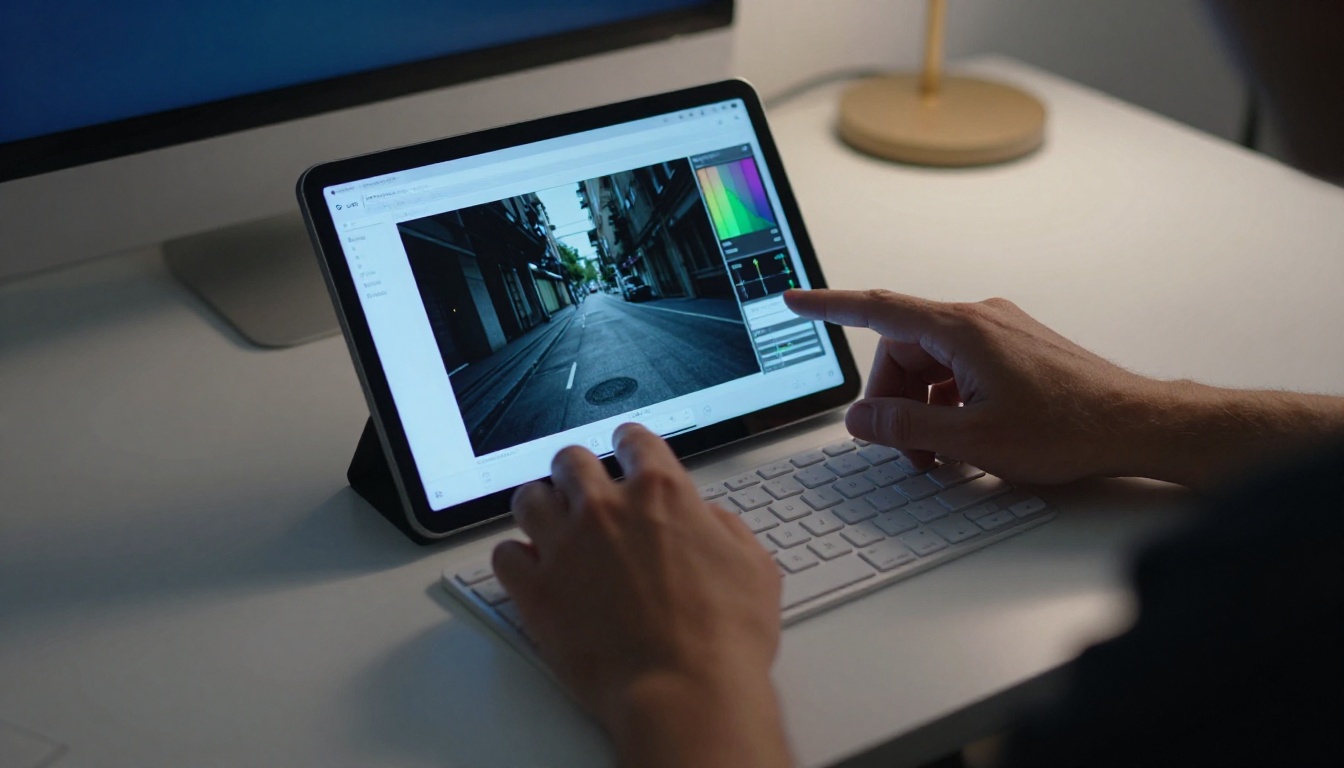
Backlit photos are some of the hardest to fix. When the light source is behind your subject, the camera exposes for the bright background. The subject becomes a silhouette. Faces go completely dark while the window or sky behind them is perfectly exposed.
Why Backlight Is So Difficult
The dynamic range gap between a backlit face and a bright window can be 8 to 10 stops. No camera can capture both at once. Traditional HDR blending requires multiple exposures. Manual dodging and burning in Photoshop takes significant skill and time.
How AI Balances the Scene
AI approaches backlit correction as a multi-zone exposure problem. It identifies the subject (usually a person), the light source direction, and the ambient fill in the scene. It then applies exposure correction selectively, lifting the subject's exposure while leaving the background mostly intact, then blending the two zones with a natural gradient at the edges.
The best models can produce a result that looks like the shot was taken with a reflector or fill flash, with properly lit faces and a background that did not get crushed into gray.

Fix Color Casts from Bad Lighting
Color casts are lighting problems too. They happen when the color temperature of the light source does not match the camera's white balance setting. The result is a photo with a sickly yellow (tungsten indoor), cold blue (shade or overcast), or sickly green (fluorescent) tint.
The Most Common Color Cast Types
| Color Cast | Source | Typical Photos Affected |
|---|
| Yellow/Orange | Incandescent bulbs, candles | Party photos, restaurant shots |
| Blue | Shade, overcast sky, early morning | Outdoor portraits, street photography |
| Green | Fluorescent office lighting | Office shots, some supermarkets |
| Purple/Magenta | Mixed light sources | Mixed indoor/outdoor, sunset |
How AI Handles White Balance Correction
Traditional white balance correction adjusts a global color temperature slider. The problem: most real-world shots have mixed light sources, where the window is blue and the lamp is orange and the face sits in between.
AI white balance correction analyzes the scene at a zone level, identifies multiple light sources, determines what each region should look like under neutral illumination, and applies per-zone correction that blends seamlessly. Faces look natural, backgrounds stay consistent, and the whole image coheres.
💡 Tip for indoor photography: If you shoot in JPEG, AI color correction is almost always better than trying to fix it manually because the compression has already blended the channels together.

Upscale and Sharpen After Lighting Correction
After correcting the exposure and color, there is often one more problem: the photo might look soft or low-resolution, especially if it was taken in low light where the camera raised its ISO aggressively.
High ISO introduces noise, and noise-reduction algorithms (in camera or in post) soften the image to hide that noise. The result is a photo that looks correctly exposed but lacks sharpness and fine detail.
Why Upscaling After Correction Makes Sense
AI upscaling after lighting correction works on a cleaner signal. The exposure correction removed the worst of the tonal distortion, and the upscaler now has a more representative image to work with. The two steps combined produce results that are significantly better than applying either tool alone.
Best Models for Photo Upscaling on Picasso IA
Picasso IA offers several dedicated upscaling models that work exceptionally well after lighting correction:
- Clarity Pro Upscaler: Photorealistic upscaling optimized for portraits and skin detail. Adds micro-texture without over-sharpening.
- Crystal Upscaler: Portrait-specific model that recovers facial detail, eye sharpness, and hair texture at 4x.
- Real ESRGAN: Open-source upscaler with strong general-purpose performance. Excellent for landscapes and architecture.
- Google Upscaler: 4x enlargement that preserves fine detail without introducing ringing artifacts.
- Topaz Image Upscale: Up to 6x enlargement with excellent noise handling and industry-standard output quality.
- P Image Upscale: Fast 1-second upscaling for quick workflows with solid performance on most photo types.
The Workflow: From Broken Lighting to Finished Photo
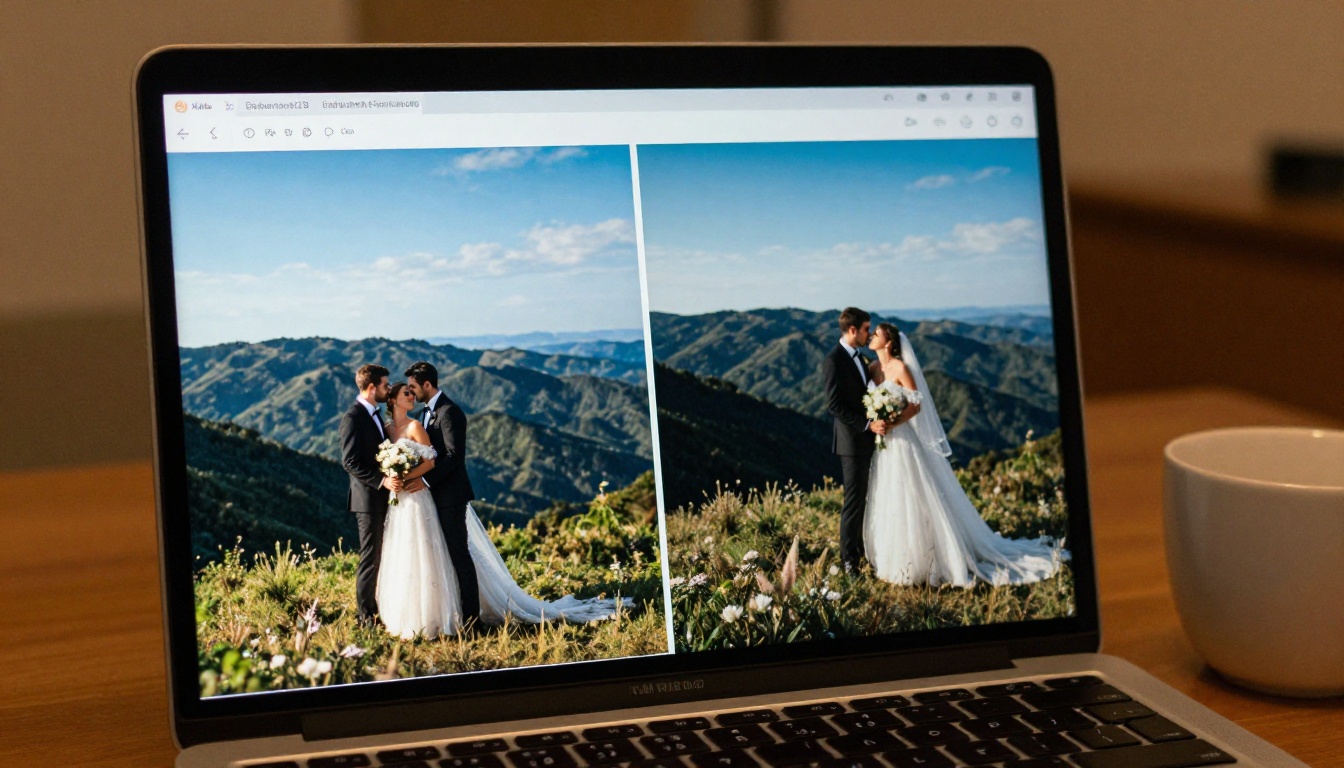
Here is the full process condensed into a repeatable workflow:
- Identify the problem: Overexposed, underexposed, backlit, or color cast. Sometimes a photo has two or three of these at once.
- Correct exposure first: Fix the overall tonal balance before doing anything with color. Exposure correction and color correction interact, and doing them in the wrong order creates extra work.
- Fix color cast second: Once the exposure is balanced, the color cast becomes easier to see and correct accurately.
- Upscale last: After the image is tonally and chromatically correct, apply AI upscaling to add sharpness and fine detail.
💡 Batch processing tip: If you have 50 similar photos from the same shoot (all with the same lighting problem), many AI tools let you batch-process them with the same settings. This can turn a two-hour manual edit into a five-minute automated job.
Common Mistakes to Avoid
- Overcorrecting shadows: Lifting shadows too far produces a flat, low-contrast look. Less is often more.
- Ignoring mid-tones: Most lighting fixes focus on the extremes. But the midtone contrast is what gives the image its punch and depth.
- Applying a global fix to a zoned problem: Backlit photos and mixed-light photos need zone-specific correction, not a single global slider.
- Skipping white balance before upscaling: Color casts interact badly with upscaling algorithms. Fix color first, then upscale.
Does AI Fix All Lighting Problems?
Not perfectly. There are hard limits.
Completely blown highlights with zero data across all three channels cannot be fully recovered. AI can produce a convincing-looking result in those areas, but it is reconstruction, not recovery. Similarly, extremely noisy low-light photos may show AI reconstruction artifacts when shadow detail is pushed very far.
The realistic expectation is this: AI photo lighting correction is dramatically better than what was possible two years ago, and for the vast majority of real-world lighting problems (underexposure, overexposure, backlight, color cast), it produces excellent results in seconds with no manual work required.
It is not magic. But it is close.
AI Lighting Correction vs. Manual Editing
| Factor | Manual (Lightroom / Photoshop) | AI Photo Correction |
|---|
| Time per photo | 5 to 30 minutes | 10 to 60 seconds |
| Skill required | Medium to high | None |
| Shadow recovery quality | Good (with noise) | Excellent (clean) |
| Highlight recovery | Limited | Limited but smoother rolloff |
| Backlight correction | Difficult | Good to excellent |
| Color cast removal | Good (global) | Better (zone-level) |
| Batch processing | Possible with presets | Fast and automatic |
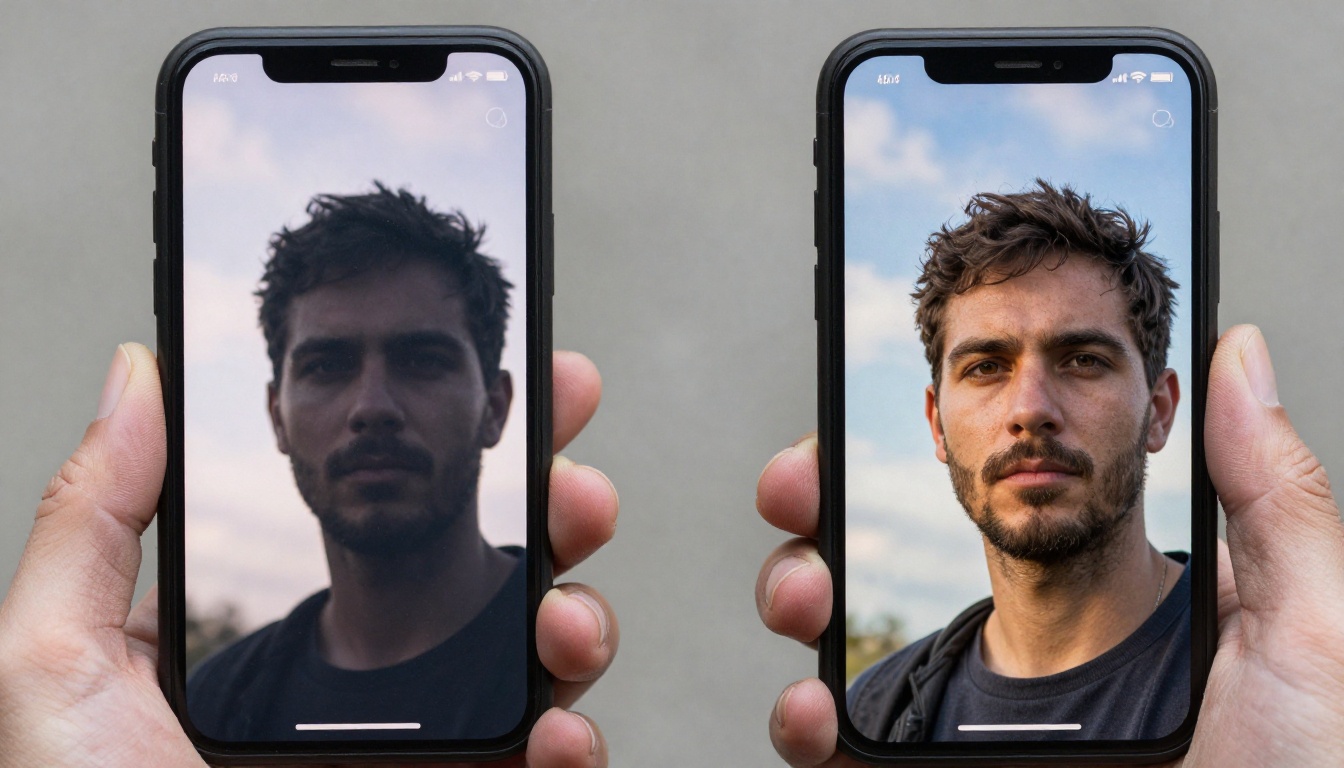
The honest summary: for speed and accessibility, AI wins clearly. For the most precise, artistic control over a hero image that will be printed large, a skilled manual editor still has advantages. For everything else, AI is the faster, more consistent, and often better-looking choice.
Start Fixing Your Photos on Picasso IA
Picasso IA has everything you need to fix lighting problems in photos and take the results further. After correction, you can upscale your photos using models like Clarity Pro Upscaler or Crystal Upscaler for crisp 4x enlargement with no quality loss. If you want to go further and generate new images with perfect lighting from scratch, the text-to-image collection gives you over 90 models to work with, all accessible without any technical setup.
Take one of your photos that never looked quite right because of the lighting. Drop it into Picasso IA, run it through one of the image restoration or upscaling models, and see what comes back. The difference is often significant enough that the photo becomes usable when it was not before.
That is the real value of AI photo lighting correction. It does not just save time. It saves photos.