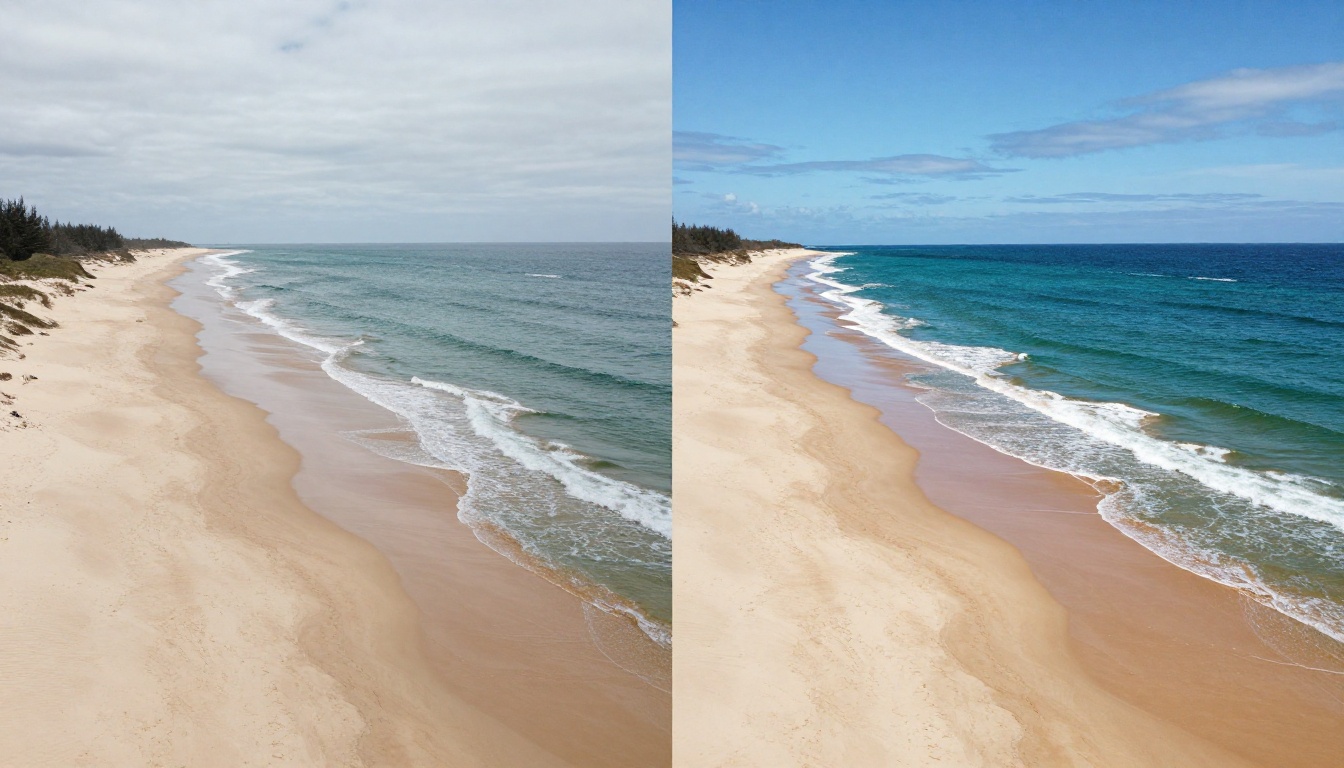
Overexposed footage has destroyed more than a few projects, weddings, travel vlogs, and short films over the years. The sky goes white, skin turns to paper, and every detail in the highlights simply vanishes. Until recently, the only honest answer was: that data is gone. But AI video correction tools have changed that calculus in a significant way, and if you know which tools to use and how to use them, you can often recover footage that would have been considered unsalvageable two years ago.
This article breaks down exactly how to fix overexposed clips with AI, which tools perform best for blown highlights recovery, and what you should realistically expect from the process.
Overexposure is not always a mistake. Sometimes it's the result of a decision made in the moment: you exposed for the subject and sacrificed the sky, or your camera's dynamic range simply couldn't handle the scene in front of it. Other times, it happens because of a setting left over from a previous shoot.
The 3 Situations That Cause It
| Cause | Why It Happens | How Common |
|---|
| Aperture left wide open | Bright outdoor scenes need more ND or narrower aperture | Very common |
| Auto ISO misconfigured | Camera boosts gain in transition from shade to sun | Common |
| Shooting without ND filters | Midday sun exceeds camera's exposure range | Extremely common |
The third situation is by far the most frequent. Shooting in direct sunlight without a neutral density filter, especially with a wide aperture for cinematic depth of field, pushes highlights well past the clipping point in seconds.
What "Clipped" Actually Means
Clipping is not the same as overexposed. A clip that is slightly overexposed still has recoverable data in the raw or log file. A clipped highlight has hit the absolute ceiling of the sensor's recording range. Every pixel in that zone is recorded as pure white, 255,255,255, with zero variation and zero data.
💡 Clipped vs. Overexposed: If your waveform monitor shows a flat line at the top of the scale across a significant portion of the frame, those highlights are clipped. If the line is high but still has variation, recovery is much more likely to succeed.
This distinction matters enormously when you're choosing an AI correction approach.
What Standard Software Can't Do
Every major color grading application, DaVinci Resolve, Adobe Premiere, Final Cut Pro, includes a highlight recovery slider. For slightly overexposed footage, these tools work well. For clipped footage, they hit a hard wall almost immediately.
The Hard Ceiling of Manual Grading
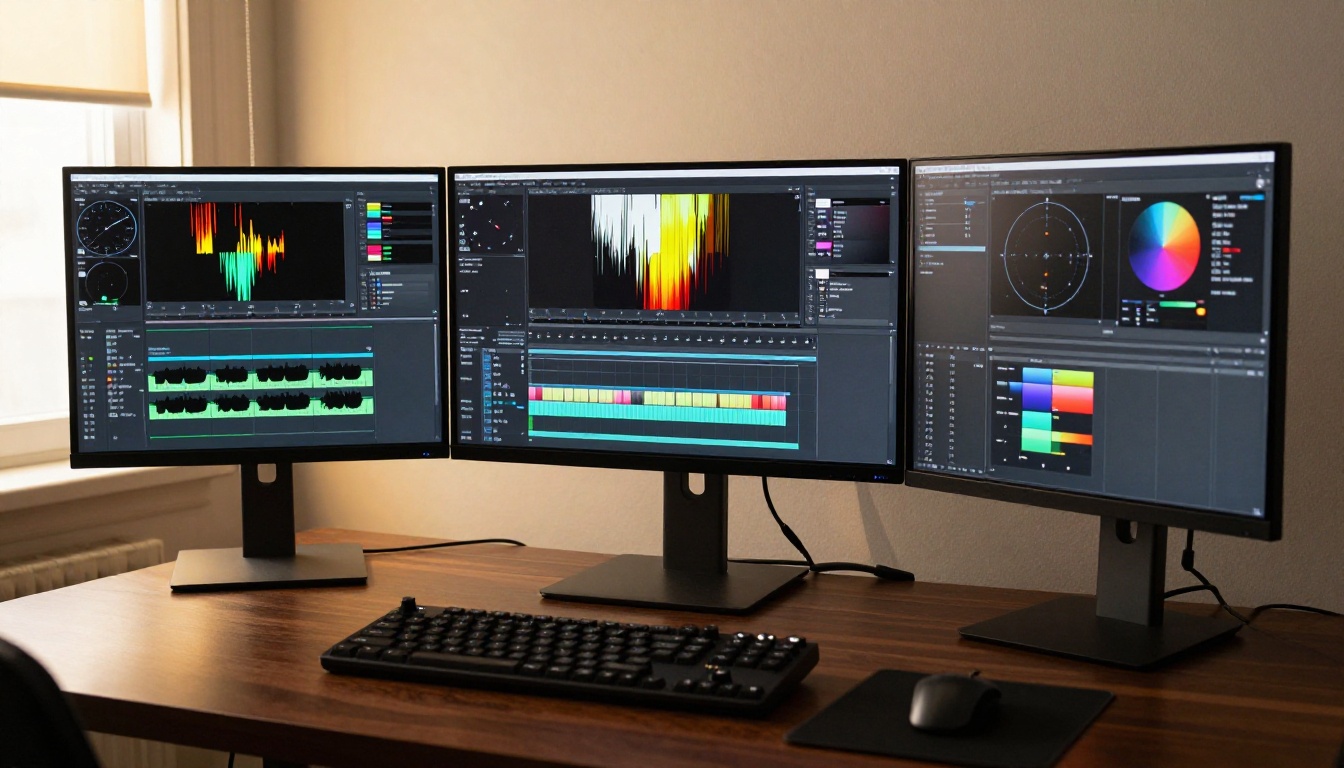
When you pull down the highlights slider in a traditional color grader, it's doing simple math: reducing the luminance values of the brightest pixels. If those pixels are all recording the same value (pure white), there's nothing to work with. You can pull the slider to zero and the sky is still white. The tool is not generating data, it's only redistributing what already exists.
When Highlight Recovery Fails
Traditional recovery fails predictably in these scenarios:
- 100% clipped sky regions where every pixel is pure white
- Skin tones merged with background where the subject and background are indistinguishable
- Reflective surfaces like water or glass where speculars have spread to eliminate detail
- Backlit subjects where both the subject and background are simultaneously overexposed
This is where AI tools operate in an entirely different category. They're not working with the mathematical values that exist in the file. They're generating plausible data based on what should be there.
How AI Reads Blown Highlights
The core capability that separates AI correction from traditional tools is inference. A trained model has seen millions of images and video frames. When it encounters a blown highlight region, it doesn't just see white pixels. It sees context: the color of the sky below the clipped zone, the time of day suggested by the light direction, the gradient pattern approaching the clip threshold.

Pixel Inference vs. Tone Mapping
Traditional tone mapping takes the values you have and remaps them to a new range. AI inference takes the values you have, analyzes the surrounding context, and generates plausible values for regions where no data exists.
The difference in practice:
- Tone mapping: "This pixel is 255. After remapping, it becomes 200."
- AI inference: "This pixel is 255, and the pixels around it suggest this is a midday sky. I'll fill this region with a gradient from 180,210,255 to 220,235,255 with appropriate cloud texture variation."
That's a simplified model, but it captures why AI outputs look different from manual recovery.
Neural Networks and Missing Data
The models used in modern AI video correction tools were trained on paired datasets: original footage alongside intentionally overexposed versions of the same footage. The network learned the relationship between what gets clipped and what should have been there.
💡 What this means for you: AI correction works best when there's contextual information surrounding the clipped region. A small overexposed patch in the center of a well-exposed frame will be recovered much more convincingly than a clip where 80% of the frame is blown.
Several models on PicassoIA are specifically built for video quality restoration and can meaningfully address overexposed clips, particularly when combined strategically.
Crystal Video Upscaler for Detail Restoration
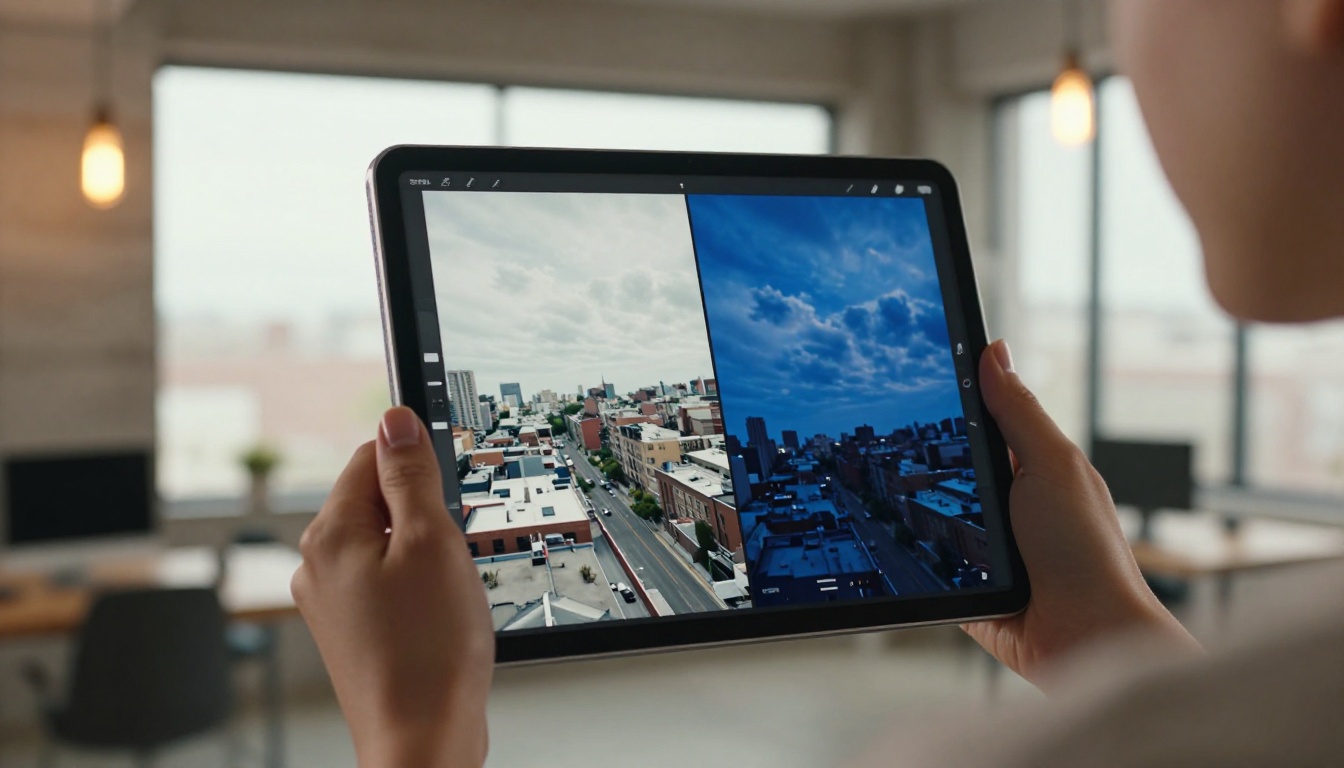
Crystal Video Upscaler by philz1337x is designed for 4K upscaling but its core capability, per-frame neural sharpening and texture reconstruction, makes it valuable for overexposed footage in a specific way. When highlights have been clipped but surrounding areas are intact, Crystal Video Upscaler can rebuild the fine texture detail in mid-tones and shadows that gets lost when you use exposure correction to pull down the overall image brightness.
Best for: Footage where highlights are partially clipped and surrounding detail is intact. Use it after applying exposure correction to restore the sharpness lost during the recovery process.
Topaz Video Upscale for Frame Accuracy
Topaz Video Upscale from Topaz Labs processes each frame with dedicated AI analysis, offering frame-accurate video processing that preserves motion consistency. For overexposed footage with moving subjects, it handles the temporal consistency problem that plagues some AI correction tools: the tendency for AI-generated highlight recovery to flicker between frames.
Best for: Footage with movement, action sequences, or scenes where temporal stability across frames is critical to the final output.
Wan 2.7 VideoEdit for Text-Based Corrections
Wan 2.7 VideoEdit by Wan Video opens up a different approach entirely. Instead of processing the footage through an upscaler, you can instruct the model directly: "darken the sky," "reduce brightness of the background," "restore cloud detail in the upper portion of the frame." For blown highlights that exist in a specific, identifiable region of the frame, text-directed editing offers surgical precision without touching the well-exposed portions of the clip.
Best for: Localized overexposure, such as a window behind a subject, a sky above a landscape, or a backlit section of a scene.
Lucy Edit 2 for Guided Fixes
Lucy Edit 2 from Decart offers real-time video editing through natural language, allowing you to describe the correction you want and see it applied progressively. The advantage here is the ability to iterate quickly: describe, preview, refine, repeat, without processing full clips between attempts.
Best for: Situations where you need to dial in the correction precisely and don't want to wait through full render cycles to evaluate results.
Bria Video Increase Resolution
Bria Video Increase Resolution is worth including in any serious overexposure recovery workflow for the same reason Crystal Video Upscaler is valuable: resolution processing that sharpens and reconstructs detail at the pixel level. When you pull down exposure across a clipped clip, the resulting image can look soft and flat. A resolution pass restores perceived sharpness and brings back the micro-contrast that makes footage look professional.
How to Fix Overexposed Clips on PicassoIA
With the right model selected for your footage, the process on PicassoIA is straightforward.
Step 1: Identify the Type of Overexposure
Before uploading, do a quick check of your clip:
- Open it in any video player and pause on the worst frame.
- Ask yourself: Is the overexposure global (the entire frame is too bright) or local (specific zones like sky or windows)?
- Check whether the surrounding areas are well-exposed, giving the AI context to work from.
Global overexposure responds well to Crystal Video Upscaler or Topaz Video Upscale combined with exposure parameters.
Local overexposure (blown sky, bright windows) responds better to Wan 2.7 VideoEdit or Lucy Edit 2.
Step 2: Upload and Configure
Upload your clip to the selected model. For Crystal Video Upscaler:
- Set output resolution to match or exceed the source
- If available, set the denoising parameter to moderate (overexposed areas often carry noise after exposure correction)
- Run on a short test segment first before processing the full clip
For Wan 2.7 VideoEdit and text-based models, write a specific prompt. Vague prompts produce vague results.
💡 Prompt tip: Instead of "fix the exposure," write "recover the overblown sky in the upper third of the frame, restore cloud texture and blue tones, keep the foreground subjects unchanged." Specific prompts produce dramatically better outputs.
Step 3: Review the Output Frame-by-Frame
Do not skip this step. AI correction can introduce artifacts, particularly:
- Temporal flickering: highlight region changes tone between frames
- Color shift: recovered areas take on an unnatural color cast
- Soft halos: a blurry transition zone around the correction boundary
If any of these appear, apply a second pass with Topaz Video Upscale to stabilize temporal consistency, or adjust the prompt specificity in Lucy Edit 2.
Step 4: Export and Final Grade
Once the AI correction pass is complete, export the clip and bring it into your primary editing timeline. The AI-corrected version now has more usable tonal range, which means your standard color grading tools will have more to work with. A light touch of traditional highlights recovery in your editor will refine the output without fighting against a clipping ceiling.
What to Realistically Expect
AI is not magic. The results depend heavily on the severity of the clipping and the amount of contextual information available.

| Clip Condition | Expected Result |
|---|
| Up to 20% of frame clipped | Excellent recovery, nearly invisible correction |
| 20-50% of frame clipped | Good recovery with visible but natural-looking result |
| 50-80% of frame clipped | Partial recovery, AI-generated textures may not match scene exactly |
| 80%+ of frame clipped | Limited improvement, footage may not be commercially usable |
The recovery threshold is real. If your sky is completely white and occupies 70% of the frame with no surrounding context, even the best AI model will be generating plausible texture rather than recovering actual scene data. The result may look better than pure white, but it won't match what was actually there.
Footage that cannot be saved usually has these characteristics:
- No usable detail in any highlight zone across the affected frames
- No temporal context (adjacent frames are also fully clipped)
- Simultaneous clipping in shadows due to extreme backlight situations
For these clips, the practical solution is to use them alongside other angles from a multi-camera setup, or to approach them as stylistic choices with heavy creative grading.
3 Habits That Prevent Overexposure
Fixing blown highlights after the fact is always plan B. The better answer is avoiding the problem at the source.
Expose to the Right (Carefully)
"Expose to the right" means pushing your exposure as far as possible without clipping. This maximizes the signal-to-noise ratio in your recording. The phrase without clipping is doing all the work there. Use your zebra patterns or highlight alert at 95-100 IRE to know exactly where your ceiling is.
Use ND Filters for Any Outdoor Work
A variable ND filter is one of the most cost-effective tools for controlling exposure in changing light. Matching your shutter speed to 180 degrees (double your frame rate) and maintaining your aperture for depth-of-field control requires NDs in most daylight situations. Without them, you're choosing between correct exposure and correct look every time the light changes.
Shoot in Log or Flat Profile
Log gamma curves distribute more recording data to the highlight range than standard picture profiles. Footage shot in S-Log, C-Log, or V-Log has significantly more recoverable range in the highlights than footage shot in a standard or vivid picture mode. The footage looks flat and desaturated until graded, but the data is there when you need it.
Start Fixing Your Clips Today
Overexposed footage that once ended up in the bin can often be recovered with the right AI tools and a clear workflow. The combination of Crystal Video Upscaler, Topaz Video Upscale, Wan 2.7 VideoEdit, and Lucy Edit 2 covers the full spectrum of overexposure scenarios, from blown skies to globally overlit clips to backlit subjects with clipped highlights.

The clearest way to see what these tools can do for your footage is to upload a problem clip and run a test. PicassoIA gives you access to all of these models in one place, without software installation or local processing requirements. Pick the clip that's been sitting in your rejected folder, run it through, and see what comes back.
Your overexposed footage is probably more salvageable than you think.


