How to Get Photorealistic Faces with AI: What Actually Works
Photorealistic faces are the hardest thing to get right in AI image generation. This article breaks down exactly what separates a convincing portrait from a plasticky render, from prompt structure and model selection to lighting language, skin texture, and upscaling workflows on PicassoIA.
Photorealistic faces are where most AI generators fall apart. The skin looks plastic, the eyes look dead, and something about the nose is always slightly wrong. After running thousands of portrait prompts, clear patterns emerge in what separates a convincing AI face from an uncanny failure, and this breakdown covers them directly.
What Actually Makes a Face Look Real
The human brain evolved to be extraordinarily sensitive to faces. Subtle deviations in proportion, texture, or lighting register as "wrong" before a person can even articulate what they are seeing. This is why a mediocre AI landscape passes without comment, but a mediocre AI face feels deeply uncomfortable.
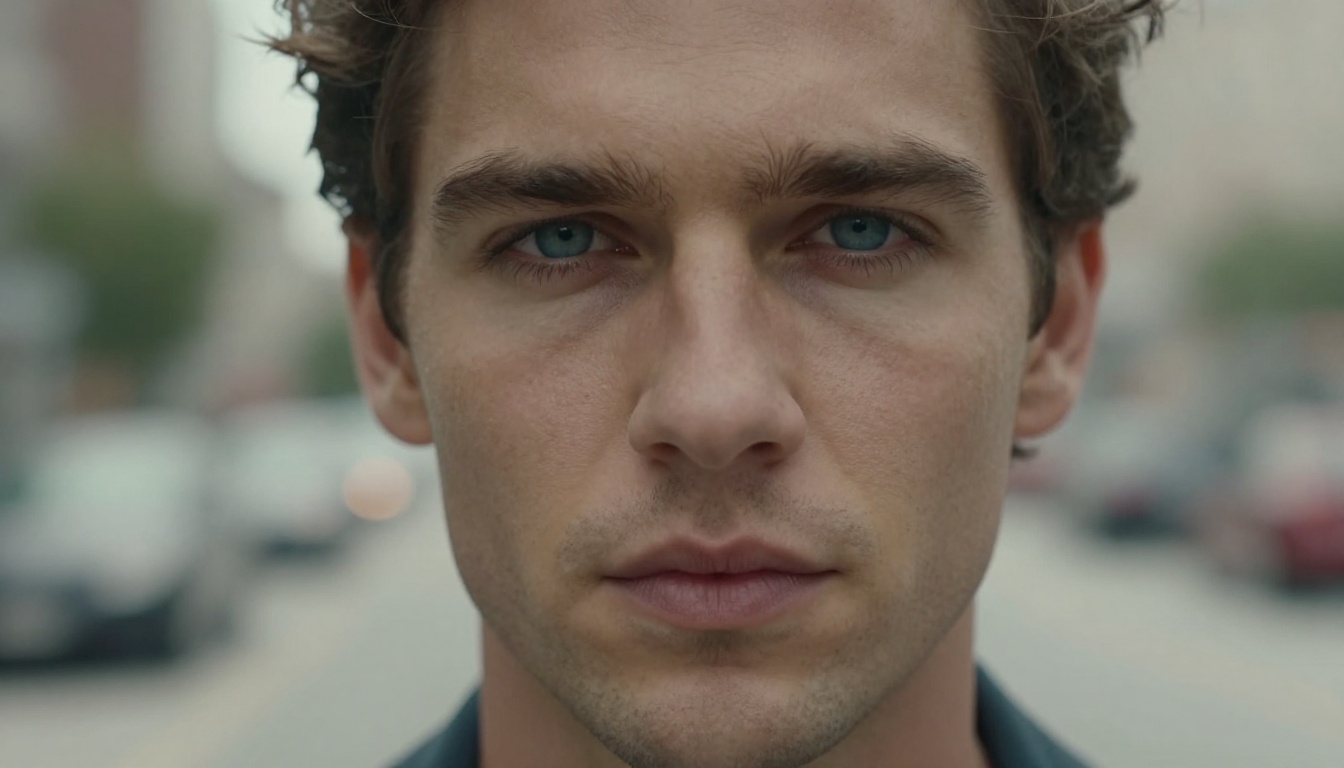
Three variables define whether an AI-generated portrait reads as real or synthetic: skin texture fidelity, eye believability, and lighting logic. Get all three right, and the image works. Miss any one of them, and the whole face collapses.
The Skin Problem in AI Portraits
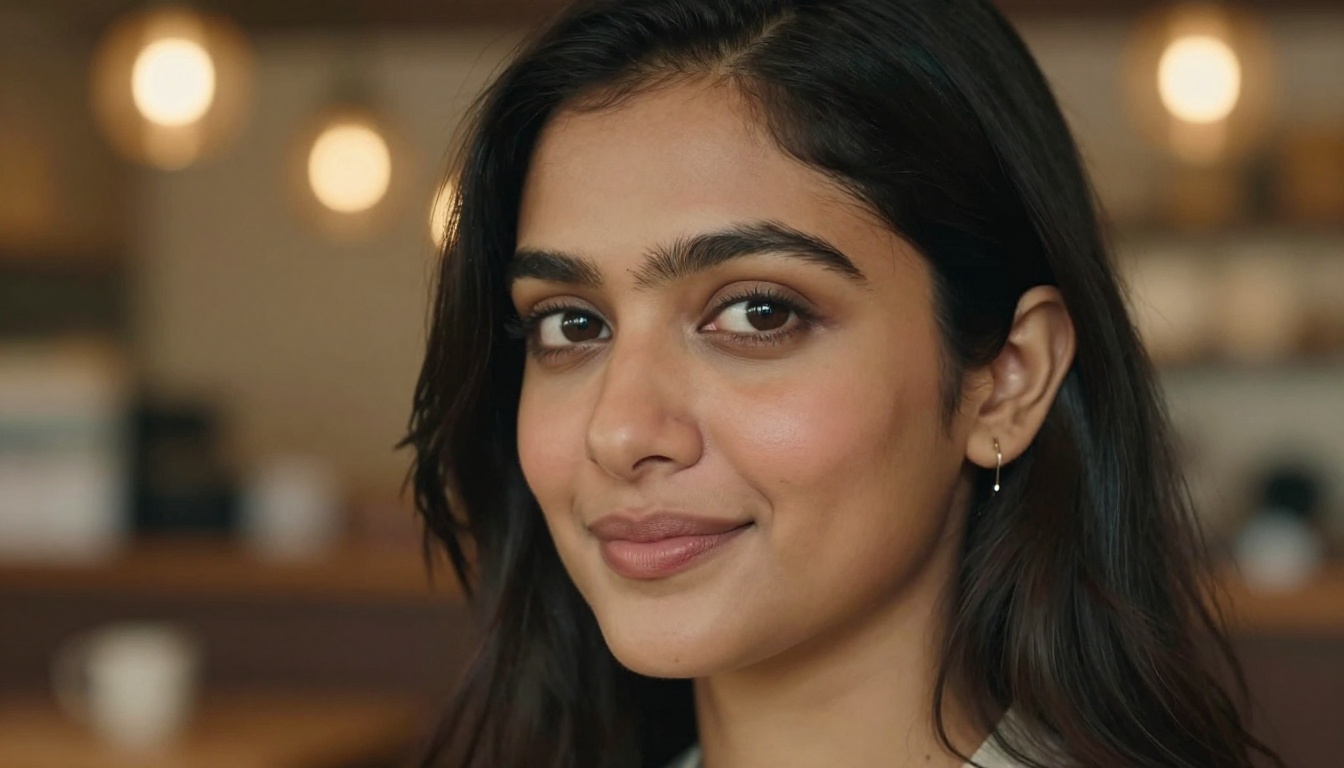
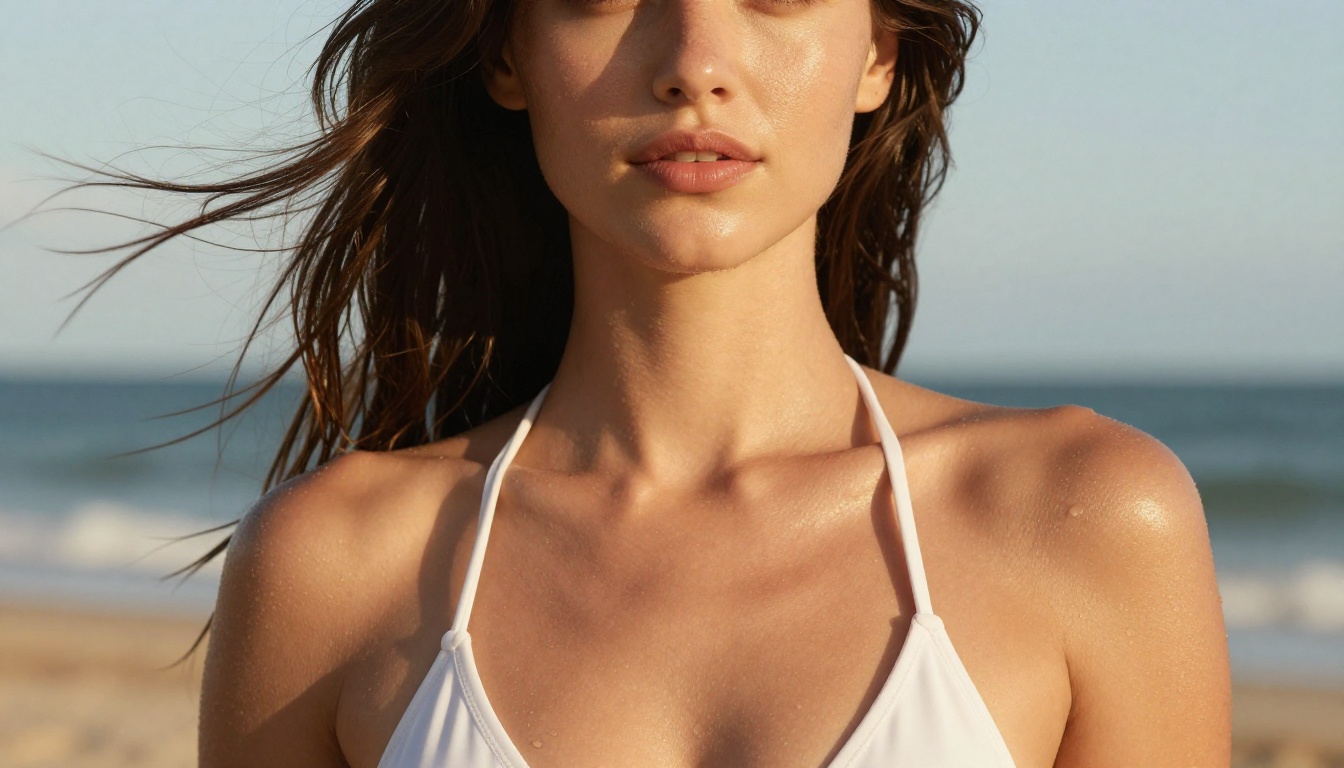
Real skin has layers. It reflects light differently at different angles due to the subsurface scattering of light beneath the dermis. It carries micro-variations in color, tone, and translucency that shift from the forehead to the cheek to the nose. At a macro level, skin shows pores, fine hairs, and texture variation. At a micro level, it shows sebum, individual cells, and subtle imperfections.
Most AI models, when prompted generically, produce skin that looks like a smooth, uniformly lit surface. It is technically "skin-colored" but lacks the physical properties of actual skin.
The solution lives entirely in prompt specificity. Writing "photorealistic skin" is not enough. You need to describe the texture you want:
💡 Tip: Use language like "visible pores on the nose bridge and cheeks," "fine vellus hairs above the lip," "natural color variation from warm cheeks to cooler forehead," "slight sebum sheen on the T-zone," and "rosy undertones visible in the nasolabial folds." These micro-detail descriptors push models toward real texture rather than smooth renders.
Critically, avoid words like "flawless," "perfect," or "airbrushed" in portrait prompts. Those terms push the model toward retouched beauty imagery, not real photography.
Eyes: Where AI Most Often Fails
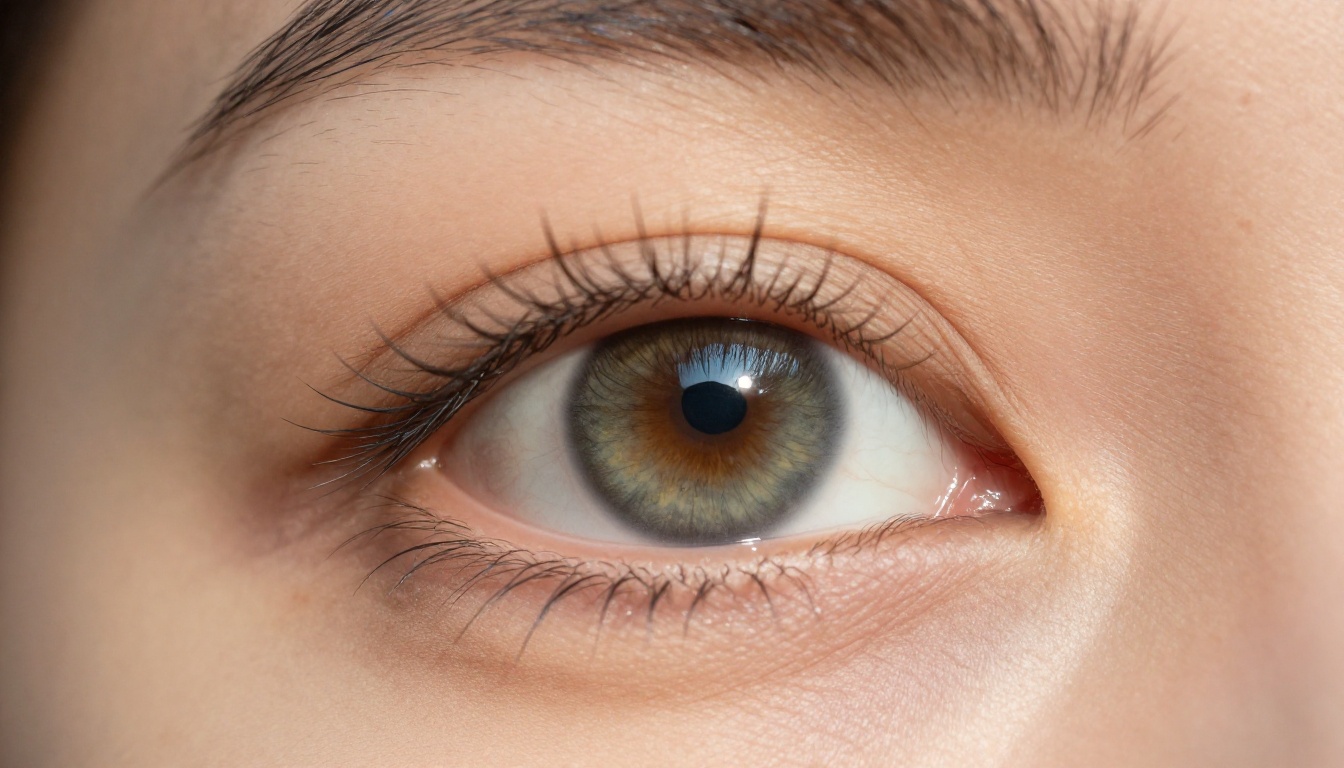
Dead eyes are the fastest path to the uncanny valley. In real photography, eyes contain a remarkable amount of visual information that the brain processes instantly:
A primary catchlight from the main light source, positioned logically relative to the described lighting
A secondary softer fill catchlight opposite the primary
Iris texture with visible color variation and radial patterns
Sclera that is slightly warm or off-white, never pure paper-white
Natural redness at the inner corners (caruncle)
Eyelid skin with visible texture and fine individual lashes
To get this in AI outputs, describe the lighting setup with enough specificity that catchlights follow naturally. "Single soft box from upper left, catchlight visible at 10 o'clock position in both eyes" gives the model a precise picture of where light should appear in the iris.
Lighting Logic: The Most Underused Variable
Real photographers spend more time on lighting than almost anything else. AI prompts that skip lighting description produce images with ambient, directionless light that the brain instantly reads as artificial.
Describe your light source, its position, its quality (hard or soft), and its color temperature:
Generic (weak): "natural lighting"
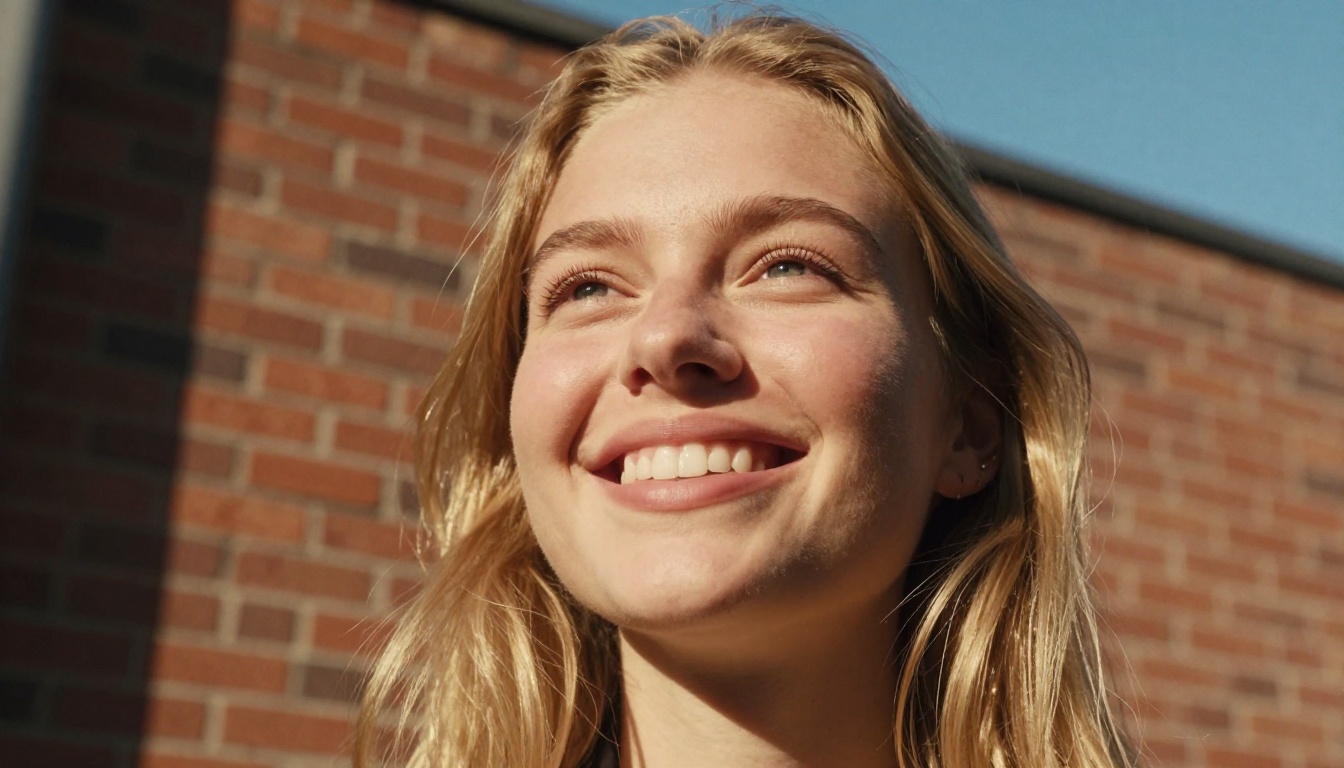
Specific (strong): "volumetric morning light entering from the upper left, warm 5500K color temperature, creating a defined shadow on the right side of the face with a soft falloff toward the chin"
The difference in output quality between those two descriptors is enormous, and it costs nothing to write the longer version.
The Right Models for Photorealistic Faces
Not every text-to-image model performs equally on portraits. Some are built for concept art and lean toward illustration even when prompted for realism. The models that consistently produce strong photorealistic faces have specific characteristics worth knowing.
Flux Dev: The Portrait Specialist
Flux Dev is a 12-billion parameter model that sits at the top tier for face realism. Its large parameter count means it has absorbed vastly more information about how real faces look across ages, ethnicities, lighting conditions, and camera setups.
What makes it particularly useful for portrait work is its image-to-image mode. Start with an existing photo or a previously generated face, describe the changes you want, and Flux Dev modifies it while preserving the core facial identity. This is how you build consistent characters across multiple images.
4:5 for social, 9:16 for vertical, 16:9 for editorial
50 inference steps max
More steps, richer skin and hair detail
Seed control
Lock a face, iterate on background and lighting
For portrait generation, push inference steps to 40-50. The default 28 steps work for quick concept testing but leave skin texture relatively shallow compared to what the model is capable of at full quality.
Flux Schnell: Built for Rapid Iteration
Flux Schnell generates in under 5 seconds. For portrait work, this speed serves a specific purpose: prompt testing. Writing good portrait prompts requires iteration. You need to test lighting descriptions, skin tone language, camera angles, and film stock references across multiple variations before committing to a final render.
Running 20 variations in Flux Schnell takes the same time as running 2 in a slower model. That speed ratio changes how you approach the creative process:
Ideation phase in Flux Schnell — Run 15-20 prompt variations to find the lighting, angle, and character that works
Final render in Flux Dev — Apply the winning prompt at full quality with 45+ inference steps
This two-step workflow is significantly more efficient than iterating in a slow model from the start.
How to Write Prompts That Actually Work
Prompt quality is the single biggest variable in portrait realism. Two people using the same model with different prompts will get results that look like they came from entirely different systems. The gap is that wide.
Describe the Lens, Not Just the Subject
Photographers think in terms of focal length and aperture because these variables define how a face looks in a photograph. AI models trained on photography metadata respond to lens language accurately:
85mm f/1.4: Compressed face, flattering proportions, creamy background separation. The classic portrait focal length. Use this for headshots and beauty work.
50mm f/1.8: Natural perspective, closest to what the human eye sees. Good for environmental portraits where authenticity matters more than flattery.
35mm f/2.0: Slightly wide, includes more context around the subject. Strong for candid and documentary-style portraits.
100mm f/2.8 macro: For extreme close-ups where skin texture and eye detail are the primary subject matter.
Always include aperture alongside focal length. "85mm f/1.4 lens with shallow depth of field blurring background into soft bokeh while keeping eyes sharply in focus" gives the model a thorough optical description to work from.
Film Stocks That Add Instant Realism
Film stock references are among the most efficient prompt tools for portraits. A single film stock reference carries an entire color aesthetic, grain character, and tonal range that would take many sentences to describe otherwise:
Film Stock
Visual Character
Best For
Kodak Portra 400
Warm skin tones, natural palette, fine grain
Natural light portraits, beauty
Kodak Portra 800
Slightly more grain, handles shadows well
Low-light and indoor portraits
Fujifilm Superia 400
Cooler, slightly desaturated, sharp
Modern editorial style
Kodak Tri-X 400
High-contrast black and white, dramatic grain
Character portraits, documentary
Fujifilm Pro 400H
Pastel, airy, soft highlight rolloff
Natural light, lifestyle portraiture
Ilford HP5
Classic monochrome, medium contrast
Timeless portraits, street photography
Including a specific film stock in your prompt is a one-line shortcut to an entire photographic aesthetic. Pair it with a lighting description and lens spec, and you have 80% of a strong portrait prompt structure handled.
What to Remove from Portrait Prompts
Some terms consistently degrade face realism even when intended as positive descriptors:
"Perfect" or "flawless": Pushes toward retouched beauty imagery, not real faces
"Hyperrealistic": Often produces an over-sharpened, artificially precise look that reads as CGI
"Beautiful" without specifics: Produces averaged stock-photo faces with no individual character
"Stunning": Triggers the same averaging problem as "beautiful"
Vague style modifiers like "cinematic" alone, without a corresponding lighting description
Replace these with specifics. Instead of "a beautiful woman," write "a 31-year-old woman with light olive skin, high cheekbones, a slightly upturned nose, and deep-set dark brown eyes." The result is a face that belongs to someone, not a statistical average.
How to Use Flux Dev on PicassoIA
Flux Dev is available on PicassoIA with no installation, no credit caps, and no watermarks. Here is the exact workflow for producing a photorealistic portrait from scratch.
Step 1: Assemble Your Prompt Using This Structure
[Specific physical description] + [Environment and background] + [Light source, direction, quality, color temperature] + [Lens focal length and aperture, depth of field] + [Film stock] + [Micro-texture details] --ar [ratio]
A worked example:
"A woman in her early 30s with freckled olive skin, dark curly hair pulled back loosely, seated in a sunlit cafe, warm morning window light from the left at 5500K casting a soft shadow across the right cheek, 85mm f/1.4 lens with creamy bokeh background of blurred cafe interior and string lights, Kodak Portra 400, visible pore texture on nose and cheeks, slight smile, natural eyelashes --ar 4:5"
This single prompt contains every variable that determines portrait quality: a specific person, a specific environment, a precisely described light source, a named lens, a film stock, and texture details. Nothing is left to default.
Inference steps: Set to 40-50 for final portrait quality, 28 for quick concept testing
Aspect ratio: 4:5 for classic portrait format, 9:16 for mobile-first vertical, 16:9 for editorial layouts
Output format: PNG for any post-processing work, WebP for direct web publishing
Go Fast mode: Disable this for maximum detail on final renders
Step 3: Use Seeds to Build Consistency
When you get a face you like, record the seed number shown in the output. From that point:
Change the background description without altering the face
Shift the lighting setup while keeping the person the same
Try different clothing, seasons, or environments on the same individual
Seed-locking is what separates one-off portrait generation from a consistent character workflow. Both Flux Dev and Flux Schnell support seed control on PicassoIA, and both allow unlimited runs with no usage caps.
Upscaling Faces After Generation
The base output of most AI portrait models is approximately 1 megapixel. That is sufficient for on-screen viewing but falls apart at close inspection, when zoomed in, or when printed. Upscaling adds genuine detail to faces rather than simply increasing pixel count.
Clarity Pro Upscaler for Photorealistic Output
Clarity Pro Upscaler is built specifically for photorealistic upscaling. It adds texture that is consistent with real photography, meaning skin pores, fine facial hairs, and eyelashes gain definition in a way that reads as captured rather than processed. The difference from a generic sharpening pass is immediately visible on portrait close-ups.
Crystal Upscaler for Portrait-Specific Work
Crystal Upscaler is optimized specifically for portrait images and pushes detail up to 4x while preserving the natural look of skin. It is particularly strong at maintaining catchlights and iris detail, which are the first elements to degrade in lower-quality upscaling passes.
For other upscaling needs:
Real ESRGAN: Fast 4x upscaling with solid general-purpose results
Google Upscaler: Reliable 4x with strong detail preservation across subject types
Topaz Image Upscale: Up to 6x output suited to print and high-resolution editorial work
Mistakes That Break Portrait Realism
Running through large volumes of AI portrait attempts, the same errors repeat. These are the ones worth knowing before you start your first serious portrait generation.
Flat Light Kills Dimension
When every part of the face is equally lit, the result looks like a product render, not a photograph. Real photography always has shadow. A face without shadow has no dimension. No dimension means no depth, and no depth registers as flat and synthetic to any viewer.
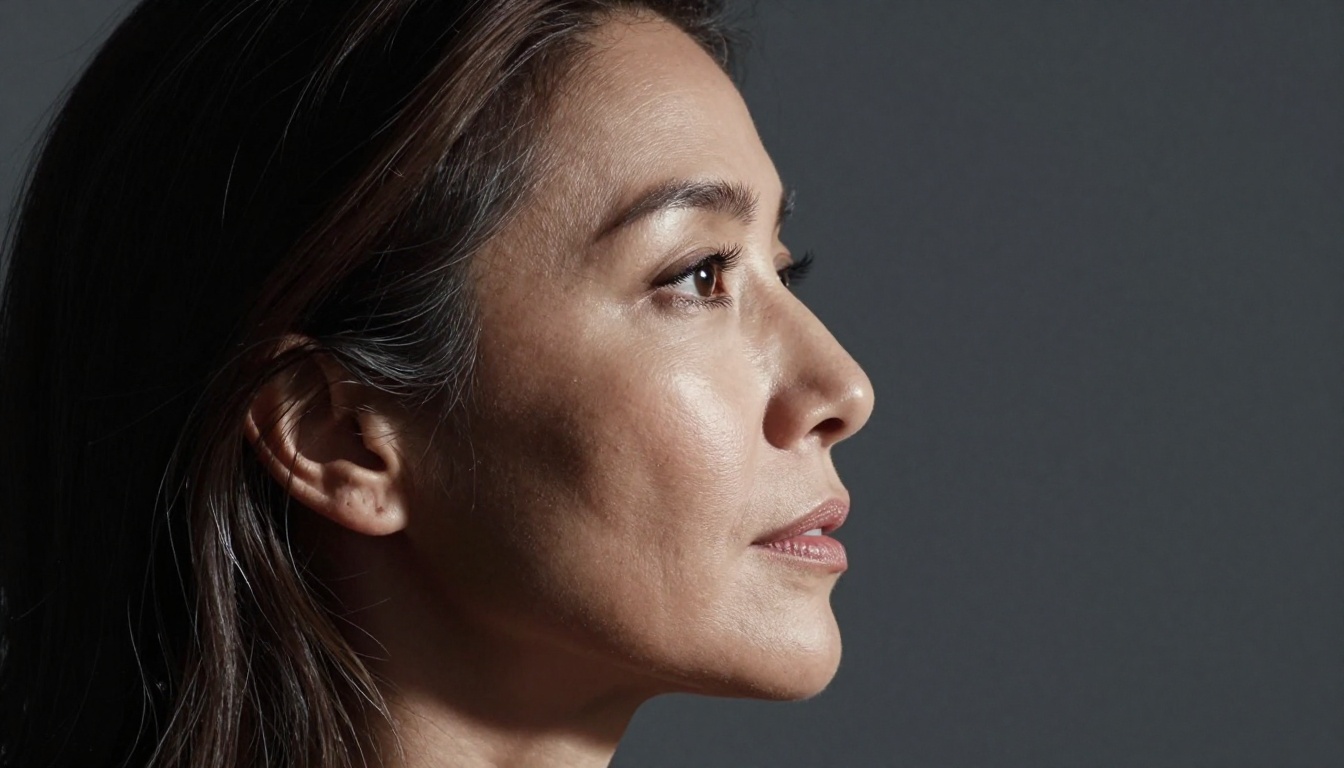
Add shadow intentionally in your prompts: "shadow wrapping around the right side of the face," "slight underexposure on the background to isolate the subject," "deep shadow under the chin and neck area." These phrases push realism upward in ways that generic lighting prompts cannot replicate.
Describing a Type Instead of a Person
The most common mistake is prompting for a category of person rather than a specific individual. "Attractive woman in her 30s" produces an averaged composite face that statistically no real person would have. It is the AI portrait equivalent of a stock photo, and it reads the same way.
Specificity breaks the averaging effect. Describe the exact nose shape, the distance between the eyes, a particular jawline character, the precise undertone of the skin. The more specific the description, the less the model falls back on averaged facial features, and the more the output resembles a real, distinct individual.
Getting Real Results Across Ages and Skin Tones
Flux Dev produces photorealistic faces across a wide range of ethnicities, ages, and skin tones. Accurate results require skin tone language that goes beyond surface descriptors.
Skin Tone Prompting That Actually Works
Skin Tone
Effective Prompt Language
Fair and light
"porcelain skin, cool undertones, visible blue veins at temple, light pink flush on cheeks"
Medium and olive
"warm olive skin, golden undertones, natural blush, slight sun-related pigmentation"
Deep and dark
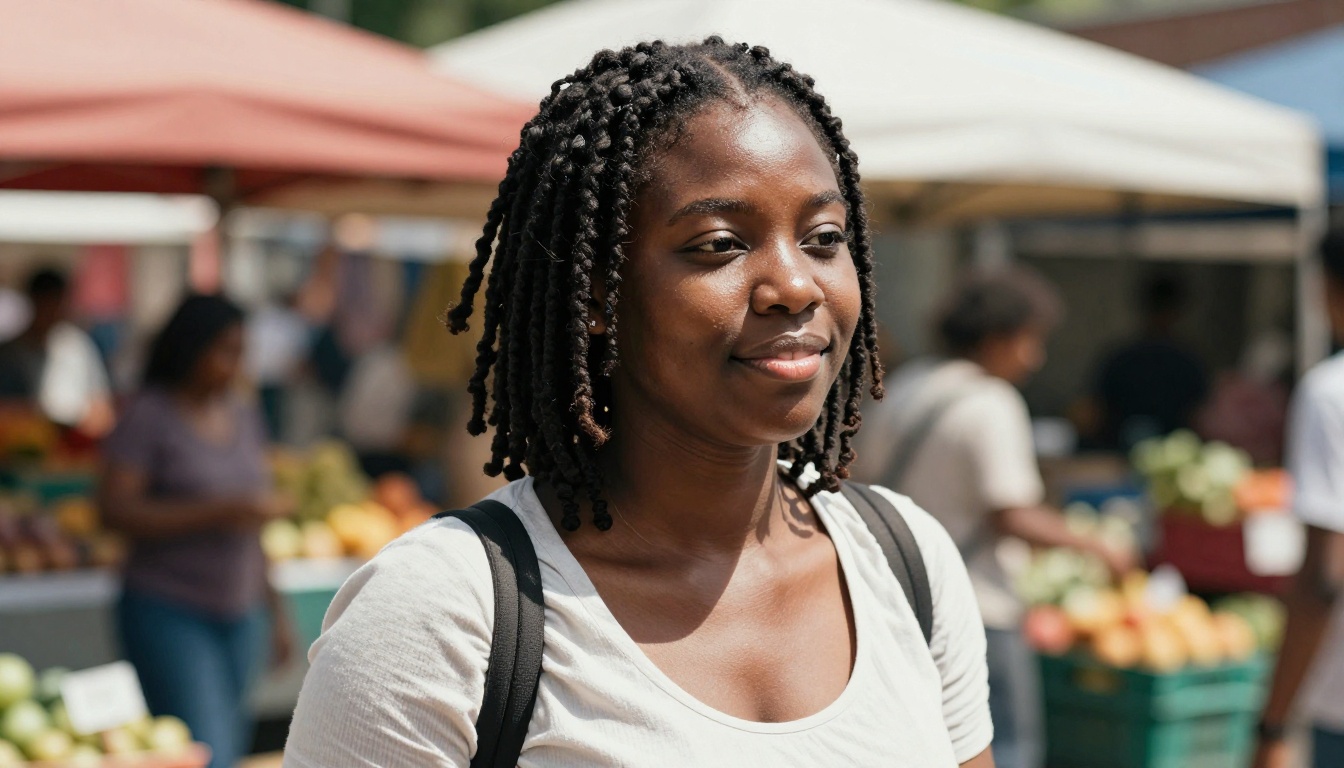
"rich deep brown skin, warm red undertones, natural skin luminosity, no fill flash"
Tan and sun-kissed
"golden tan skin, warm bronze undertones, visible sun freckles on nose and cheeks"
The critical element is undertone language. "Dark skin" without undertone descriptors produces inconsistent or inaccurate color rendering. Always pair a base skin tone descriptor with a warm, cool, or neutral undertone reference. The same applies across all skin tones: specifying undertones is what creates accurate rendering, not just the surface tone descriptor.
Generating Older Faces with Real Character
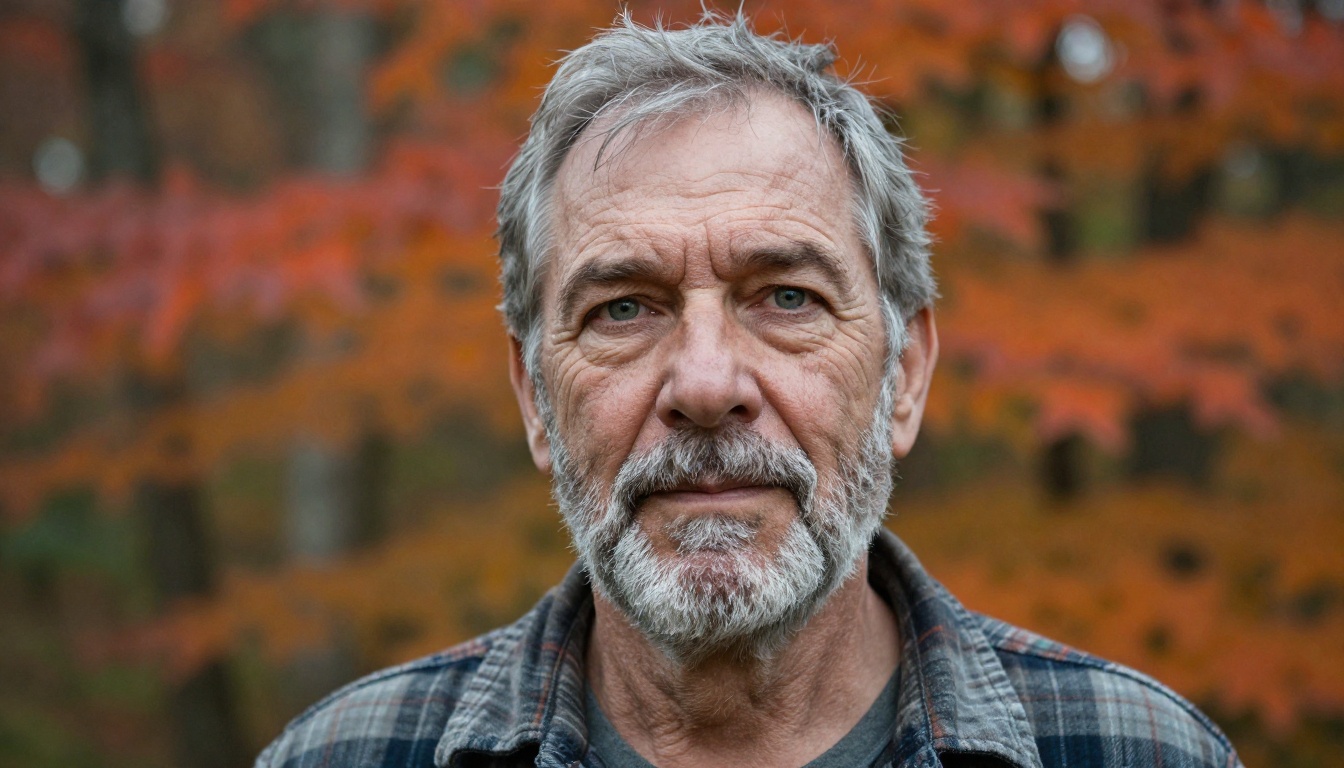
AI models default heavily toward young, smooth faces. Getting photorealistic older faces requires explicit physical descriptors: "visible crow's feet at the outer corners of both eyes," "nasolabial folds deepening toward the jaw," "age spots on the left cheekbone," "neck skin with natural texture consistent with age."
These prompts add the specific character that makes a face believable as belonging to a real person with a history, rather than a generated statistical average of youth. Older faces with character are often more compelling than smooth, averaged faces because the character is what the eye is drawn to.
Try It Yourself on PicassoIA
Every workflow in this article is available right now on PicassoIA with no downloads, no setup, and no credit caps. Open Flux Dev and run your first portrait prompt using the lens, lighting, and film stock structure above.
For rapid prompt testing, switch to Flux Schnell to iterate through variations fast, then return to Flux Dev for the final high-detail render. Once you have an output worth refining, take it into Crystal Upscaler or Clarity Pro Upscaler for portrait-quality detail at print resolution.
The gap between a generic AI face and a convincing photorealistic portrait is not about the model alone. It is about the prompt structure, the lighting language, and the upscaling workflow. All three are within reach, and all three are available on PicassoIA right now. Start generating.