Your thumbnail has about 0.3 seconds to stop a scroll. That's it. And the single most proven way to stop it is a clean, isolated subject that pops off the screen. Not a cluttered background competing with your face. Not a half-transparent fringe eating the edge of your arm. A sharp, decisive cutout that forces the eye exactly where you want it.
The problem used to be the process. Getting a clean subject isolation meant sitting in Photoshop with the pen tool, refining masks by hand, fighting every strand of hair. It was the kind of work that took 20-30 minutes per image, just to get it looking acceptable. Most creators either skipped it or outsourced it.
AI background removal changed that completely. What used to be a half-hour task now runs in under five seconds with results that often beat manual masking, especially on hair and soft edges where the pen tool was always weakest.
This article covers exactly how to do it: the theory behind why isolated subjects work, what makes a cutout look professional versus cheap, and a step-by-step process using the Bria Remove Background model on PicassoIA.
Why Your Background Is Killing Your CTR
It's a Visual Attention Problem
The human eye follows contrast and faces. When you have a busy background behind your subject, those competing textures and colors split attention. Viewers process the thumbnail as "busy" and keep scrolling before their brain even registers your face or the text.
Isolated subjects eliminate that problem. There's nothing to compete with. The eye goes to the face, reads the expression, processes the title, and either clicks or doesn't. That's the sequence you want.
The three elements of high-CTR thumbnails:
| Element | Role |
|---|
| Isolated subject | Focuses attention, removes visual noise |
| Bold expression | Communicates emotion at a glance |
| High-contrast text | Provides context without requiring reading |
Subject isolation isn't just aesthetic. It's functional. It forces the viewer's eye to do exactly what you need it to do.
What Top Creators Already Know
Look at the thumbnails from the biggest YouTube channels in any niche. Gaming, finance, fitness, commentary. The overwhelming majority share one trait: the creator is cut out from a background and placed against something controlled. Either a plain color, a custom illustration, a dramatic scene, or a solid gradient.
This isn't coincidence. It's a pattern because it works, and the data backs it up. Channels that A/B test thumbnails consistently report 15-30% higher CTR on versions with isolated subjects versus the same shot with a natural background left intact.

Manual Cutouts vs. AI Removal
Why Photoshop Isn't the Right Tool Anymore
Photoshop's tools are powerful. No argument there. But the pen tool, the quick selection, even the newer AI-assisted "Select Subject" feature all require time, iteration, and judgment. For a creator publishing three videos a week, that's an unsustainable workflow.
The specific bottleneck isn't the main body. It's the edges, especially hair. Fly-aways, curls, fine strands: these have always been the nightmare of manual masking. Getting them right in Photoshop means painting masks at 400% zoom, pixel by pixel. Skip that step and you get a halo effect, a dark fringe where the old background color bleeds through.
What AI Does Differently
AI background removal models don't trace edges. They understand the image semantically. They identify what is the subject and what is the background, then produce a prediction map that accounts for soft transitions, fine detail, and semi-transparent areas.
The results on hair, fur, and transparent materials are genuinely better than what most people can do by hand. Not because the AI is more skilled, but because it uses probabilistic blending at the pixel level, something the human eye cannot replicate manually at scale.
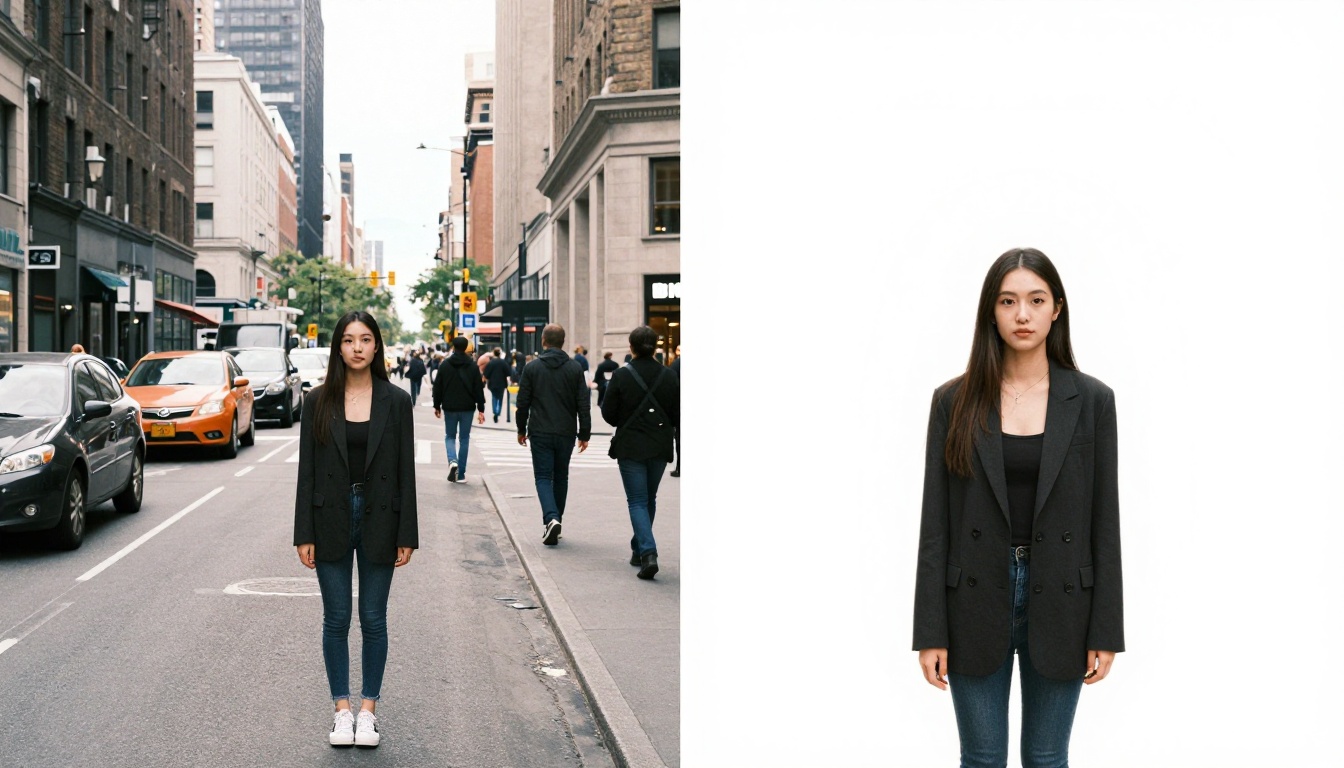
💡 The workflow shift: AI removal isn't just faster. It changes what's possible. You can now iterate on thumbnail designs in real time, swapping backgrounds, testing colors, repositioning your subject, without committing hours to each version.
How to Remove Backgrounds with AI on PicassoIA
Step 1: Get Your Source Photo Ready
Your source image quality determines your result quality. Before you upload anything, make sure:
- The subject is in focus. Blur on the subject confuses the model.
- The subject has contrast with the background. A white shirt against a white wall is the hardest case for any AI.
- The image resolution is at least 1080px on the shortest side. Thumbnail platforms render at high DPI on modern screens.
The best practice is to shoot with a separation between subject and background when possible. Stand a meter away from the wall. Use a ring light to add frontal fill. This isn't about aesthetics, it creates the contrast the AI needs to make clean decisions.
Step 2: Upload to Bria Remove Background
Open the Bria Remove Background model on PicassoIA. This model uses Bria's commercial-grade background removal engine, trained specifically for crisp, production-ready cutouts.
The process:
- Click Upload Image and select your photo
- Hit Run
- Wait 3-8 seconds for processing
- Download the PNG with transparent background
That's it. The model handles everything else.
Step 3: Place Your Subject in the Thumbnail
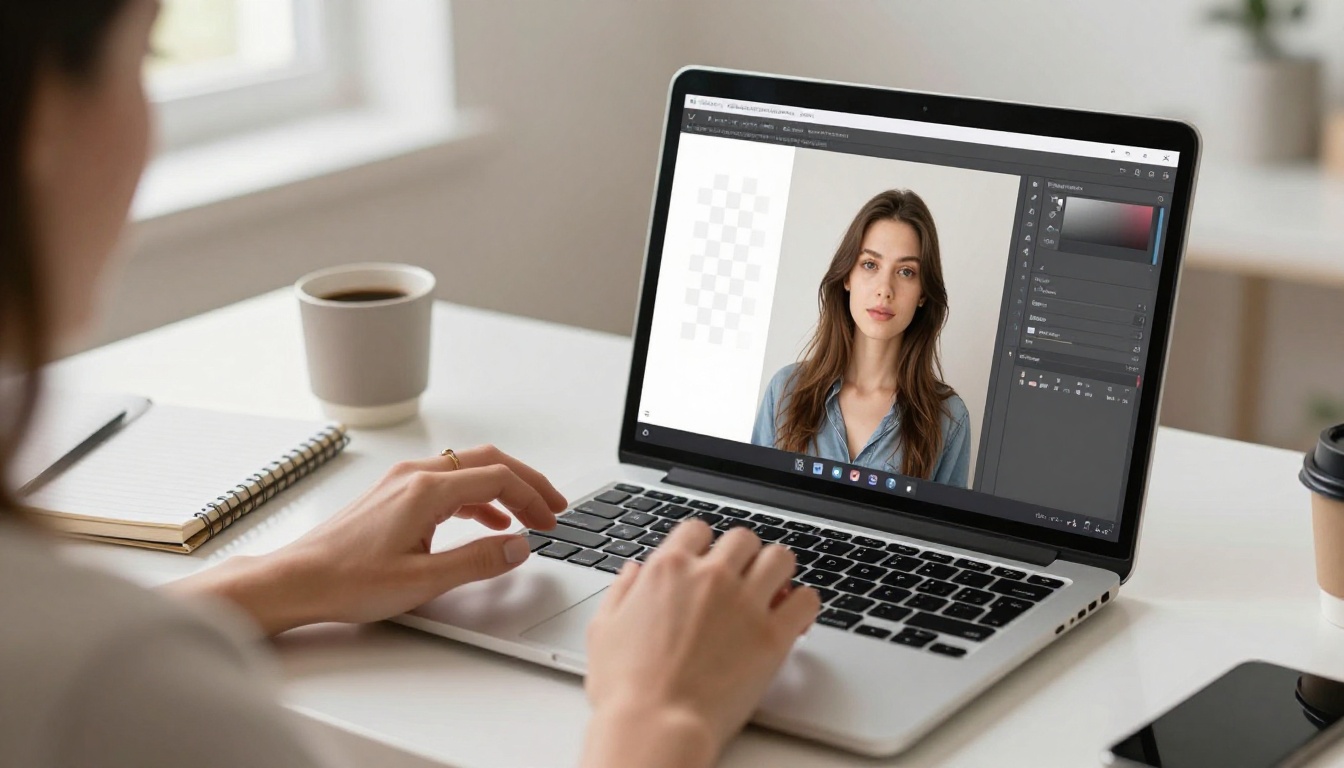
With your transparent PNG downloaded, open it in any image editor. Canva, Photoshop, Figma, even PowerPoint. Drop your subject layer onto your new background, scale and position, then add your text.
Checklist before finalizing:
The most common post-isolation mistake is skipping the shadow. When you cut a subject from a photo, you also remove the natural shadow they cast. Without replacing it, the subject looks like they're floating. Add a subtle drop shadow in your editor, about 30% opacity, soft edge, shifted 5-10px down. It grounds the subject instantly.
Getting a Shot That's Easy to Isolate
Lighting That Helps the AI
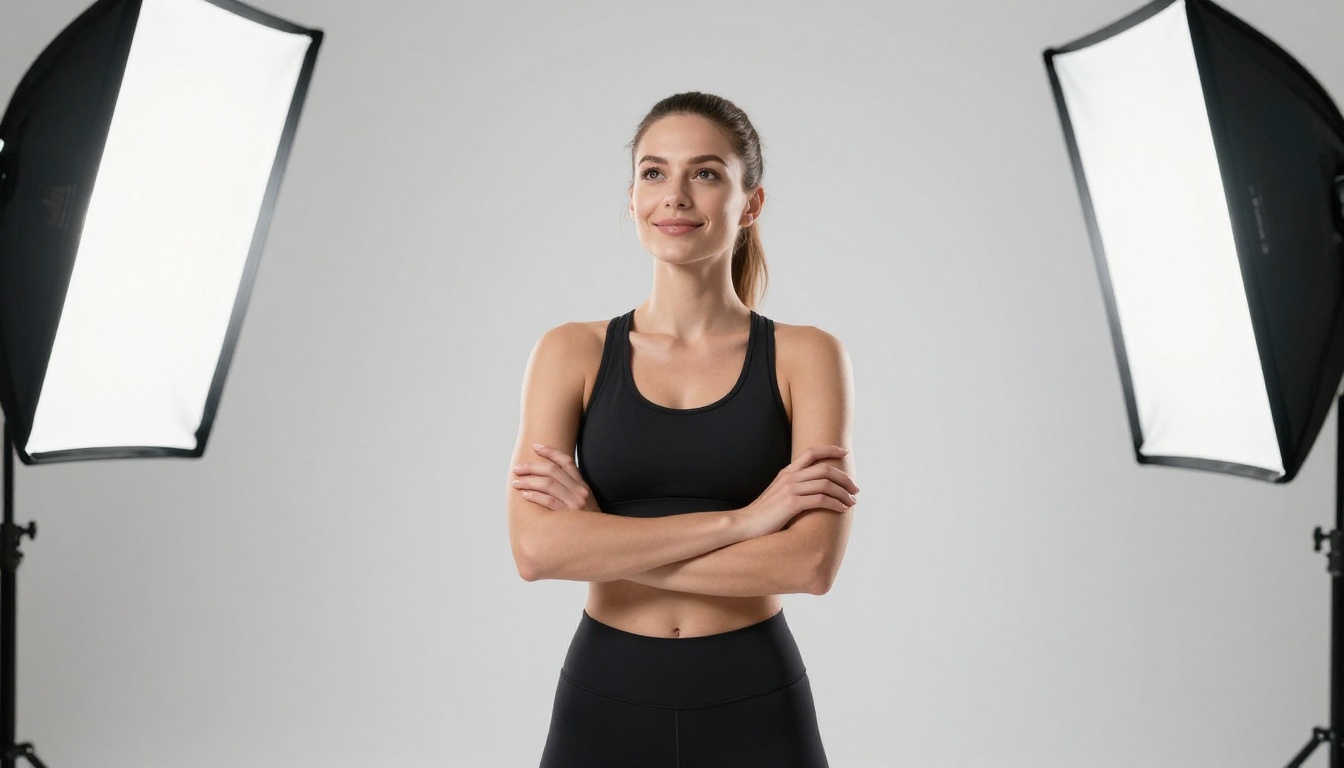
You don't need a studio. You need contrast. The AI identifies the subject boundary by detecting where pixel values transition from subject tones to background tones. When lighting is flat and backgrounds are similar in tone to the subject, those boundaries blur.
What works well:
- Front-facing ring light: Adds fill and separates the subject from darker backgrounds
- Window light from the side: Creates a natural gradient that helps edge detection
- Single overhead key light: Produces a clean shadow under the chin that helps the AI understand depth
What makes it harder:
- Backlit subjects where the background is brighter than the subject
- Flat, overcast light with no shadow definition
- Background colors that match clothing or skin tones
Clothing and Contrast Tips
Wear solid colors that contrast with your shooting environment. Black hoodie against a white wall. Light shirt against a dark backdrop. The AI works on gradients and transitions. When your clothing blends into the wall, you're asking the model to make a judgment call on ambiguous pixels, and those calls don't always land the way you want.
Avoid transparent materials, sheer fabrics, and intricate lace patterns for backgrounds you intend to remove. These create semi-transparent regions that even advanced models handle inconsistently.
After Isolation: Making the Subject Look Right
Sharpening and Resolution
Background removal occasionally softens edges slightly as part of the blending process. For thumbnails rendered on retina screens, that softness becomes visible. The fix is upscaling.
Bria Increase Resolution runs a 2x-4x upscale pass that restores detail and sharpens edges without adding artifacts. Run your isolated PNG through it after removing the background and before placing it in the thumbnail composition.
For portraits specifically, Crystal Upscaler is optimized for skin texture and facial detail, producing results that hold up at any crop or scale you need.
The Shadow Trick That Sells the Composite
Nothing exposes a bad composite faster than an incorrect shadow. When you drop your isolated subject onto a new background, the lighting of the original photo rarely matches the new scene. The result looks fake even when the edges are clean.
Two options that work consistently:
- Neutral drop shadow: Works for any background. Soft, 40-60% opacity, 0-degree angle, 8-12px offset. It's generic but it reads as real.
- Reflection: For white or light backgrounds, duplicate the subject layer, flip it vertically, set to 15-20% opacity, and compress the height by 30%. It mimics a natural floor reflection and grounds the subject completely.

The 3 Cutout Problems That Ruin Thumbnails
Hair Fringing
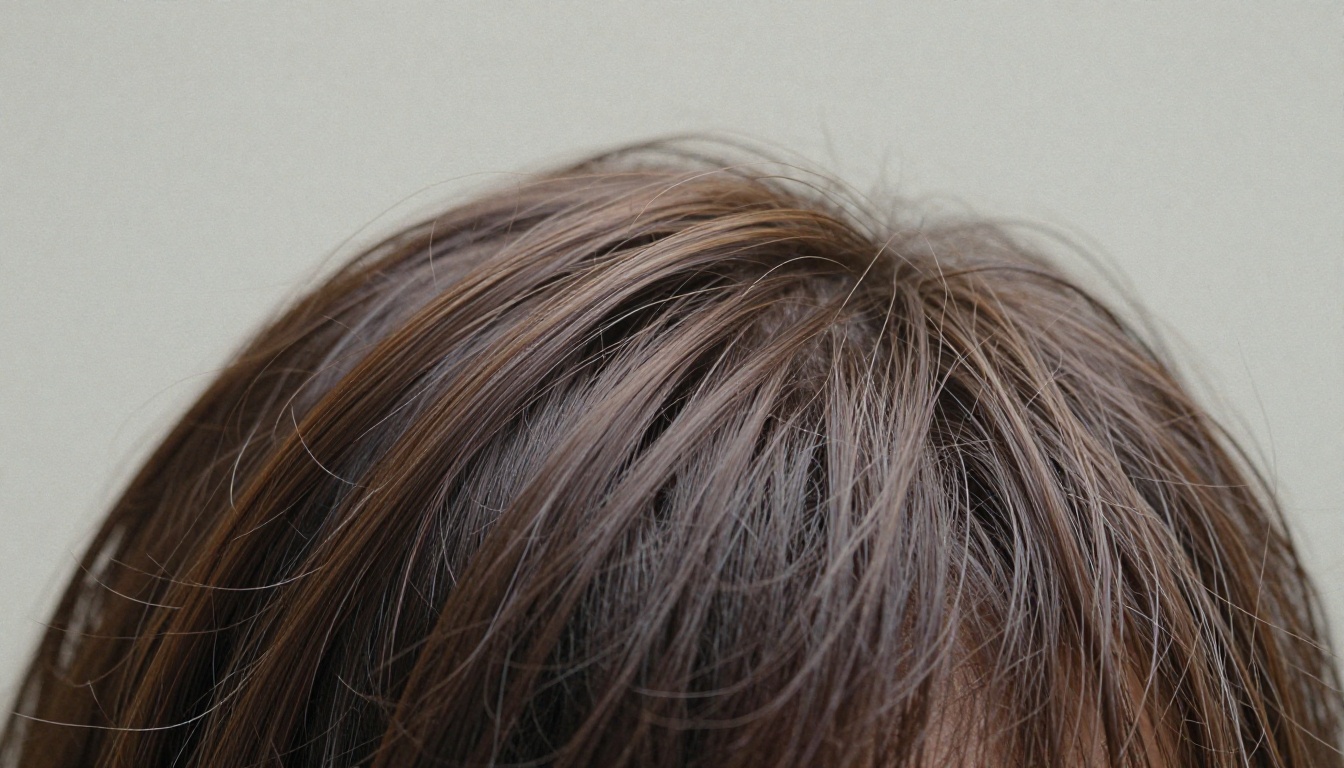
This is the most common and most visible problem. It shows up as a color halo around hair, a faint remnant of the original background color bleeding through the edges of the cut.
Fix options:
- Re-run the removal: Sometimes the first pass has artifacts that a second run resolves
- Adjust background color: If you're placing the subject on a similar color to the original background, fringing becomes invisible
- Decontaminate colors in Photoshop: Layer Mask, then use Refine Edge with Decontaminate Colors checked
The best prevention is a background with maximum contrast to hair color during the original shoot. Dark hair, light background. Light hair, dark background. The AI reads those transitions cleanly.
Semi-Transparent Clothing and Accessories
Sunglasses with tinted lenses, sheer fabrics, mesh materials: these create semi-transparent regions where the AI has to decide how much of the background shows through. Most models either keep them fully opaque or remove them entirely.
For thumbnails, full opacity is almost always the right call. Tinted sunglasses don't read clearly at thumbnail size anyway. If the model is removing material it should keep, adjust your source photo by bumping contrast before uploading. Higher contrast gives the model clearer signals.
Low-Contrast Subjects and Backgrounds
When a beige jacket meets a cream wall, the removal model has almost no signal to work with. You'll get ragged edges and chunks of background left behind.
Practical fixes:
- Reshoot with a contrasting background. A temporary colored sheet costs very little and solves the problem completely.
- Add a colored backdrop in post using a rough initial isolation, then refine from there.
- Use the original photo at a smaller scale in the thumbnail so background issues are less visible at render size.
💡 Prevention beats fixing: Spending two extra minutes on your shooting setup saves 20 minutes of post-processing. Put a dark sheet on the wall behind you, move the ring light forward, wear something that contrasts. The AI does the rest.
Thumbnail Styles Where Subject Isolation Works Best
Gaming Thumbnails
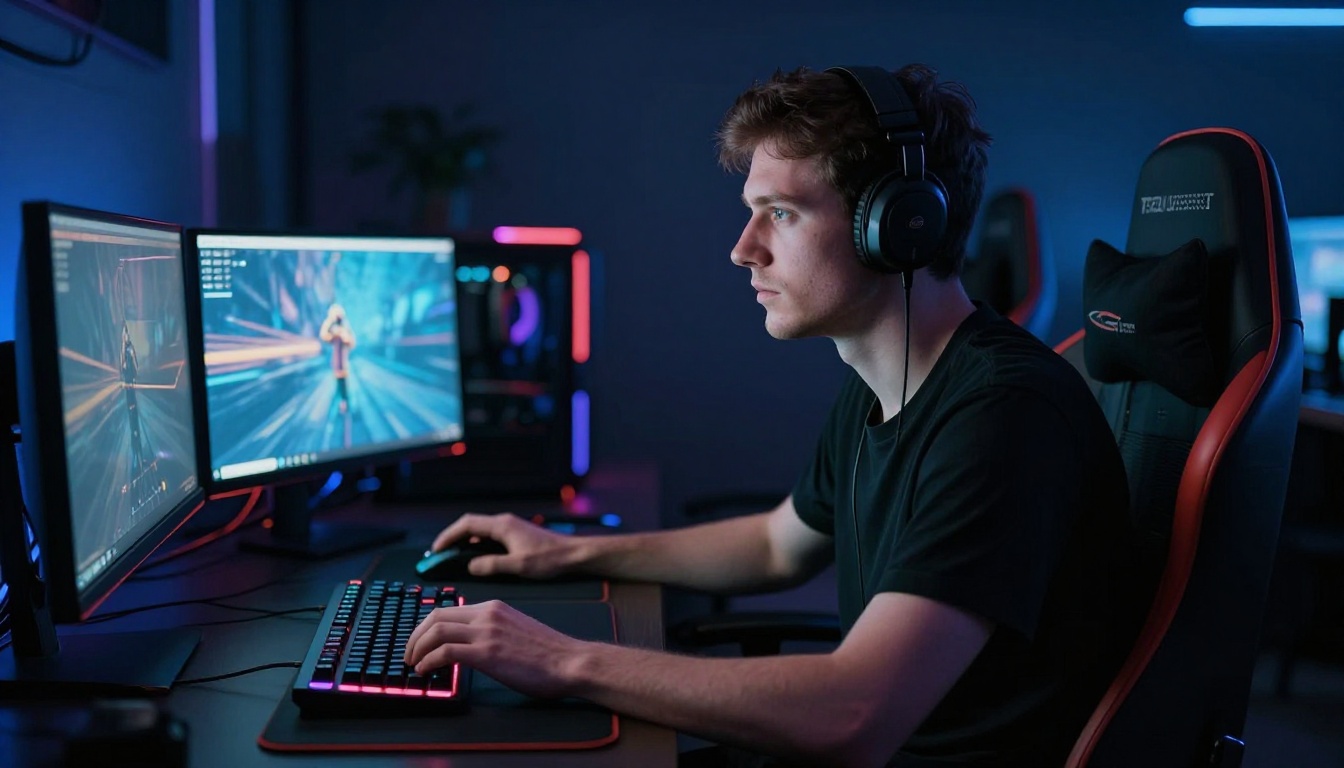
Gaming thumbnails almost always feature the creator's face at high contrast against a dramatic scene or solid color. The expression carries the emotional hook and the background carries the context. These two layers need to be separate to work, which is exactly what background removal enables.
The typical workflow: shoot your expression separately on a neutral background, remove it, then composite it onto a scene from the game or a custom illustrated background. The result is far more visually striking than anything you can get in a single shot.
Reaction and Facecam Styles
Reaction videos live and die by expression. The thumbnail needs to show the maximum possible emotional range, usually shock, disbelief, or laughter. Those expressions need nothing competing with them visually.
Isolating your face and placing it against a flat or gradient background gives the expression maximum real estate. Pair it with a tight crop and you have a thumbnail that communicates in milliseconds.

Product and Review Thumbnails
Product-focused channels benefit from subject isolation in a different way. Removing the background from the product image and compositing it against a clean backdrop gives you complete control over the presentation. Color, lighting direction, scale: all become parameters you control rather than whatever you captured during filming.
For products specifically, running the isolated image through Bria Increase Resolution before placing it in the thumbnail pays dividends. The extra sharpness reads as credibility and professionalism at a subconscious level.
Start Cutting Subjects Right Now
Subject isolation is one of those skills that looks complicated from the outside and feels trivial once you've done it twice with the right tool. The hard part was always the manual process. AI removes that entirely.
The Bria Remove Background model on PicassoIA processes your images in seconds and produces results that hold up at full resolution. No subscription required, no Photoshop license, no half-hour of manual masking.
Upload a photo. Get a clean cutout. Drop it into your thumbnail. The whole thing takes under five minutes once you have your shot ready.
Your action items:
- Take a portrait photo with a contrasting background
- Upload it to Bria Remove Background on PicassoIA
- Download the transparent PNG
- Composite it onto a clean background in your preferred editor
- Add a drop shadow and your thumbnail text
Run it on one thumbnail this week and check your CTR against the previous version. The data is usually convincing enough to change the habit permanently.


