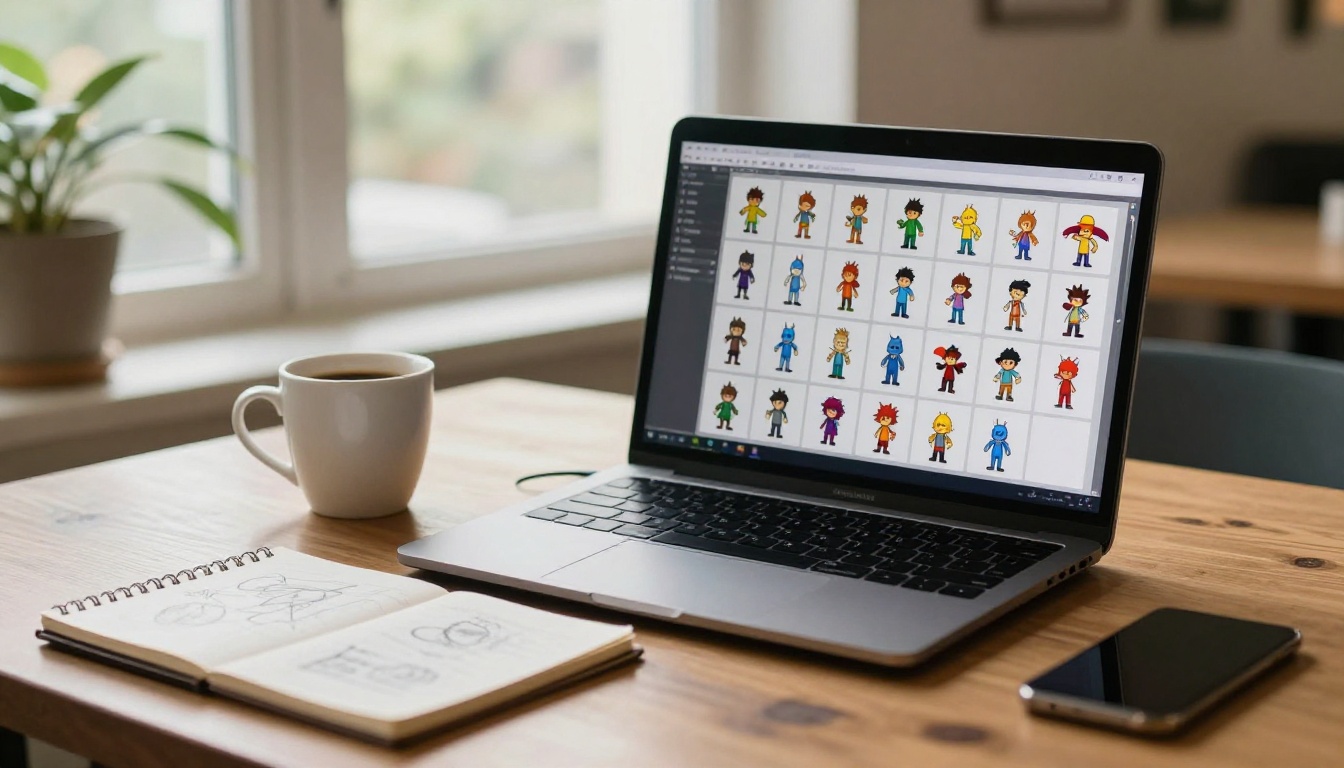
How to Make 3D Assets for Games with AI: From Raw Idea to Game-Ready Art
Building 3D assets used to require a full art team and months of iteration. AI tools now let solo devs and small studios produce concept art, PBR textures, character references, and sprite sheets in a fraction of the time. This article breaks down the real workflow, the best models to use, and the parts you still need to do by hand.
The gap between having a game idea and having game-ready 3D assets has always been brutal for indie developers. Six months ago, the average solo dev either paid a 3D artist $50-100 per asset, spent a year in Blender tutorials before producing anything decent, or shipped a game that looked like it was built with placeholder cubes.
That calculus has changed. AI image generation tools now produce concept art, texture references, sprite sheets, and material maps in minutes. The workflow is not magic, but it is genuinely faster and more accessible than anything that existed before.
Here is how it works in practice.
Why the Old 3D Pipeline Was Slow
The Indie Dev Bottleneck
Most solo developers and small teams hit the same wall: programming is fast, art is slow. A coder can prototype a game mechanic in an afternoon. Producing one character with proper topology, UV maps, PBR textures, and rigging used to take a professional 3D artist two to five days.
That bottleneck killed projects. Ideas died in pre-production because the art requirement was too heavy.
The three main cost centers in traditional game art production:
Task
Traditional Time
With AI Reference Workflow
Concept art
2-8 hours per design
15-30 minutes
Texture creation
4-12 hours per material set
30-90 minutes
Sprite sheet (2D)
6-20 hours
45-120 minutes
What "AI 3D Asset Creation" Actually Means
There is an important distinction to make upfront: AI image generators do not yet produce game-ready 3D meshes directly from a text prompt. Tools like Meshy, CSM, and Tripo3D are getting closer, but they still require significant cleanup for production use.
What AI excels at today is the reference and texture layer of the 3D pipeline: generating the concept art that defines your asset, creating the 2D texture references that wrap onto your models, and producing sprite sheets for 2D games.
This is still enormously valuable. And for many game types, especially mobile games, top-down RPGs, pixel art platformers, and stylized indie titles, the AI workflow covers 60-80% of the visual work.
The 4-Stage AI Asset Workflow
Here is the production workflow that working indie developers actually use.
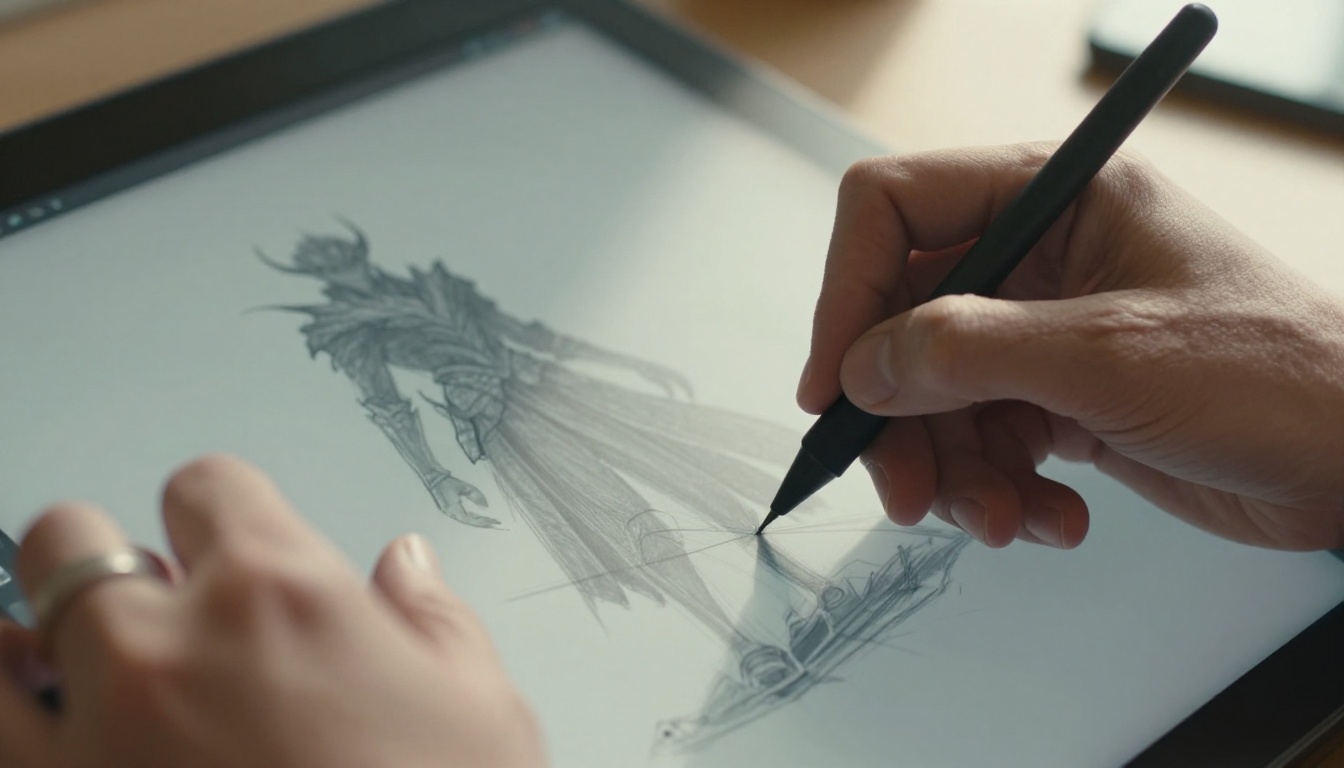
Stage 1: Concept Art
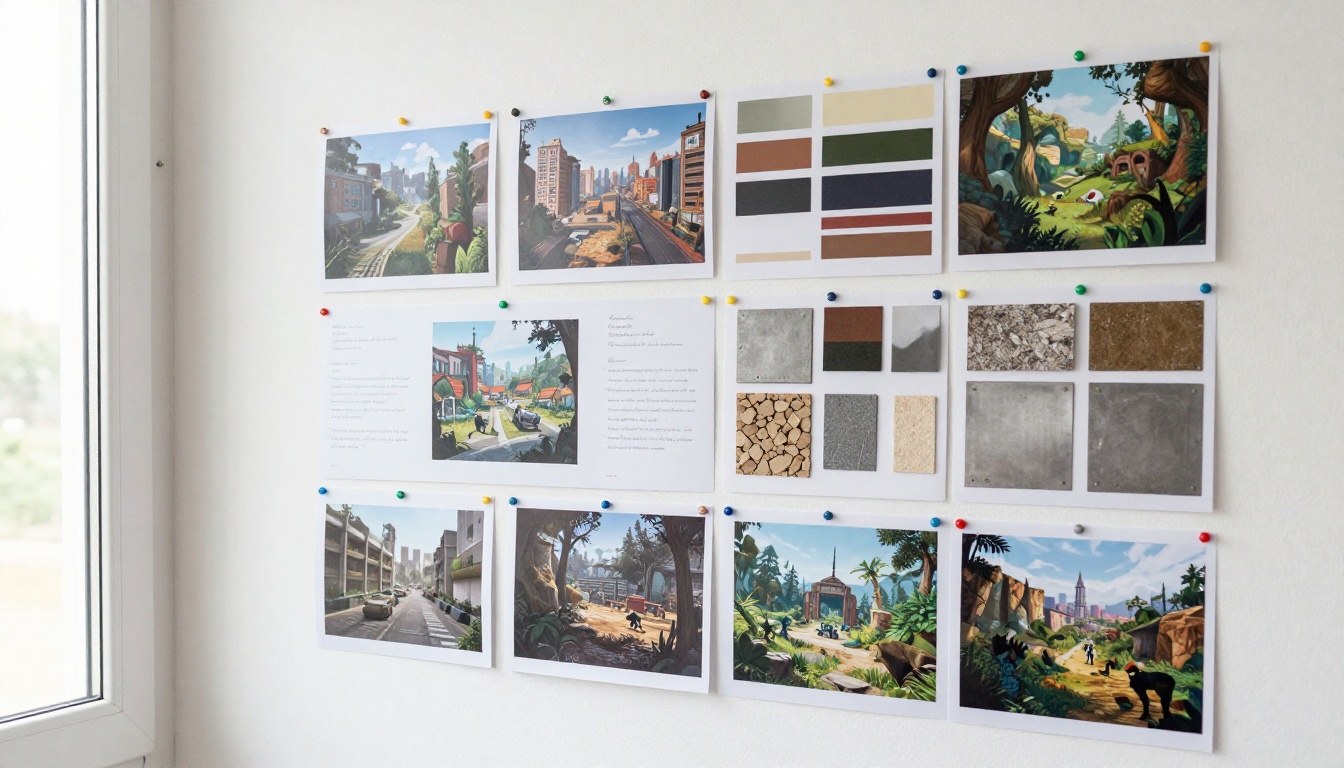
Before you model anything, you need a visual reference. AI makes this fast and cheap.
What to generate:
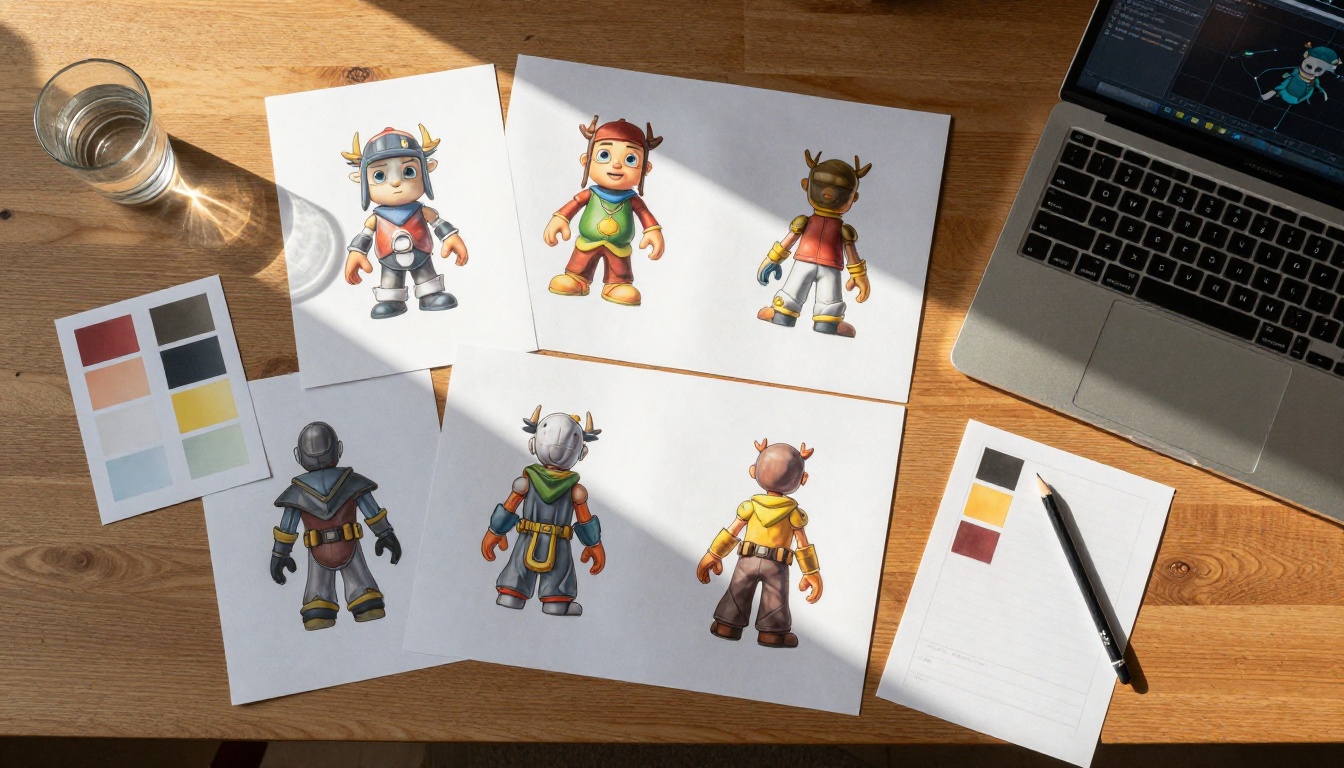
Full character view at multiple angles
Color palette variations
Material and costume close-ups
Mood and lighting studies
Use a high-output model like Flux Dev for character concepts. It handles photorealistic proportions well, which makes it easier to trace forms when you move to your 3D application. For faster iteration through many variations, SDXL Lightning 4Step produces results in seconds per image.
💡 Pro tip: Generate your concept art at 16:9 and include the character against a neutral background. "Plain white studio background, neutral gray backdrop" in your prompt saves hours of background removal.
Stage 2: Orthographic Reference Sheets
This is the step most articles skip. Before opening Blender or Maya, you need front, side, and back views of your character or prop at consistent scale. These are called orthographic reference sheets.
AI can generate these directly. Use this prompt structure:
[Character description], orthographic character sheet, front view, side view, back view, three views side by side, white background, no shadows, turnaround reference sheet, game concept art style
Stable Diffusion 3.5 Large handles multi-view layouts reliably. GPT Image 2 also produces clean orthographic layouts with strong structural consistency across views.
Stage 3: Texture and Material Generation
Once your mesh exists, you need textures. This is where AI delivers some of its clearest wins.
For environment props like walls, floors, crates, and barrels, AI generates photorealistic texture references faster than any traditional workflow. For characters, it produces the diffuse color reference that you use as a painting base.
Stage 4: Export and Integration
The final stage involves bringing your AI-generated references into your 3D workflow:
Importing the orthographic sheet as a background image in Blender or Maya
Modeling over the reference
UV unwrapping and baking
Using AI-generated textures as diffuse base layers
Painting normal and roughness maps on top
How to Write Prompts for 3D-Ready References
Prompt writing for game assets is different from general image generation. You are producing working production documents, not artistic illustrations. Precision matters more than style.
Prompts That Produce Usable References
Character prompt formula:
[Species/type] [gender/build] character, [art style], full body, flat lighting, white background, orthographic front view, game asset reference, no shadows, clear silhouette
Environment prop formula:
[Object name], photorealistic, isolated on white background, multiple angles, product photography style, even studio lighting, no shadows, game prop reference
Tile/surface formula:
Seamless [material] texture, top-down view, PBR-ready, even lighting, no shadows, [specific details], tileable surface
Getting Consistent Characters Across Shots
One of the hardest problems in AI-assisted game art is keeping a character looking the same across multiple reference images. Flux Kontext Max specifically addresses this: it takes an existing character image and reframes, rotates, or reposes it while preserving visual identity. This is critical for generating that front/side/back orthographic set consistently.
For pose and structure control, ControlNet Scribble lets you draw a rough stick figure or silhouette and have the AI fill in the details while respecting your pose exactly. SDXL Multi Controlnet LoRA layers multiple control signals simultaneously, useful when you need both pose control and depth consistency in an environment asset.
PBR Textures with AI
PBR stands for Physically Based Rendering. In practice, your 3D models need three minimum texture maps: diffuse (color), normal (surface detail), and roughness/metallic (material properties).
The AI Approach to PBR Sets
AI generators produce excellent diffuse texture references. For normal and roughness maps, you typically need one of these approaches:
Direct generation: Some AI models produce near-tileable surface images that work well as diffuse maps
Post-processing: Tools like Materialize or Substance Sampler can derive normal/roughness from an AI-generated diffuse
Hybrid: Use AI for the creative pass, human artists for the technical maps
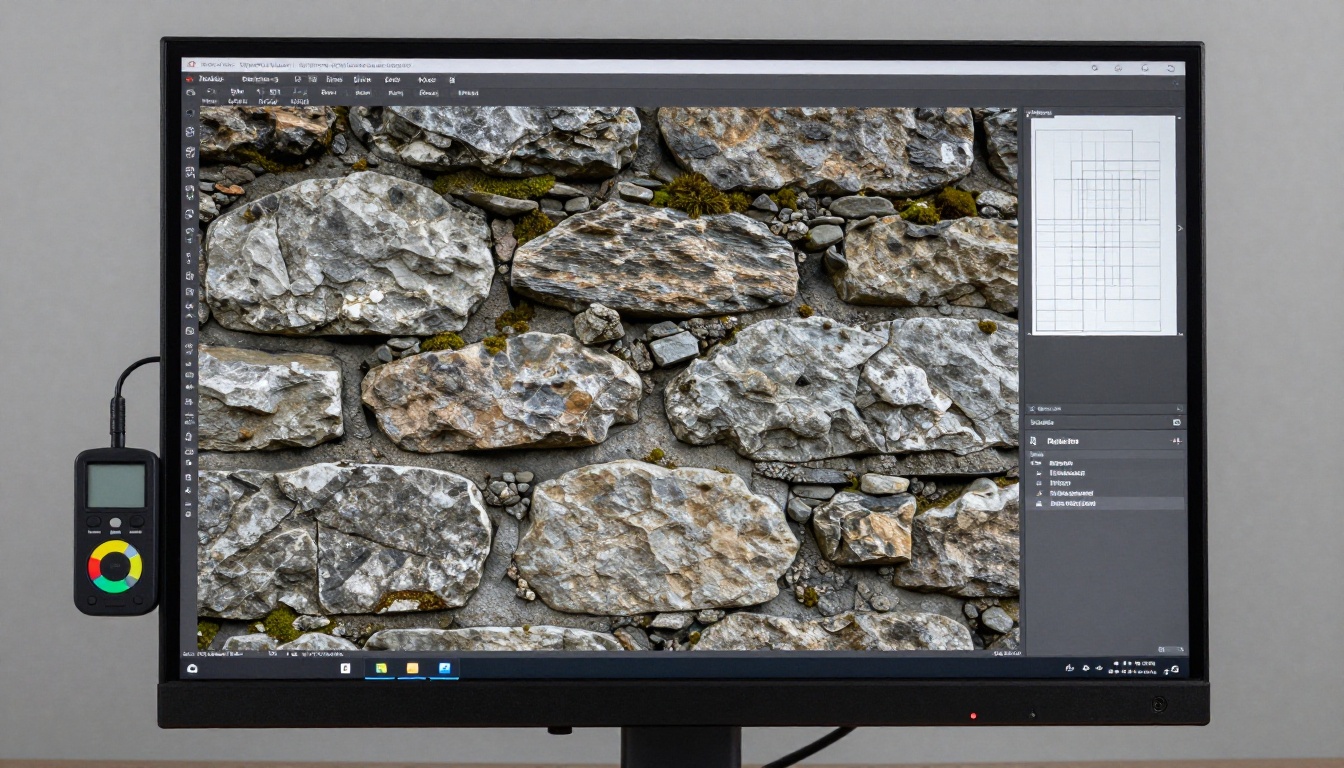
For surface texture generation, RealVisXL v3.0 Turbo produces exceptionally detailed photorealistic surfaces. It is trained on real photography, which means its stone, wood, metal, and fabric outputs look physically accurate enough to sample from.
3 Prompts Every Texture Artist Should Have
Stone wall (environment):
Seamless weathered stone brick wall texture, top-down flat view, even diffuse lighting, natural gray tones, mortar lines visible, PBR game texture, no shadows, 8K detail, tileable
Character skin (organic):
Human skin surface close-up texture, flat even lighting, natural pore detail, subtle subsurface variation, beige warm tone, seamless, no shadows, PBR character texture reference
Metal prop (hard surface):
Scratched painted metal surface texture, flat view, industrial gray-green paint, wear marks at edges, rust spots at corners, seamless, PBR game prop texture, no directional shadows
💡 Always add "no directional shadows" and "flat even lighting" to texture prompts. AI models default to dramatic lighting that bakes a fake light direction into your texture, which breaks when you add real-time lighting in your game engine.
Best Models on PicassoIA for Game Assets
Not every model performs equally well for game production tasks. Here is a breakdown by asset type.
Flux Dev is currently the go-to for realistic human characters. Its proportions are accurate, it handles complex costume details without hallucinating extra limbs, and its output at 1024x1024 has enough detail for close-up reference work.
For stylized characters, think low-poly anime or cartoon style, SDXL with community LoRAs gives you enormous style flexibility. The SDXL Multi Controlnet LoRA variant adds structural control on top of style control, which is useful when you need your generated character to match a specific silhouette you already sketched.
Recraft 20B deserves special attention for prop production. It maintains visual consistency across a batch of prompts better than most models, which means your wood crate, stone wall, and iron fence will all look like they belong in the same game world. For teams shipping 50-200 unique props, that consistency is worth more than raw output quality.
If your game uses vector art or clean outlined sprites, Recraft 20B SVG generates actual SVG vector files, not rasterized images. This is unusual and genuinely useful for HUD elements, map icons, and UI assets that need to scale without quality loss.
For Pixel Art and Sprites
The pixel art space has dedicated specialized models that outperform general image generators for retro-style game assets.
Rd Plus and Rd Animation from Retro Diffusion are built specifically for pixel art and sprite generation. Rd Animation handles animated sprite frames, so you can generate a walking cycle or attack animation frame-by-frame with consistent style across all frames.
For a Metroidvania, retro RPG, or chiptune platformer, these two models effectively replace a pixel artist for basic asset production. The output is clean, properly dithered, and consistent in palette in ways that general models simply are not.
From 2D Reference to Working 3D Model
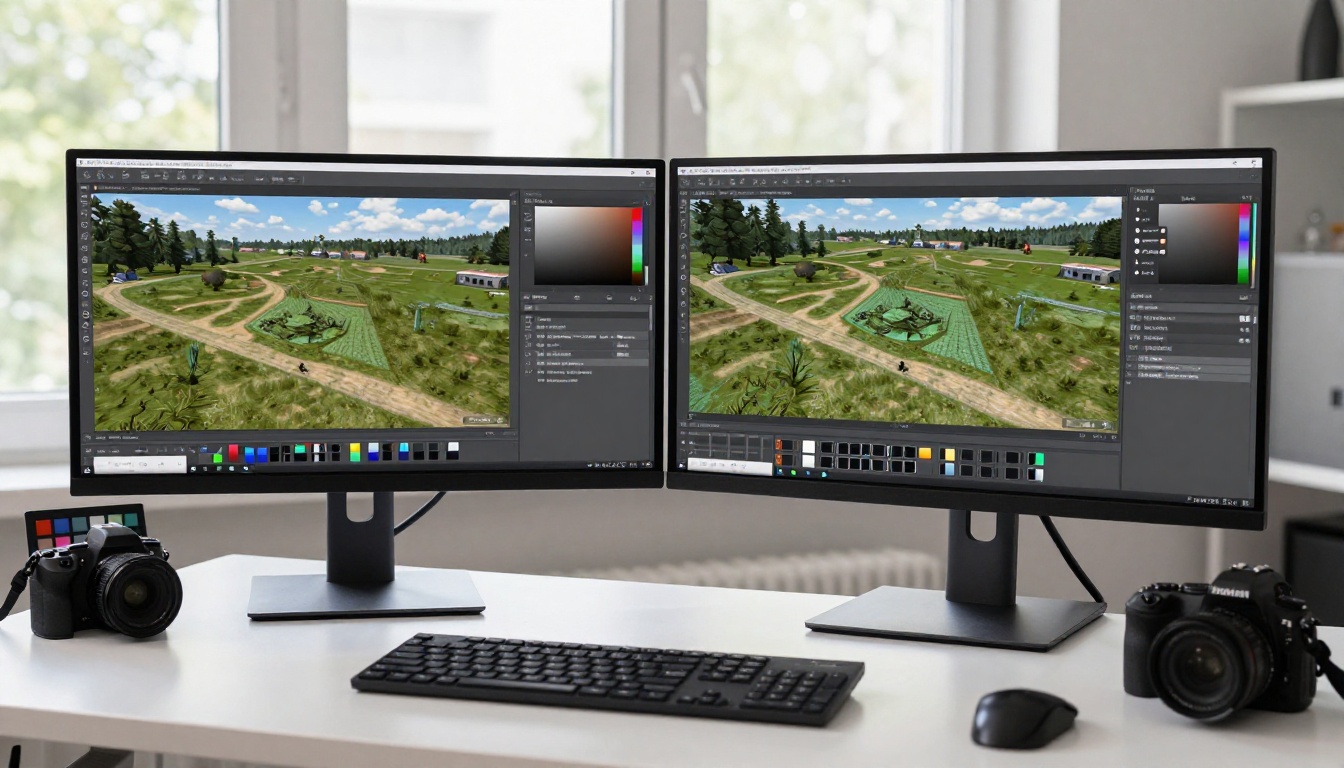
The bridge between your AI-generated references and your actual game engine is the 3D modeling application. This step still requires human skill, but AI cuts the time dramatically by eliminating the guesswork phase.
Setting Up Your Reference in Blender
Open Blender, switch to Orthographic view
Go to View > Background Images > Add Image
Import your AI-generated front view reference
Set opacity to 50%
Repeat for side and back views in their respective viewports
Block out basic shapes with the reference behind you
A character that used to take 3-4 days of modeling from scratch now takes 4-8 hours when you have clean orthographic references. You are tracing a shape you can already see, not inventing one from imagination.
Using ControlNet for Better Base References
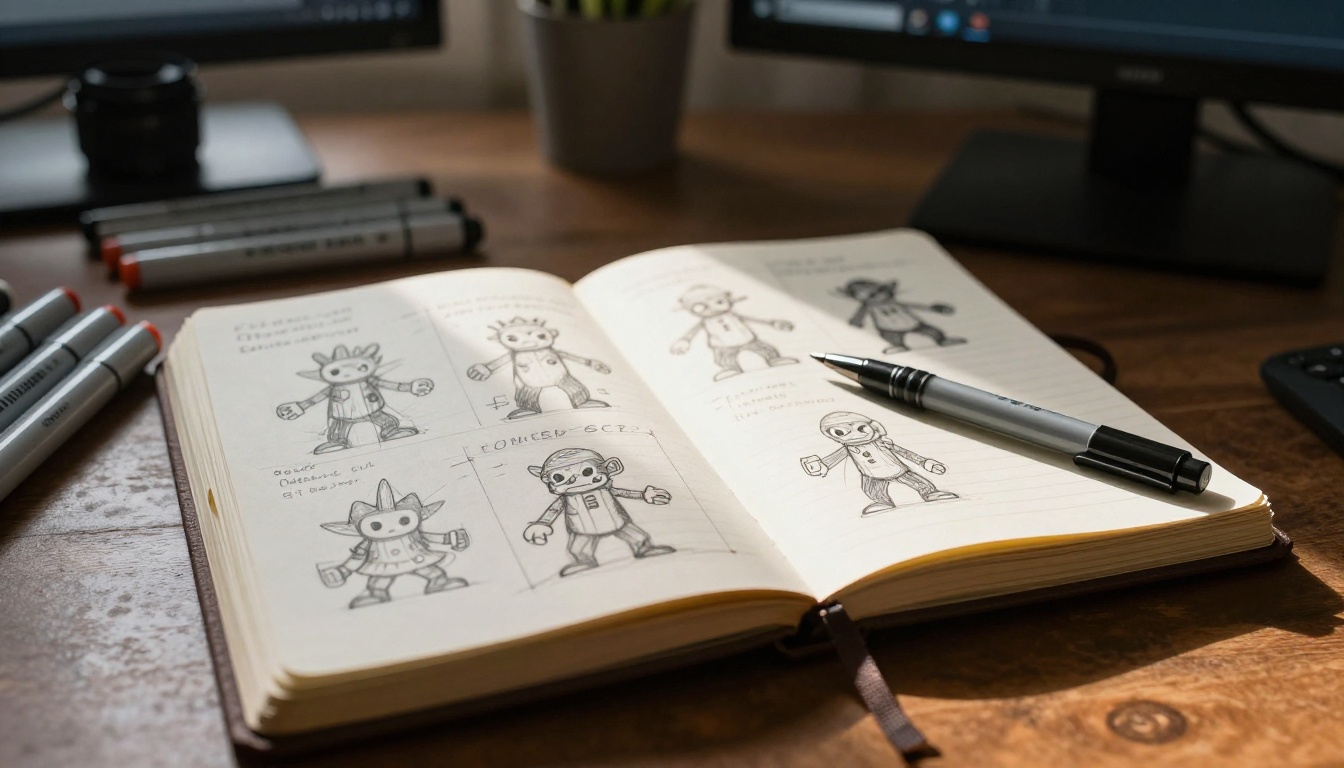
Before you even open your 3D software, ControlNet Scribble can refine your references. Draw a rough silhouette of your character's proportions in any image editor, upload it to ControlNet Scribble, and it generates a polished reference image that matches your proportional intent exactly.
This is particularly useful when AI keeps generating characters that are too heroic, too thin, or the wrong height for your game's art direction. You draw the shape you want, and the model fills in the detail.
What AI Still Gets Wrong
Being honest about current limitations saves you from wasted time on the wrong tasks.
Mesh Topology Is Still Manual
AI does not generate clean game-ready topology. Tools like Meshy and Tripo3D produce 3D meshes from images, but they often have:
Too many polygons for real-time rendering
Bad edge flow that breaks during animation
Incorrect proportions compared to your concept reference
You still need a human artist (or yourself) to retopologize any AI-generated mesh before it goes into a game engine. This step is non-negotiable for any character that needs rigging.
Rigging and Skinning
No current AI tool produces reliable character rigs or skin weights from a prompt. Rigging a humanoid character for a game remains a manual process. Mixamo can auto-rig humanoids with reasonable results for simple locomotion animations, but anything involving custom rigs or complex mechanical characters still needs a rigger.
Hands and Feet in Complex Poses
AI models still struggle with hands in non-default poses and feet in extreme camera angles. For orthographic reference sheets, this is less of a problem since front/side/back views use relatively neutral poses. For action stances and combat references, plan on correcting hands and feet manually.
Style Consistency Across 200 Assets
Generating a single great asset is straightforward. Generating 200 props that all belong to the same art direction, with consistent saturation, line weight, and material treatment, is a workflow problem. You need to build prompt templates and apply them without variation across your entire asset batch. This is a discipline problem, not a technology limitation, but it does require intentional planning before production begins.
Try It on Your Next Asset
The best way to see how much of your production this workflow covers is to run it on one real asset today.
Pick one prop from your game: a chest, a torch, a door. Here is your starting checklist:
Load references into Blender and block out the base mesh
UV unwrap and apply your AI texture reference as the diffuse layer
Export and drop it into your game engine scene
You will have your first fully AI-assisted game asset in a few hours. The process that used to take days now fits into an afternoon.
PicassoIA puts all the models above in one place, with no per-image fees and no complex local setup. Pick a prop, write a prompt, pick a model, and start building the game you have been sitting on.