There is no Hollywood studio in your way anymore. With the right AI video models and a clear workflow, you can produce a movie trailer that stops people mid-scroll, complete with dramatic cinematography, tight editing rhythm, and scenes that feel genuinely cinematic. This article walks you through the full process, from the first storyboard sketch to a polished, 4K-ready cut.
What Actually Makes a Good Movie Trailer
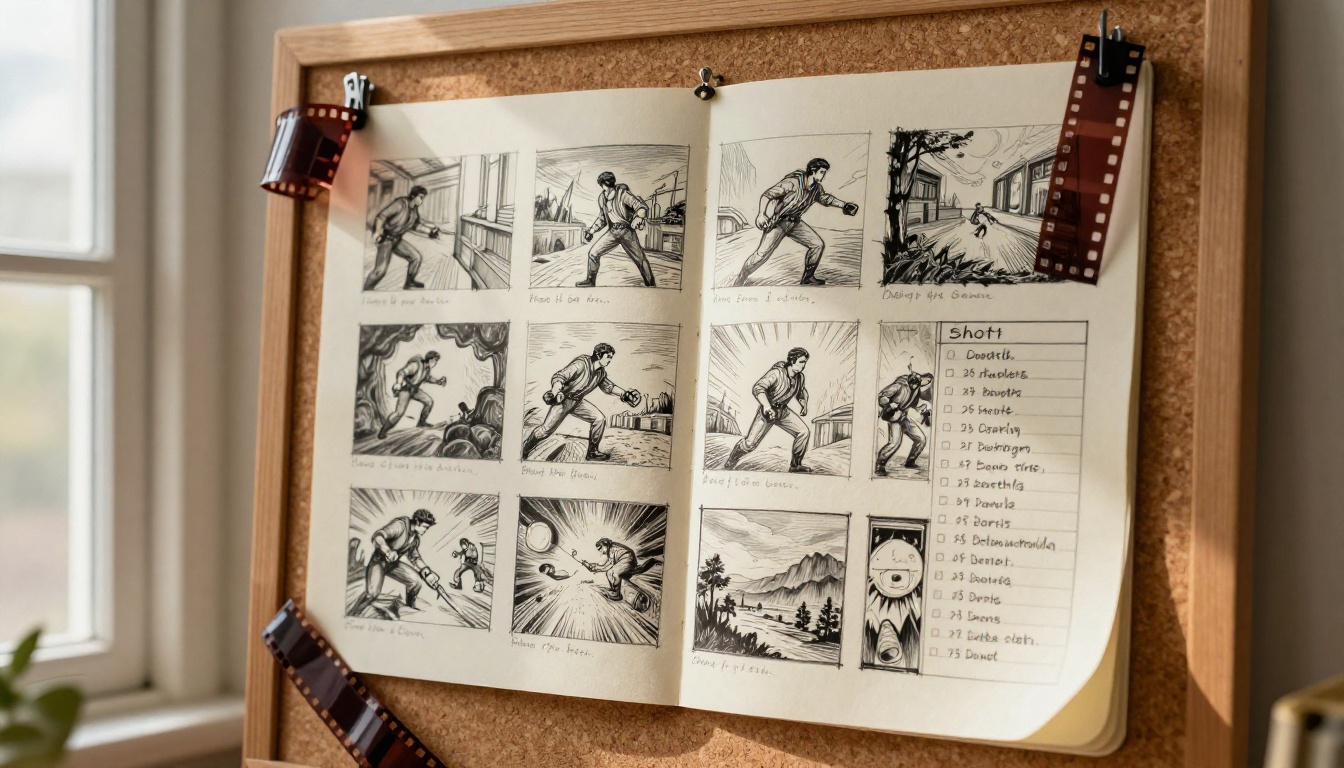
Before you write your first prompt, it helps to think like an editor. A movie trailer is not a summary of the story. It is a carefully engineered emotional experience designed to make the audience feel something in 90 to 150 seconds. The best trailers in history share a predictable skeleton, and once you know it, you can reverse-engineer it with AI.
The 3-Act Structure of a Trailer
Most studio trailers follow a structure so consistent it is practically a formula:
| Act | Duration | Function |
|---|
| Act 1: The Setup | First 30 seconds | Establish tone, world, and protagonist |
| Act 2: Rising Action | Middle 60 seconds | Stack tension, introduce conflict, accelerate pace |
| Act 3: The Climax Moment | Final 10-20 seconds | One iconic image or line that burns into memory |
Your AI-generated clips need to map onto this skeleton. Plan your scene list with this in mind before you generate a single frame.
Shot Types That Create Tension
Trailers rely on a specific vocabulary of shots:
- Wide establishing shots drop the audience into a world instantly
- Close-up reaction shots transfer emotion directly, no dialogue needed
- Over-the-shoulder perspectives create intimacy and stakes
- Low-angle hero shots make characters look powerful
- Cut-away inserts add visual rhythm and punctuate dialogue beats
Every AI prompt you write should specify one of these shot types explicitly. Vague prompts produce vague footage.

Choosing the Right AI Video Model
The quality of your trailer lives or dies by which model you use for which scene. Not all AI video models are equal, and different models have wildly different strengths when it comes to cinematic output.
For Cinematic Footage
If photorealism and motion quality are your top priorities, these are the models worth knowing:
Kling v3 Video by Kwaivgi is the current gold standard for cinematic text-to-video. It handles complex camera movements, realistic human motion, and nuanced lighting conditions with a consistency that other models struggle to match. For hero shots, action sequences, and any scene where motion quality is critical, this is your first call.
Pixverse v6 brings cinematic video with integrated AI audio, which matters more for trailer work than people realize. Getting audio that syncs to the visuals eliminates a significant post-production step.
Sora 2 Pro from OpenAI produces HD footage with impressive prompt adherence. When you write a detailed scene description, Sora 2 Pro tends to deliver it faithfully, which makes it reliable for narrative-specific shots where you need a precise visual.
LTX 2 Pro generates native 4K output, which is significant if you are targeting big-screen or high-resolution distribution. Starting at 4K means you do not lose sharpness during the enhancement pass.
Wan 2.7 T2V converts text to 1080p video with strong scene coherence. It handles wide landscape shots and sweeping establishing sequences particularly well.
For Trailers with Native Audio
Two models stand out when you need video that comes pre-baked with sound:
Veo 3 by Google generates video with native, synchronized audio directly from a text prompt. For a trailer, this means you can describe a scene, an action, and an ambient sound environment in one prompt and get a clip that already has audio texture built in.
Seedance 2.0 by ByteDance includes built-in audio generation alongside high-quality video. Its audio-to-visual sync is particularly strong for action sequences where sound is part of the emotional punch.
How to Use Kling v3 on PicassoIA
Kling v3 Video is the recommended starting point for trailer production because of its cinematic output quality and reliable motion rendering. Here is a step-by-step workflow for generating your first trailer scenes.
Step 1: Write Your Scene Prompts
The prompt is everything. Weak prompts produce weak footage. Treat each prompt like a professional shot description from a film director:
Structure your prompt as: [Shot type] + [Subject description] + [Action] + [Environment/Setting] + [Lighting] + [Camera movement] + [Mood]
Example prompt for an action scene:
Low-angle shot of a woman in a tactical jacket running at full speed across a rain-slicked rooftop at night, rain drops visible mid-air catching streetlight from below, city skyline blurred in the background, camera tracks alongside her at ground level, desperate urgency, 24fps cinematic motion blur
Example prompt for a dramatic reveal:
Slow dolly-in close-up shot of a man's face as he reads a document, cold blue office light from above, shock registering in his eyes, his jaw tightens, shallow depth of field with papers softly blurred in foreground
Specificity is the difference between a generic clip and a scene that belongs in a real trailer.
Step 2: Generate and Review Each Scene
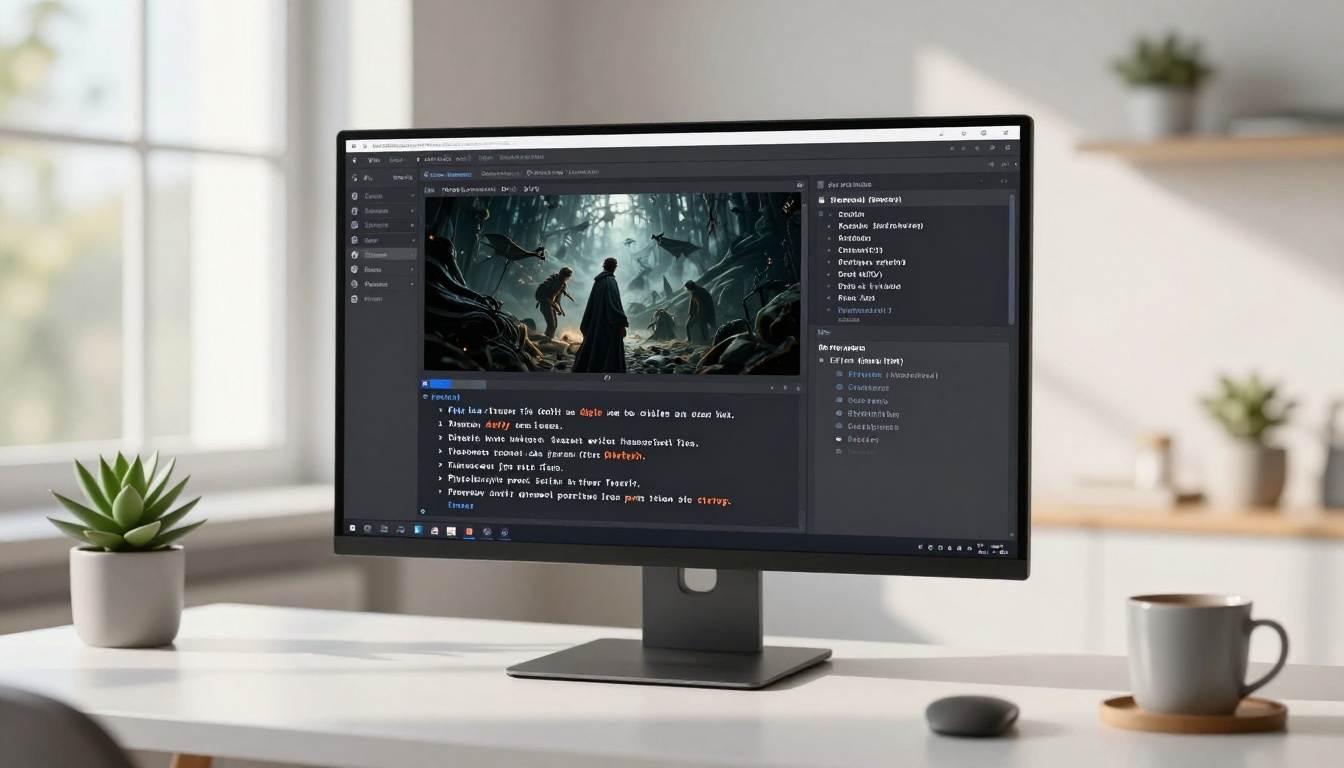
Once you have 6 to 10 scene prompts mapped to your 3-act structure, generate them one at a time on Kling v3 Video. Review each clip for:
- Motion coherence: Does the camera move feel intentional?
- Subject consistency: Does the character look the same across clips?
- Lighting match: Do clips that will be cut together share compatible light quality?
If a clip does not work, adjust the prompt and regenerate. Do not use a weak clip just because generating takes time. A trailer is only as strong as its weakest shot.
Step 3: Generate Variants for Key Moments
For your most critical scenes (the opening hook and the climax shot), generate 3 to 5 variants with slightly different prompts. Small changes to camera angle, lighting description, or character action produce meaningfully different outputs. Pick the strongest variant for each position in the cut.
Tip: For the climax shot, add the word "cinematic" and describe the specific emotional state you want the viewer to feel. AI models respond to emotional language in prompts more than most people expect.

Building Your Trailer Scene by Scene
With your clips generated, you now face the editorial challenge. This is where most AI-generated trailers fall apart. The technology is not the bottleneck. Editing judgment is.
The Opening Hook (0 to 8 Seconds)
The first 8 seconds have one job: create a question in the viewer's mind. Do not explain anything. Drop them into a world mid-action, or show a single arresting image that demands interpretation.
For AI-generated trailers, the opening hook works best as a wide establishing shot that is visually undeniable. Use Wan 2.7 T2V or LTX 2 Pro for sweeping environmental footage. These models handle large-scale landscape and architectural cinematography with strong consistency.
What works:
- A vast landscape with a single tiny figure
- An extreme close-up of something unidentifiable
- An action already in progress with no context provided
What does not work:
- Title cards before the viewer is emotionally invested
- A character introduction before visual intrigue is established
- Any dialogue in the first 8 seconds
Rising Action Clips (8 to 90 Seconds)
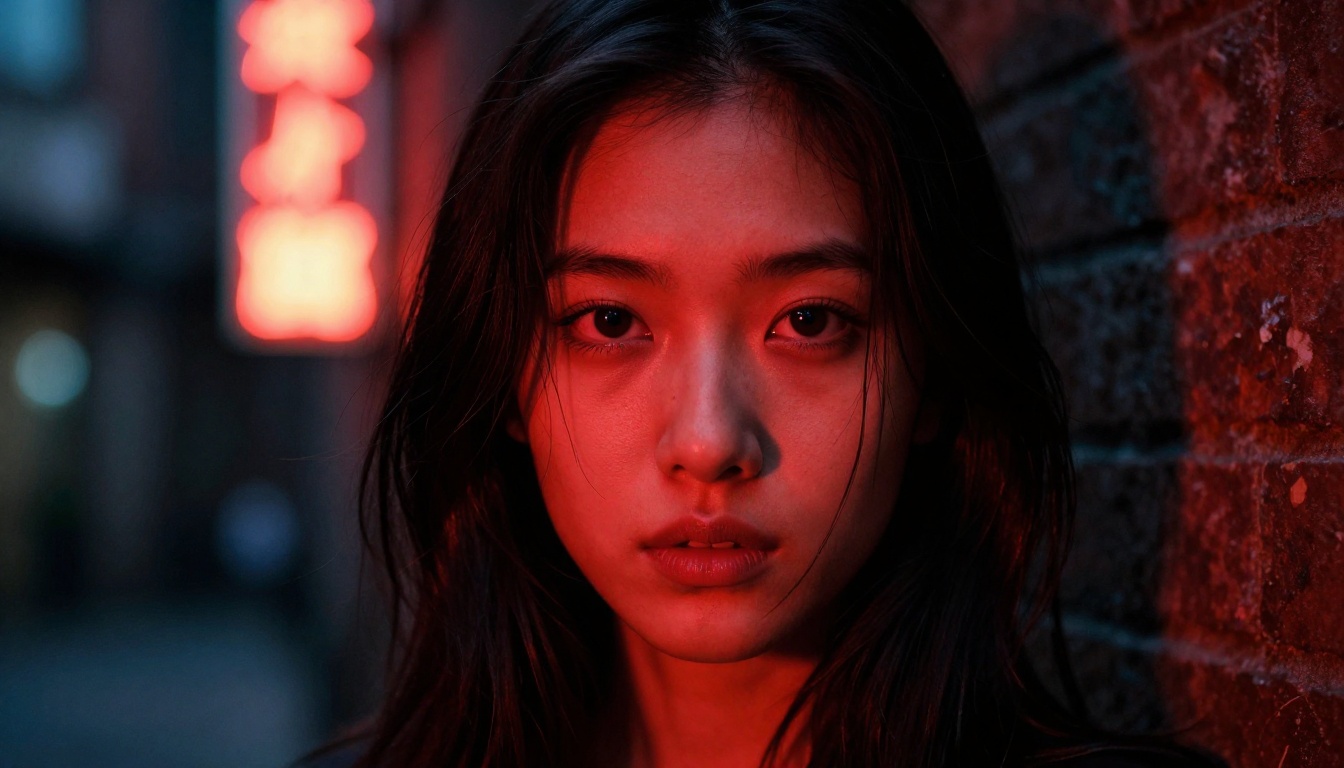
This is the longest section and the one where pacing makes or breaks the trailer. You want a progressive acceleration of cut rate. Early in this section, clips can run 3 to 5 seconds each. By the time you hit the 60-second mark, cuts should be 1 to 2 seconds.
For this section, mix shot scales deliberately:
- Wide shot: establishing stakes and geography
- Medium shot: character reaction and relationship
- Close-up: detail that carries emotional weight
- Insert: object, hand, eye, clock, anything that punctuates
The Gen 4.5 model by Runway is particularly strong for medium shots with nuanced character movement. Its cinematic motion handling means characters move like real people, which is critical for the emotionally driven middle section of a trailer.
For action beats, Kling v2.6 delivers reliable high-energy motion sequences. Generate your action clips with camera angles that complement each other so cuts feel intentional rather than random.
Tip: Always generate clips at a slightly longer duration than you plan to use. A 5-second clip that you cut to 2.5 seconds gives you flexibility in the edit. A 2-second clip that needs to be 2.5 seconds gives you nothing to work with.
The Climax Shot (Final 10 to 20 Seconds)
The climax shot is the one image the trailer is building toward. Everything else is prologue. This single frame or sequence needs to do three things simultaneously: pay off the emotional promise of the trailer, leave a question unanswered, and burn into visual memory.
For sheer impact and image quality, Sora 2 Pro and Kling v3 Video compete at the top level. Generate your climax shot with both models and compare. Often one will capture the emotional weight of the moment more precisely than the other.
After the climax shot, most effective trailers use a hard cut to black followed by a title reveal. Resist the urge to add more footage after the climax. Silence and black space after the peak moment create the emotional resonance that stays with the audience.
Polish It to 4K
Once your rough cut is assembled, two enhancement steps separate a good trailer from a great one.
Video Upscaling: If you generated clips at 720p or 1080p, run them through Crystal Video Upscaler before final export. It scales footage to 4K while sharpening detail and reducing compression artifacts. The difference is visible even on consumer screens.
For a more aggressive enhancement pass, Topaz Video Upscale produces sharper footage at 4K and 120fps, which matters if your trailer needs to stand up to slow-motion playback or large-format projection.
Color Consistency: AI video models each have their own color science. Clips from Kling v3 Video, Pixverse v6, and Veo 3 will not naturally match in tone. Run a basic color grade pass to unify warm highlights, shadow density, and contrast levels across all clips before export. This step alone makes a multi-model trailer feel like it came from a single camera.
3 Mistakes Most People Make
Most first-time AI trailer makers hit the same walls. Here is what to watch for:
1. Generating without a shot list
Walking into AI video generation without a scene-by-scene plan produces a collection of beautiful disconnected clips that resist assembly. Write your shot list first. Every clip you generate should have a designated position in the edit before you generate it.
2. Using the same model for everything
No single model is best at every kind of shot. A trailer that uses Kling v3 Video for action beats, Veo 3 for audio-rich environmental scenes, and LTX 2 Pro for wide landscape shots will consistently outperform a trailer that force-fits everything through a single model.
3. Skipping the enhancement pass
Raw AI video output, even from the best models, benefits from a sharpening and upscaling pass. The clips that look good at 1080p in a browser window often reveal softness and compression artifacts when projected or viewed on a quality display. Run Crystal Video Upscaler or Topaz Video Upscale before you call the project done.
The Models, At a Glance
Start Making Your Trailer
The tools exist. The models are accessible right now. The only remaining question is what story you want to tell.
Pick your 3-act structure. Write your first 8 scene prompts with the shot-type specificity this article describes. Generate your first clips using Kling v3 Video as your primary model, then layer in Veo 3 for audio-driven scenes and LTX 2 Pro for your wide establishing shots.
The gap between an idea for a movie and a trailer that makes people believe in that movie has never been smaller. Every scene type, every camera angle, every lighting condition that used to require a full production crew and a six-figure budget is now accessible through a well-written text prompt on PicassoIA. The collection of text-to-video models available today gives any creator access to the same cinematic vocabulary that Hollywood has been using for a century.
What you do with that is the interesting part. Try it, and the results will surprise you.


