The reaction video format is one of the most watched content types on the internet, and for good reason. It captures something real: a person's immediate, unfiltered response to something worth reacting to. But getting that setup right takes more than just a webcam and a YouTube tab. With AI tools now handling everything from video generation to audio sync, the whole process has shifted dramatically.
This breakdown covers exactly how to make a reaction video setup with AI, from the raw recording workflow to using the most capable video models available today.
What Makes a Reaction Video Work
The Core Elements
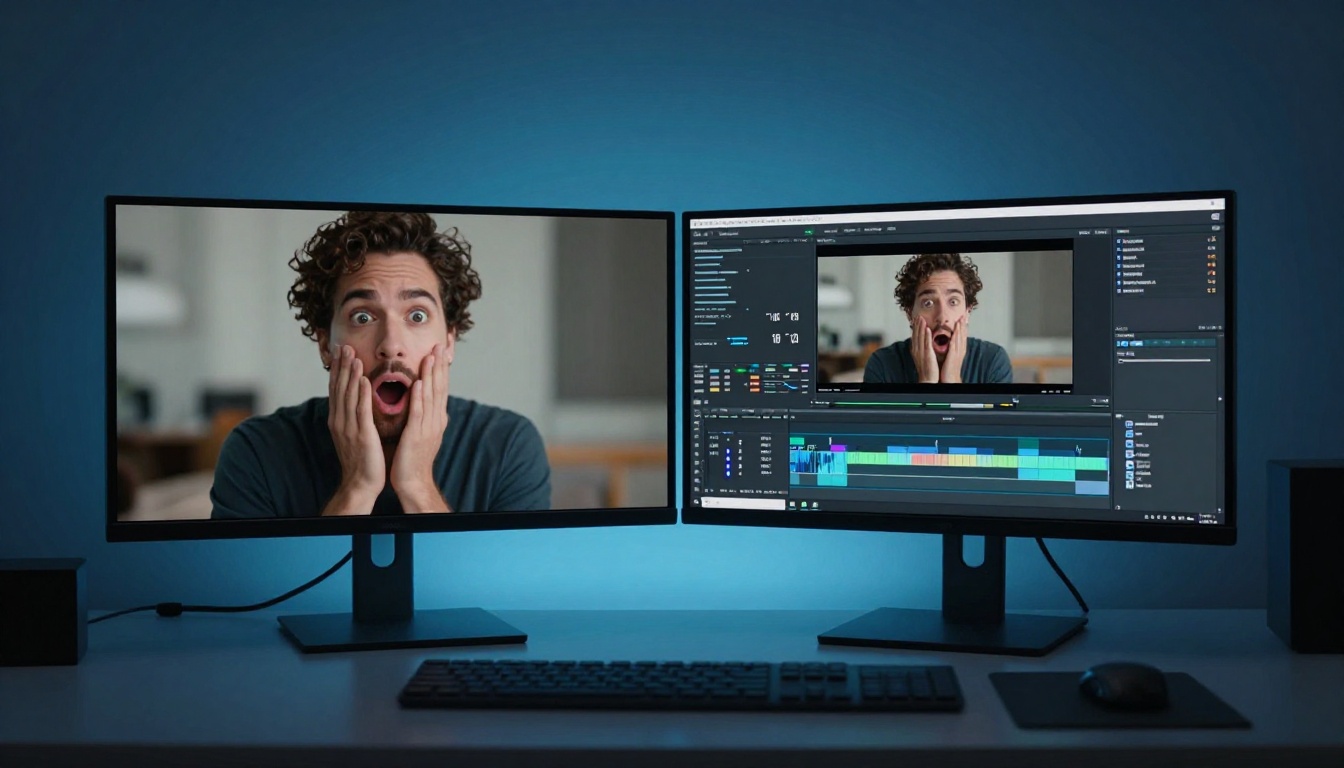
A reaction video needs three things to land: your face clearly visible and in frame, the source content shown alongside it, and audio that actually syncs. Simple as that sounds, most amateur reaction videos fail on at least one of these points. Either the face cam is washed out, the source video is too quiet, or the editing makes both feel disconnected.
When you bring AI into this workflow, each of those three pillars gets a significant upgrade.
Why Traditional Setups Cost Too Much
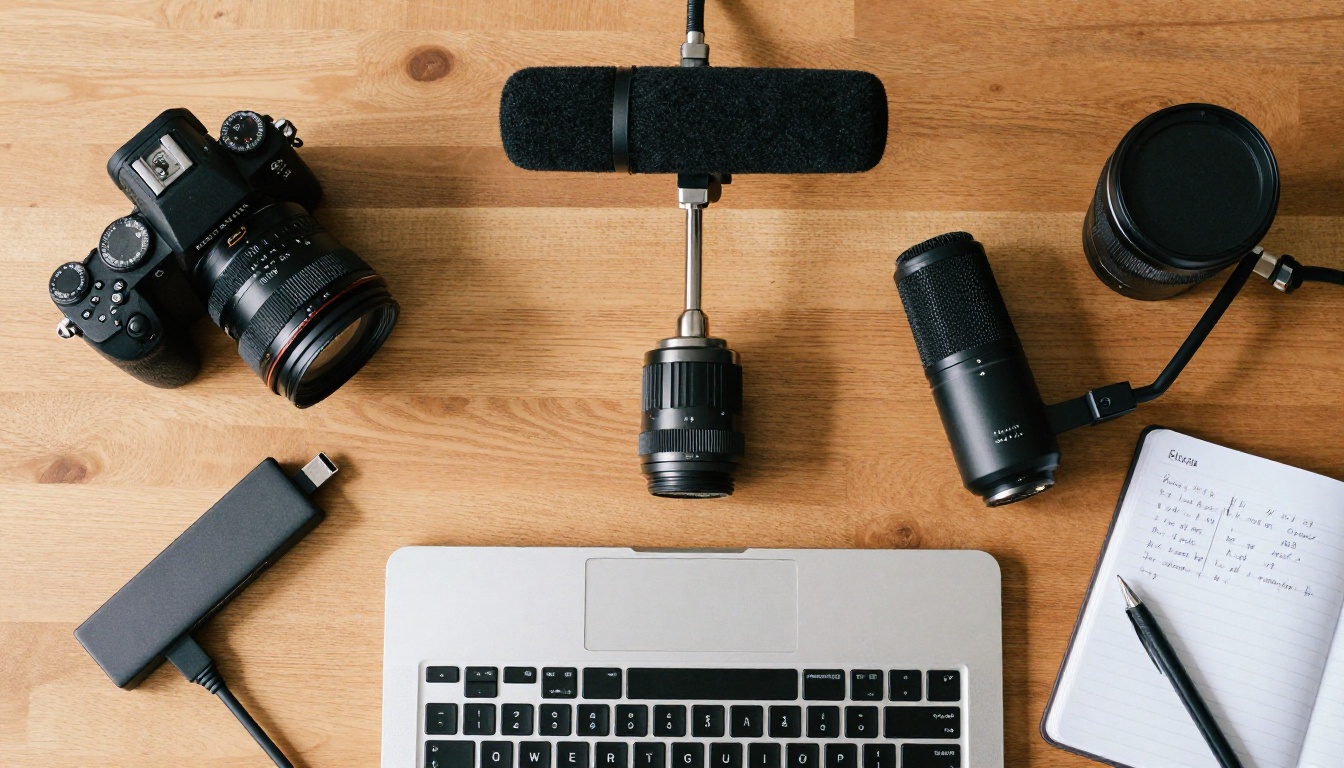
The old way of doing this involved a decent webcam, a ring light, a capture card, audio interface, and hours of manual editing. That is $400-$800 in gear before you have touched post-production.
AI tools flip this. You can:
- Generate a reaction persona using video AI models
- Sync audio automatically using lipsync tools
- Enhance your footage without a cinema camera
- Create B-roll and inserts from text prompts alone
💡 The real shift: You no longer need a professional studio to produce professional-looking reaction content. What you need is the right AI stack.
Video Generation Models Worth Using
Not all AI video models are built for reaction content. The best ones for this use case need two things: consistent character motion and natural facial expressions. Here is what is worth your attention:
Kling v3 Video is one of the strongest options for generating realistic reaction-style footage from a text prompt. It handles facial micro-expressions well, and the 1080p output quality holds up in final edits.
Seedance 2.0 stands out because it includes built-in audio generation. For reaction videos where you want a generated persona reacting to content, having synchronized audio baked into the output saves significant post-production time.
Veo 3 from Google brings native audio into the video pipeline, meaning dialogue, ambient sound, and reaction cues can all come out of a single generation pass.
Pixverse v6 handles cinematic motion well and produces stable, sharp output at 1080p, making it useful for the source clip portion of a split-screen setup.
Lipsync and Avatar Models
If you are using a real recording of yourself or an AI-generated character, lipsync tools close the gap between audio and visual performance.
Kling Avatar v2 animates any face into video with natural-looking mouth movement and head motion. Upload a portrait and feed it your audio script, and you get a reaction persona that tracks realistically.
HeyGen Avatar IV is purpose-built for talking avatar content. It handles longer scripts well and produces consistent lip-sync accuracy, which is critical when your reaction monologue runs more than 30 seconds.
Wan 2.2 S2V creates audio-synced video from a sound input and a base image, making it useful when you have recorded audio commentary and want to visualize it without recording on camera.
Building Your AI Reaction Video Workflow
Step 1: Capture or Source Your Base Content
Your starting point is either a real recording of yourself reacting or an AI-generated reaction persona built from a prompt or portrait image.
If you are recording yourself, you do not need expensive gear. A modern smartphone camera at 1080p 30fps in good window light is more than enough. What matters more than camera quality is framing and lighting consistency.
If you are generating a persona, start with a high-quality portrait image and run it through Kling Avatar v2 or HeyGen Avatar IV. Both allow you to define the character's voice and emotional tone before generation.
💡 Frame it right: Whether recording or generating, the reactor's face should occupy the top-right or top-left quadrant of the final frame. Keep the reaction cam at roughly 20-30% of total screen space.
Step 2: Generate the Reaction Layer with AI
This is where the AI workflow diverges from traditional recording. Instead of playing a YouTube video on screen and recording your response simultaneously, you can:
- Write a script of your reaction commentary
- Feed it to a lipsync or avatar model
- Get a clean reaction layer without background noise, lighting issues, or retakes
Use Seedance 2.0 when you want both the visual reaction and the audio to be generated together. The model handles emotional expression across different intensities, so prompts like "shocked expression transitioning to laughter" produce credible results.
For a faster iteration loop, Luma Ray lets you test reaction clip variations quickly before committing to a final generation on a higher-quality model.
Step 3: Sync Audio and Reactions
Audio sync is where most reaction videos fall apart. When the voice does not match the mouth, or when the reaction emotion arrives half a second late, viewers immediately feel the disconnection.
Three ways to nail audio sync:
-
Generate with audio baked in: Models like Veo 3 and Seedance 2.0 produce video with synchronized audio from the start, eliminating the sync problem entirely.
-
Use dedicated lipsync tools: Feed your reaction audio into Wan 2.2 S2V, which animates an image to match the exact audio waveform.
-
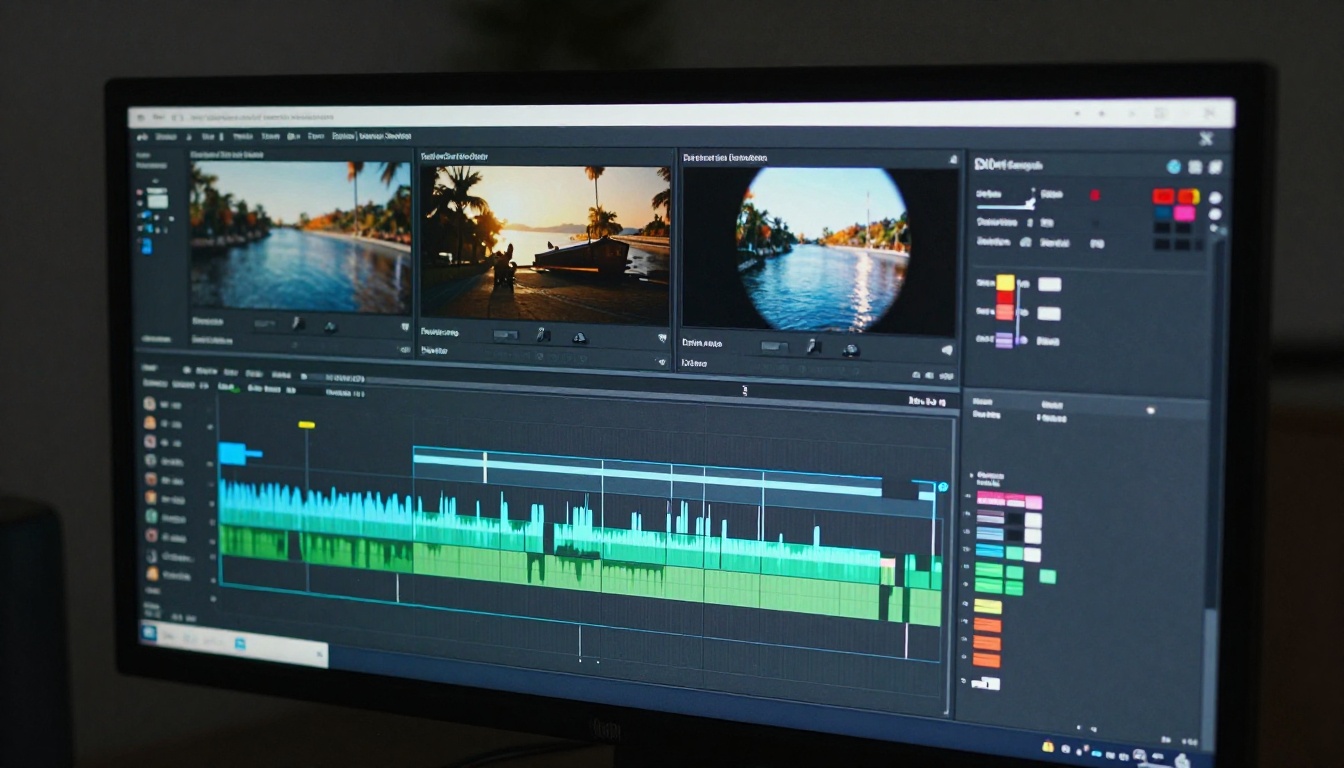
AI video enhancement post-edit: Run your assembled edit through an AI video enhancement pass to stabilize, upscale, and clean up any jitter or compression artifacts before export.
💡 Pro tip: Record reaction audio in a quiet room even if you are generating the video layer with AI. Clean audio is always easier to work with than clean video.
Step 4: Assemble the Split-Screen Layout
The split-screen is the visual signature of the reaction format. Your reactor goes on one side, the source content on the other.
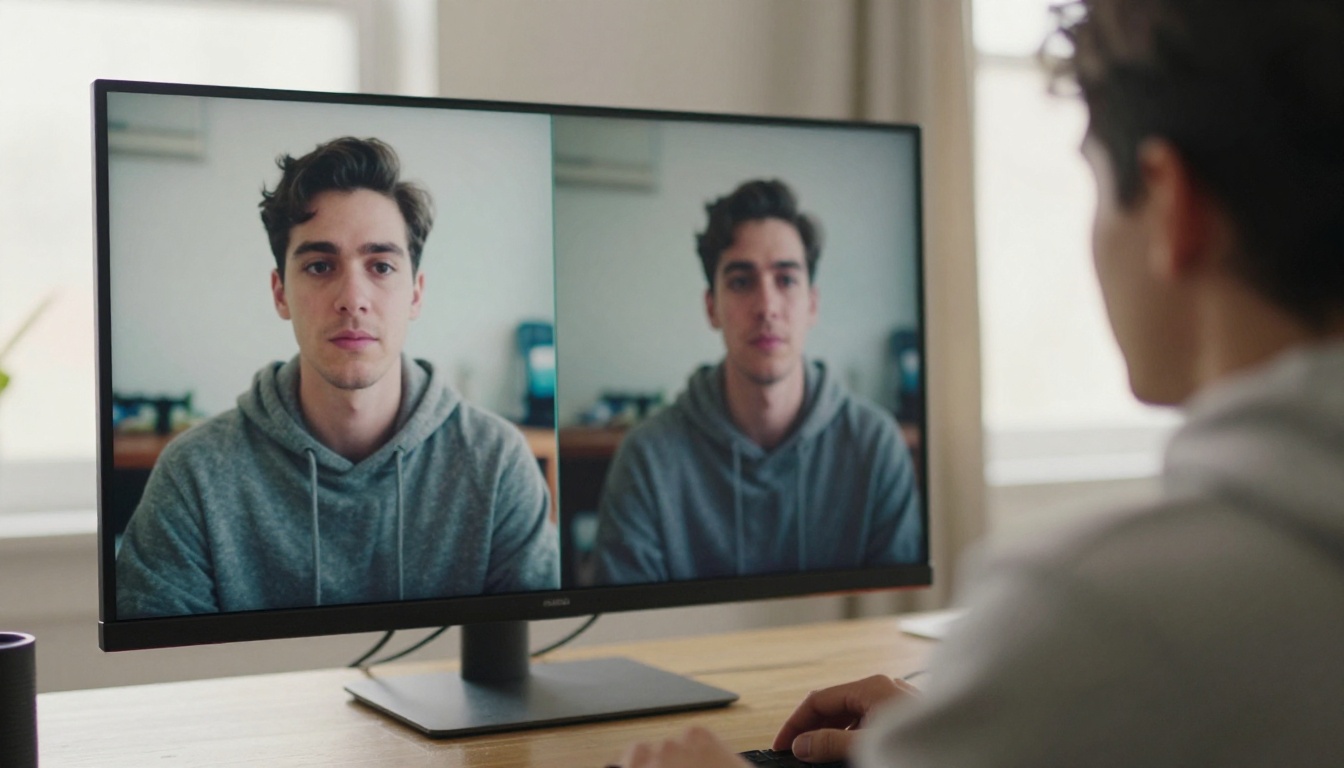
Assembly tips that make a real difference:
- Match brightness levels between panels. An AI-generated reaction clip will often be slightly brighter or more saturated than captured footage. Color grade both layers to a common look.
- Add a subtle border or divider between panels to define the split visually.
- Keep the source clip at full audio. The reaction audio should sit slightly below the source audio in the mix.
- Cut reaction expressions to match source moments. Do not let the reactor's shocked face appear three seconds after the shocking moment in the source.
How to Use Kling v3 Video on PicassoIA
Kling v3 Video is one of the best models for generating realistic reaction-style footage with expressive character motion. Here is how to run it effectively for reaction content.
Step-by-Step Instructions
-
Go to the model page: Navigate to Kling v3 Video on PicassoIA.
-
Write your text prompt: Describe the reaction scene in detail. Include the character's emotion, body language, and environment.
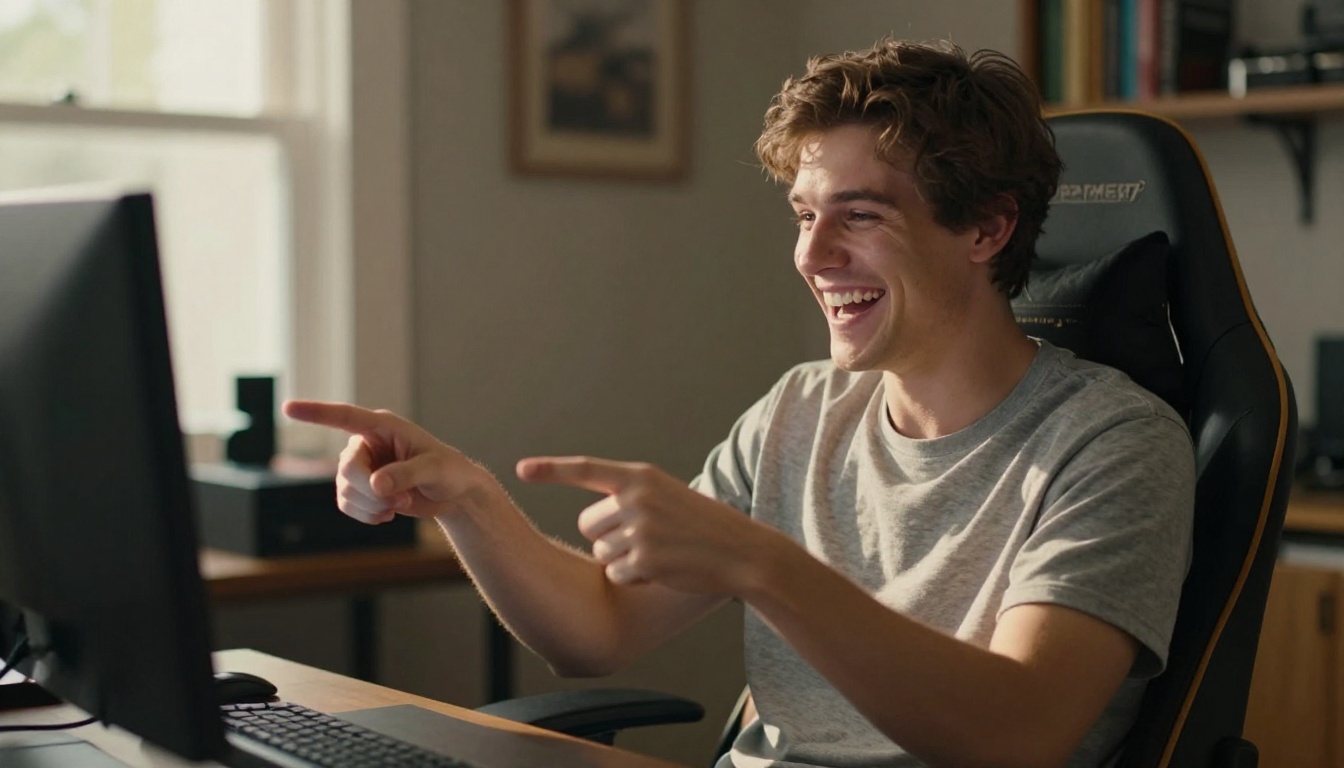
Example prompt: Young man sitting at a desk, watching a screen, surprised expression transitioning to laughter, warm studio lighting, natural head movement, casual grey t-shirt, photorealistic
-
Set duration and quality: For reaction clips, 5-10 seconds at 1080p gives you enough material to work with in the editor without burning through credits on unnecessary footage.
-
Generate and review: Download the output and check that facial expressions land on the correct emotional beats. If the emotion timing feels off, adjust the prompt to explicitly describe the transition moment.
-
Combine with audio: Run the generated clip through Wan 2.2 S2V if you want to sync it with a specific audio track, or use Seedance 2.0 if you want audio generated simultaneously from the start.
Parameter Tips for Better Results
| Parameter | Recommendation |
|---|
| Prompt specificity | Include emotion, lighting, camera angle |
| Duration | 5-10 seconds per reaction beat |
| Resolution | 1080p for final output, 720p for drafts |
| Style keywords | "natural", "cinematic", "photorealistic" |
| Character consistency | Use a reference image when possible |
💡 Consistency across clips: If you need multiple reaction clips from the same character, use an image reference on every generation. This keeps the character's appearance stable across your entire video without manual color matching.
Model Picks by Use Case
For Beginners
If you are just starting out with AI reaction videos:
- Luma Ray Flash 2 540p: Free tier, fast generation, good enough for testing your workflow before committing credits to a higher-quality model.
- Pixverse v4: Straightforward prompt-to-video with decent facial motion at no steep learning curve.
- Wan 2.1 T2V 480p: Lightweight and quick. Use it to draft reaction clip timing before generating at full resolution.
For Cinematic Quality
When you are going for polished, publication-ready output:
- Kling v3 Video: Best-in-class facial expression and character motion at 1080p.
- Veo 3.1: 1080p with native audio generation and strong prompt adherence for complex scenes.
- Sora 2: High-fidelity output with synced audio for premium reaction content that needs to stand out.
- Seedance 2.0: Best option when you want a single model to handle both the visual and audio reaction layer in one pass.
3 Mistakes That Kill Reaction Video Quality
Ignoring Emotional Timing
The reaction has to land on the beat. A confused expression that appears two seconds after the confusing moment reads as lazy editing. When using AI models, build reaction clips that match specific timestamps in your source content, not generic emotions floating without context.
Skipping the Audio Pass
Even if your video layer looks perfect, muddy or unsynchronized audio destroys the credibility of the reaction. Run your final edit through an AI audio pass or record clean vocal takes separately before assembly.
Relying on One Model for Everything
Different models handle different things well. Kling v3 Video is excellent for facial motion. Seedance 2.0 handles audio sync natively. Veo 3 produces high-fidelity cinematic output with native audio. Mixing models across a project is not a weakness; it is how professionals actually work.
Start Creating Your Own Reaction Videos
The barrier to a professional reaction video setup has dropped significantly. You do not need a $2,000 camera rig or a dedicated recording studio anymore. What you need is a clear workflow, the right AI models, and consistent attention to the three things that matter: the reaction face, the source content, and the audio sync.
PicassoIA gives you access to every model covered in this article from a single platform. You can move from a text prompt to a polished reaction clip in minutes, test different AI personas, swap models mid-project, and export at 1080p without touching complex desktop software.
Pick one model from the list above, write a short reaction prompt, and generate your first clip. The gap between what AI can produce now and what it could produce six months ago is substantial. Starting now means you build the workflow while the tools are still accessible and the competition among AI reaction content creators is still low.
Ready to build your first AI reaction video? Explore the full video model library on PicassoIA and pick the setup that fits your content style.


