Most people who search for this topic hit the same wall: a node graph that looks like a plate of spaghetti, a folder of checkpoints with cryptic names, and a first render that comes out with melted hands and plastic skin. The good news is that ComfyUI is free, it runs on your own machine, and nothing is filtered unless you add a filter yourself. The bad news is that the defaults are terrible. This article walks through a working workflow, the models worth downloading, the exact settings that produce believable skin and lighting, and a faster online route for anyone who would rather not install anything.
A quick note on scope. Everything here is about suggestive, glamour-style images of adult, fictional people: lingerie, swimwear, boudoir, bedroom light. We keep it non-explicit, and we never use a real person's face or likeness without consent. That is not just a rule, it also keeps your output legal and your accounts safe.
What You Need Before You Start
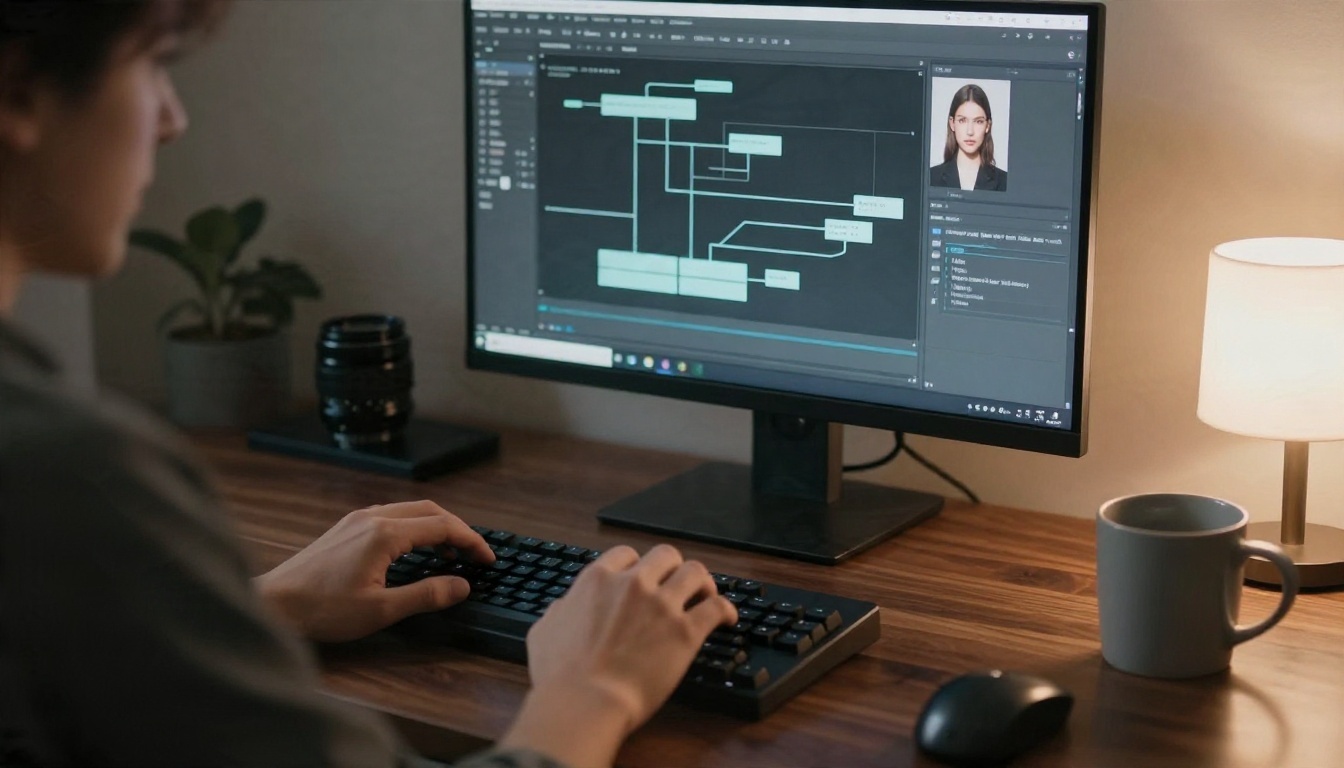
ComfyUI is a node-based interface for Stable Diffusion style models. You connect boxes with wires instead of pressing one "generate" button, which sounds painful until you realize that every step of the pipeline becomes visible and swappable.
Hardware that actually works
The GPU decides everything. VRAM matters more than raw speed.
| VRAM | What you can run | Realistic speed (1024 px) |
|---|
| 6 GB | SD 1.5 models, heavily optimized SDXL | 40 to 90 seconds |
| 8 GB | SDXL checkpoints with tiled upscaling | 20 to 40 seconds |
| 12 GB | SDXL with LoRAs, Flux quantized builds | 10 to 25 seconds |
| 16 to 24 GB | Full Flux models, large batches, video | 5 to 15 seconds |
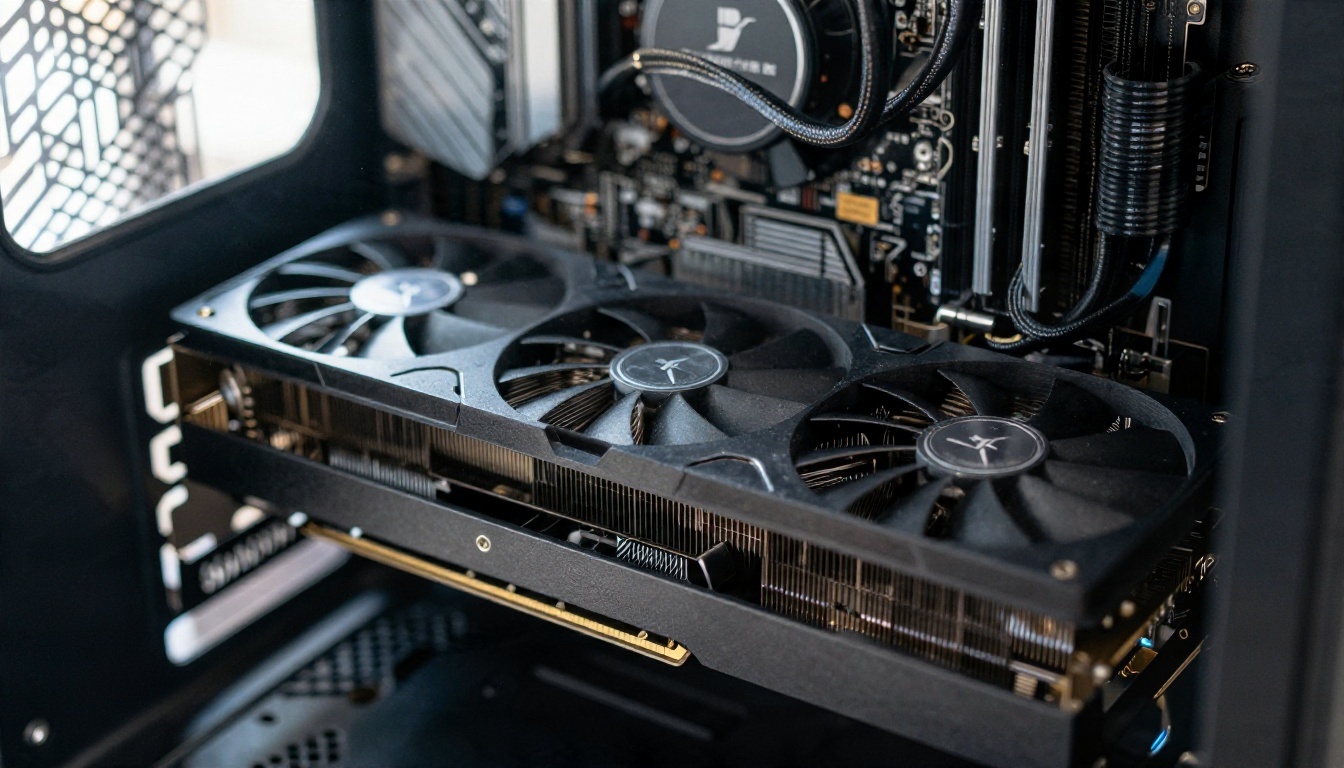
💡 Tip: NVIDIA cards are the path of least resistance. AMD and Apple Silicon work, but expect more troubleshooting and slower renders.
Installing the software
- Download the portable Windows build of ComfyUI (or clone the repository on Linux or Mac).
- Install ComfyUI Manager, a community add-on that installs missing nodes with one click.
- Put your checkpoint files in
models/checkpoints, LoRAs in models/loras, and VAEs in models/vae.
- Launch it, open the browser tab, and load the default workflow.
The whole thing takes around 20 minutes plus the download time for the model files, which are 2 to 7 GB each.
Rules worth following
Stick to adult characters, never copy a real person's face, and do not post anything that depicts minors or non-consensual scenarios. Most checkpoint sites ban those outright, and so do payment processors. Keep it fictional and keep it adult.
The Free Workflow, Node by Node
Forget the giant downloadable workflows with 80 nodes and six custom packs. They break the moment one dependency updates. A clean glamour workflow needs only nine nodes.
The base nine
| Node | Job | Setting to start with |
|---|
| Load Checkpoint | Loads the model | A photoreal SDXL checkpoint |
| CLIP Text Encode (positive) | Your prompt | 40 to 75 tokens |
| CLIP Text Encode (negative) | What to avoid | Short list, see below |
| Empty Latent Image | Canvas size | 832 x 1216 (portrait) |
| KSampler | The renderer | See settings table |
| VAE Decode | Turns latents into pixels | Default |
| Save Image | Writes the file | PNG |
| Load LoRA (optional) | Adds a style or face | Strength 0.6 to 0.8 |
| Upscale Image (model) | Final sharpness | 2x |
Wire them in the order of that table. The checkpoint feeds the LoRA node, the LoRA feeds both text encoders and the sampler, and the sampler feeds the decoder. If the wire colors match on both ends, you are fine.
Picking resolution without stretching faces
Render at the native size the model was trained on. For SDXL that is about 1 megapixel: 832 x 1216 for portraits, 1216 x 832 for wide shots, 1024 x 1024 for squares. Going bigger in the first pass is the most common reason for doubled limbs and extra torsos. Upscale afterwards instead.
Saving the workflow
ComfyUI embeds the whole graph in every PNG it saves. Drag one of your good images back onto the canvas and the workflow reappears with every setting intact. This is the easiest backup system in the whole hobby.
Best Models for Photoreal Results
Here is where the actual quality comes from. The workflow is plumbing. The checkpoint is the camera.
SDXL based checkpoints
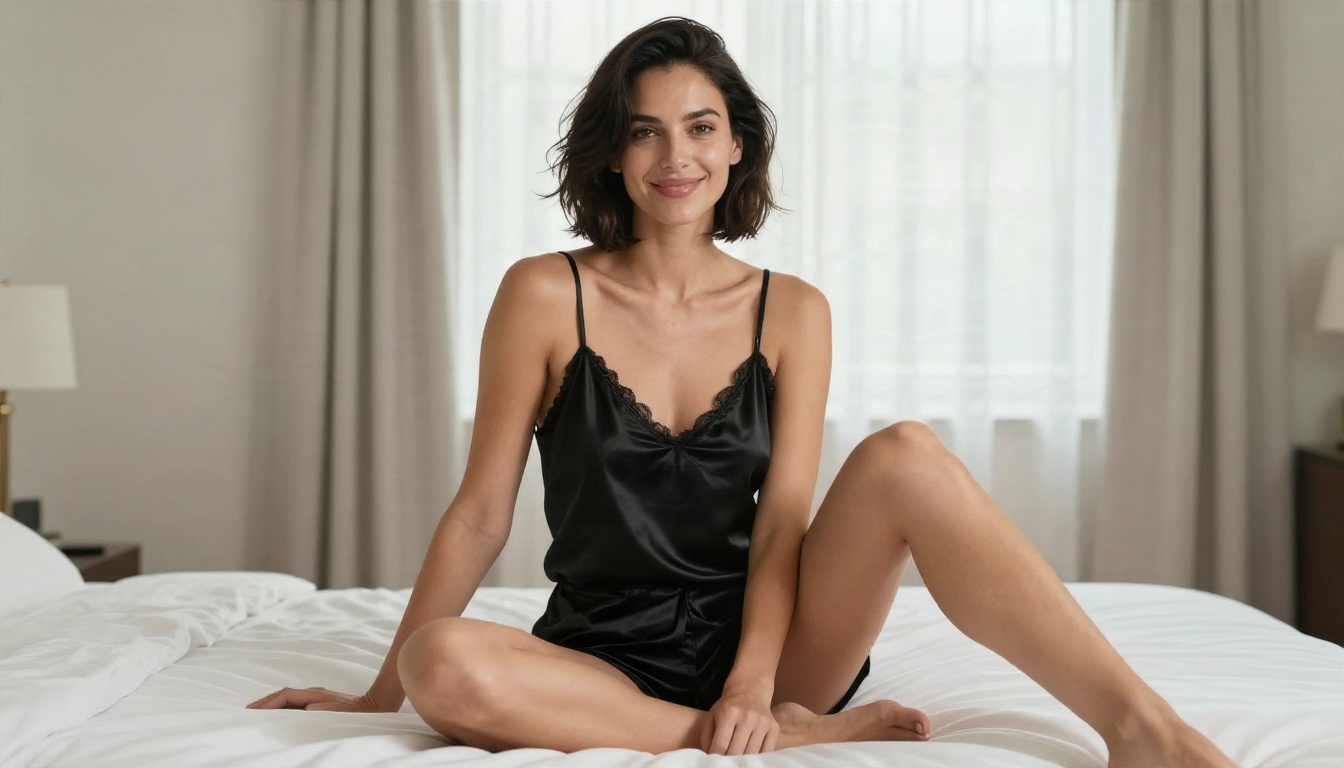
The SDXL family still has the biggest library of community checkpoints, and its adult-friendly ecosystem is the most mature. For photoreal work, look for models tagged "realistic" or "photo" on Civitai, the largest model sharing site. Juggernaut XL is a popular all-rounder, and many others build on the same base. Pony and Illustrious derivatives lean toward anime and stylized output, so skip them if you want skin that looks like skin.
Flux style models
Flux checkpoints produce cleaner anatomy and better text rendering, but they need more VRAM and the community fine-tune scene is thinner. They also ignore negative prompts. If you want to try the family without any install, Flux 2 Klein 9B Base LoRA runs in the browser, and Flux Redux Dev is handy for generating variations of an image you already like.
LoRAs: small files, big changes
A LoRA is a tiny add-on file (usually 50 to 200 MB) that nudges a checkpoint toward a style, outfit, lighting setup or character. Stack two at most. Three or more and the output turns muddy.
💡 Tip: Always read the model page. Authors list the sampler, step count and trigger words that their LoRA expects. Ignoring those notes is the number one reason a "great" download looks awful.
Prompts That Actually Work
A good prompt reads like a photographer's shot list, not a wish list.
The five part formula
- Subject: age range, hair, build, expression ("woman in her late twenties, long chestnut hair, relaxed smile")
- Clothing: fabric and cut ("ivory satin robe, one shoulder bare")
- Setting: place and props ("sunlit loft bedroom, linen sheets")
- Light: direction and quality ("soft window light from the left, warm morning")
- Camera: lens, angle, film ("85mm f/1.8, shallow depth of field, Portra 400 film grain")
Put the subject first. Samplers weigh early tokens more heavily than late ones.
Three prompts to copy
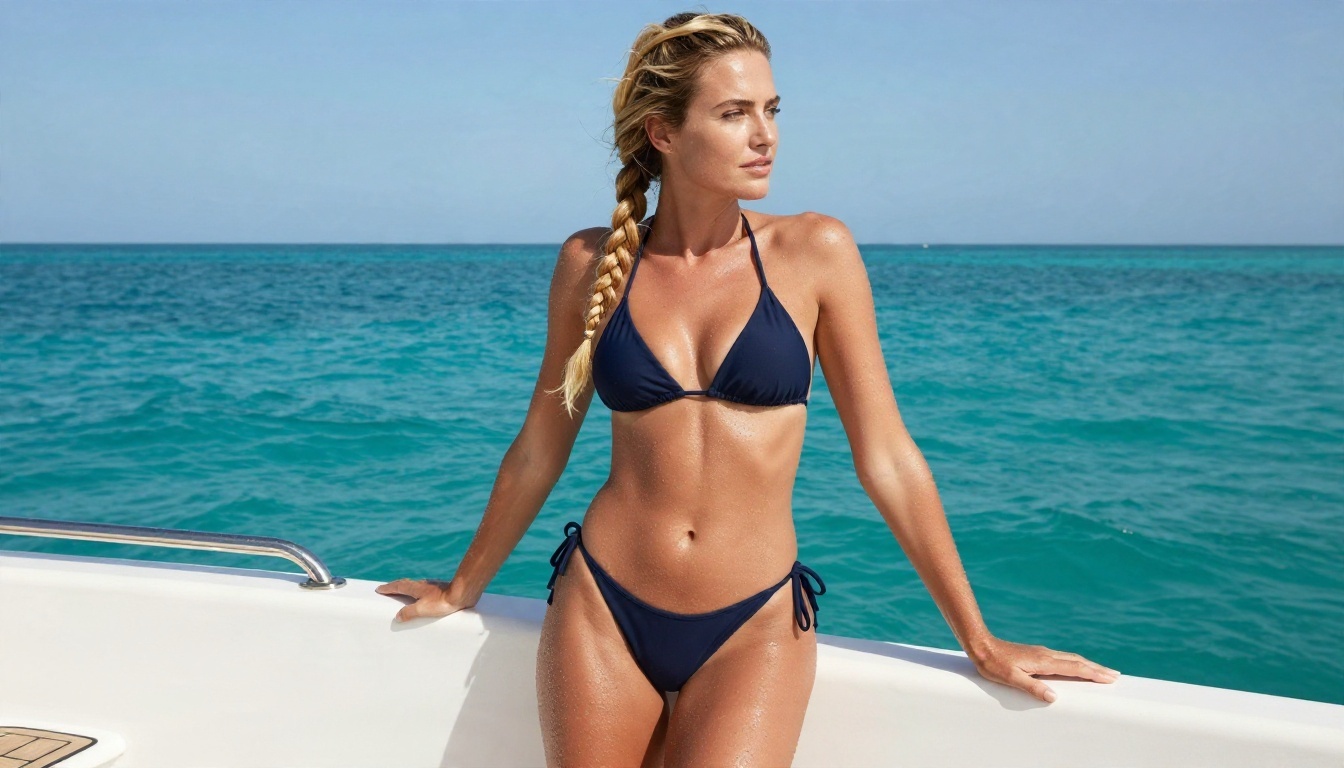
Yacht glamour
photo of an adult woman, braided blonde hair, sun-kissed skin, navy bikini, standing at a white yacht railing, turquoise sea, bright midday sun, water droplets on shoulders, low angle, 35mm lens, film grain, natural skin texture
Boudoir window
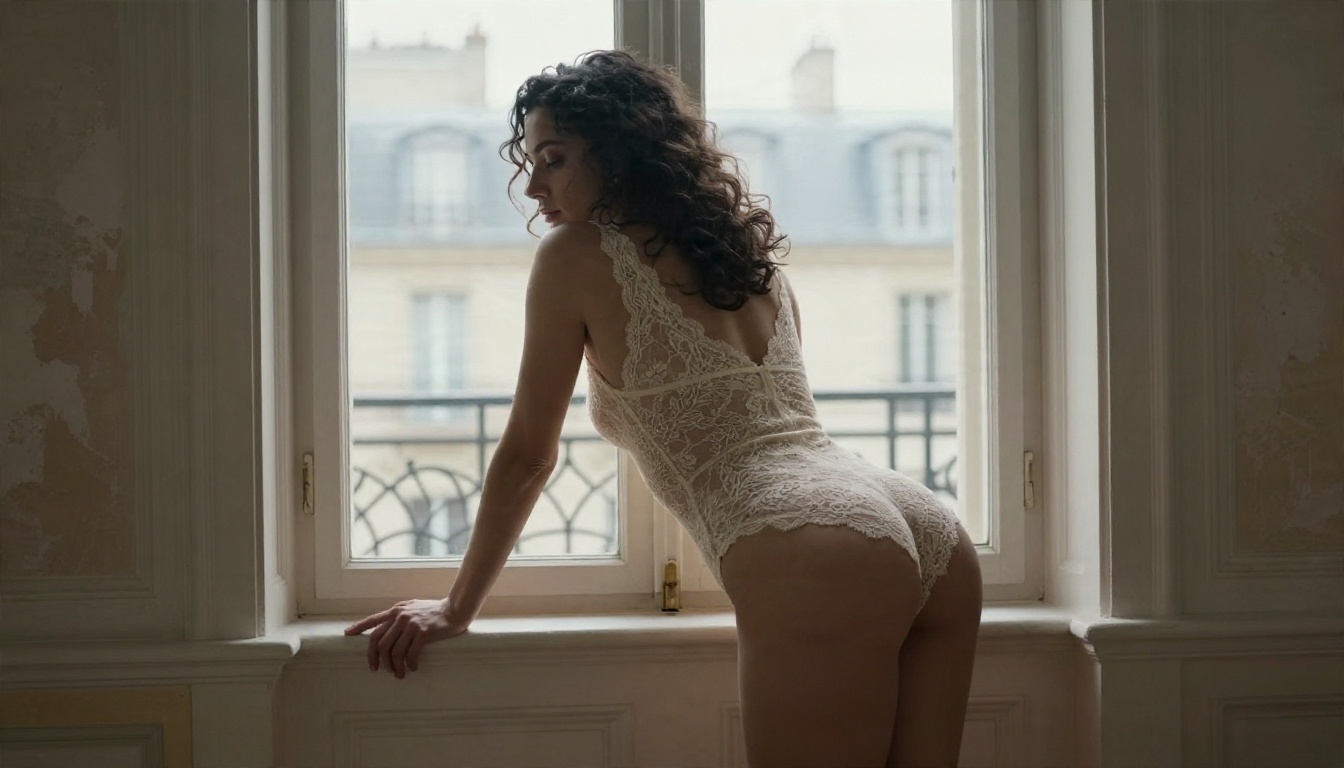
photo of an adult woman, dark curly hair, cream lace bodysuit, leaning on a tall window in an old apartment, soft overcast backlight, rim light on skin, 40mm lens, peeling plaster wall, Portra 400
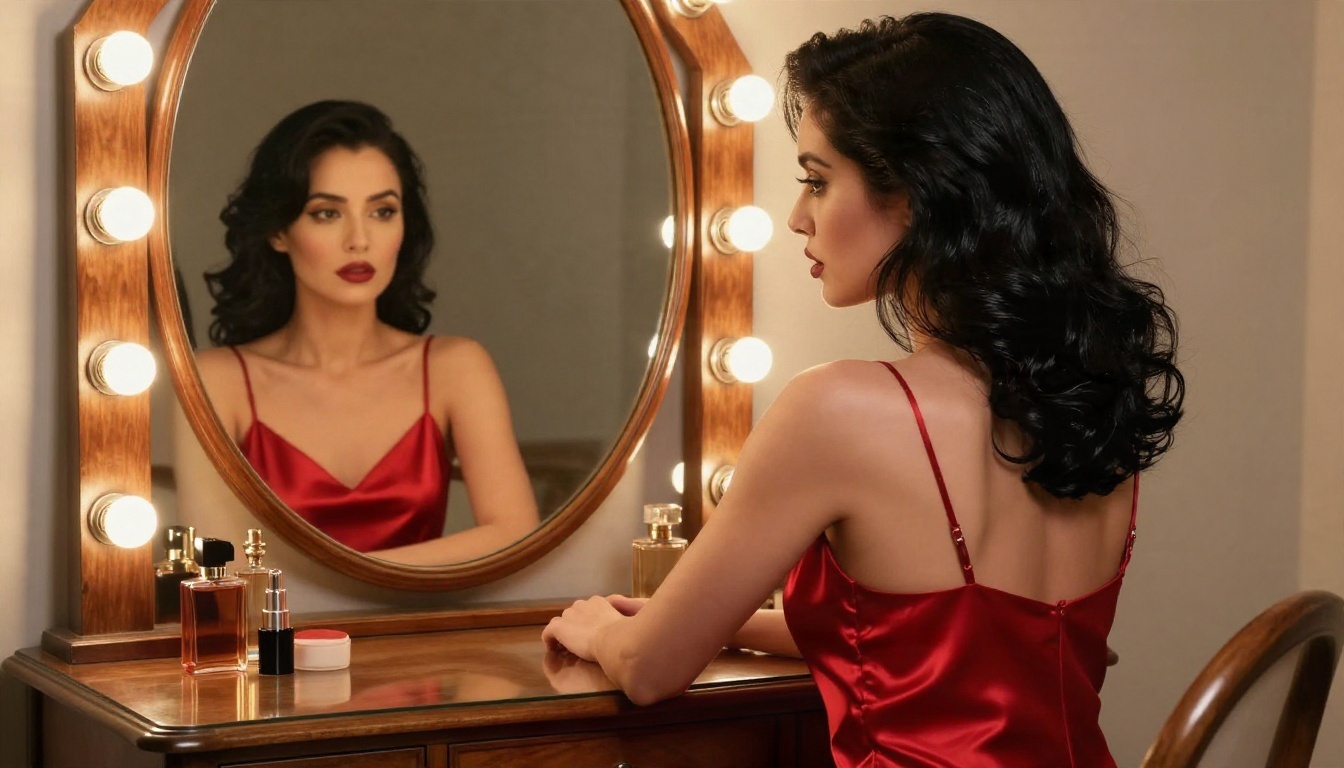
Vanity mirror
photo of an adult woman, glossy black hair, red silk slip dress, seated at a vintage vanity, warm bulbs around the mirror, reflection visible, 50mm f/1.4, shallow depth of field
The negative prompt
For SDXL checkpoints, keep it short. A 200 word negative prompt does more harm than good.
worst quality, low quality, blurry, extra fingers, deformed hands, extra limbs, text, watermark, plastic skin, oversmoothed, cartoon, painting
Flux style models have no negative prompt. Write what you want instead of what you do not want.
Settings That Fix Bad Output
Community testing, plus the notes on most photoreal checkpoint pages, agree on a similar baseline. Treat these numbers as a starting point and change one value at a time.
| Setting | SDXL photoreal | Flux style |
|---|
| Sampler | dpmpp_2m_sde | euler |
| Scheduler | karras | simple |
| Steps | 28 to 35 | 20 to 28 |
| CFG | 4 to 7 | 1.0 |
| Strength slider | not used | about 3.0 to 4.0 |
| Resolution | 832 x 1216 | 1024 x 1024 or similar |
| Clip skip | 1 (check model page) | not used |
| Model folder | checkpoints | unet |
Why skin looks plastic
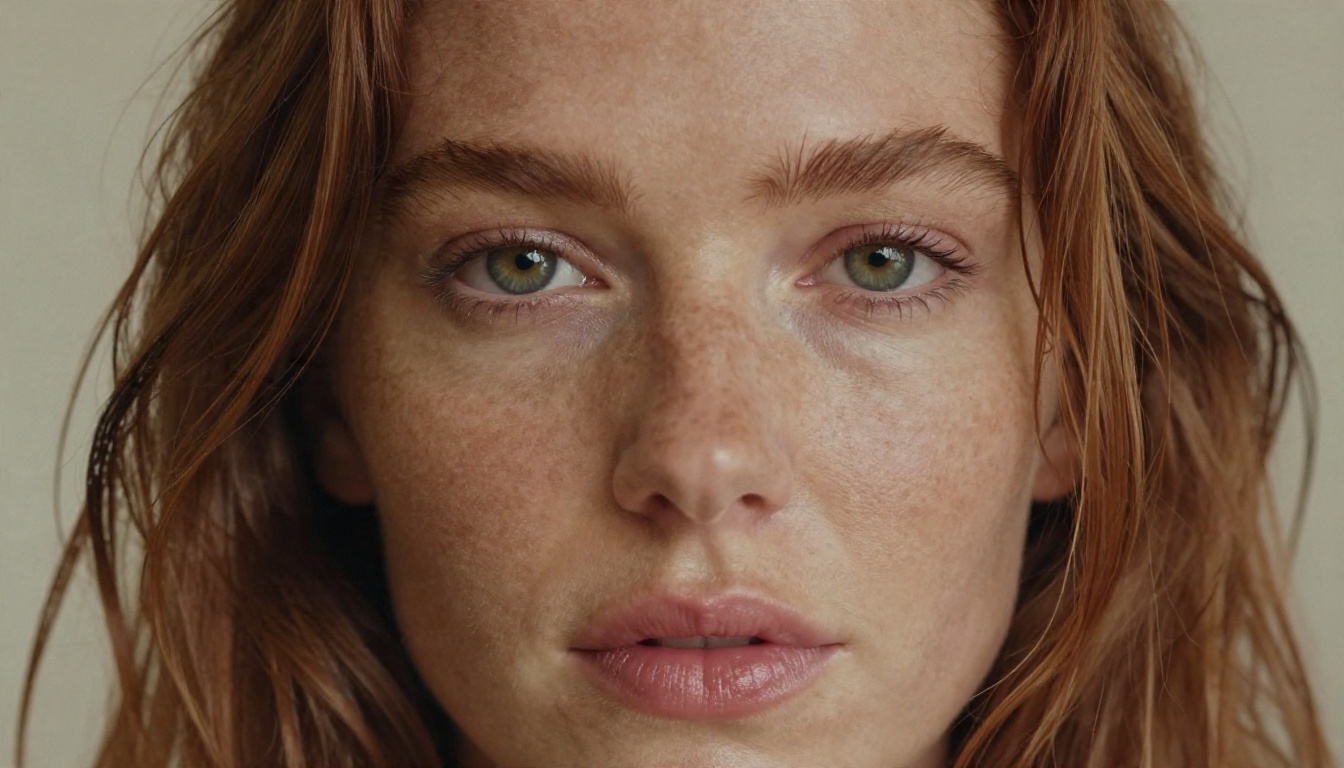
Three culprits cause nearly all of it. CFG that is too high (above 8 on SDXL) burns detail into waxy surfaces. A prompt full of words like "flawless", "perfect" and "smooth" does the same. And a VAE mismatch washes out color. Lower the CFG to 5, add "visible pores, natural skin texture, fine facial hair" to the prompt, and use the checkpoint's recommended VAE.
Fixing hands and faces
Add a Face Detailer node from the Impact Pack through ComfyUI Manager. It detects the face in your render, crops it, re-renders it at higher resolution with low denoise (0.3 to 0.4), and pastes it back. A Hand Detailer works the same way. Together they add maybe 10 seconds per image and remove most of the horror.
Upscaling in a second pass
After you settle on a composition, send the image through an Upscale Image (using Model) node with a 4x model, scale it down to 2x, then run a second light KSampler at denoise 0.25. You get crisp eyelashes and fabric weave without the duplicated limbs that come from rendering large in the first place.
💡 Tip: Fix the seed once you like a composition. Then change only one thing at a time: the prompt, the LoRA strength, or the sampler. Otherwise you never know what caused the improvement.
Skip the Install: Seedream 4.5 on PicassoIA
Running ComfyUI locally is rewarding, but it has costs. A decent GPU, hours of setup, broken custom nodes after updates, and disk space that vanishes into checkpoints. If you want the same kind of photoreal glamour output without any of that, Seedream 4.5 on PicassoIA is the first place to try. It generates 4K images from a plain text prompt, handles skin, fabric and light very convincingly, and it is fast.
How to use Seedream 4.5 on PicassoIA
- Open the Seedream 4.5 page.
- Paste a prompt built with the five part formula above. The same subject, clothing, setting, light and camera structure works here.
- Pick a 16:9 ratio for wide scenes or a portrait ratio for single subject shots.
- Generate, then tweak one phrase at a time (light direction and lens are the most effective levers).
- Download the best result, or send it on to an editor for touch ups.
You do not need negative prompts, sampler choices or CFG values. The model handles those internally, which is exactly why results are more consistent for beginners.
💡 Tip: Describe fabric and light in detail, such as "satin with soft specular highlights" or "backlight forming a rim on the shoulders". Those two phrases do most of the work of a LoRA stack.
PicassoIA Image Editor Pro for edits
Once you have a render, PicassoIA Image Editor Pro lets you change outfits, backgrounds, lighting and small details by describing what you want changed. It offers unlimited generations, so you can iterate freely without counting credits. That replaces most of the inpainting and detailer nodes you would otherwise wire up by hand in ComfyUI.
More models worth trying
| Model | Best for | Link |
|---|
| Seedream 4.5 | Photoreal 4K glamour, first choice | Open |
| PicassoIA Image Editor Pro | Unlimited edits and variations | Open |
| Qwen Image 3 Pro | Clean, natural photographic realism | Open |
| Flux 2 Klein 9B Base LoRA | Style control with LoRA support | Open |
| SDXL Multi Controlnet LoRA | Pose and structure control | Open |
For pose control similar to ComfyUI's ControlNet nodes, the SDXL Multi Controlnet LoRA model is the closest match. For speed, SDXL Lightning 4Step produces drafts in a few seconds, handy for testing prompts before committing to a longer render.
Local ComfyUI or Online: Which One?
| Factor | Local ComfyUI | Online on PicassoIA |
|---|
| Cost | Free after hardware | Free tiers plus unlimited editing |
| Setup time | 1 to 3 hours | Under a minute |
| Control | Total, every node | High, via prompt and editor |
| Speed | Depends on your GPU | Seconds per image |
| Maintenance | Constant updates | None |
| Custom LoRAs and training | Yes | Limited |
The honest answer: if you enjoy tinkering, want to train your own style, or need total privacy, run ComfyUI locally. If you want results tonight and your laptop has no discrete GPU, go online. Plenty of people do both, using ComfyUI for experiments and a hosted model for fast, high quality finals.
5 Common Mistakes
- Rendering at 2048 px in the first pass. Duplicate bodies and stretched torsos follow. Render at the native size, then upscale.
- Stacking four LoRAs. Two is the limit. Lower each strength to 0.6 to 0.7.
- Copying a 300 word negative prompt. It slows everything and changes nothing. Ten words are plenty.
- Using the wrong VAE. Faded, grey colors almost always mean a VAE mismatch.
- Skipping the model page. Each checkpoint has a preferred sampler, step count and clip skip. Ten seconds of reading saves an hour of trial and error.
💡 Quick fix list: melted hands, add a Hand Detailer. Waxy skin, drop CFG to 5. Washed out color, change the VAE. Weird proportions, lower the resolution.
Try It Yourself Today
You now have everything needed for a working setup: nine nodes, a photoreal checkpoint, a short negative prompt, a five part prompt formula and a detailer pass. Build it once, save a good PNG as your template, and the rest is iteration.
If you want to see results in the next five minutes instead of the next five hours, open Seedream 4.5 on PicassoIA, paste one of the prompts above, and compare it side by side with your local render. Then refine the winner in PicassoIA Image Editor Pro, where generations are unlimited and nothing slows you down. For more models to experiment with, browse the full catalog at picassoia.com/en/all-models.


