Getting professional studio portraits used to mean booking a session, renting equipment, or hiring a photographer with their own setup. The average studio portrait session runs $150 to $500, not counting retouching. Most people do it once, get a handful of usable shots, and never go back.
AI has made that calculus completely irrelevant.
Whether you want a polished headshot for LinkedIn, a glamour portrait for personal projects, or a full creative series without stepping outside, the tools available today can produce photorealistic, studio-quality results from a bedroom or living room. This article walks you through exactly how, with specific models, practical prompting tips, and a step-by-step workflow you can start using today.
Why Studio Portraits Are Changing
The Real Cost of a Studio Session
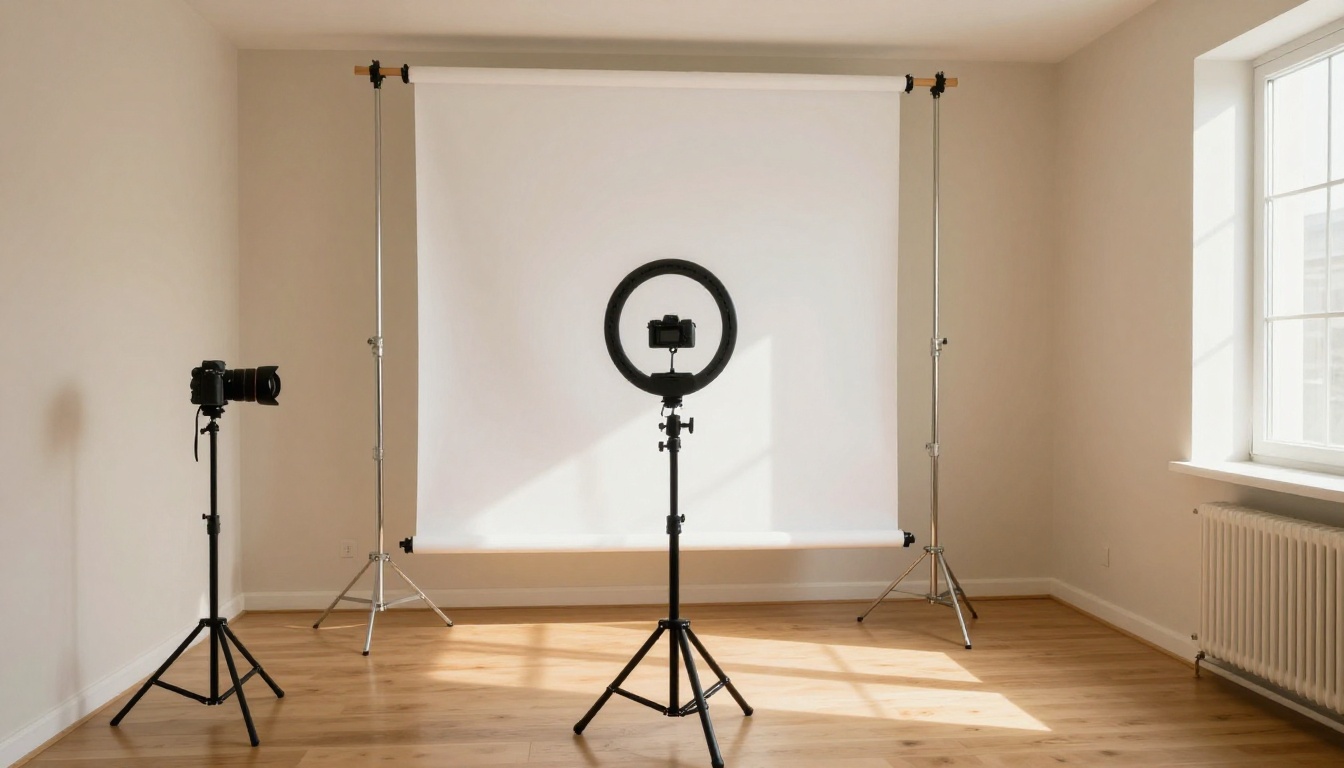
Professional portrait studios charge per hour, per setup, per retouching pass. A single corporate headshot package at a mid-range studio in any major city typically costs between $200 and $600. Add a makeup artist, wardrobe styling, and the inevitable re-shoot because you did not like the angle, and the price climbs fast.
Beyond cost, studio sessions are stressful for most people. Bright lights, a stranger pointing a camera, limited time to get comfortable. The results often look exactly like that: tense, staged, and generic.
What AI Actually Changes Here
AI portrait generation flips the entire model. Instead of scheduling around a photographer's availability, you generate exactly what you need, on demand, at any time. Instead of limited takes, you iterate. Instead of expensive retouching, the image is already optimized.
More importantly, the output quality has crossed a threshold. The images produced by modern AI portrait models are indistinguishable from real photography at normal viewing sizes. Skin texture, lighting gradients, depth of field, and catchlights in the eyes, all rendered with cinematic precision.
💡 The best AI portraits look like they were shot on a $3,000 camera by an experienced portrait photographer. The difference is that you control every variable.
Your Home Is Already a Studio
3 Things You Need to Start
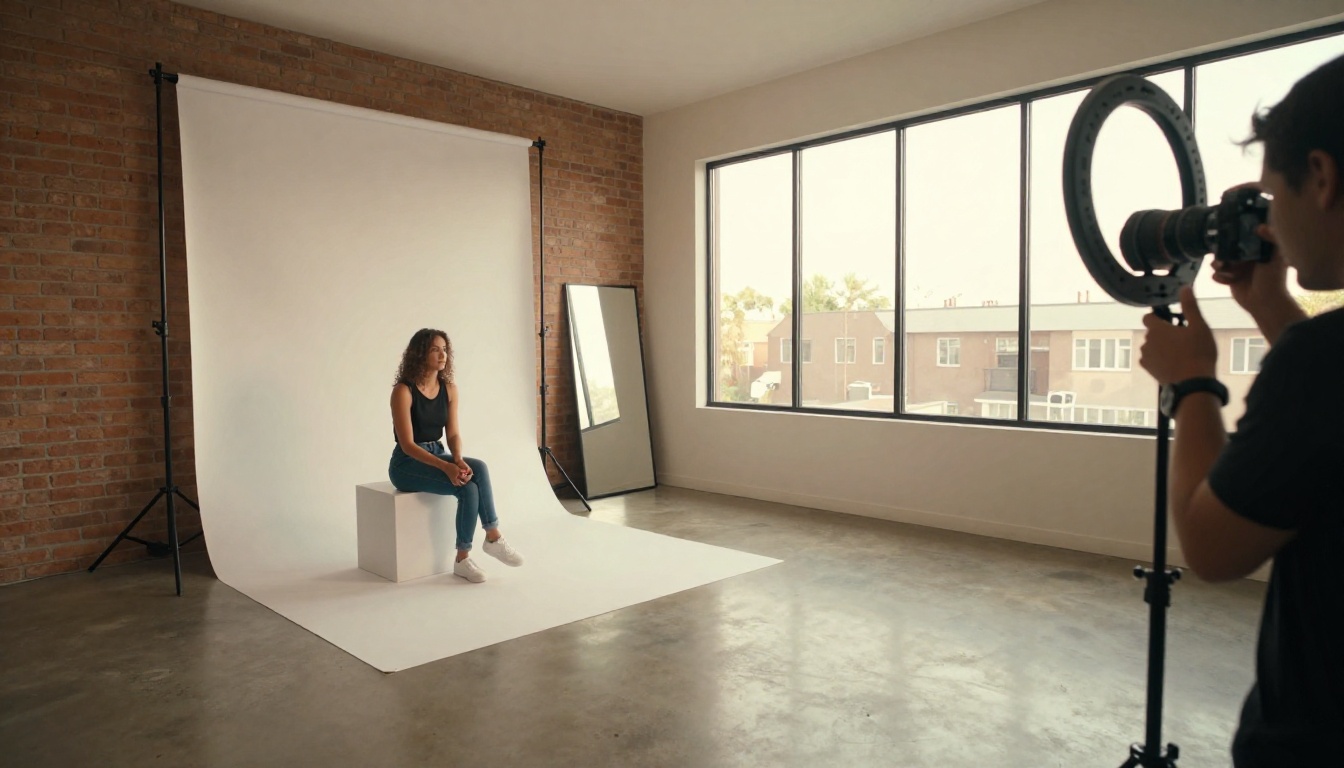
Setting up a home portrait space for real photography takes three basics:
| Item | Budget Option | Pro Option |
|---|
| Backdrop | White wall or foam core boards | Seamless paper roll on stands |
| Lighting | Window with white curtain diffuser | Ring light or softbox LED panel |
| Camera | Smartphone in portrait mode | DSLR or mirrorless with 85mm lens |
Even a basic smartphone setup can produce usable raw material that AI tools can then elevate. But if you want to skip the photography entirely and generate your portraits from scratch using AI, you need only a browser and a well-crafted prompt.
Lighting That Actually Works
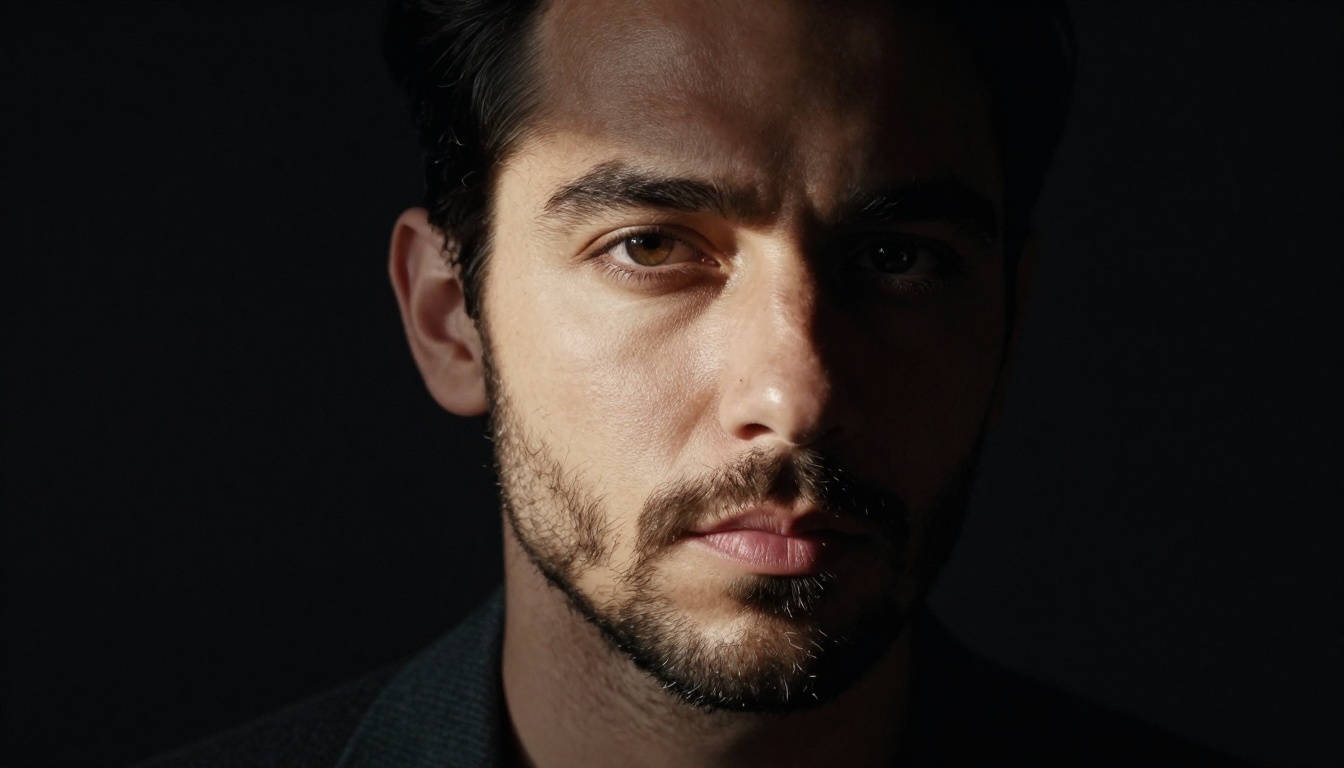
Natural light is your best friend for home portraits. A large north-facing window gives you consistent, flattering, diffused light without the harshness of direct sun. Position your subject at 45 degrees to the window for classic Rembrandt-style lighting, where one side of the face is lit and the other falls into a gradual shadow.
For a butterfly lighting effect (the classic Hollywood beauty look), face your subject directly toward the window, with you shooting between them and the glass. The light falls symmetrically from above, creating that signature shadow under the nose and visible catchlights in both eyes.
If you have no good natural light, a $40 ring light from any electronics retailer positioned at face level works well. The circular catchlights it creates in the eyes are instantly recognizable as the polished studio look.
Backdrops on a Budget
White foam core boards from a craft store cost about $5 each. Two large boards propped behind your subject give a clean, seamless background that AI tools can then replace or stylize. Alternatively, a plain white or cream wall with no texture, a bedsheet hung flat, or a large window with sheer curtains all work as starting backdrops. The priority is minimizing competing visual noise so AI tools have a clean base to work from.
How AI Generates Studio Portraits
Text-to-Image for Portraits
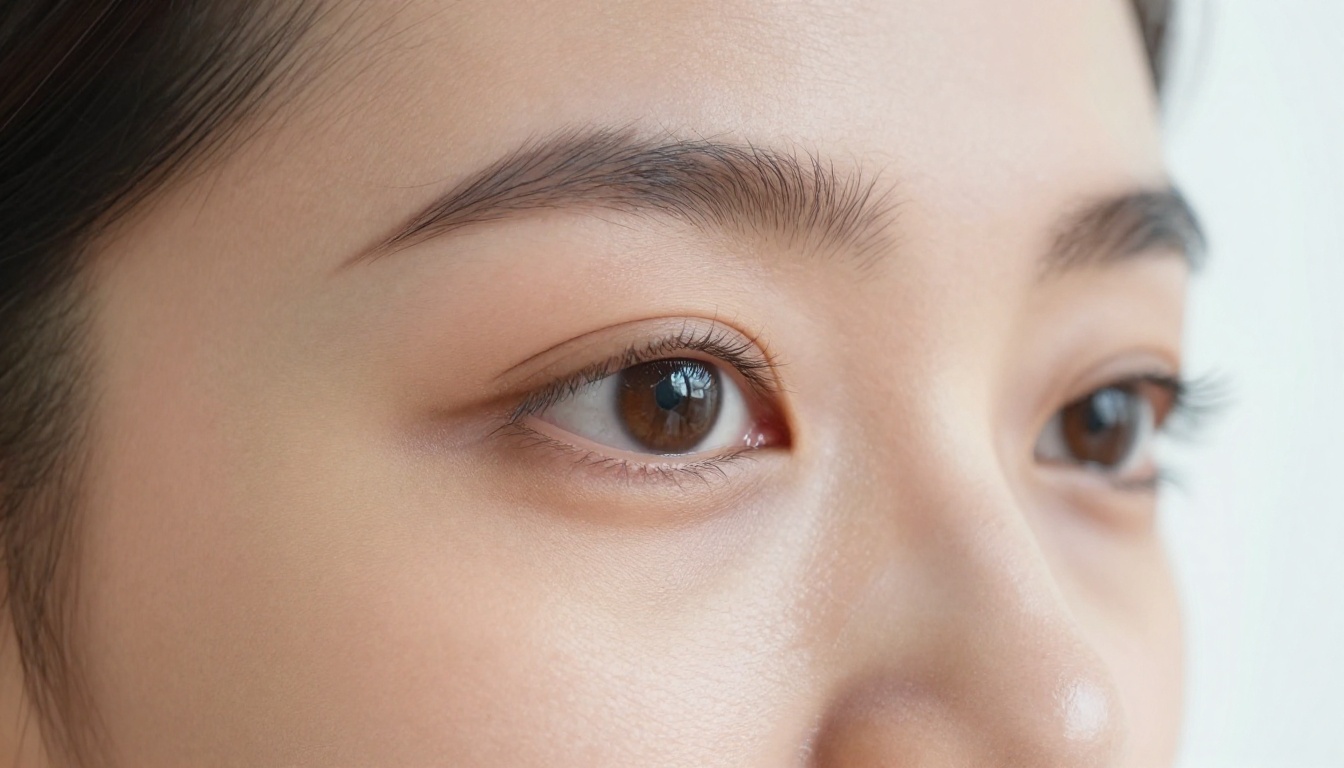
Modern text-to-image models have been trained on millions of professional portrait photographs. They have internalized the vocabulary of studio photography: softbox lighting, seamless backdrops, catchlights, depth of field, and color grading.
When you write a prompt that speaks that language, the model produces a result that looks like it came from a professional studio. The more specific your prompt, the better the output.
Weak prompt: "A woman smiling against a white background"
Strong prompt: "Photorealistic portrait of a woman in her 30s, 85mm lens f/1.8, soft Rembrandt lighting from the left, seamless light grey backdrop, sharp skin texture with micro-pores, warm catchlights in both eyes, cream blouse with silk texture, Kodak Portra 400 film grain, RAW 8K"
The second prompt gives the model everything it needs: subject, lens, lighting type, backdrop, skin quality, wardrobe detail, and film stock. The output is almost guaranteed to look professional.
Why Photorealism Matters
Portrait photography has an extremely high photorealism bar. People can spot artificial-looking skin, wrong-direction lighting, or uncanny valley faces immediately and instinctively.
The models that perform best for portrait generation are trained specifically on real photography, not illustrations or concept art. They understand how real skin scatters light, how hair behaves, how clothing drapes over a body in three dimensions. These are not small details. They are the entire difference between a portrait that reads as authentic and one that reads as artificial.
💡 Prompt tip: Always specify "photorealistic," "RAW photography," and a real film stock name like "Kodak Portra 400" or "Fujifilm Pro 400H." This anchors the model in photographic space and away from illustration styles.
How to Use PicassoIA for Studio Portraits
PicassoIA brings all the tools for AI portrait creation into one place. No API keys, no local installs, no technical setup required.
Step 1: Pick Your Portrait Model
Head to PicassoIA Image, the platform's core text-to-image model built for photorealistic output. It handles portrait prompts with cinematic accuracy: proper skin rendering, realistic depth of field, and accurate lighting simulation.
If you want editing and inpainting capabilities directly in the interface, PicassoIA Image Editor Pro adds those controls on top of the core generation engine. For portrait variations (generating multiple versions of the same subject from different angles or lighting setups), Flux Redux Dev is purpose-built for consistent variation output.
Step 2: Write a Prompt That Works
Use this structure as your starting framework:
[Subject description] + [Wardrobe detail] + [Backdrop type] + [Lighting setup] + [Camera specs] + [Skin/texture details] + [Film stock/color grade]
Example prompt:
"Photorealistic portrait of a woman in her late 20s, wearing a structured cream blazer, against a seamless pale grey backdrop, soft butterfly lighting with catchlights in both eyes, 85mm f/2.0 full-frame, visible skin pores and natural lip texture, Fujifilm Pro 400H color grade, RAW 8K photography"
Variables to specify:
- Lighting: Rembrandt, butterfly, loop, split, clamshell
- Backdrop: Seamless white, seamless grey, textured brick, marble, soft bokeh nature
- Lens: 85mm (most flattering for faces), 50mm (neutral), 135mm (compression effect)
- Aperture: f/1.4 to f/2.8 for creamy bokeh, f/5.6 and above for group shots
- Film stock: Kodak Portra 400/800, Fujifilm Pro 400H, Kodak Tri-X 400 for black and white
Step 3: Refine Your Output
Once you have a base result, use the platform's variation and inpainting tools to fine-tune. Adjust lighting direction, change the backdrop color, add wardrobe details, or modify the composition angle. Each generation takes seconds, so iteration is fast and low-cost.
💡 Power move: Generate at standard resolution first to confirm your composition, then run the final version through an upscaler for print-quality output.
Upscaling Portraits to Print Quality
4x and 6x Upscaling Options
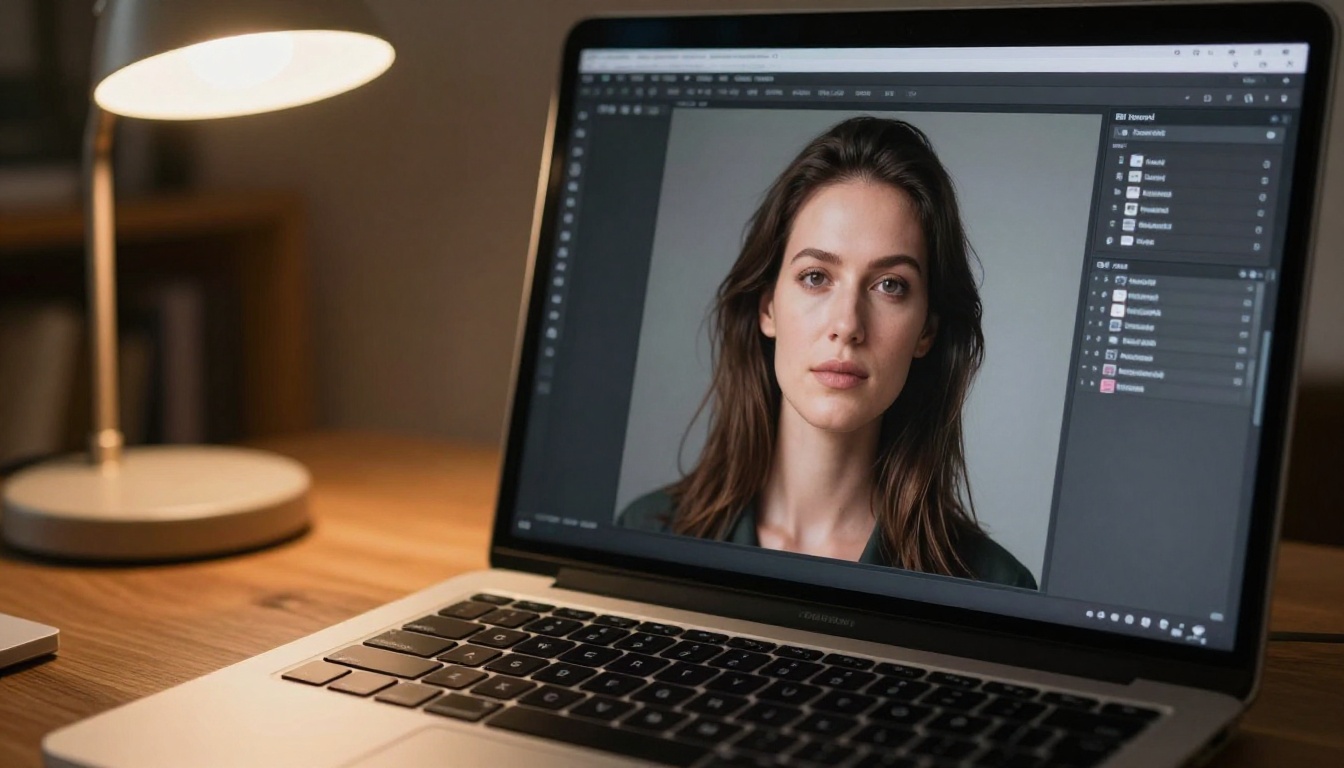
Standard AI-generated portraits come out at resolutions suitable for screens. For printing (especially at 8x10 or larger), you need to upscale without losing detail. PicassoIA has several dedicated upscalers for this:
When to Use Each Upscaler
For portrait work specifically, Crystal Upscaler is the strongest choice. It understands facial anatomy and boosts skin texture, eye detail, and hair definition during the upscaling process rather than simply interpolating pixels.
For maximum scale when printing large, poster-size or bigger, Image Upscale by Topaz handles 6x enlargement while maintaining sharpness in critical areas like the eyes and lips.
Real ESRGAN is a solid free option that works well for web and social use where extreme print quality is not the priority.
Background Removal and Backdrop Swaps
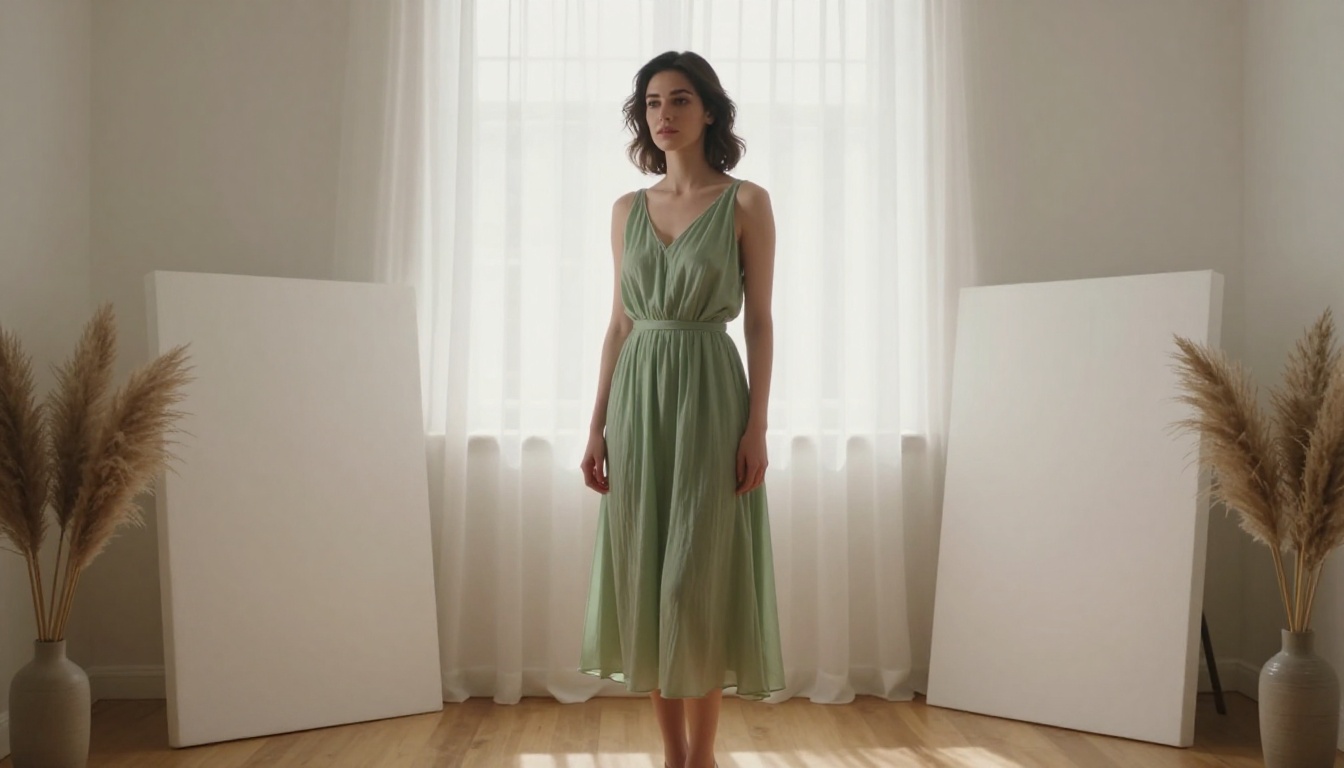
One of the most practical AI portrait tools is background removal. Whether you are working from a real photo taken at home or a generated portrait, cleanly separating the subject from their background opens up an immediate creative range.
How AI Removes Backgrounds
Modern AI background removal works at the semantic level: it identifies subjects (people, faces, figures) versus backgrounds (walls, furniture, outdoor scenes) with pixel-level precision. Hairlines, flyaway strands, and semi-transparent fabrics that would take a professional retoucher 30 minutes to isolate manually are handled automatically in seconds.
The result is a clean masked subject you can drop onto any backdrop: a seamless studio grey, a marble interior, a location shot, or a minimalist white that reads as a high-end studio photo.
Swapping to Studio-Style Backgrounds
Once your subject is isolated, the workflow becomes:
- Remove background with AI background removal
- Drop the subject onto a studio-style backdrop image
- Match the lighting direction in the new background to the lighting visible on the face
- Run a color-grading pass to unify the tones across the composite
Step 3 is where most DIY background swaps look artificial: the face is lit from the left but the background light reads from the right. The simplest fix is choosing backdrops with neutral or flat lighting (like a seamless grey gradient) that work with any subject lighting direction without creating an obvious mismatch.
5 Portrait Mistakes (and How to Fix Them)
1. Prompting Too Generally
Vague prompts produce generic results. "Professional headshot" tells the model almost nothing. Specify lighting type, lens focal length, film stock, and exact wardrobe details to get a portrait with a distinct, intentional character.
2. Ignoring the Eyes
The eyes are the most scrutinized part of any portrait. They must be sharp, have realistic catchlights, and show natural corneal reflections. Always include "sharp eyes with realistic catchlights" in your prompts. Soft or glassy-looking eyes are the fastest way to break the illusion of realism.
3. Skipping the Upscale
Most AI outputs look excellent at web resolution but show compression artifacts when printed. Never deliver a final portrait without running it through an upscaler first. The difference is immediately visible at print sizes.
4. Over-Smoothing Skin
The appeal of a studio portrait is that it looks real, but slightly elevated. AI skin processing can push this too far, producing skin that reads as plastic or synthetic. Prompt for "natural skin texture with micro-pores" to keep the result anchored in realism.
5. Wrong Aspect Ratio
Portrait orientation (3:4 or 2:3) is standard for headshots and most portrait applications. Generating in 16:9 and then cropping produces a result with significantly less facial information than starting in the correct ratio for the intended use.
Planning a Full Portrait Series
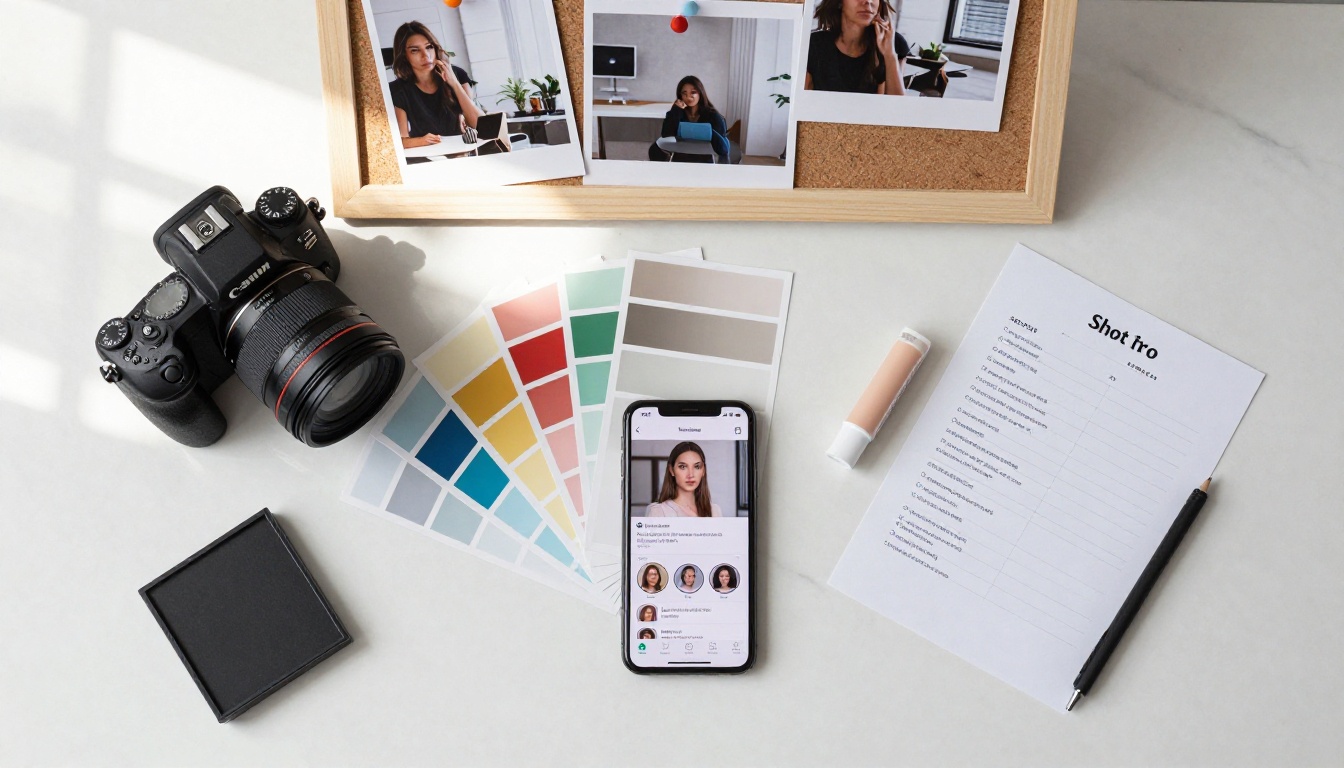
Even when using AI, approaching portrait generation with the same intentionality as a real photoshoot produces stronger, more cohesive results. Before generating a full series, plan your variables:
Shot types to include:
- Close-up headshot (face and shoulders)
- Medium shot (waist up)
- Three-quarter body (thigh up)
- Full-body environmental portrait
Lighting setups to rotate through:
- High-key (bright, minimal shadows, clean white backdrop)
- Low-key (dramatic, dark backdrop, single directional light)
- Natural window light (soft, warm, lifestyle atmosphere)
- Rembrandt (classic, three-dimensional, timeless)
Wardrobe notes for portrait prompts:
- Solid colors photograph more cleanly than busy patterns in AI prompts
- Neutral tones (cream, navy, charcoal, olive) read as professional across contexts
- Pure white wardrobe against white backdrops needs a contrast element to separate the subject from the background
A structured prompt approach built around these variables produces a consistent, professional series rather than a random collection of unrelated images. The result looks like a real studio session, because it was planned like one.
💡 Workflow tip: Lock your lighting setup and backdrop first, then vary only subject pose and wardrobe across generations. This creates a visually cohesive set from a single session.
Start Building Your Portrait Series Today
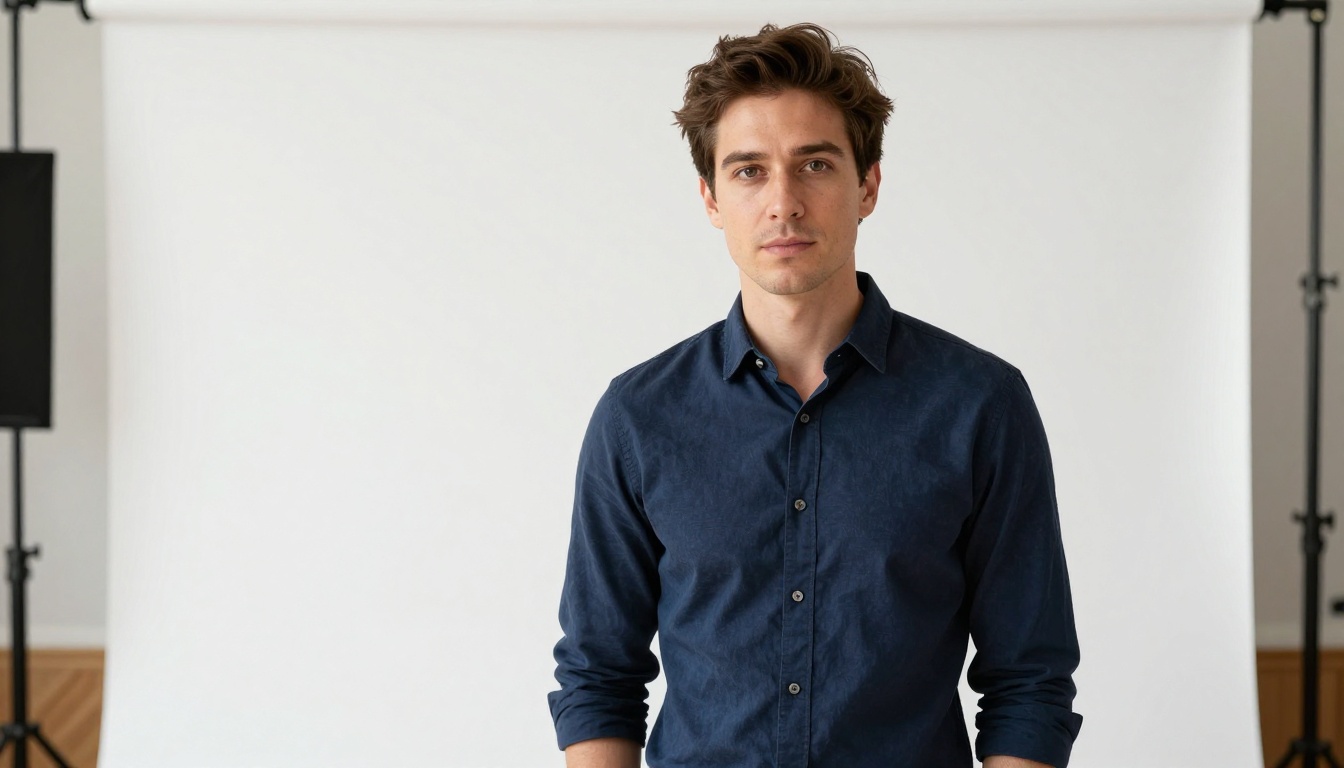
The barrier to professional studio portrait photography has dropped to zero. What used to require a rented studio, a professional photographer, expensive lighting equipment, and hours of retouching now takes a few minutes and a well-written prompt.
PicassoIA brings all of these tools into one platform: image generation with photorealistic portrait models, inpainting for targeted refinements, and a full suite of upscalers for final output quality.
Whether you want a single polished headshot or a full creative portrait series, the workflow is the same:
- Write a detailed, lighting-specific prompt
- Generate with PicassoIA Image
- Refine with variation tools or inpainting
- Upscale with Crystal Upscaler for final output
You have the models. You have the tools. The only thing left is to write the first prompt and see what comes back.


