There is a reason two people can give the same prompt to different AI models and get results that look like they came from different planets. One returns a hyperrealistic photograph. Another produces a flat cartoon. A third goes somewhere in between but adds details you never asked for. Picking the right AI image model is not a minor preference decision. It is the single most important variable in the entire generation workflow.
This article breaks down what separates the top text-to-image models available today, what each one is actually built for, and how to choose the right one before you write a single prompt.
Why the Model You Choose Changes Everything
Most people spend too much time perfecting their prompts and not enough time asking whether the model they are using can even deliver what they want. A great prompt fed to the wrong model still produces a mediocre image.
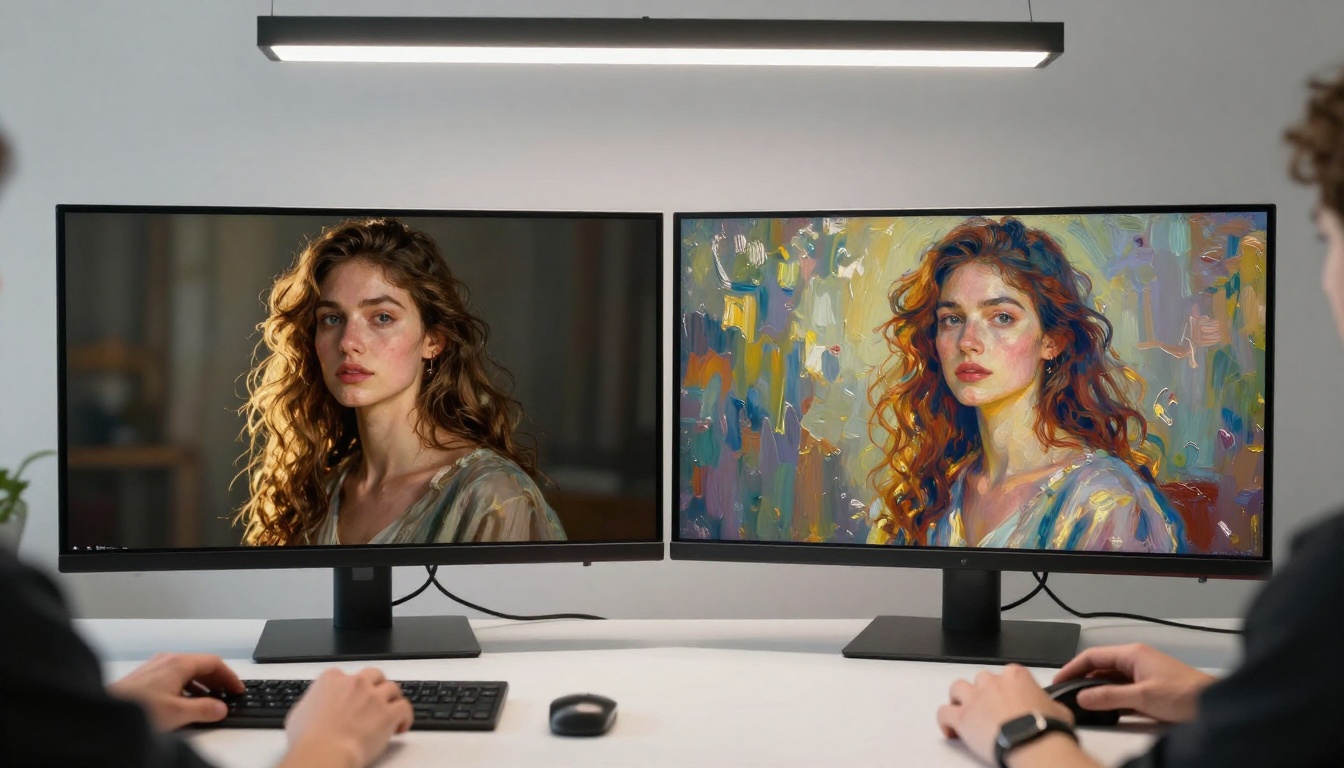
Every model was trained on a different dataset, optimized for a different output style, and built with different architecture decisions. Those differences show up immediately in:
- Output style: Some models are biased toward cinematic, painterly aesthetics. Others aim for clinical photorealism.
- Prompt fidelity: Certain models follow your instructions precisely. Others interpret them loosely and add creative flourishes.
- Detail density: Some models produce crisp 4K-sharp images. Others soften detail in favor of overall composition harmony.
- Speed: Fast-class models generate in seconds. Pro-class models can take longer but produce significantly higher quality.
Output Style vs. Prompt Accuracy
There is always a tension between a model that expresses its own style and one that strictly executes your instructions. If you need exact results for a product shot, choose a model with high prompt fidelity. If you are producing editorial art where creative interpretation is welcome, a more stylistically opinionated model might produce better work.
Speed vs. Quality
Speed and quality are almost always a trade-off. If you are iterating through 50 concept variations, a fast model saves hours. If you are producing 5 final-quality images for a campaign, slower and more detailed is the right call.
The Main Types of AI Image Models
Before comparing specific models, it helps to place them into broad categories based on their core design purpose.
| Category | Best For | Example Models |
|---|
| General-purpose generators | Versatile everyday use | PicassoIA Image, GPT Image 2 |
| High-resolution specialists | Print, large-format output | Wan 2.7 Image Pro, Seedream 4.5 |
| Edit-first models | Modifying existing photos | Qwen Image Edit Plus, P Image Edit LoRA |
| Variation models | Consistent style iterations | Flux Redux Dev |
| Custom training | Proprietary styles and faces | P Image Trainer |
General-Purpose Generators
These are the models you reach for when you do not have a specific constraint. They perform well across portrait photography, landscapes, product visualization, and creative scenes. PicassoIA Image and GPT Image 2 sit in this category: solid across use cases, with no significant weak spots.
Edit-First Models
Rather than generating from scratch, these models take an existing image and intelligently modify specific areas based on text instructions. Qwen Image Edit Plus and P Image Edit LoRA are designed for this workflow: you bring the base image, they bring the editing intelligence.
High-Resolution Specialists
When the destination is a printed billboard, a high-resolution social campaign, or a retouched photograph, resolution matters above all else. These models prioritize pixel density and fine detail over generation speed.
Best Models for Photorealistic Results
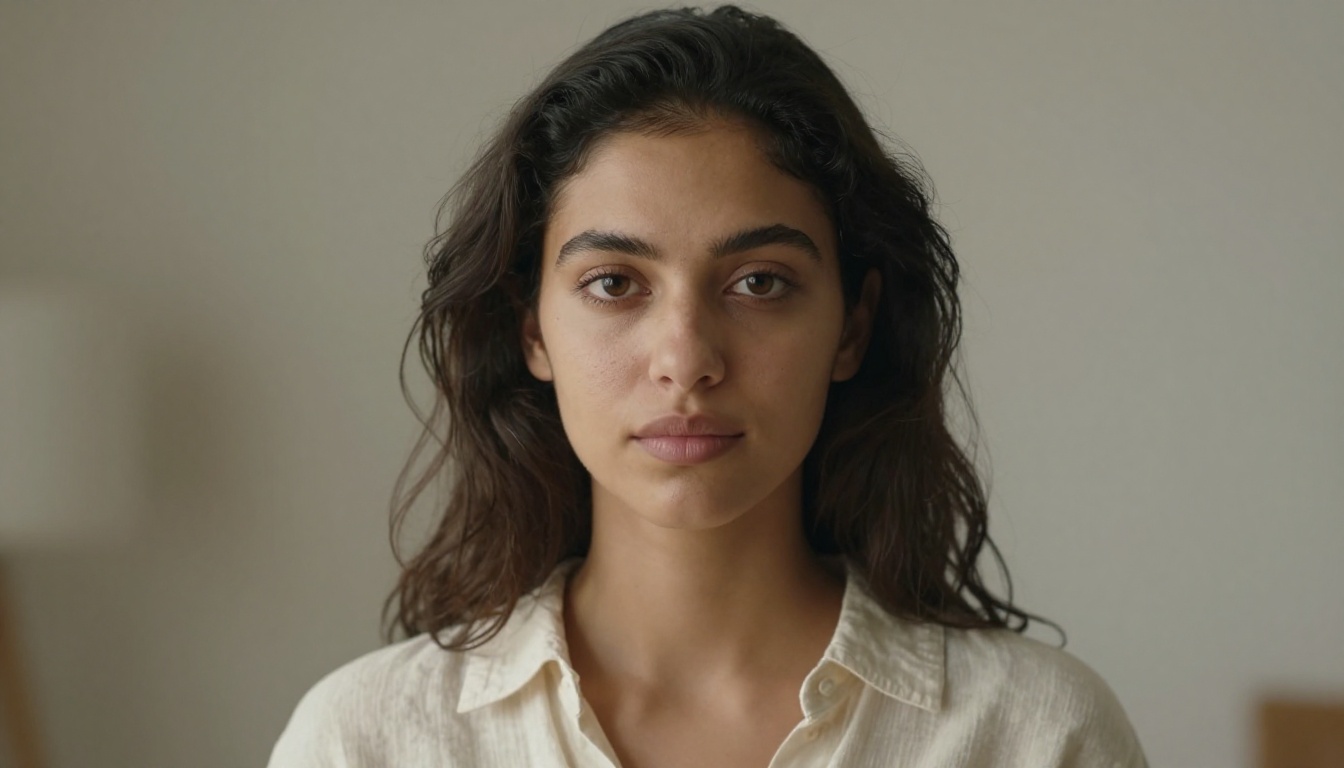
Photorealism is the most demanding test for any AI image model. Subtle errors in skin texture, lighting direction, and shadow behavior immediately register as artificial to the human eye.
GPT Image 2 for Real-World Scenes
GPT Image 2 performs exceptionally well in situations where you need photographic credibility: product photography, architectural visualization, and realistic environmental shots. Its training makes it particularly strong at handling complex lighting scenarios and matching the aesthetic of professional photography.
💡 Pro tip: For product shots with GPT Image 2, specify the exact lighting setup in your prompt ("softbox from above left, fill light from right, neutral grey background") for precise control.
Hunyuan Image 2.1 for Cinematic Depth
Hunyuan Image 2.1 from Tencent handles cinematic scenes with strong compositional depth. Its outputs tend to have richer tonal range and more dramatic atmospheric effects compared to other models in the same tier. It is particularly strong for lifestyle photography and fashion-adjacent content.
Best Models for High-Resolution Outputs
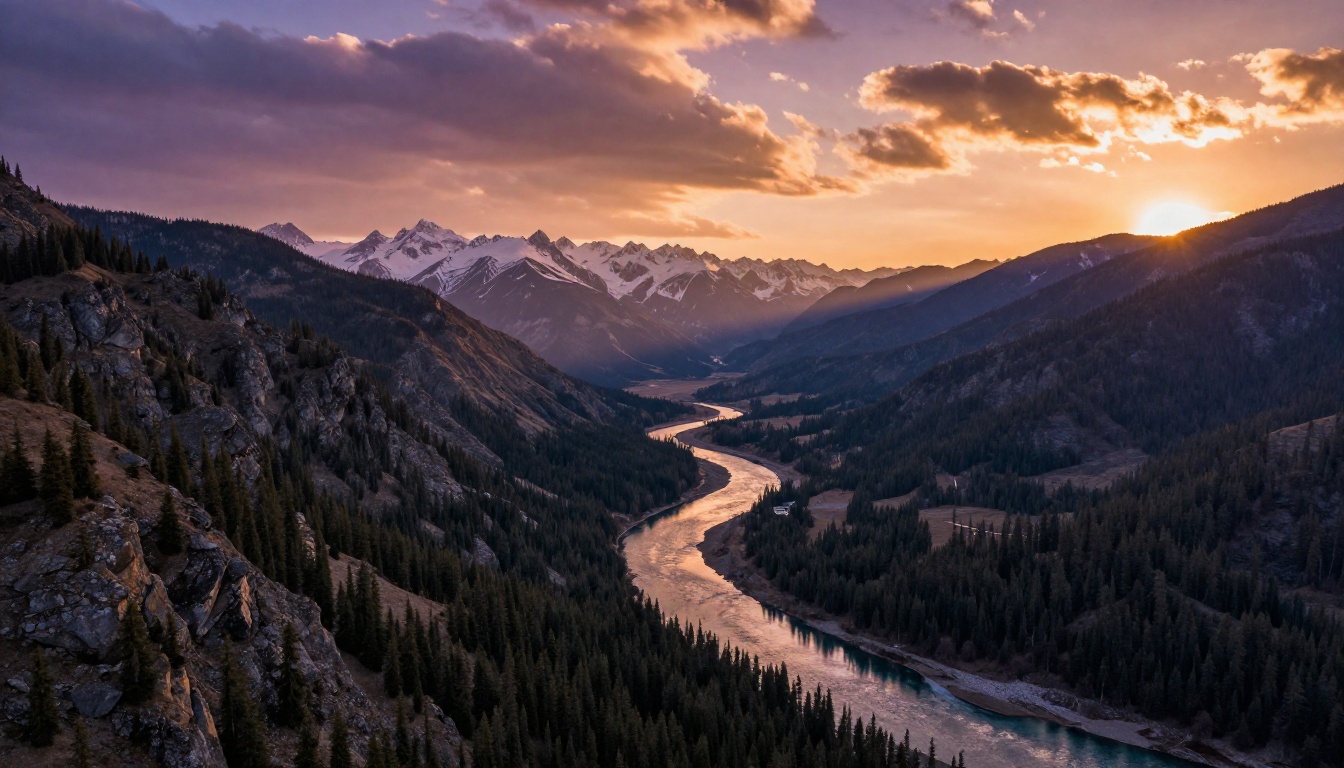
Certain projects do not just need an image. They need one large enough to be printed, cropped without quality loss, and used across multiple formats without visible artifacts.
Wan 2.7 Image Pro for 4K Output
Wan 2.7 Image Pro was built specifically for 4K generation. When you are producing images that will appear on a large monitor, printed in a magazine, or used as a hero banner on a website, the difference between a standard model and a 4K-capable model becomes immediately visible. Fine textures, hair strands, fabric weaves, and environmental details hold up at full scale.
For projects where resolution is the main constraint but extreme detail is not critical, Wan 2.7 Image at 2K output offers a faster alternative with strong quality.
Seedream 4.5 for Dynamic Compositions
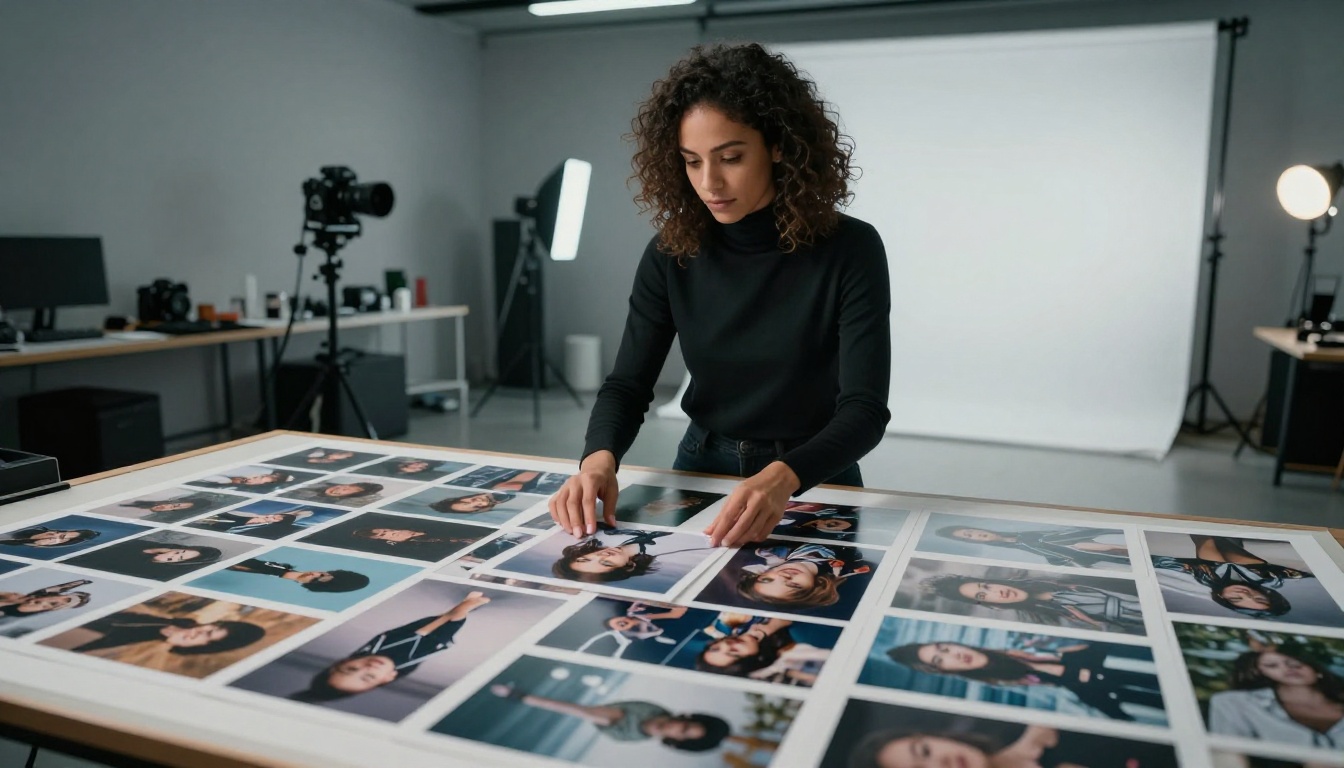
Seedream 4.5 from ByteDance produces 4K images with strong dynamic range and vibrant color accuracy. Where it stands apart is in compositional energy: images tend to have more visual movement and life compared to more sterile high-resolution models. This makes it particularly effective for action scenes, event photography simulations, and fashion content where energy matters.
Best Models for Image Editing and Retouching
Not every project starts from a blank canvas. Sometimes you have a photograph that needs a sky replaced, a background removed, a face retouched, or an object added. This is where edit-first models change the workflow entirely.
Qwen Image Edit Plus for Smart Edits
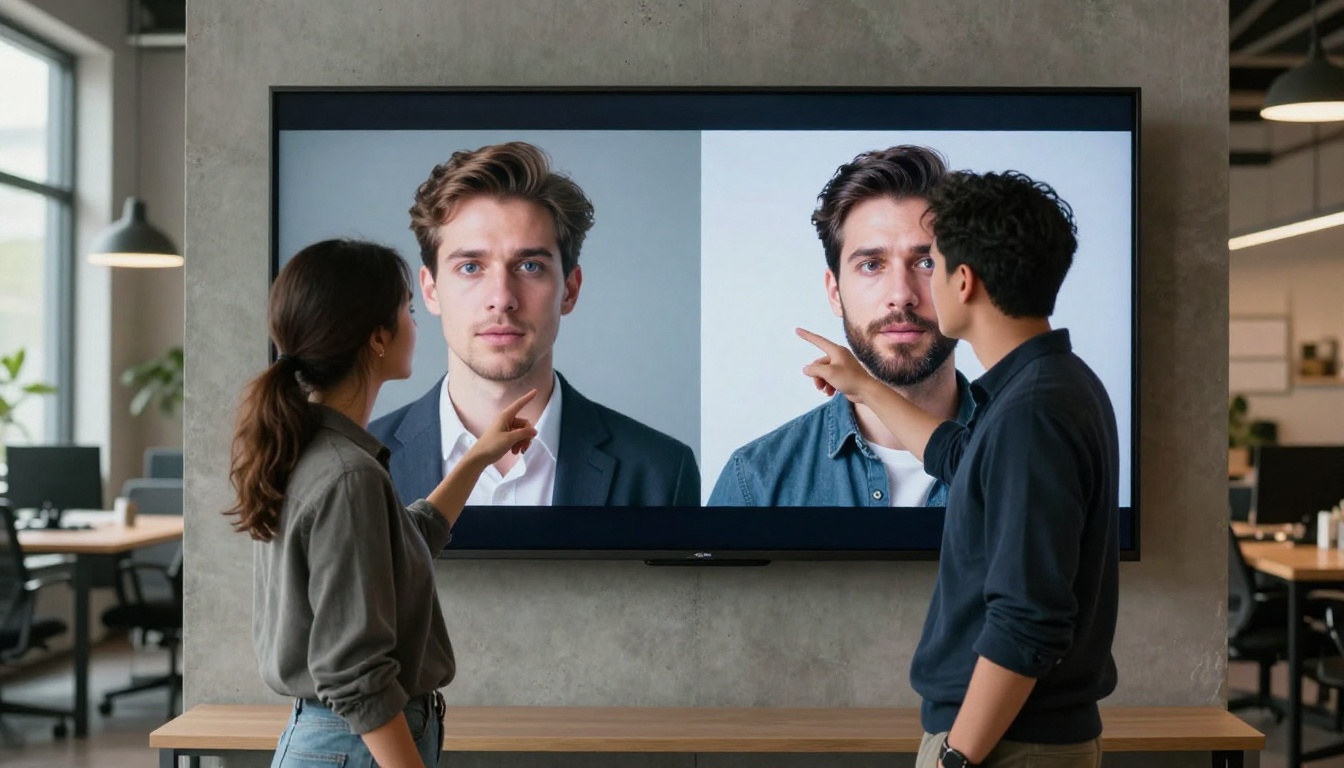
Qwen Image Edit Plus accepts an existing image alongside a text instruction and modifies the image accordingly. This handles tasks like changing clothing colors, adjusting lighting conditions, replacing backgrounds, and adding objects that were not in the original photo. The model's strength is in reading both the visual context of the input image and the semantic meaning of your edit instruction.
Common use cases:
- Product photo background replacement
- Outfit color variation for e-commerce
- Adding accessories or props to existing photos
- Fixing lighting issues in already-shot images
P Image Edit LoRA for Style Transfer
P Image Edit LoRA lets you apply a trained LoRA style to an existing image, meaning you can take a real photograph and stylize it to match a specific aesthetic without losing the underlying structure. This is particularly useful for brands that need consistent visual treatment across a library of photos.
💡 Editing tip: When using edit models, describe what you want to remain unchanged as clearly as what you want to change. "Keep the person exactly as-is, replace only the background with..." consistently produces cleaner results.
Best Models for Style Variation and Custom Training
Some workflows require not just one great image, but dozens of images that all feel like they come from the same visual universe. This is the domain of variation models and custom-trained models.
Flux Redux Dev for Image Variations
Flux Redux Dev takes an existing image and generates variations that preserve its core visual identity while changing specific elements. If you have a hero image that works and need multiple versions with different poses, angles, or seasonal adjustments, Flux Redux Dev produces outputs that feel genuinely related rather than randomly different.
P Image Trainer for Proprietary Styles
P Image Trainer lets you train a custom LoRA using your own image dataset. This is the route for brands, photographers, and creators who want to generate images that consistently reflect their specific aesthetic: a particular lighting style, a specific person's face, a brand's signature color palette, or a unique illustrative style.
The training workflow: upload your reference images, define the subject or style, run the training session, and then use your custom LoRA with any compatible generation model.
How to Use These Models on PicassoIA
PicassoIA makes it possible to access all of the models covered in this article from a single platform without separate API keys or technical setup.
Step 1: Choose your starting model
Go to PicassoIA Image for a solid general-purpose starting point. From there, the platform suggests related models based on your use case.
Step 2: Write a structured prompt
A strong prompt follows this format: [Subject] + [Environment or Setting] + [Lighting conditions] + [Camera angle and lens] + [Style and Mood]
Example: "A young woman reading on a park bench, autumn afternoon, dappled sunlight through oak trees, 50mm lens eye-level perspective, warm soft-focus bokeh background, photorealistic"
Step 3: Compare outputs across models
Run the same prompt through two or three models before committing to a direction. The differences in tone, detail, and composition will tell you which model is naturally aligned with your vision.
Step 4: Refine with editing tools
Once you have a strong base image, switch to an edit-focused model like Qwen Image Edit Plus or PicassoIA Image Editor Pro to adjust specific elements without regenerating from scratch.
Step 5: Scale up resolution if needed
If the output needs to be used at large scale, either generate directly with Wan 2.7 Image Pro or use a super-resolution model to upscale your output after generation.
The 3 Questions to Ask Before Picking a Model
Instead of defaulting to whichever model you used last time, run through these three questions first.
1. What is the output destination?
A social media post, a printed brochure, and a website hero banner have different resolution requirements. If the destination demands high resolution, start with Seedream 4.5 or Wan 2.7 Image Pro. If you are drafting concepts, PicassoIA Image is faster and just as capable for iteration.
2. Am I generating or modifying?
If you have an existing image and want to change specific elements, edit-first models like Qwen Image Edit Plus will produce significantly better results than trying to recreate the image from scratch with a generation model.
3. Does this need to match an existing visual identity?
If yes, custom training via P Image Trainer or style transfer via Flux Redux Dev will give you consistency that a generic model cannot replicate.
The 60-Second Model Test
When genuinely unsure, run this test: write one specific prompt, generate it with GPT Image 2, Seedream 4.5, and Hunyuan Image 2.1. The one that produces the most accurate interpretation of your intent is the right model for your workflow.
The model that worked for your last project may not work for your next. Build the habit of testing before committing, and your output quality will improve faster than any amount of prompt engineering alone.
Every model in this article is available directly on PicassoIA. Pick one that matches your use case, run your first prompt, and see what is actually possible when the model and the vision are properly aligned. Try PicassoIA Image right now and run your first test in under a minute.


