You describe something in plain text, an AI builds it into a 3D object, and minutes later a physical version sits on your desk. That is not science fiction anymore. It is the workflow thousands of makers, designers, and hobbyists are running right now, and the barrier to entry has never been lower. Whether you want a custom figurine, a replacement part, or a piece of art nobody has ever printed before, AI 3D generation plus a consumer-grade printer can get you there. This article walks through every step of that process, from generating the model to holding the finished object in your hands.
What AI 3D Modeling Really Is
Before touching a printer, it helps to understand what AI is actually doing when it produces a 3D model. These tools are not simply drawing shapes. They are using trained neural networks to infer geometry, volume, and surface topology from a text prompt or a reference image.
Two Types of AI 3D Generation
The two dominant approaches right now are text-to-3D and image-to-3D, and they serve very different purposes.
Text-to-3D tools take a plain language description and produce a mesh directly. You type something like "a twisted ceramic vase with organic ridges" and the model appears. The results are often creative and surprising, but they can be unpredictable. Geometry that looks great in a render sometimes has internal mesh issues that need fixing before printing.
Image-to-3D tools convert a photograph or rendered image into a 3D mesh. You give the AI a front-and-side reference shot and it reconstructs the volume. These outputs tend to be more predictable because the geometry is grounded in an actual visual input. This is exactly why creating a strong visual reference first, before even opening a 3D tool, pays dividends throughout the entire workflow.
File Formats That Matter
Every AI 3D tool outputs files in one or more standard formats. The ones you need to know:
| Format | Use Case |
|---|
| STL | Most compatible, works with all slicers |
| OBJ | Preserves UV maps and textures |
| GLB/GLTF | Better for textured models, web preview |
| 3MF | Microsoft's modern format, retains print settings |
For printing, STL is the safest choice. Most slicers accept it without issues, and it strips out anything a printer cannot use anyway.
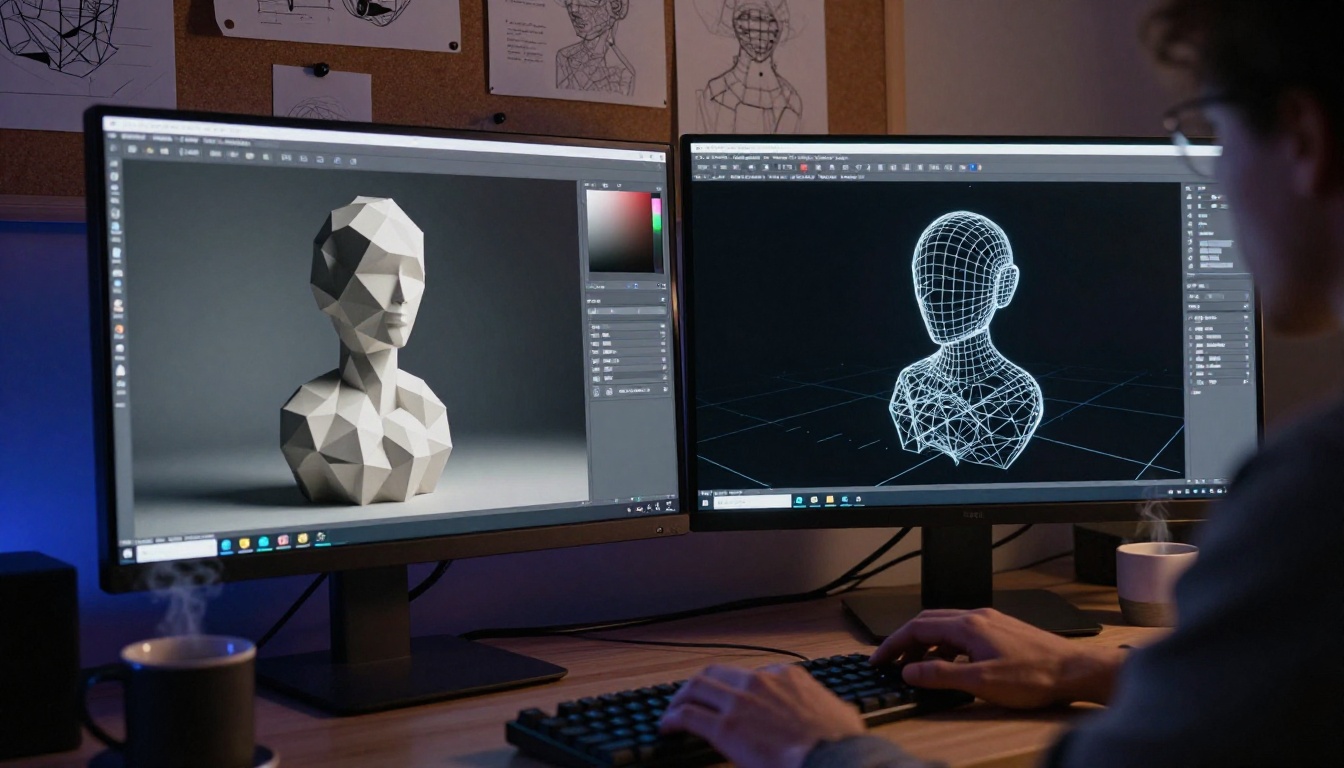
The AI 3D space has grown fast. These are the platforms worth using right now, each with a distinct strength.
Meshy AI
Meshy is the most popular AI 3D generator for hobbyists right now, and with good reason. It accepts both text prompts and image inputs, outputs clean STL and OBJ files, and has a free tier that lets you test it without committing money. The text-to-3D results are impressively detailed for organic shapes, characters, and decorative objects. The image-to-3D pipeline produces particularly clean geometry when you feed it a well-lit, high-contrast reference photo.
Tip: When using Meshy's image-to-3D, photograph or render your reference object against a plain white background. The AI isolates the subject more cleanly and produces fewer mesh artifacts.
Tripo3D
Tripo3D specializes in fast, production-quality mesh generation. Where Meshy leans creative and organic, Tripo3D produces tighter, more printable geometry by default. The meshes require less cleanup, and the tool has a feature that checks structural integrity before export. For functional parts and precision objects, Tripo3D is the better starting point.
Rodin Gen-1.5
Rodin, developed by Hyperhuman, targets professionals who need physically accurate, print-ready models. It is slower than the alternatives but produces remarkably dense, clean geometry. The platform also has a concept-to-model pipeline that accepts multi-view sketches, which pairs beautifully with AI-generated concept art as input.
Start with a Strong Visual Reference
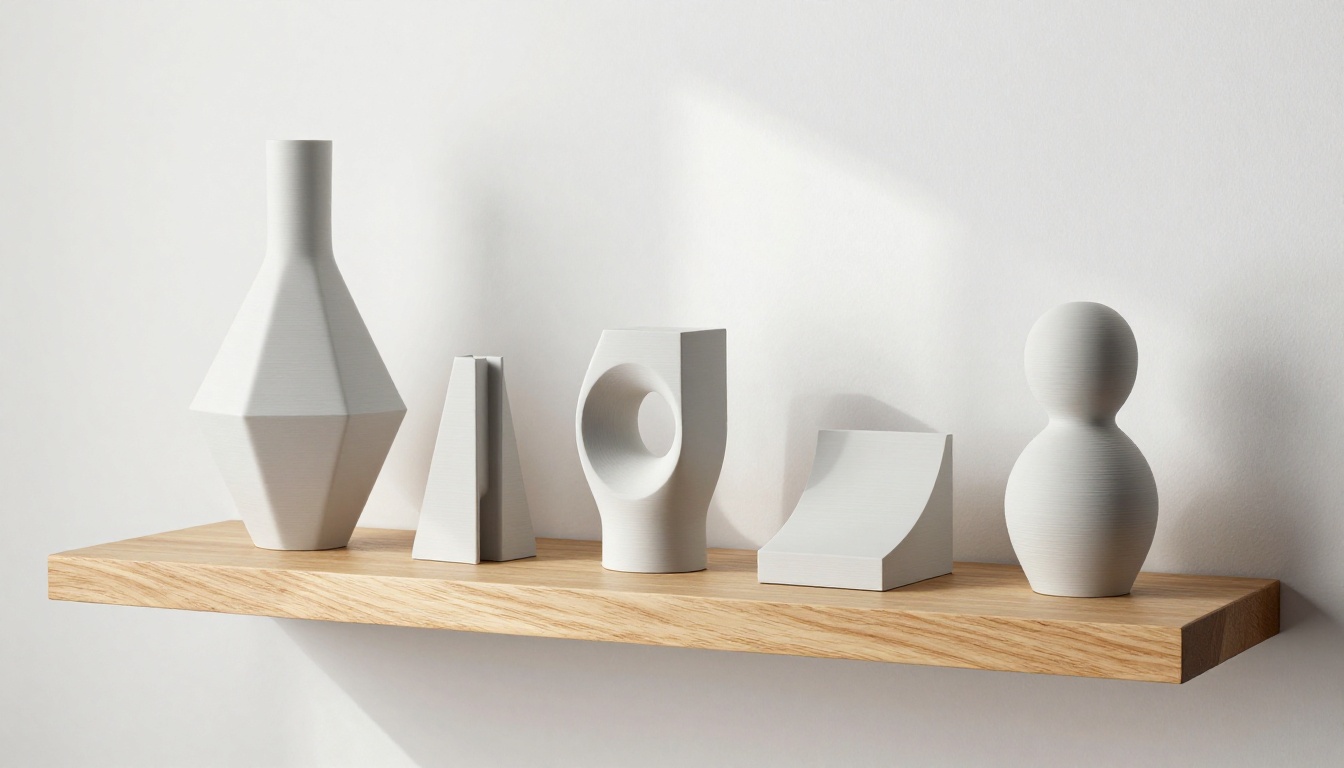
This step is optional in theory, but in practice it separates prints that come out exactly right from prints that require three failed attempts and a lot of wasted filament.
Why Images Drive Better 3D Results
When you work purely from a text prompt, the AI is making dozens of geometric decisions you never explicitly specified. Every ambiguity in your description becomes a potential surprise in the mesh. A visual reference eliminates most of that ambiguity. The AI has a concrete target, and the resulting geometry tends to match your intent much more closely.
The reference does not have to be a photograph. A clean, detailed digital illustration works just as well, sometimes better, because the lines and shapes are unambiguous.
Generating Concept Art on Picasso IA
This is where Picasso IA becomes a powerful part of the workflow. The platform gives you access to more than 91 text-to-image models, and using them to generate precise, detailed concept art for your 3D project takes about two minutes.
The process is straightforward. Write a detailed prompt describing your object from multiple angles. Use terms that describe physical geometry explicitly: "flat base", "symmetrical form", "sharp ridged edges", "smooth curved top". Generate several variations and pick the one that most closely matches what you want to print. That image becomes your reference for the image-to-3D pipeline.
Once you have your concept image, running it through a super-resolution model before feeding it into your 3D tool produces noticeably better mesh quality. High-resolution inputs give the AI more detail to reconstruct from.
Super-resolution models on Picasso IA worth using:
- Clarity Pro Upscaler: Best for photorealistic textures and fine surface detail. Adds micro-detail that image-to-3D tools can pick up during reconstruction.
- Real ESRGAN: The classic upscaler. Reliable 4x enlargement with strong edge sharpening.
- Google Upscaler: Enlarges images up to 4x while preserving structural clarity. Excellent for architectural and geometric forms.
- Image Upscale by Topaz Labs: The most aggressive option, supporting up to 6x enlargement with strong detail recovery.
Tip: Use P Image Upscale when speed is a priority. It produces sharp results in about one second, which is useful when you are iterating through multiple concept variations quickly.
Fixing Your AI Model Before Printing
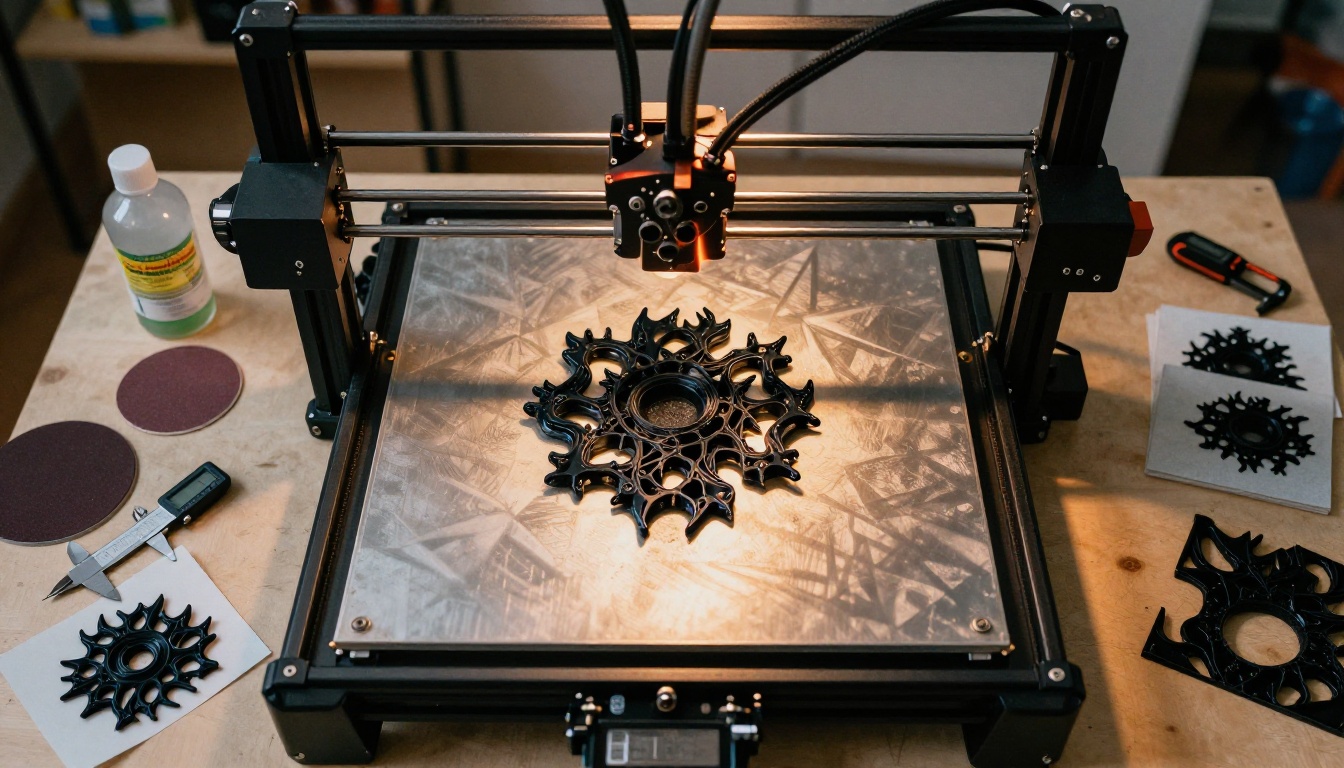
AI-generated meshes are not always print-ready. The most common problems are non-manifold geometry, inverted normals, and meshes that are not watertight. These problems cause slicers to behave unpredictably or refuse to process the file at all.
Checking for Mesh Errors
The fastest way to diagnose and fix mesh problems is with free tools:
- Meshmixer (free, Autodesk): Run the auto-repair function under Analysis > Inspector. It identifies holes, non-manifold edges, and disconnected shells.
- Microsoft 3D Builder: Simply importing a file triggers an automatic repair prompt. It handles most common AI mesh issues without any manual work.
- Netfabb (free basic version): More surgical than the others. Use it when auto-repair tools make geometry changes you want to review before accepting.
For most AI models, Microsoft 3D Builder resolves 90% of issues in under a minute. Keep Meshmixer on standby for the cases that need more attention.
Scale and Wall Thickness
AI models are generated in abstract units. The first thing to check after import is whether the physical dimensions make sense at real-world scale. A figurine at 1mm tall is unprintable. A bracket at 3 meters wide is obviously wrong.
Wall thickness matters as much as overall scale. Any wall thinner than 1.2mm for FDM printing or 0.3mm for resin printing will either fail to print or will be so fragile it breaks during support removal. Most slicer tools will show a thin-wall warning, but checking this manually in Meshmixer before slicing saves time.
Slicing the Model
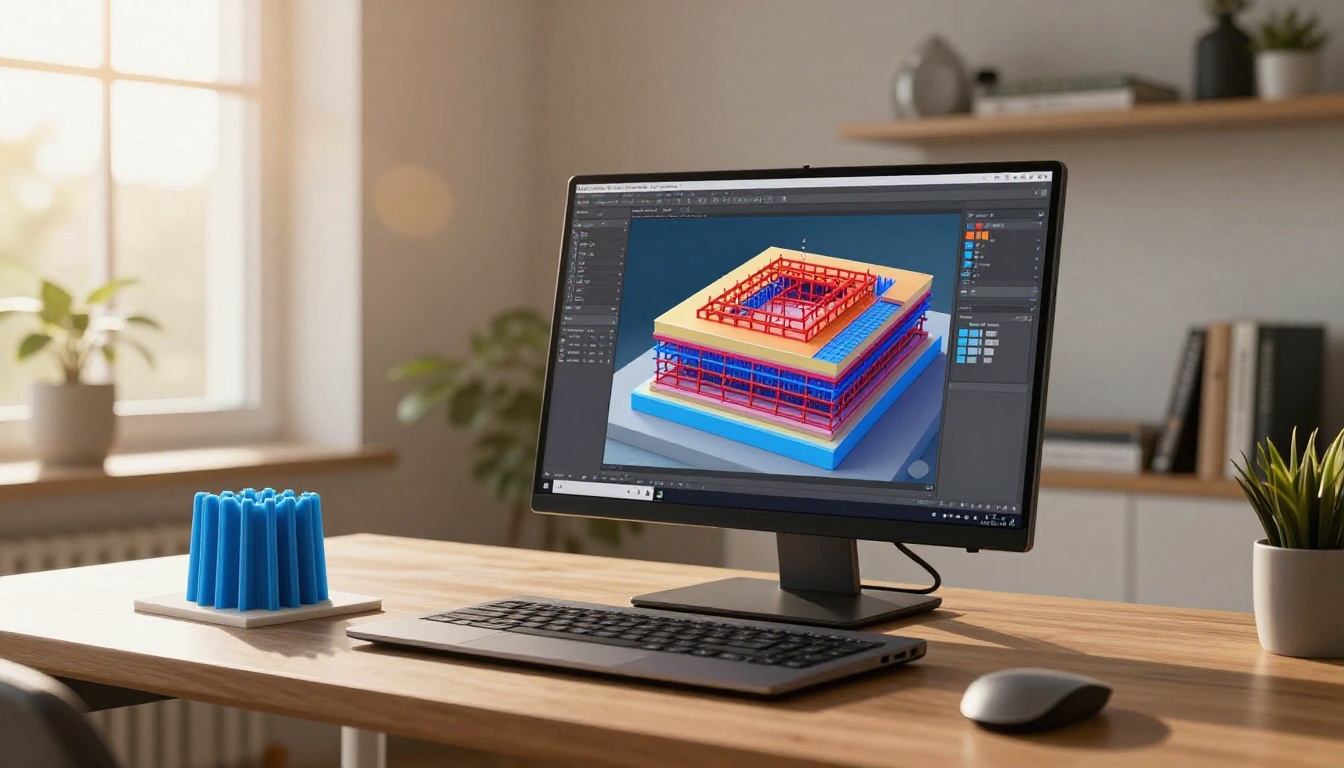
Slicing is the step that converts your 3D mesh into the actual instructions your printer follows. The slicer calculates every layer, every support structure, every travel move. Getting the settings right here determines print quality more than almost any other factor.
Which Slicer to Use
Bambu Studio is the best slicer for most users right now. It has the most intelligent automatic support generation, a clean interface, and excellent default profiles for a wide range of printers. If you are using a Bambu printer, it is the obvious choice.
PrusaSlicer is the gold standard for control. Every parameter is accessible, profiles are highly customizable, and the open-source community has created profiles for nearly every consumer printer on the market. Use it when you need to fine-tune beyond what automatic settings provide.
Chitubox and Lychee Slicer are the go-to options for resin printing. Both handle the hollow-and-drain-hole workflow that resin printing requires, and both have strong support auto-generation for complex organic models.
Settings That Actually Matter
Most slicing tutorials overwhelm you with every option. These are the ones that genuinely change your results:
| Setting | What It Does | Recommended Starting Point |
|---|
| Layer Height | Thinner = smoother, slower | 0.2mm FDM, 0.05mm resin |
| Infill Density | Strength vs material use | 15% decorative, 40%+ functional |
| Support Type | Prevents overhangs from drooping | Tree supports for organic AI models |
| Print Speed | Faster = more vibration, less detail | 50mm/s for quality prints |
| First Layer Height | Adhesion to bed | 0.3mm regardless of layer height |
For AI-generated organic models, tree supports are almost always better than linear supports. They contact the model at fewer points, which means less surface damage during removal and cleaner finish on curved surfaces.
Tip: Run a test print at 25% scale before committing to a full-size print. It takes a fraction of the time and material, and reveals any geometry problems the slicer missed.
FDM or Resin: Which One for You
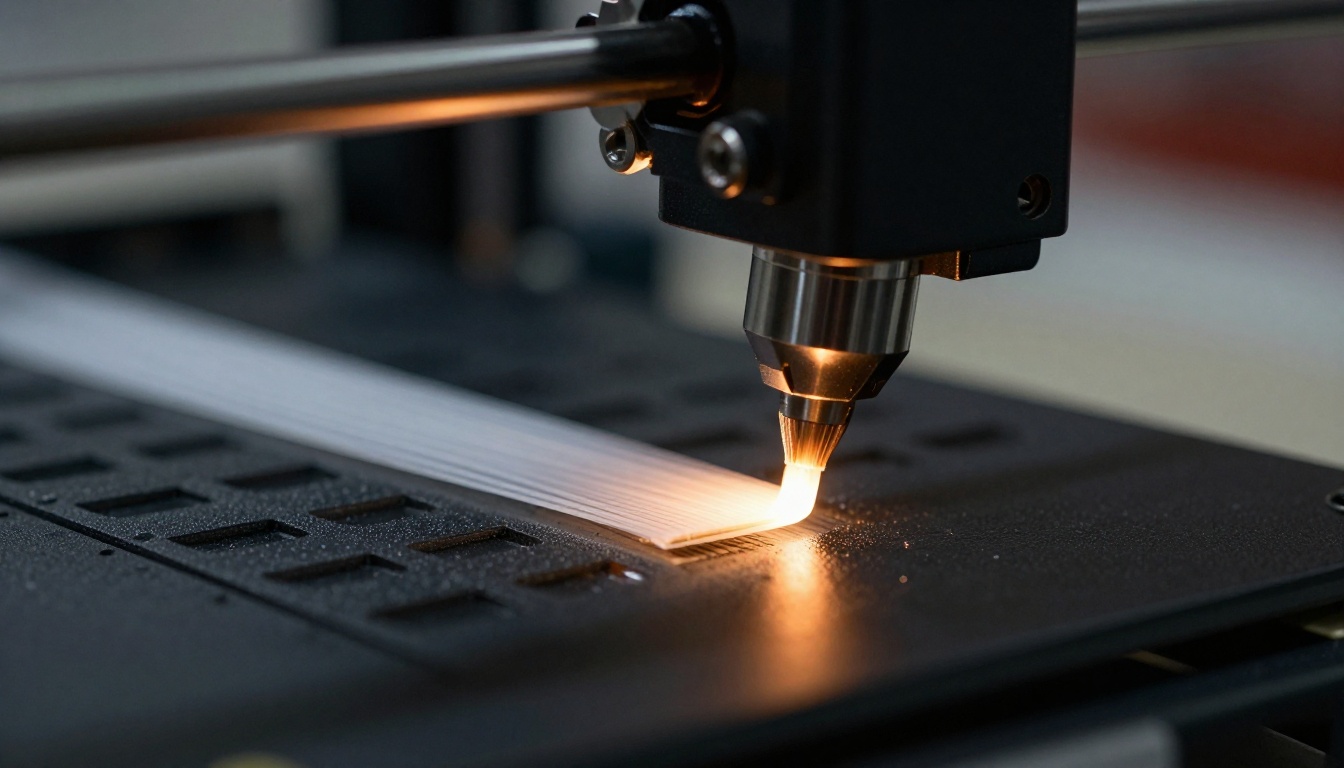
The choice between FDM and resin printing changes everything about what kinds of AI models you can realistically print and what the final result will look like.
FDM Printing Basics
FDM (Fused Deposition Modeling) works by melting plastic filament and depositing it in layers. It is faster, cheaper per print, produces less hazardous waste, and works with a huge range of materials. The layer lines are visible on the finished print, which is either a texture or a flaw depending on what you are making.
Best for: Functional parts, large decorative objects, prototypes, architectural models, objects where layer texture adds visual interest.
Filament choices for AI models:
- PLA: Easiest to print, biodegradable, excellent for decorative objects
- PETG: Tougher than PLA, slightly more flexible, good for functional parts
- ABS: Strong and heat-resistant, but requires an enclosed printer and ventilation
- TPU: Flexible, great for objects that need to bend or compress
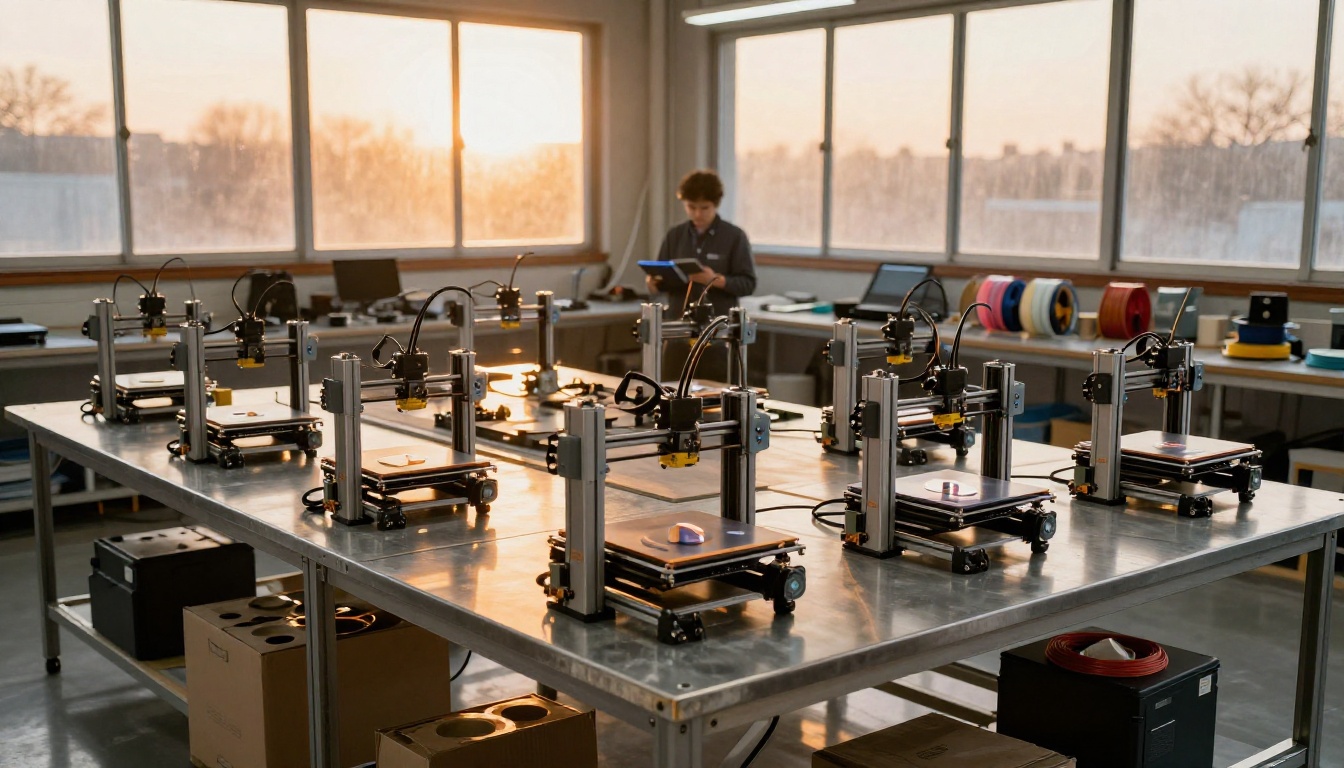
Resin for Fine Details
Resin printers use UV light to cure liquid resin in thin layers. The resolution is dramatically higher than FDM, layer lines are essentially invisible, and fine surface detail that an AI generated but FDM could never reproduce comes through clearly.
Best for: Figurines, jewelry, miniatures, anything with intricate surface geometry that AI 3D tools generate at a scale FDM cannot handle.
The tradeoffs are real: resin requires a well-ventilated workspace, IPA wash stations, UV curing equipment, and more careful waste handling. For hobbyists who want high detail, it is absolutely worth the setup. For people who just want parts that work, FDM is the right call.
Getting the Print Off the Bed
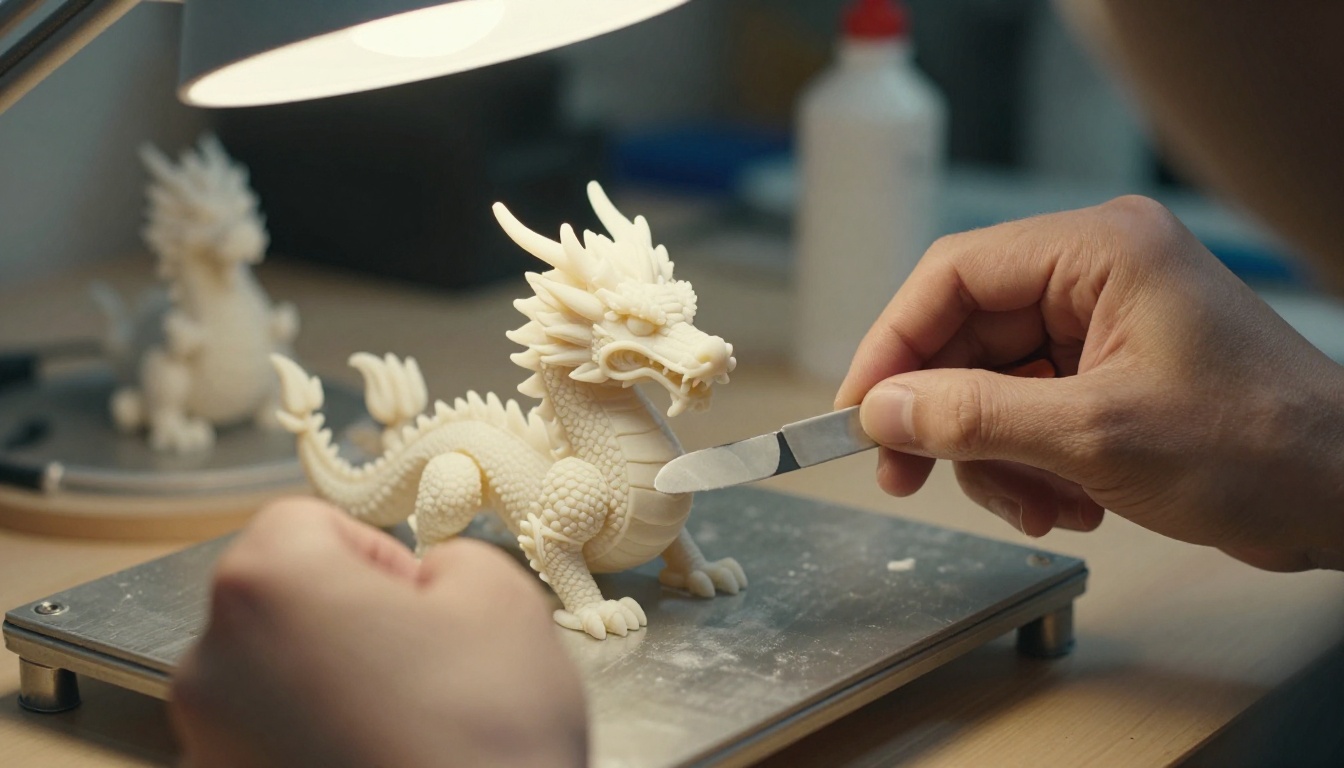
A successful print is still not a finished object. Support removal and post-processing determine whether your print looks like the AI rendered it or like something slightly different.
Support Removal
Remove FDM supports slowly and with the right tool. Needle-nose pliers work for larger supports. Flush cutters handle the fine ones without tearing into the surface. For tree supports on organic AI models, most of the structure peels away cleanly, but there will be small nubs at contact points. A sharp craft knife removes them without damage.
For resin prints, wash the model in IPA for two minutes before removing supports. Wet resin is softer and the supports flex off more cleanly, with less surface tearing at the contact points.
Post-Processing Steps
The most effective steps for a polished finish on an AI-generated print:
- Sand progressively: Start at 200-grit to remove layer lines and support marks, move to 400-grit, then 800-grit for a smooth surface. This takes time but is the single biggest quality improvement available.
- Filler primer: A coat of spray filler primer fills micro-scratches and remaining layer texture. It also reveals any remaining defects before paint, which is the right time to find them.
- Painting: Acrylic paints work well on PLA and resin. An airbrush produces the most professional results for complex AI-generated organic forms.
- Resin coating: UV-curable resin applied with a brush and cured under a UV lamp gives FDM prints a high-gloss, layer-line-free surface finish that looks closer to injection molding than printing.
Making Your References Work Harder
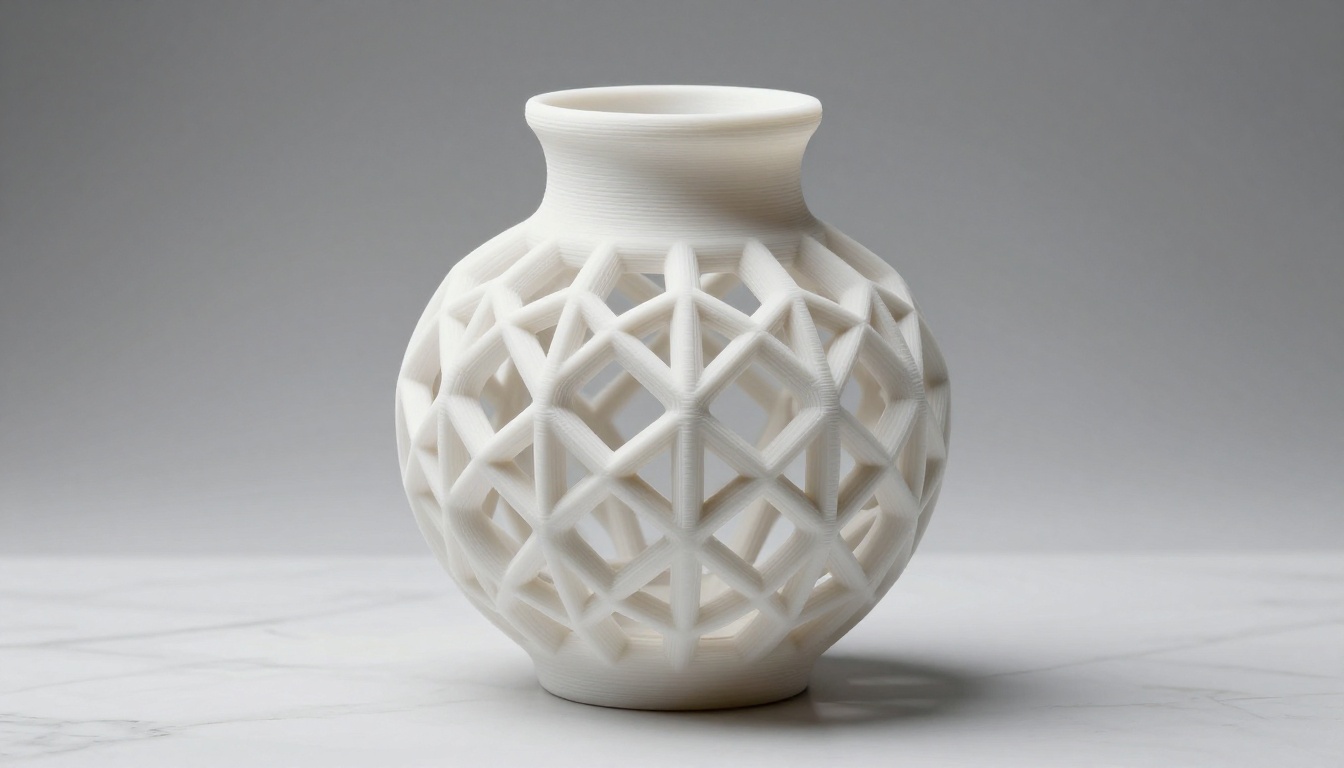
One of the most underused parts of the AI-to-print workflow is iterating on your visual reference before committing to 3D generation. When you generate a concept image, run it through a super-resolution model, and then generate a second round of concept variations based on that sharper image, the geometry quality of the resulting 3D model improves noticeably.
The Clarity Pro Upscaler on Picasso IA is particularly effective here. It adds photorealistic micro-detail to AI-generated images, including fine surface texture, edge sharpness, and tonal nuance that image-to-3D systems use to reconstruct surface geometry. A reference image with more information in it produces a 3D model with more information in it.
The Crystal Upscaler is the better choice when your reference contains a face or portrait element, such as a figurine or character model. It specializes in facial detail preservation at 4x scale.
Tip: When generating concept art for a 3D print, describe lighting from a single consistent direction in your prompt. Side-lit subjects produce better depth information for image-to-3D reconstruction than flat front-lit references.
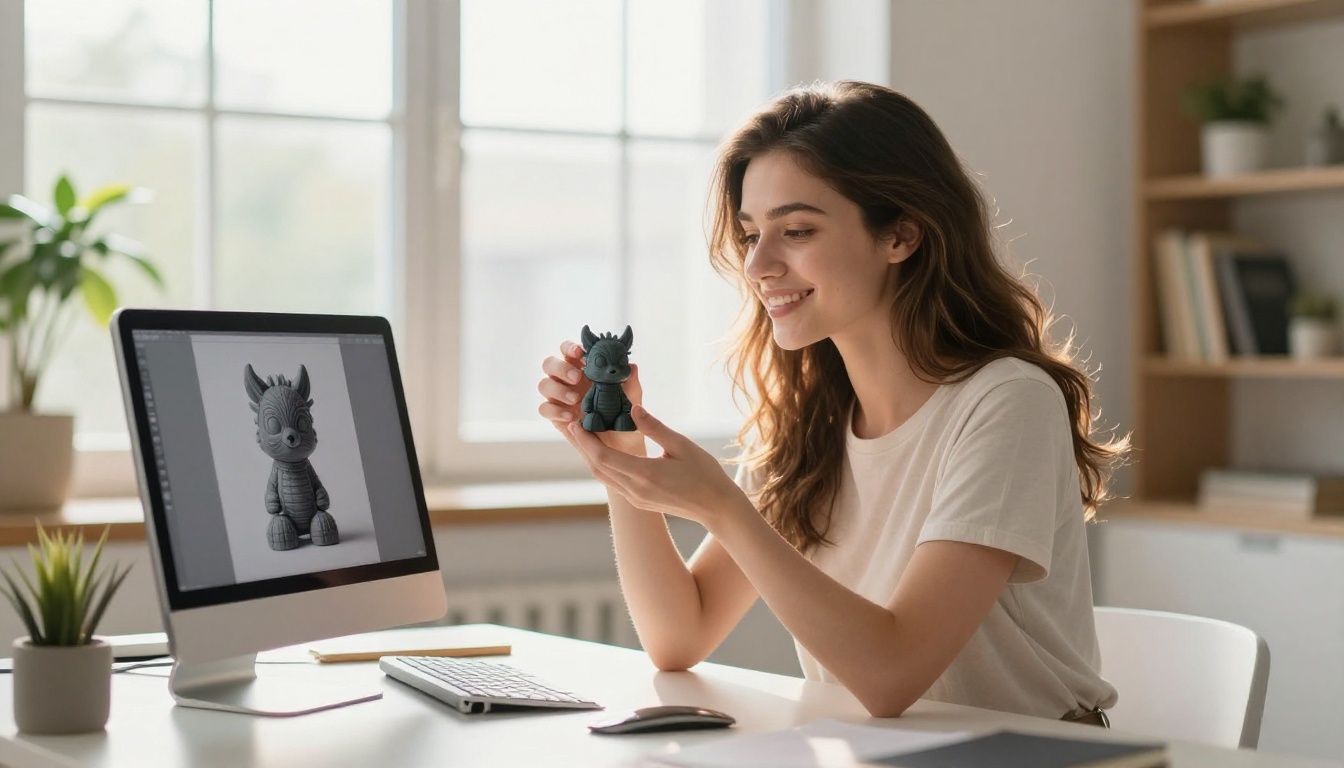
Your First AI Print Is Closer Than You Think
The workflow described here, from concept to printed object, is something you can run today with tools that are either free or very affordable. The AI 3D generators have made the hardest part (creating the model) accessible to anyone who can write a clear description. The slicers have made the technical part mostly automatic. The printers have become reliable enough that a first attempt often succeeds.
Where most people lose time is at the reference stage. Vague inputs produce unpredictable geometry. Sharp, detailed, high-resolution references produce prints that look like what you imagined. That is where spending five minutes on Picasso IA, generating and refining concept art, upscaling it with Real ESRGAN or Topaz Image Upscale, and then feeding that into your 3D tool pays off far beyond the time invested.
Start with something simple. A small decorative object, a geometric form, a character from a prompt that has been sitting in your notes. Generate the concept art, upscale it, build the mesh, fix it in 3D Builder, slice it with tree supports, and print it. The gap between idea and physical object is now measured in hours, not weeks. Try it on Picasso IA and see what you can bring into the real world.


