You have a photo from five years ago, shot on an old phone or scanned from a print the size of a postcard. Now you want it on a canvas hanging above your couch or printed as a 24x36 poster for a friend's birthday. You open it in your editing software and your heart drops. The file is 800x600 pixels. At poster size, that is roughly 22 DPI. It will look like a mosaic of colorful squares. For decades, this was the end of the road. Not anymore.
AI super resolution has changed what is possible for anyone who wants to print big from small images. These tools do not simply stretch pixels the way old interpolation methods did. They analyze your image and synthesize new pixel data, filling in texture, edge detail, and tonal variation that was never in the original file. The result is a large print that looks sharp from arm's length and even up close.
This article walks through exactly how this works, which AI models give the best results for large format printing, and how to use them step by step.
Why Small Images Look Bad When Printed Big
The DPI Problem
Every printer needs a minimum pixel density to produce a sharp image. That density is measured in DPI (dots per inch). Standard photographic prints need at least 200 to 300 DPI. Large format prints can get away with 100 to 150 DPI at viewing distances above 3 feet.
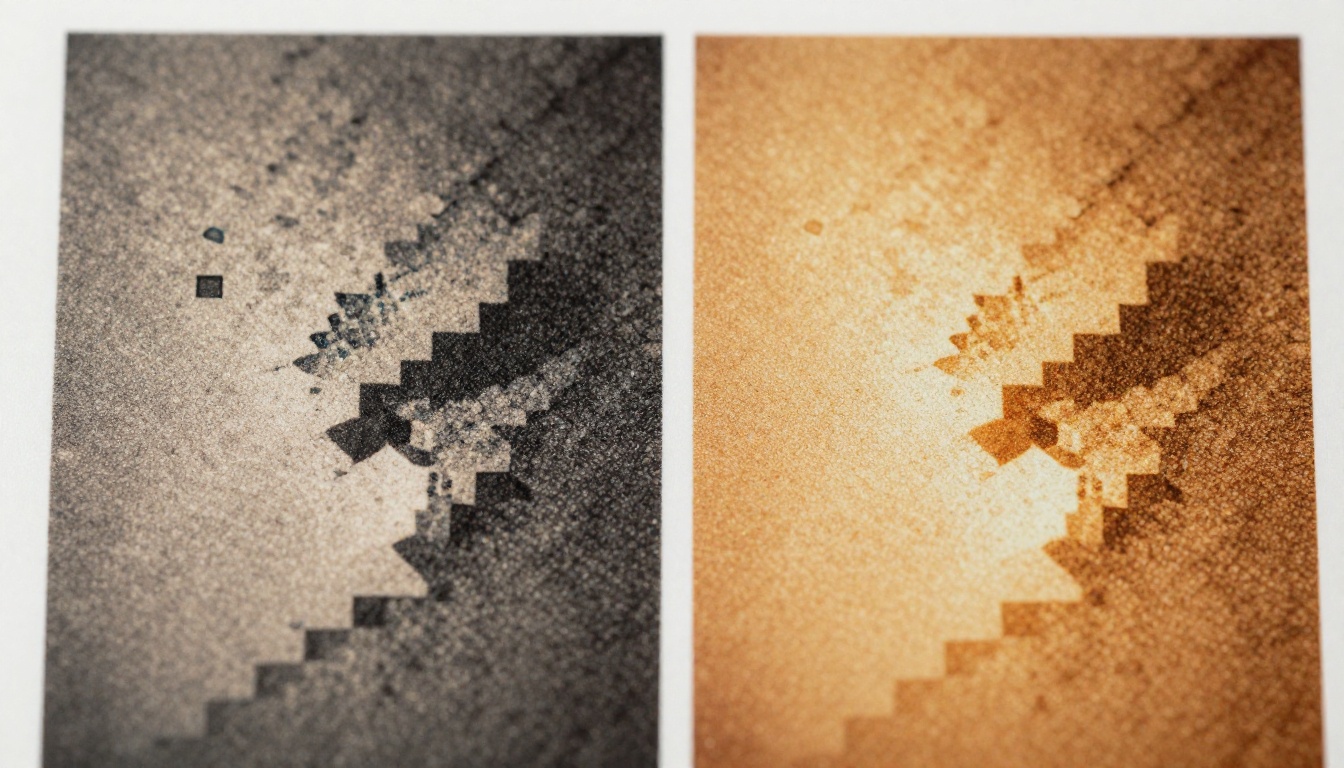
The problem is simple math. Take a 1000x700 pixel image. At 300 DPI, it prints cleanly at about 3.3 x 2.3 inches. Push it to a 16x10 inch print and you are at just 62 DPI. At that density, pixel blocks become visible and edges turn jagged.
What Old Upscaling Did
Before AI, software used interpolation to enlarge images. Bicubic interpolation, the best of the old methods, averaged neighboring pixels to estimate what the new pixels between them should look like. It worked reasonably well at small enlargements (10 to 25%) but fell apart at 2x, 4x, or 6x enlargement. The result was images that looked soft, blurry, and flat.
Why AI Upscaling is Different
AI upscaling models are trained on millions of image pairs: small versions and their sharp originals. The model learns what skin texture, foliage, fabric, and architecture should look like at high resolution. When it encounters a blurry photo, it does not average pixels. It predicts what the detail should be, based on that training. The results at 2x, 4x, and even 6x enlargement can be startlingly good.
The Best AI Models for Print-Ready Upscaling
Not every AI upscaler is built for photorealistic large format printing. Some are optimized for sharpness, others for recovering damaged detail, and some for maximum enlargement factor. Here are the best options available on PicassoIA.
Clarity Pro Upscaler: Best for Photorealism
Clarity Pro Upscaler is the top choice for photographic prints where you need results that look like they were shot at high resolution to begin with. It adds micro-detail to skin, fur, hair, and textured surfaces without introducing artifacts or over-sharpening halos.
If your goal is a portrait print or a landscape photo that will be examined up close, start here.
Topaz Image Upscale: Up to 6x Enlargement
Image Upscale by Topaz Labs offers the highest enlargement factor available at up to 6x. This makes it the right choice when you are starting from a very small file (under 500x500 pixels) and need to reach a large print size.
The 6x factor means a 500px image becomes 3000px, roughly an 8x5 inch print at 300 DPI or a 20x12 inch print at 150 DPI.
💡 Even at 6x, results are best when the original image is not heavily compressed. JPEG artifacts get amplified at large enlargement factors.
Google Upscaler: Reliable 4x Results
Google Upscaler delivers consistent, reliable 4x upscaling. It handles a wide range of image types well, from portraits to street photography to product shots, making it a solid default when you are not sure which model to use.
Real ESRGAN: The Free Starting Point
Real ESRGAN is one of the best-known open source upscaling models and it is free to use. It performs especially well on images with natural textures: grass, stone, wood grain, and fabric. It is a good first test before committing to more specialized models.
Crystal Upscaler: Portraits Only
Crystal Upscaler is purpose-built for portrait photography. It prioritizes facial detail, skin texture, and hair strand definition over everything else. If you are printing a headshot, wedding photo, or family portrait at large size, this is the model you want.
Bria Increase Resolution: Sharp and Fast
Increase Resolution by Bria upscales images up to 4x with a focus on preserving edge sharpness. It is particularly good at architectural and product photography where clean lines matter more than organic texture.
Recraft Crisp Upscale: Balanced Output
Recraft Crisp Upscale produces balanced, neutral output that works well as a clean starting point for images you plan to color-grade further. It avoids over-sharpening while still delivering a significant resolution boost.
P Image Upscale: Fast Turnaround
P Image Upscale delivers sharp photos in approximately one second, making it the fastest option when you need to upscale multiple images quickly. Quality is solid for most use cases, though Clarity Pro or Crystal are better for demanding portrait work.
How to Use AI Upscaling on PicassoIA
Step 1: Start with the Best Version
Before uploading, do a quick quality check. If your image was saved as a JPEG, use the highest quality version you can find. JPEG compression creates blocking artifacts that AI models will amplify at large scale.
If you have a PNG or TIFF version, always prefer it over the JPEG. If you only have a JPEG, use an image editor to reduce visible compression artifacts with a mild blur or noise reduction pass before uploading.
💡 Avoid running an upscaled image through a second round of lossy compression. Export your final file as TIFF or PNG until the very last step before sending to the printer.
Step 2: Choose the Right Model
Use the model comparison table above to pick your starting point. When in doubt, run Clarity Pro Upscaler first for photos and Google Upscaler for everything else.
Step 3: Upload and Set Scale Factor
Navigate to your chosen model page on PicassoIA and upload your image. The platform accepts JPEG, PNG, and WebP. Most models let you choose between 2x and 4x (or 6x for Topaz):
- 2x: Good when your image is already near the minimum resolution for the target print size
- 4x: Ideal for most use cases, taking a low-res image to a print-ready resolution
- 6x: Only use this when you are starting from very small files and need maximum enlargement
Step 4: Download and Verify
Download your upscaled image and check it at 100% zoom before sending to print. Look for:
- Halos around edges (sign of over-sharpening)
- Smearing in textured areas (model hallucinating detail)
- Artifact amplification in skies or flat color areas
If you see any of these issues, try a different model or a lower scale factor.
Step 5: Calculate Your Print DPI
Once you have your upscaled file, calculate your print DPI using this formula:
Width in pixels / Width in inches = DPI
Example: A 4000-pixel wide image printed at 20 inches = 200 DPI. That is clean for a photo print viewed from normal distance.
| Print Size | Minimum Pixels Needed (200 DPI) |
|---|
| 8x10 inches | 1600 x 2000 px |
| 11x14 inches | 2200 x 2800 px |
| 16x20 inches | 3200 x 4000 px |
| 24x36 inches | 4800 x 7200 px |
| 40x60 inches | 8000 x 12000 px |
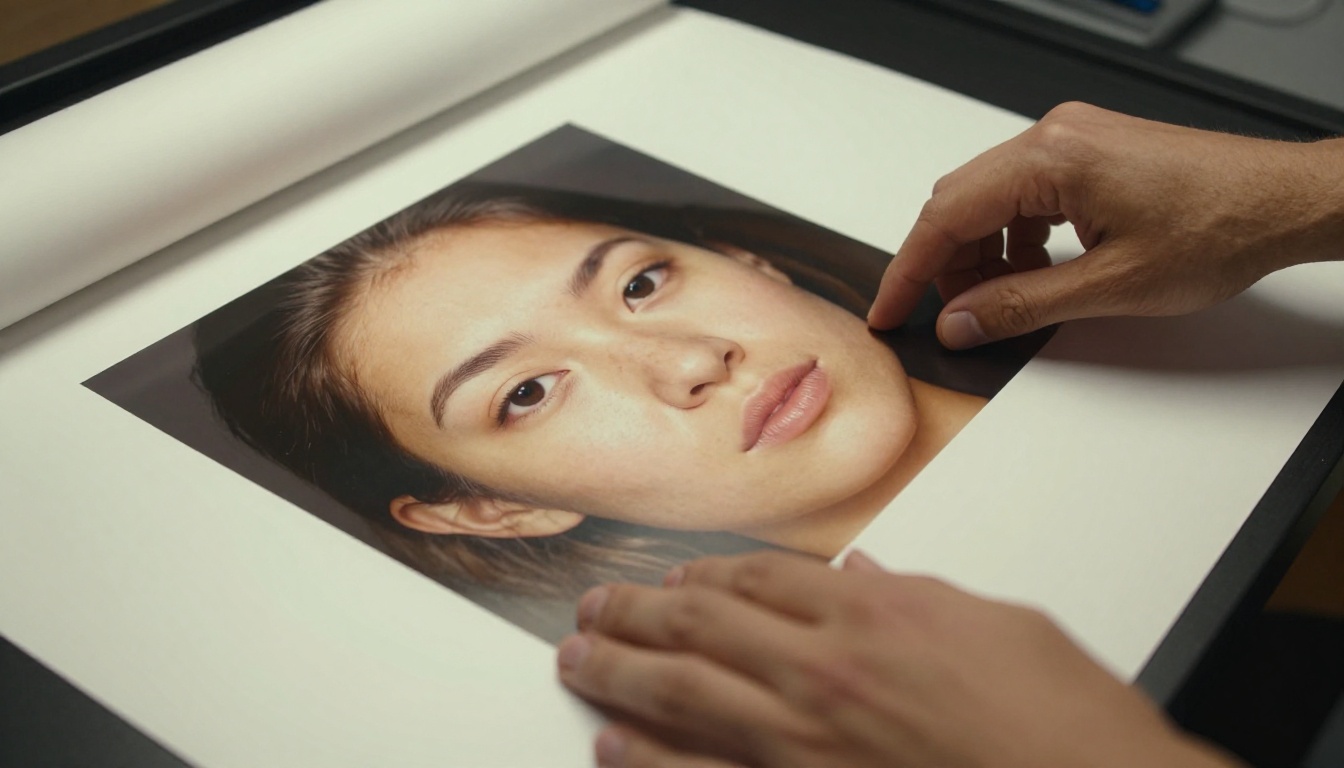
What DPI Actually Matters for Large Prints
Viewing Distance Changes Everything
The 300 DPI rule applies to prints viewed at roughly arm's length (about 18 inches). At greater distances, the eye cannot resolve individual dots, so the DPI requirement drops considerably.
Practical DPI targets by print type:
- 4x6 to 8x10 prints: 300 DPI minimum
- 11x14 to 16x20 prints: 200 to 240 DPI
- 24x36 poster: 150 DPI (viewed from 3+ feet)
- 40x60 gallery print: 100 to 120 DPI (viewed from 5+ feet)
- Large murals or billboard panels: 50 to 72 DPI
This means that with a good 4x AI upscale, even a 1000px image can work for a 24x36 poster. A 1000px image upscaled 4x to 4000px at 150 DPI prints at 26.6 inches wide. That is poster territory.
Why Print Labs Ask for More
Commercial print labs often request files at 300 DPI at the target print size. This is a conservative specification designed to guarantee results across all their equipment and paper types. If you provide 200 DPI from a well-upscaled AI file, most labs will accept it for large format work. It is worth checking with your lab before printing.
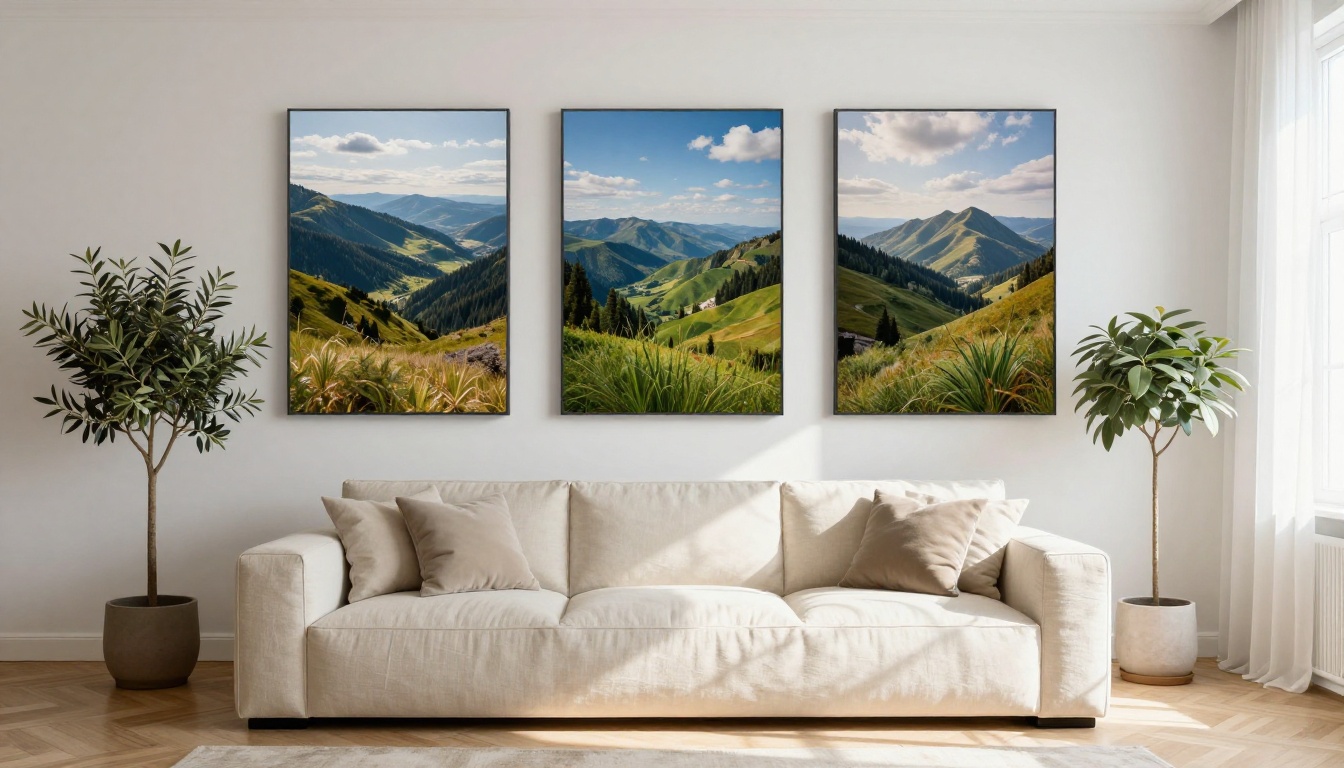
When AI Cannot Save a Photo
Heavy Compression Artifacts
If a JPEG has been saved and re-saved multiple times at low quality, the blocking artifacts and color banding are baked in. AI upscaling will faithfully reproduce and scale those artifacts. The result at large size can look worse than the original.
What to try: Apply a noise reduction pass in Lightroom or Photoshop before uploading. Reduce JPEG artifacts with the dedicated tool in Lightroom's Detail panel. This gives the upscaling model cleaner input to work with.
Motion Blur and Camera Shake
AI upscaling adds pixel detail but it cannot correct motion blur. A photo where the subject was moving or the camera shook during exposure will not become sharp through upscaling. The blurry edges will simply be reproduced at larger scale.
What to try: Recraft Creative Upscale uses creative AI inference to reconstruct plausible detail even in slightly blurry photos. It works best when blur is mild rather than severe.
Extreme Darkness or Heavy Noise
Very dark images or photos shot at high ISO with heavy digital noise present a challenge. AI models can confuse noise with texture and amplify it. A portrait shot in near-darkness at ISO 12800 may come out looking over-textured after upscaling.
What to try: Apply noise reduction before upscaling, not after. The model will produce better results when it receives a clean signal.
💡 When all else fails, Bria Increase Resolution includes built-in image restoration that can smooth noise and artifacts before scaling, making it a good choice for damaged or heavily compressed source files.
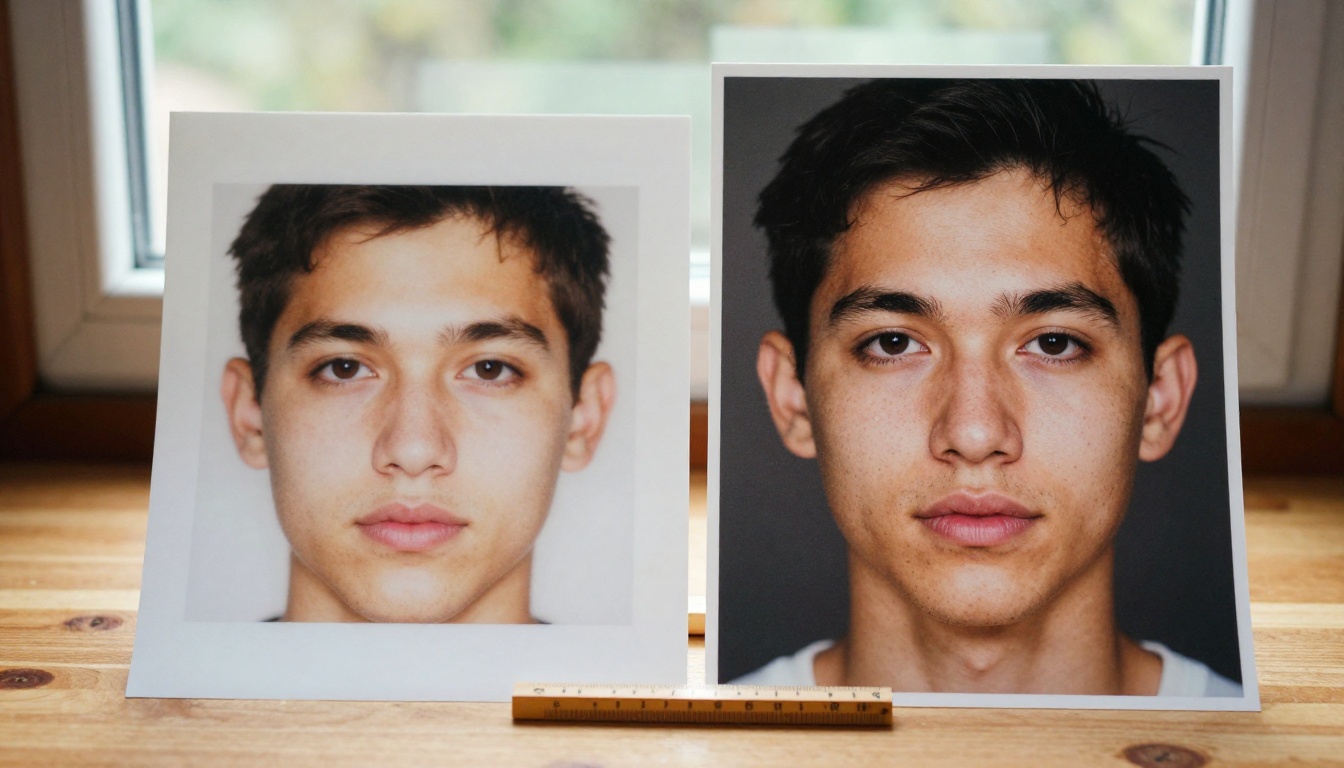
Choosing the Right Paper
The upscaled image file is only half the equation. The paper or substrate your image prints on will have a significant impact on how sharp and vibrant the result looks.
Common large format print surfaces:
- Glossy photo paper: Maximum color vibrancy and sharpness, fingerprints show easily
- Lustre/satin photo paper: Slightly lower gloss, reduced reflections, best balance for portraits and landscapes
- Matte fine art paper: Soft, non-reflective finish, ideal for artistic prints in gallery settings
- Canvas: Textured surface adds a tactile quality, slight softening is expected and considered part of the aesthetic
- Metallic paper: High contrast, vivid colors, dramatic for wildlife and landscape photography
For AI-upscaled images, lustre or satin paper tends to forgive slight imperfections better than glossy. Glossy paper at arm's length makes minor artifacts more visible.
Color Profile and Export Settings
One detail that many people miss when preparing upscaled images for print is color profile. Most screens display images in the sRGB color space. Most professional print labs prefer files in Adobe RGB (1998), which contains a wider range of colors the printer can reproduce.
Before you send to print:
- Confirm your print lab's preferred color profile (most specify sRGB or Adobe RGB)
- Export your upscaled file in that profile
- Embed the color profile in the file
- Do not convert to CMYK yourself unless the lab specifically requests it
💡 If your upscaled file looks bright and saturated on screen but comes out muted when printed, the culprit is almost always a color profile mismatch. Ask the lab for a test strip on your paper type before committing to a large order.
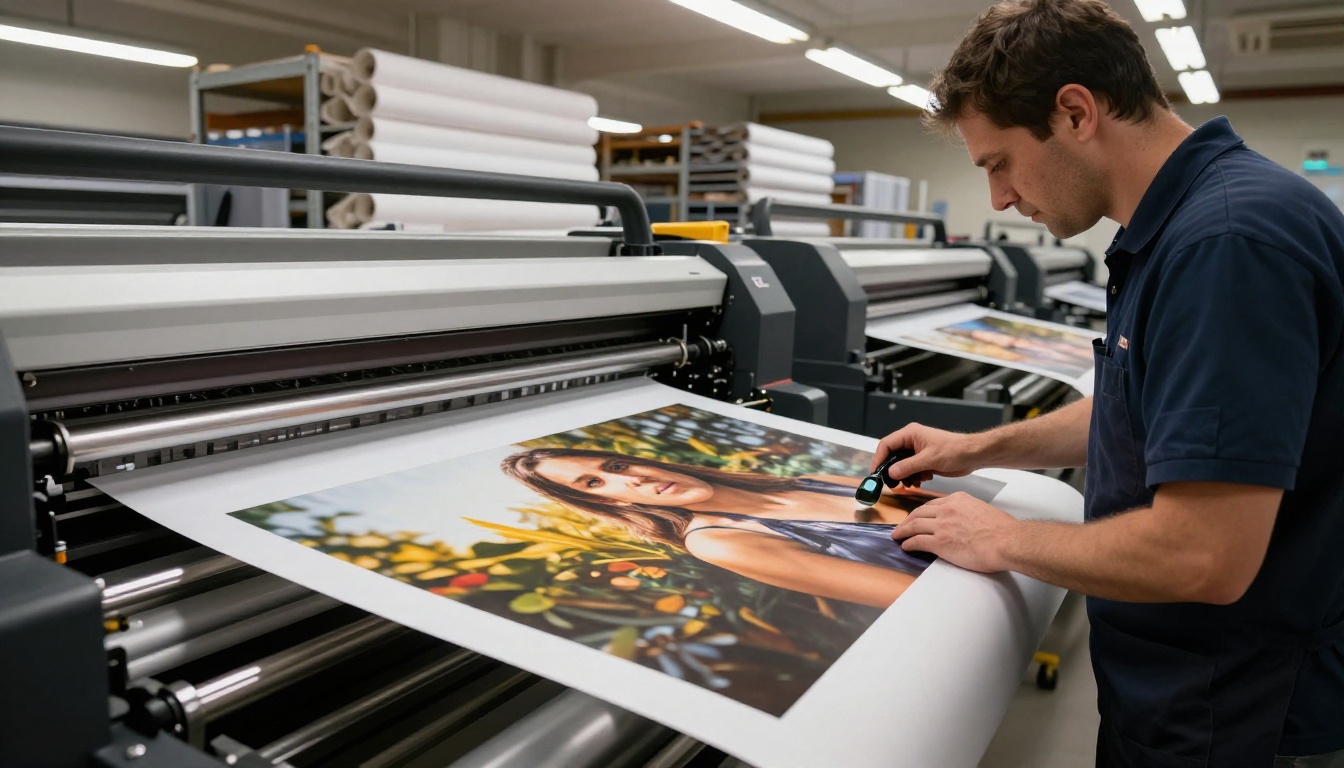
Try It with Your Own Photos
The gap between a tiny old photo and a wall-filling print used to require professional retouching, expensive software, and hours of manual work. AI super resolution collapses that gap to a few clicks.
Start with your oldest, smallest, most treasured photos. The ones you gave up on. Run them through Clarity Pro Upscaler for portraits, Image Upscale by Topaz Labs when you need maximum size, or Google Upscaler when you want a reliable all-rounder. Check your DPI math, pick your paper, and order the print.
PicassoIA gives you access to all of these models in one place, with no software to install. Upload your image, pick your model, download your result, and send it to print. That is the entire workflow.
The photo on your phone that is too small to print at poster size right now is two minutes away from being ready.


