That photo from your cousin's wedding. The one where everyone is laughing, the moment is perfect, but every face is soft and blurry because someone moved the camera at the wrong second. Or that scanned photo of your grandmother from the 1960s, where her features are swallowed by decades of degradation. These moments matter. The fact that the camera captured them poorly doesn't mean they have to stay that way.
AI face recovery has become genuinely powerful in the past two years. What used to require hours of manual retouching in Photoshop by professionals can now happen in seconds through specialized models trained on millions of high-resolution facial photographs. The results aren't always perfect, but they're consistently impressive enough that most people can't tell the AI filled in what the lens missed.
This article breaks down exactly how it works, which models produce the best results for different types of blur, and how to run a full face restoration in minutes using tools available right now.
Why Faces Go Blurry (and Why It's Hard to Fix)
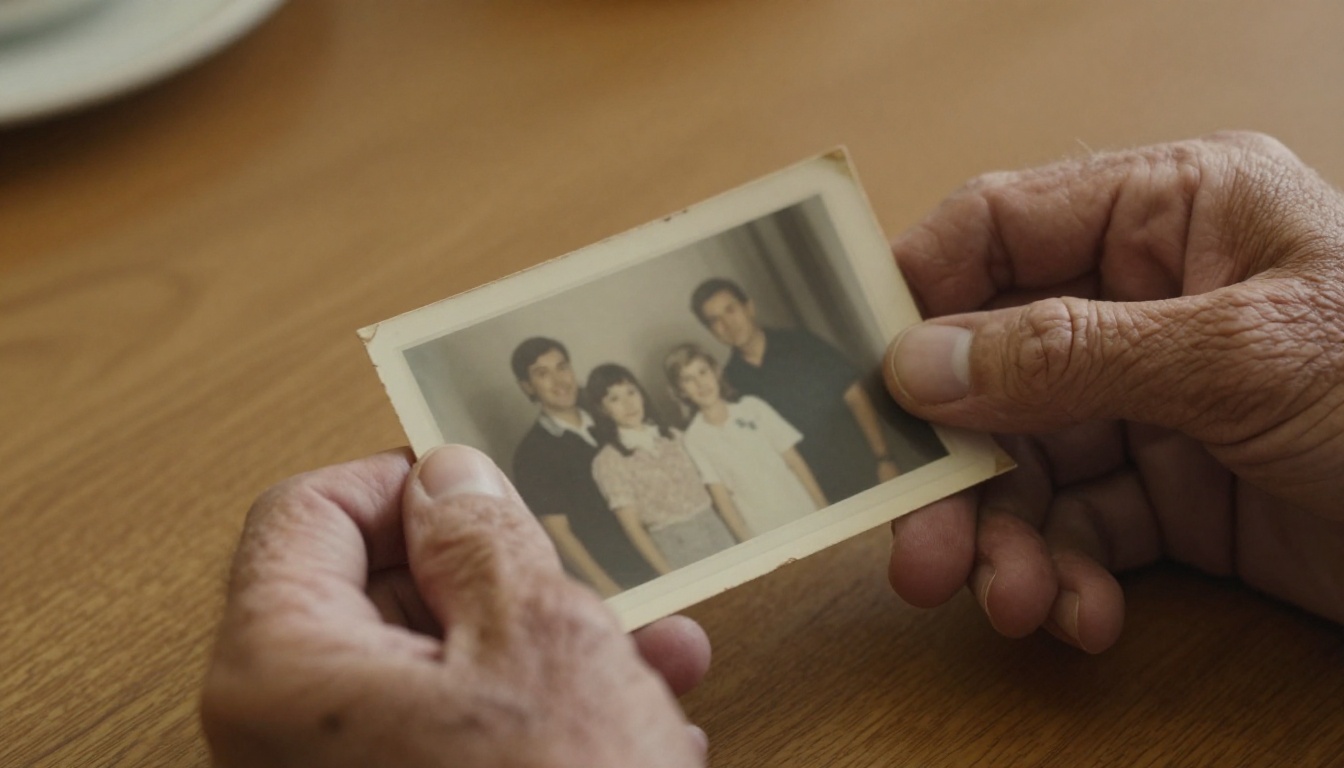
Blur isn't one problem. It's several different problems that look similar but require different solutions.
Motion Blur vs. Focus Blur
Motion blur happens when either the subject or the camera moves during the exposure. It creates directional streaking across the image, and faces end up smeared in the direction of movement. Focus blur (also called defocus or Gaussian blur) is what you get when the camera focused on the wrong plane, leaving your subject as a soft, rounded mass without edges.
Then there's compression blur, which is what happens when a photo gets shared through messaging apps too many times, stripping out pixel data and replacing sharp edges with blocky artifacts. This is extremely common in photos shared on social platforms.
Each type of blur destroys facial detail differently. AI models trained specifically on face restoration have learned to recognize the patterns that each blur type creates and work backward from the damaged pixels to reconstruct what the face most likely looked like.
What AI Actually Does to Your Pixels
Traditional sharpening tools in apps like Lightroom or Photoshop increase the contrast at edges. They don't add new information; they just make existing edges look more defined. This is why traditional sharpening often makes blurry faces look worse, not better. You end up with a face that has oversharpened haloes around features and a plastic texture that reads as processed rather than real.
AI restoration works differently. The model has seen millions of high-resolution face images. When it encounters your blurry photo, it analyzes the soft shapes, the color distributions, the lighting direction, and makes statistically informed predictions about what the facial features underneath the blur looked like. It then generates those details, pixel by pixel, based on its training.
The result is that AI can literally create facial detail that wasn't in the original photo. It's reconstruction, not sharpening.
This is both the strength and the limitation of the approach. The reconstructed detail is realistic because it's based on real human faces, but it may not be exactly what was there. For personal photos where you need emotional connection more than forensic accuracy, this is usually completely fine.
The Models That Actually Work
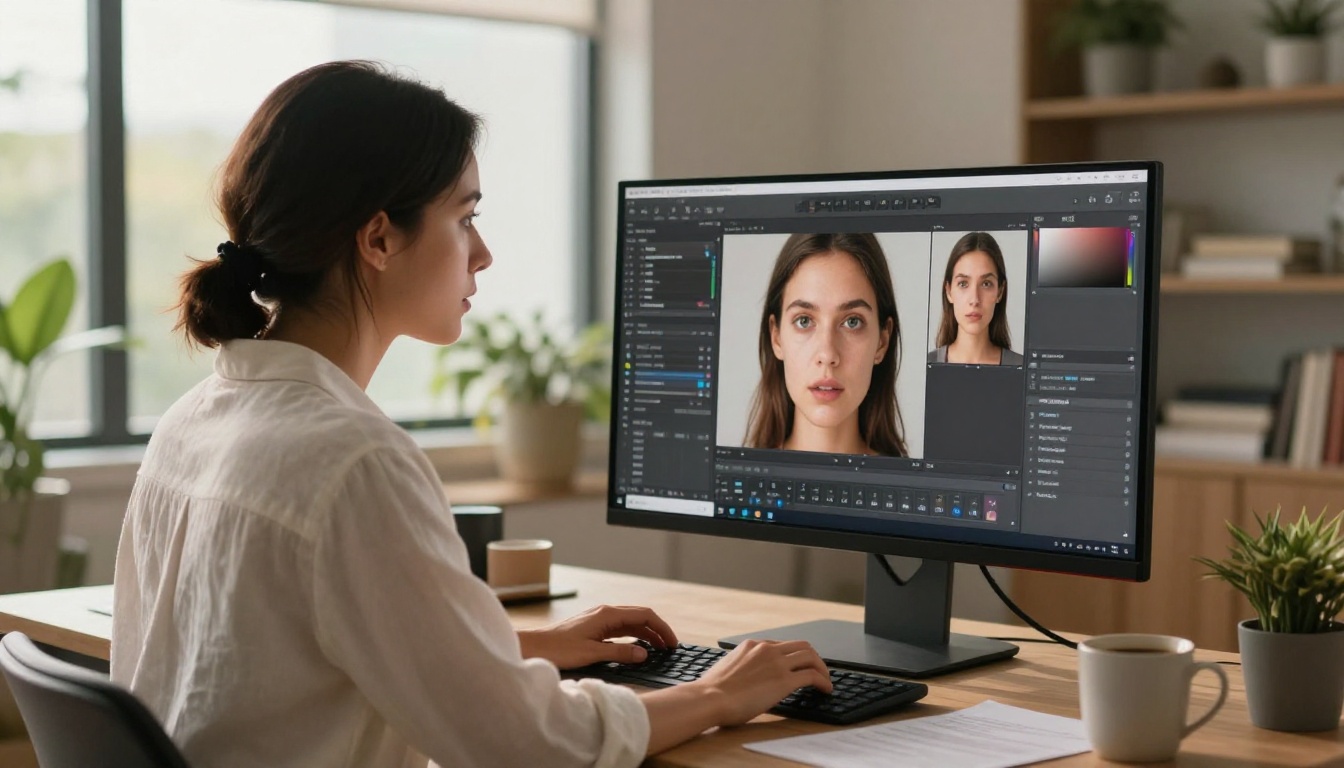
Not every upscaling or sharpening model handles faces well. Generic upscalers tend to produce excellent results on architecture, landscapes, and objects, but they often distort facial features in subtle ways that make the result look uncanny. The models below are specifically tuned for or perform exceptionally well on portrait and face content.
Crystal Upscaler for Portraits
Crystal Upscaler was built specifically with portrait photography in mind. It performs 4x upscaling with particular attention to facial anatomy, preserving the proportional relationships between features that make a face look natural rather than AI-generated. It's the first model to try when the blur comes from a low-resolution source photo rather than camera motion.
The model handles skin texture especially well. It adds pore detail and micro-texture that reads as photographic rather than the plastic-smooth look that cheaper upscalers produce.
Clarity Pro Upscaler for Detail Recovery
Clarity Pro Upscaler takes a different approach, focusing on recovering the micro-contrast and fine detail that blur washes out. Where Crystal Upscaler adds pixel data at scale, Clarity Pro works to restore the sharpness of what's already there while adding photorealistic texture to complement it.
For faces that are slightly soft rather than severely blurry, Clarity Pro often produces more natural results because it's not inventing as much detail. It's sharpening intelligently rather than reconstructing aggressively.
Real ESRGAN for Damaged Photos
Real ESRGAN has been the go-to model for photo restoration for several years because it was trained on degraded real-world images rather than artificially corrupted ones. This means it handles the specific patterns of JPEG compression, printing degradation, and scanning artifacts better than models trained in controlled conditions.
If your blurry face photo comes from a scanned print, a screenshot, or an image that's been compressed and shared multiple times, Real ESRGAN often outperforms newer models because it's seen those exact degradation patterns during training.
Topaz Image Upscale for Maximum Output Size
Image Upscale by Topaz Labs offers up to 6x enlargement, which is significantly larger than the 4x cap that most models hit. For very small original photos (below 500px wide) where you need to produce a usable print-quality output, this extra magnification matters.
The tradeoff is that 6x upscaling requires more inference time and can introduce hallucinated detail in complex areas. For faces, this usually means slightly exaggerated facial features that look convincing at a glance but less so under close inspection.
Quick Comparison
How to Restore a Blurry Face on PicassoIA
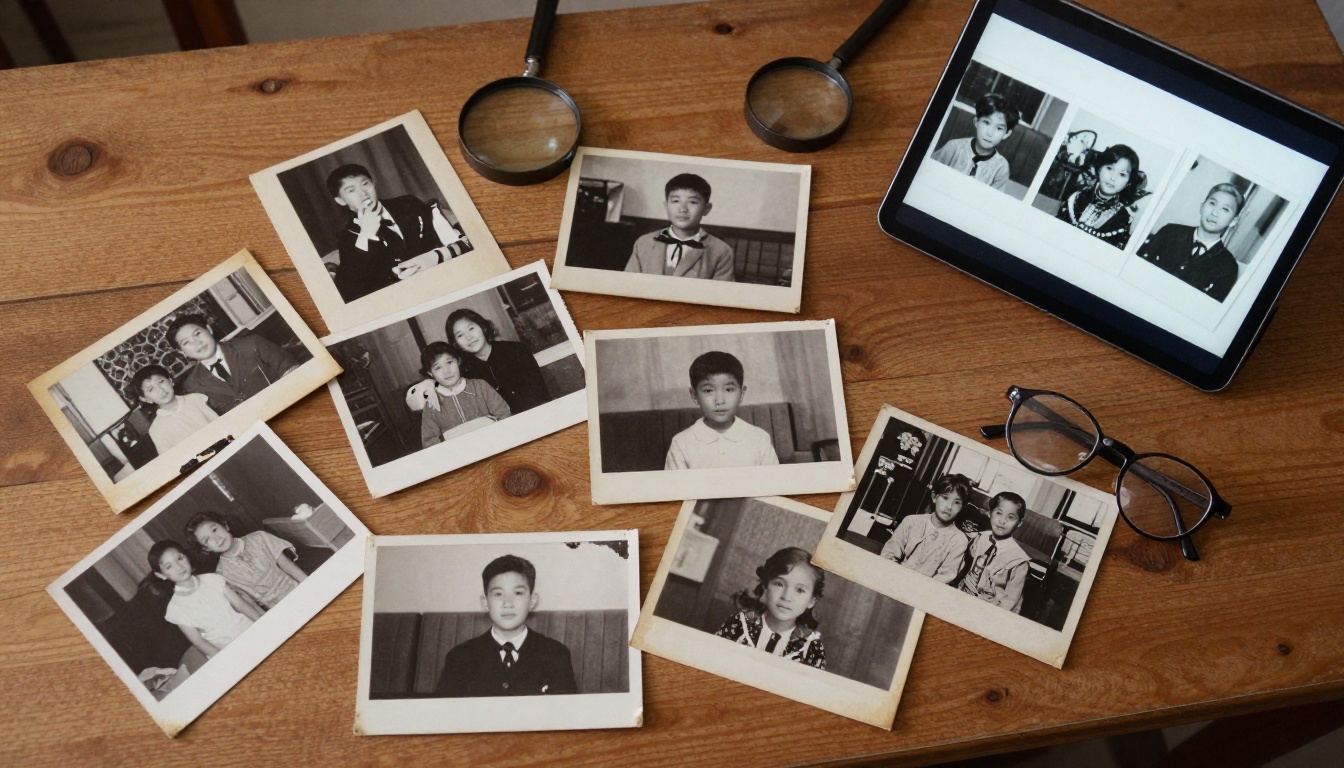
PicassoIA gives you access to every major face restoration model through a single platform, without needing to set up APIs, install software, or manage credits across different services. Here's how to run a full face restoration from start to finish.
Step 1: Prepare Your Photo
Before uploading, a few simple preparations make a significant difference in the output quality.
- Crop to the face first. If the face you want to restore is a small part of a larger photo, crop it out before uploading. Most models work better when the face occupies a larger percentage of the input image.
- Check your file format. PNG files preserve more data than JPEG at equivalent sizes. If you can save your photo as PNG before uploading, do it.
- Avoid pre-sharpening. Don't run the photo through a phone app sharpening filter before uploading. These add artifacts that confuse the AI models.
Step 2: Choose Your Model
Go to the Super Resolution section on PicassoIA. For most portrait photos with moderate blur, start with Crystal Upscaler. For scanned old photographs, start with Real ESRGAN. If speed matters more than maximum quality, P Image Upscale processes in under a second.
Step 3: Upload and Run
Drag your prepared image into the upload area. Most models don't require parameter adjustments for face restoration; the defaults are tuned for general portrait use. Click generate and wait for the result.
Tip: Run the same photo through two or three different models and compare the outputs side by side. The differences are often significant, and the winner isn't always the most powerful model.
Step 4: Evaluate the Result
When you get your restored image back, zoom in to 100% and check these specific areas:
- Eyes: Are the irises clear with distinct pupils? Are the eyelashes defined?
- Skin texture: Does the skin look photographic with natural pores and micro-detail, or plastic and smooth?
- Hair: Are individual strands visible, or is the hair rendered as a flat blob of color?
- Teeth: If the mouth is open, are the teeth separated, or blended into a single shape?
If any of these look wrong, try a different model. The best model for one type of photo often isn't the best for another.
Step 5: Combine with Other Tools
Face restoration doesn't have to stop at upscaling. After recovering facial detail, you can:
- Use Recraft Crisp Upscale for a second pass to sharpen fine details further.
- Apply Increase Resolution by Bria to push the final output to 4x its original size for print use.
- Use inpainting tools to fix specific areas of the face that the upscaler handled poorly.
What Results Actually Look Like
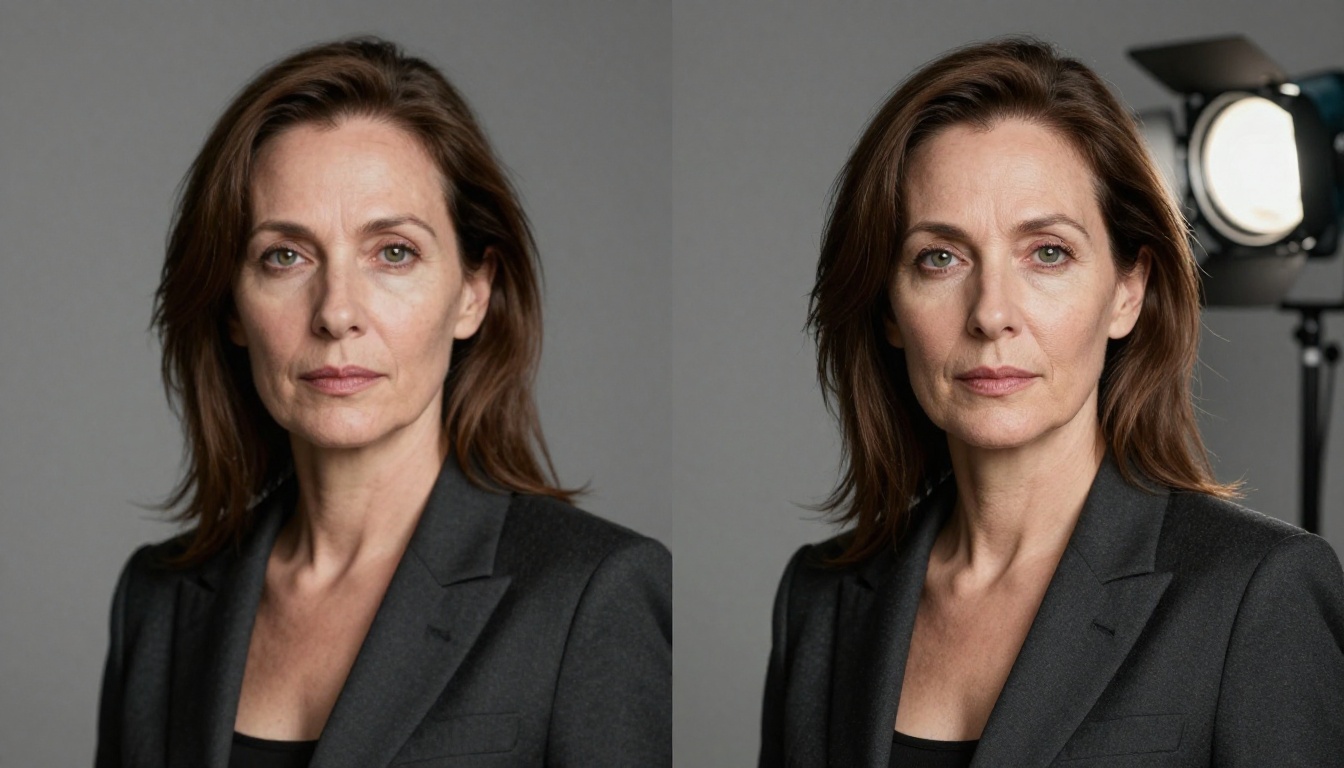
The difference between a face restoration that works and one that doesn't isn't always about the model. It's about what the model has to work with.
High success rate scenarios:
- Portrait photos that are soft due to camera shake but still recognizable
- Low-resolution photos downloaded from old social media posts
- Scanned family photographs with age-related blur and fading
- Screenshots taken from video footage at the wrong frame
Lower success rate scenarios:
- Faces that are heavily motion-blurred in a single direction with visible streaking
- Very small faces, under 50x50 pixels, in wide-angle crowd shots
- Photos where the face is partially obscured by shadows or overlapping objects
The honest truth: AI face restoration works best when there's enough information for the model to work with. Faces that are so blurry they look like skin-colored ovals don't have enough pixel data for even the best models to reconstruct reliably.
3 Mistakes That Ruin Results
Most bad AI restoration results come from the same handful of mistakes.
Using the Wrong Model for the Blur Type
Running a generic upscaler on a motion-blurred face produces a larger, still-blurry face. Motion deblurring requires different training than upscaling. If you have directional motion blur, look for models specifically trained on deblurring rather than super-resolution.
Over-Upscaling Small Files
Pushing a 200x200 pixel face to 6x (1200x1200) through Topaz Image Upscale will produce a large image, but the model will have to hallucinate an enormous amount of detail to fill that canvas. The result often looks like a realistic-ish face that isn't quite the person in the original photo. 4x is usually the ceiling for very small source images.
Sharpening After Upscaling
Many people instinctively add Lightroom sharpening after getting the upscaled result back. This almost always makes the result look worse. AI restoration models already add sharpness as part of the reconstruction process. Adding a traditional sharpening pass on top creates haloes around features and destroys the micro-texture the model worked to add.
Recovering Faces in Old Family Photos
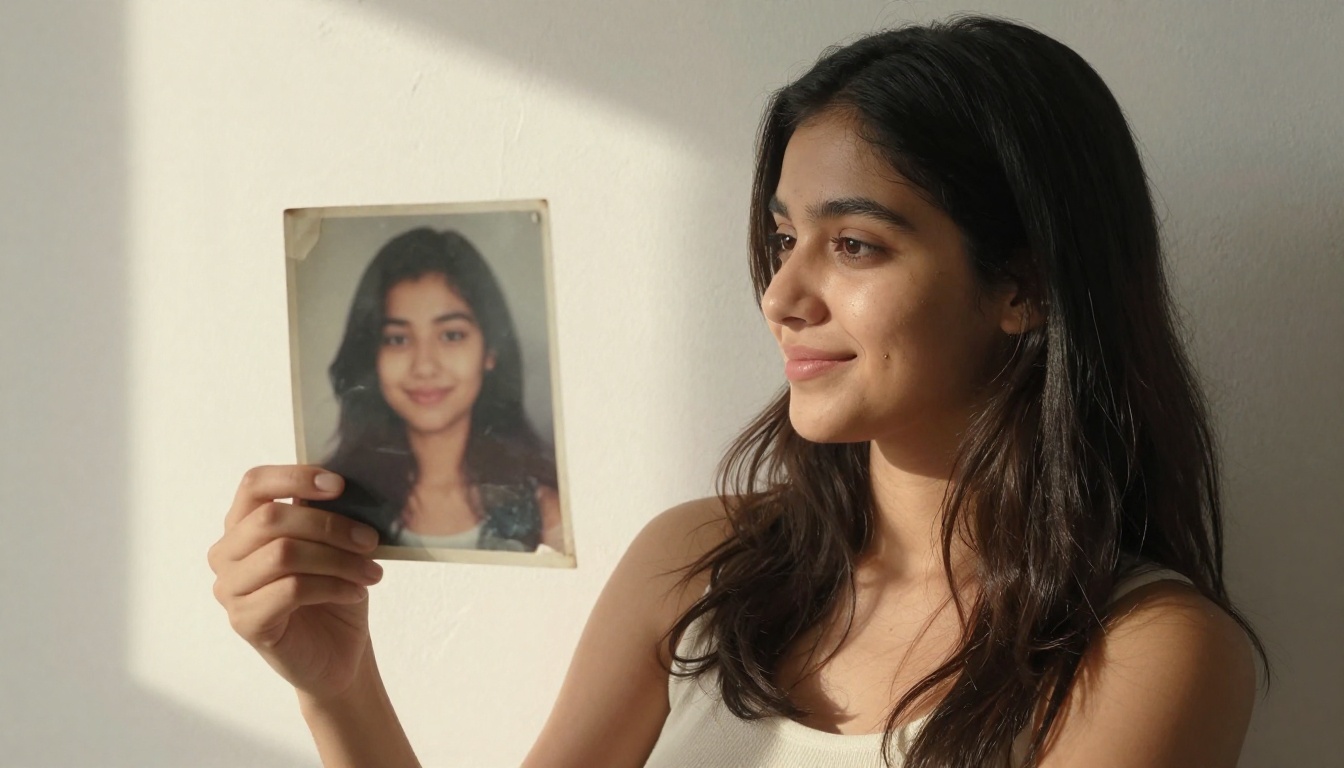
Old family photographs present a specific set of challenges that modern photo restoration handles surprisingly well.
These photos suffer from multiple simultaneous degradation types: the original negative may have been slightly out of focus, the printing process added its own blur, decades of storage introduced yellowing and fading, and the scanning process added another layer of softness. The face in an old family photo from the 1950s might have four or five independent degradation sources stacked on top of each other.
The workflow that works best for these photos:
- Scan at the highest resolution your scanner supports, at least 600 DPI and preferably 1200+
- Do not apply any scanner software sharpening during the scan
- Run the scanned file through Real ESRGAN first, as it's specifically trained on real-world degradation patterns
- If faces are still soft, run a second pass with Crystal Upscaler
- Use Google Upscaler for a final 4x enlargement if you need print-ready size
Two-pass processing consistently outperforms single-pass processing on heavily degraded old photographs. The first model removes noise and compression artifacts; the second model adds facial detail to the cleaner base image.
Speed vs. Quality: When Each Matters
Not every blurry face photo needs the highest-quality treatment. Here's how to think about which approach fits your situation.
Prioritize speed when:
- You're processing many photos from an event and need quick results to share
- The photo is for social media and will be viewed at low resolution
- You're evaluating whether a photo is worth restoring before investing time in quality processing
P Image Upscale and Recraft Crisp Upscale are the fastest options and produce results that are good enough for most casual sharing purposes.
Prioritize quality when:
- The photo has significant emotional or archival value
- You need the output for print, such as a framed photo, a photo book, or a printed gift
- The original blur is severe and needs maximum model capacity to recover
Clarity Pro Upscaler and Topaz Image Upscale take longer but produce outputs that hold up to close inspection.
What AI Cannot Yet Do
It's worth being clear about the limits, because the marketing around AI photo restoration often overpromises.
AI face recovery cannot:
- Restore a face that is completely out of frame or obscured
- Accurately reconstruct facial details when the blur is so severe that no features are visible
- Guarantee that the reconstructed details match the original person exactly, since it reconstructs a plausible face rather than a forensically accurate one
- Fix red-eye, severe exposure problems, or color cast simultaneously without separate tools
What it consistently does well:
- Recovering soft portraits where the face is recognizable but lacks sharpness
- Reconstructing skin texture that reads as genuinely photographic
- Restoring old photographs to a quality suitable for family archives and printing
- Enlarging small face crops to usable sizes for both digital and print use
Try It on Your Own Photos
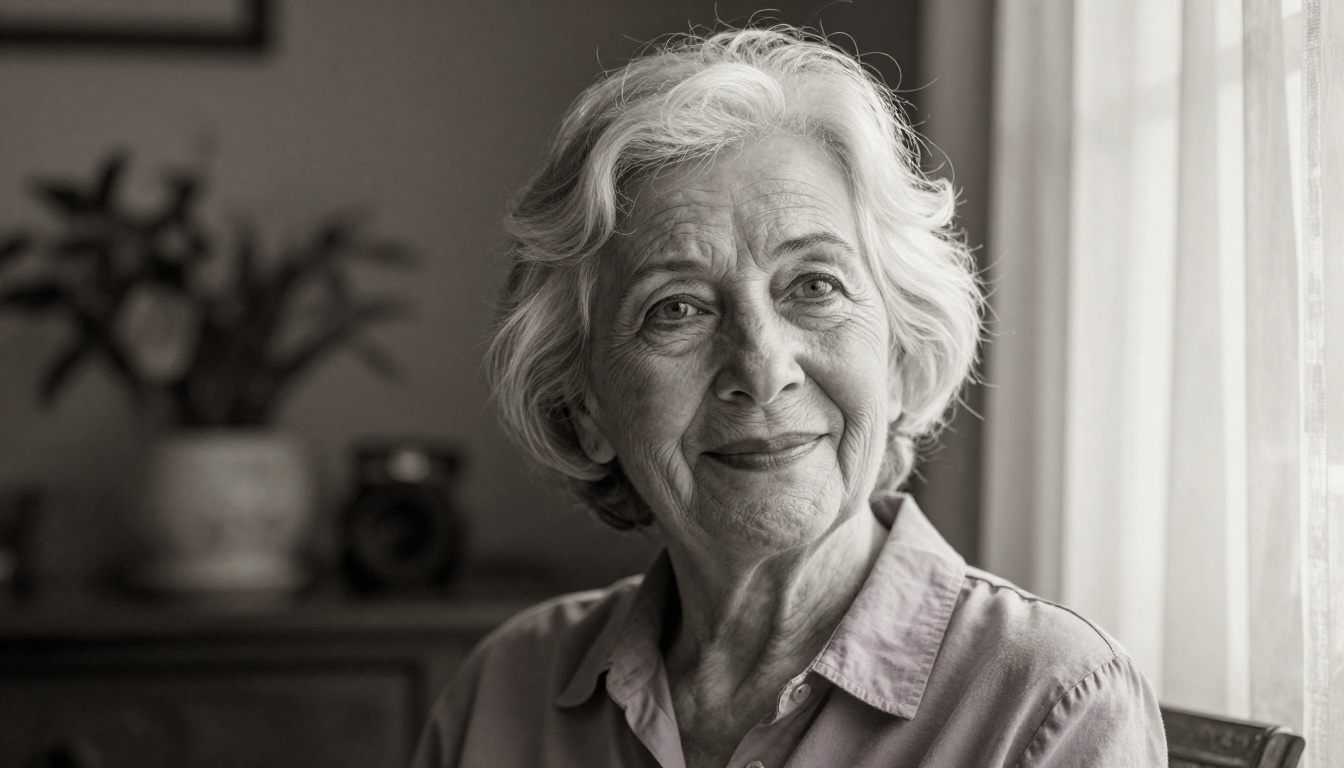
The best way to understand what AI face restoration can do is to run your own photos through it. Theory only takes you so far. When you see a photo of someone you know go from a soft blur to a sharp, detailed portrait in seconds, it clicks in a way that reading about it can't quite capture.
PicassoIA gives you access to every major super-resolution model, including Crystal Upscaler, Clarity Pro Upscaler, Real ESRGAN, and Topaz Image Upscale, all without any setup or API configuration. You upload a photo, pick a model, and get a result in seconds.
Start with a photo that's been sitting on your phone or in your family archive that never turned out right. Run it through Crystal Upscaler first, then try Real ESRGAN on the same image to compare. The differences will tell you more about how these models work than any amount of reading.
Those blurry faces in your photos have been waiting long enough.


