Grain in your footage is not a stylistic choice when it wasn't planned that way. It's the result of pushing your camera too hard in low light, using older equipment with aging sensors, or digitizing analog film without proper cleanup. The good news is that AI has fundamentally changed what's possible in post-production. What used to require hours in DaVinci Resolve or expensive dedicated software licenses can now be done in minutes, with results that were simply impossible three years ago.
Why Grain Shows Up in Your Videos
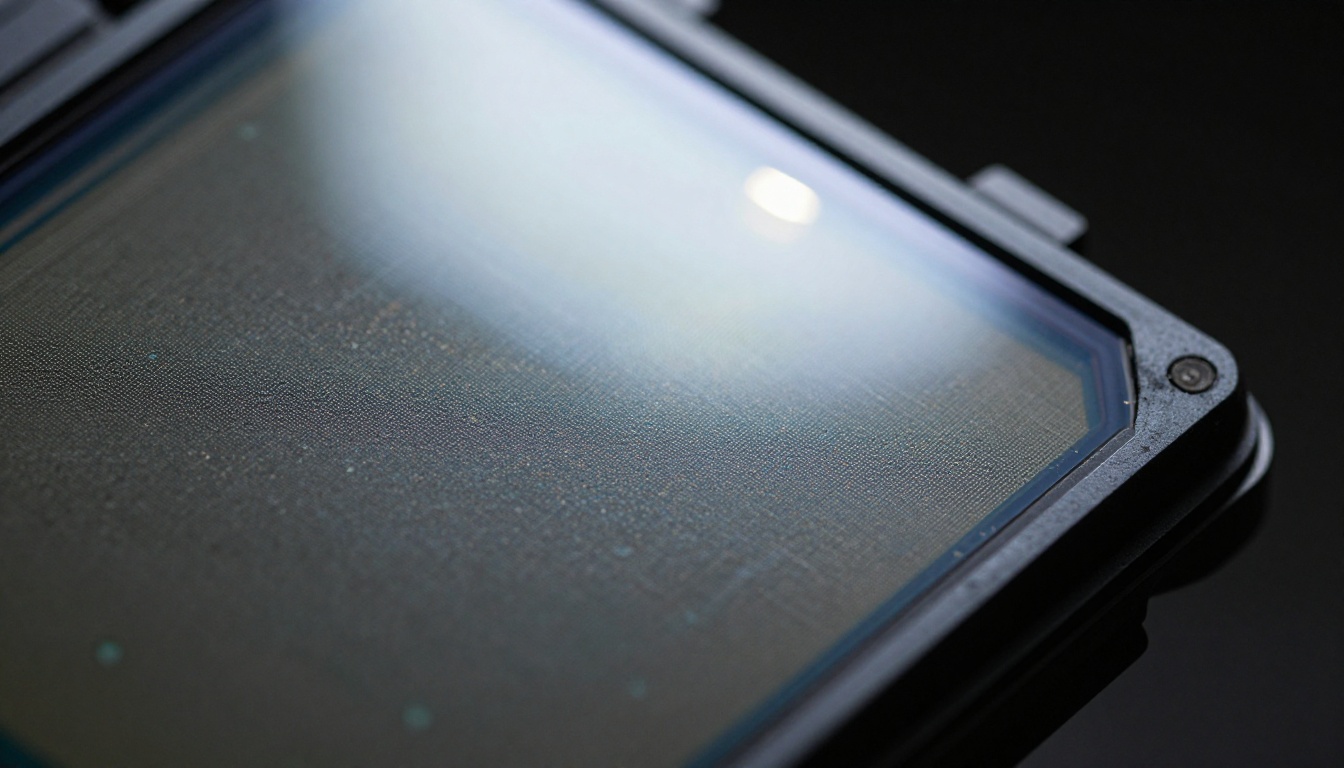
Understanding why grain appears is the first step to fixing it effectively. Most creators know the feeling: you shoot something in a dimly lit space, crank the ISO to get a usable exposure, and later find your footage covered in a crawling, flickering texture that makes every frame look like it was recorded through a wool blanket.
The ISO Problem in Low Light
When you raise your camera's ISO, you're amplifying the signal coming from the sensor. The problem is that you amplify everything, including the random electronic noise that every sensor produces. At ISO 400, this noise is barely visible. At ISO 6400 or above, it becomes the dominant visual element in dark areas of the frame.
This noise manifests in two distinct forms:
- Luminance noise: Random brightness variations in individual pixels, giving the image a grainy, sandy texture
- Chroma noise: Random color shifts, usually appearing as blotchy green and magenta spots in shadow areas
Both types degrade the perceived sharpness of your footage and make compression artifacts far worse during export. Chroma noise is particularly damaging because modern codecs like H.264 and H.265 weren't designed to handle random per-pixel color variation efficiently. The encoder burns excessive bitrate trying to represent information that isn't real image detail.
Shooting Conditions That Cause the Most Damage
Some scenarios push sensors harder than others, and knowing them helps you set realistic expectations for what AI can recover:
| Scenario | Noise Type | AI Recovery Potential |
|---|
| Indoor at ISO 6400+ | Luminance + Chroma | Excellent |
| Tungsten lighting at night | Heavy Chroma | Very Good |
| Drone footage in overcast | Moderate Luminance | Excellent |
| 8mm / Super 8 film scan | Analog grain | Very Good |
| Security camera footage | Combined | Good |
| Heavily re-compressed video | Grain + Blocking | Moderate |
When Old Footage Has Grain
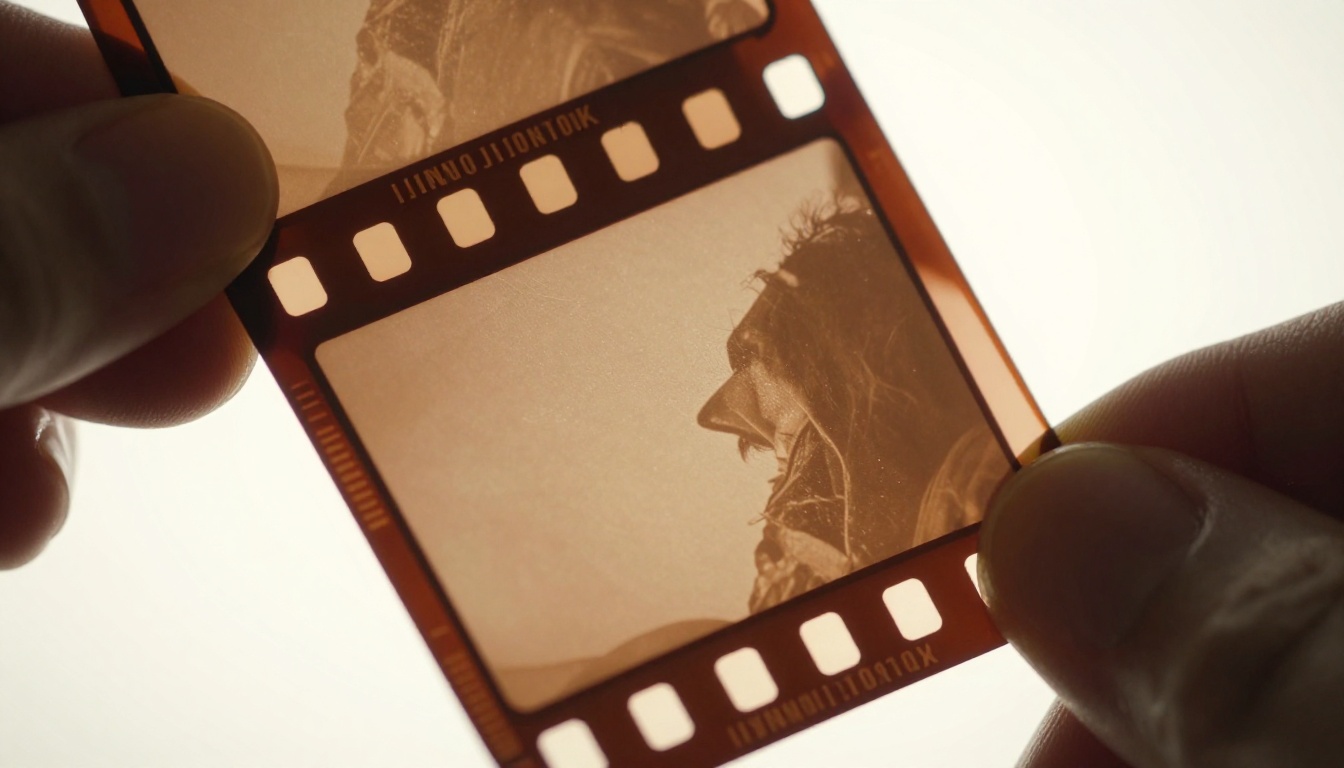
The second major source of grain is analog film that has been digitized. Film grain is chemically different from digital noise. It's made of silver halide crystals that vary in size, clump together in organic patterns, and don't flicker the same way digital noise does. It has a certain character to it, but when you're trying to restore archival footage for modern audiences, that character can work against clear visual communication.
Old home videos, legacy broadcast recordings, and archival documentary material all fall into this category. The grain patterns are baked into the recorded image at the source, which makes them significantly harder to remove without destroying underlying detail.
💡 Quick Test: If your grain flickers and dances between frames, it's digital noise. If it has a consistent, organic texture from frame to frame, it's analog film grain. Each responds differently to AI treatment, so identifying which type you're dealing with first helps you pick the right tool.
How AI Actually Fixes Grain
Traditional noise reduction tools work on individual frames. They look at each image and apply a spatial blur that smooths out the random variation. The result is often soft, waxy footage that trades grain for a plasticine look. You've seen this before: faces that look like they're made of polished clay, textures that lose all definition, fabric that looks painted rather than woven.
AI denoising works differently, and the difference in output quality is significant.
Temporal Processing Changes Everything
Modern AI denoising models analyze multiple frames simultaneously. By examining what came before and after each frame in the sequence, the model can distinguish between real image information (which stays consistent between frames) and noise (which changes randomly from frame to frame). This temporal approach allows the AI to remove noise while preserving sharp edges, fine textures, and moving details that frame-by-frame processing would blur into oblivion.
The difference in output quality between temporal AI denoising and traditional spatial filtering is not subtle. On footage with high-frequency texture, such as hair, fabric, or foliage, temporal AI preserves detail that spatial methods destroy completely.
Neural Networks vs. Classic Filters
| Method | Works On | Preserves Detail | Handles Motion | Speed |
|---|
| Gaussian Blur | Single frames | Poor | N/A | Fast |
| Median Filter | Single frames | Moderate | N/A | Fast |
| Temporal NR (classic) | Multi-frame | Moderate | Limited | Moderate |
| AI Neural Network | Multi-frame | Excellent | Yes | Moderate |
| AI Cloud Processing | Multi-frame | Excellent | Yes | Fast (offloaded) |
The shift from handcrafted signal processing filters to learned neural networks represents a real qualitative jump in what's achievable. These models have been trained on millions of clean-noisy image pairs. They don't just smooth pixels, they reconstruct what the pixels were supposed to look like before noise corrupted them. The model has a learned prior about what real-world images look like, and it uses that prior to fill in what was lost to noise.
This is why AI tools regularly produce results that look better than the original could have looked, not just cleaner. The model fills in probable detail based on context from surrounding pixels and frames.
The Best AI Models for Grain Removal
Not every AI tool handles grain the same way. Some are built primarily for upscaling and treat noise reduction as a side effect. Others are purpose-built for restoration. Here's how the top options available on PicassoIA compare for grain removal specifically.
Topaz Video Upscale Is the Workhorse
Topaz Video Upscale is one of the most capable video enhancement models available on PicassoIA. Topaz Labs has built a reputation for film simulation and AI enhancement over years of dedicated research and development. The underlying model uses temporal processing across multiple frames and handles both luminance and chroma noise with precision that most general-purpose tools can't match.
It's particularly strong on footage from consumer cameras and phones where chroma noise in shadows tends to be severe. The output consistently retains fine detail in hair, skin, and textured backgrounds where other tools leave a smeared, artificial result.
Crystal Video Upscaler for 4K Output
Crystal Video Upscaler focuses specifically on achieving clean, sharp results at 4K resolution. While its primary purpose is upscaling, the model removes noise as an integral part of the enhancement pipeline. For footage that is both grainy and low resolution, this combination approach is more efficient than running separate denoising and upscaling passes through two different tools.
The results on archival and vintage footage are particularly impressive. The model handles the organic texture of analog film grain without producing the artificial smoothness that plagues many restoration tools. If you're restoring digitized Super 8 or 16mm film, this is often the best starting point.
Real ESRGAN Video for Heavily Damaged Files
Real ESRGAN Video is based on Enhanced Super-Resolution Generative Adversarial Networks, a well-established architecture in image restoration research. The model has been fine-tuned specifically for real-world degradation, which includes noise, compression artifacts, blur, and film grain occurring simultaneously.
For heavily degraded footage where multiple types of damage are present at once, Real ESRGAN Video handles the complex interaction between these artifacts better than single-purpose tools. It's the right choice when your footage has grain layered on top of JPEG-style compression blocking, which is common in re-encoded social media clips and older broadcast recordings.
Video Increase Resolution for Broadcast Specs
Video Increase Resolution by Bria focuses on the upscaling pipeline with strong denoising integrated directly into the process. It supports output up to 8K, making it the right choice for broadcast and cinema applications where the output will be displayed on large screens where any remaining grain would be clearly visible.
The model handles motion well and avoids the ghosting artifacts that some approaches introduce around moving subjects, particularly hands, hair, and fast-moving objects in the frame.
💡 Choosing the right tool: For consumer camera noise, use Topaz Video Upscale. For film grain on archival footage, Crystal Video Upscaler is more effective. For multiple types of degradation combined, go with Real ESRGAN Video.
How to Use Topaz Video Upscale on PicassoIA
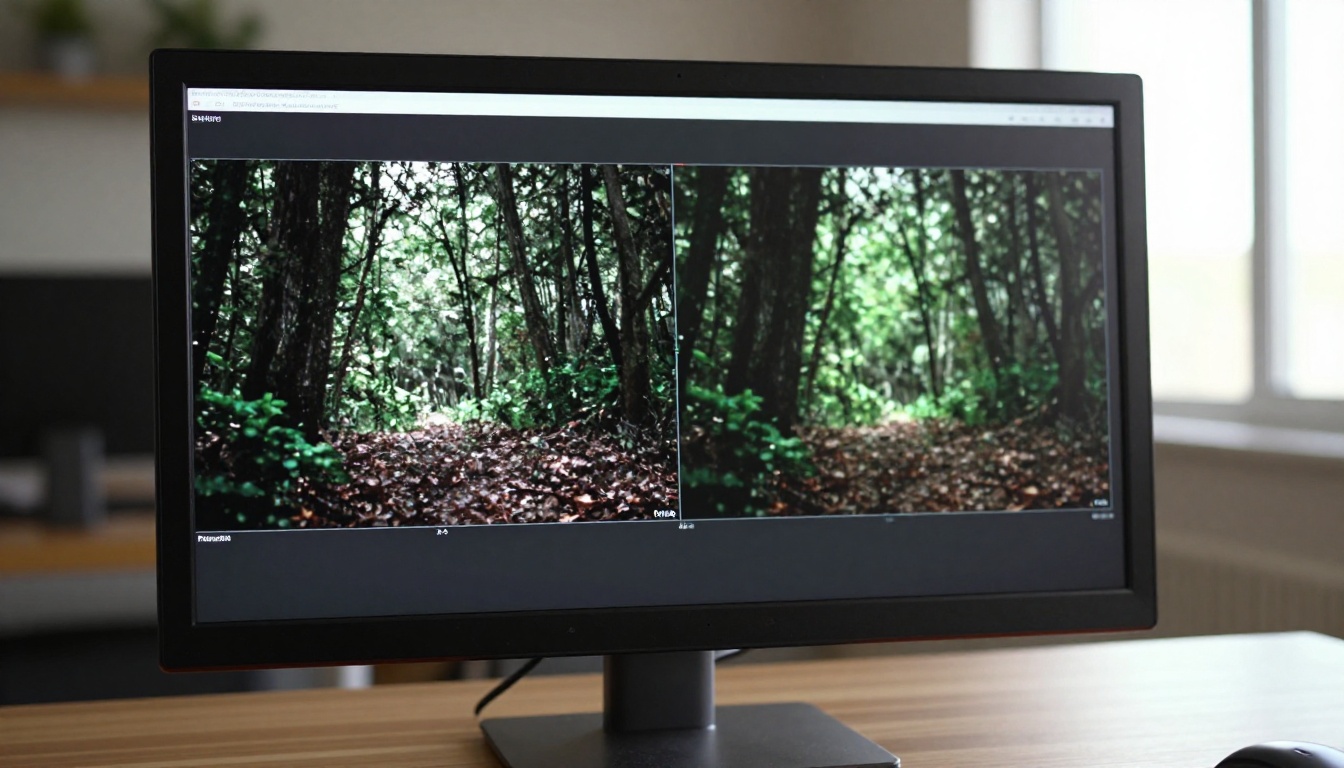
PicassoIA gives you access to Topaz Video Upscale directly in your browser, without needing to install software or own a high-end GPU. Here's the full process for removing grain from your video using it.
Step 1: Prepare Your Clip
Before uploading, trim your footage to the problematic section if possible. Shorter clips process faster and let you test the settings before committing to a long render on your full video. Aim for clips under 60 seconds when running tests on new settings for the first time.
For format, MP4 and MOV files work best. If your footage is in a less common container or codec, convert it first using any basic video converter. You can also use the Trim Video tool directly on PicassoIA to isolate the section you need before sending it through the denoiser.
Critical: Always process your original camera files, not re-exported versions. If you've already exported the footage with heavy compression, the AI is working on compression artifacts as well as grain, which produces far less clean results.
Step 2: Upload and Configure Settings
Navigate to the Topaz Video Upscale model page on PicassoIA and upload your file. The key parameters:
- Output scale: For pure grain removal without upscaling, set this to 1x. For grain removal combined with resolution improvement, choose 2x or 4x
- Model type: Denoise-focused models prioritize noise reduction over sharpness recovery. Enhance models balance both. Start with Denoise if grain is your primary concern
- Frame rate: Leave this at the source frame rate unless you're also doing frame interpolation in the same pass
Run a 10-15 second test clip before processing your full video. This costs very little processing time but saves you from waiting on a long render only to discover the settings weren't right.
Step 3: Review and Iterate
Once processing completes, download the result and compare it against your original at 1:1 pixel scale. Pay attention to:
- Dark areas of the frame where noise was most concentrated
- Skin tones and whether they retained natural texture or became overly smooth
- Moving areas such as hair and foliage where temporal artifacts can appear if the model struggled with fast motion
If any area looks too smooth or shows ghosting around moving subjects, reduce the denoising strength and run the test clip again. The highest setting is rarely the best one.
3 Mistakes That Waste Your Time

Most people who aren't satisfied with their grain removal results are making one of these specific errors.
Mistake 1: Processing a re-encoded file
If you've already exported your footage from an editing timeline, especially to a social-media-ready format like H.264 at a low bitrate, the file has compression artifacts layered on top of the original grain. The AI model sees both and struggles to separate them cleanly. Always work from camera originals or the highest-quality intermediate file you have available.
Mistake 2: Using maximum strength settings
The highest denoising strength is not automatically the best. At maximum settings, most models start removing fine detail along with noise. The perceptible sweet spot is usually the setting where grain disappears from solid-color areas like skies and painted walls, while texture in faces, fabric, and foliage remains clearly visible. Train your eye on those indicator areas.
Mistake 3: Forgetting the audio after re-export
After grain removal, editors often focus entirely on the visual result and forget to verify audio quality. Some export pipelines will re-encode the audio unnecessarily, reducing quality. Always check that your audio track is intact and at the correct bitrate. If needed, use the Video Audio Merge tool to reattach a clean extracted audio track to the processed video.
What the Results Actually Look Like
Numbers tell a partial story. Signal-to-noise ratio improvements of 8 to 15 dB are typical with temporal AI denoising, which translates to a visually dramatic difference in the footage. In practical terms:
- Footage shot at ISO 6400 on a mirrorless camera can be cleaned to look comparable to ISO 1600 output
- 8mm and Super 8 film scans with heavy analog grain become usable for broadcast-quality delivery
- Drone footage captured in overcast conditions, where sensors are pushed harder than in bright sun, cleans up without losing the sharp edges that make aerial footage visually distinctive
- Old home video transferred from VHS or Hi8 can be restored to a watchable standard for archiving
The visual change on heavily noisy footage is striking. Compressed video that looked like it was shot through a sandstorm can be recovered to deliver clean, sharp output ready for any distribution platform.
💡 For social media specifically: Clean footage compresses much more efficiently than grainy footage. Removing grain before uploading to YouTube or Instagram can reduce your export file size by 30 to 50 percent while maintaining visible quality, because video codecs struggle most with the random per-pixel variation that grain introduces. Cleaner source means better final quality at the same bitrate.
Working in a Professional Post Pipeline
If you're working in a professional post-production context, grain removal belongs in a specific position in the pipeline relative to other operations. The recommended order:
- Noise and grain removal on the original camera files
- Color grading on the cleaned footage, which responds more cleanly to grading operations without interference from noise patterns
- Sharpening as a final pass, since denoised footage can be marginally softer and benefits from targeted sharpening
This sequence matters. Applying heavy color grading before denoising can shift the chroma values that the AI uses to distinguish noise from real image data. Grading first gives the denoising model ambiguous information about what is noise and what is intentional color variation in the scene.
For projects where you need to reframe or change the aspect ratio after cleaning, the Reframe Video tool on PicassoIA handles this step cleanly without reintroducing compression noise into your cleaned output.
If you also need to add captions or subtitles to the restored footage, Autocaption can generate and burn in synchronized captions as a final step before delivery.
Start Removing Grain Right Now

Grainy footage is one of the most common technical problems video creators face, and also one of the most solvable with the right AI tools. The combination of temporal neural network processing and cloud-based access means you don't need a high-end workstation or expensive software licenses to get broadcast-quality results from noisy source material.
PicassoIA gives you direct access to the models that produce real results: Topaz Video Upscale for consumer camera footage, Crystal Video Upscaler for archival and analog film, Real ESRGAN Video for multi-type degradation, and Video Increase Resolution when you need 8K output ready for large-screen display.
Upload your footage. Run the model. See the difference in minutes. Your footage deserves to look as good as the moment it captured.


