Watermarks on your own footage are one of the most frustrating problems in video production. You shot the content, you own the rights, but a timestamp, a recording app logo, or a stock platform overlay is ruining the final result. For years, the only fixes were blurring (which looks terrible) or cropping (which destroys your composition). AI changed that completely, and today you can erase watermarks from video in minutes without touching a single line of code or paying for expensive desktop software.
What Counts as a Watermark
Not everything that needs to be removed fits the traditional definition of a copyright watermark. The category is broader than most people realize, and the removal approach is the same regardless of type.
Static vs. Dynamic Watermarks
A static watermark stays in the exact same pixel position across every frame. Think of a recording app logo burned into the bottom-right corner, or a channel bug that never moves. These are the easiest to remove with AI because the model can identify the precise mask location once and apply it consistently throughout the entire clip.
A dynamic watermark shifts position, changes opacity, or animates across frames. Some screen recording tools add scrolling timestamps, and certain video platforms burn in animated bugs. These require per-frame detection, which is exactly where modern AI object-removal models excel over older manual frame-by-frame blur methods.
Logos, Timestamps, and Text Overlays
| Type | Common Source | Removal Difficulty |
|---|
| Logo / Bug | Recording apps, cameras | Easy (static) |
| Timestamp | Security cams, phones | Easy to Medium |
| Text overlay | Video editors, watermark apps | Medium |
| Animated badge | Screen recorders, livestream tools | Medium to Hard |
| Semi-transparent overlay | Stock footage platforms | Medium |
💡 Note: This article addresses removing watermarks from footage you own and created. Always verify you have the rights to the content before processing.
Why the Type Matters
Choosing the right masking strategy depends heavily on watermark type. A static logo in the corner of a travel video needs a single fixed mask. A rolling timestamp that moves across the bottom third needs keyframe-based tracking. Knowing this before you open any tool saves you multiple failed attempts and wasted processing time.
Why Traditional Methods Fall Short
If you have tried removing a watermark before AI tools existed, you already know the pain. The two classic methods both destroy video quality in different ways.
The Blur Approach
Blurring a region of video is the oldest available fix. You select a rectangle over the watermark and apply a Gaussian blur. It works, technically, but the result is an obvious smudged box that draws the viewer's eye immediately. The original background information is permanently hidden, not restored. Viewers can tell something was removed, which looks unprofessional, even on casual social media posts.
Cropping Kills Quality
The second option is cropping the entire frame to eliminate the corner where the watermark lives. If your watermark is in the bottom-right corner and you're working in 4K, you might get away with a slight crop. But for 1080p footage, any meaningful crop noticeably changes the composition, cuts subjects, and loses the visual story you originally captured. Vertical video for Reels or TikTok is even less forgiving about lost frame area.
Both methods share the same fatal flaw: they cover or destroy the background pixels rather than restoring them. AI inpainting works fundamentally differently.
How AI Erases Watermarks Frame by Frame
Modern AI video object removal doesn't blur or crop. It reconstructs the missing pixels by understanding what the background behind the watermark should look like, based on surrounding frames and spatial context. The process involves two distinct stages.
Object Detection in Video
The first stage is detection. The model identifies the exact pixels belonging to the watermark across every frame. For static watermarks, this is straightforward. For dynamic ones, the model tracks position changes frame by frame using optical flow and motion estimation. The output is a per-frame mask that precisely outlines what needs to be removed.
Modern detection models are trained on thousands of hours of annotated video, so they can distinguish between a semi-transparent logo and the background underneath it, even when the two have similar colors or textures.
Inpainting That Actually Works
Once the mask is defined, the inpainting model fills the removed region. Unlike single-frame image inpainting, video inpainting has to maintain temporal consistency: the filled area must look smooth and coherent not just within one frame, but across the entire sequence. A flickering patch would be just as distracting as the original watermark.
Modern models achieve this by attending to neighboring frames during reconstruction, ensuring that a moving background behind the watermark flows naturally through the filled region. Sky gradients, bokeh backgrounds, brick walls, and even moving water are handled convincingly by current-generation models.
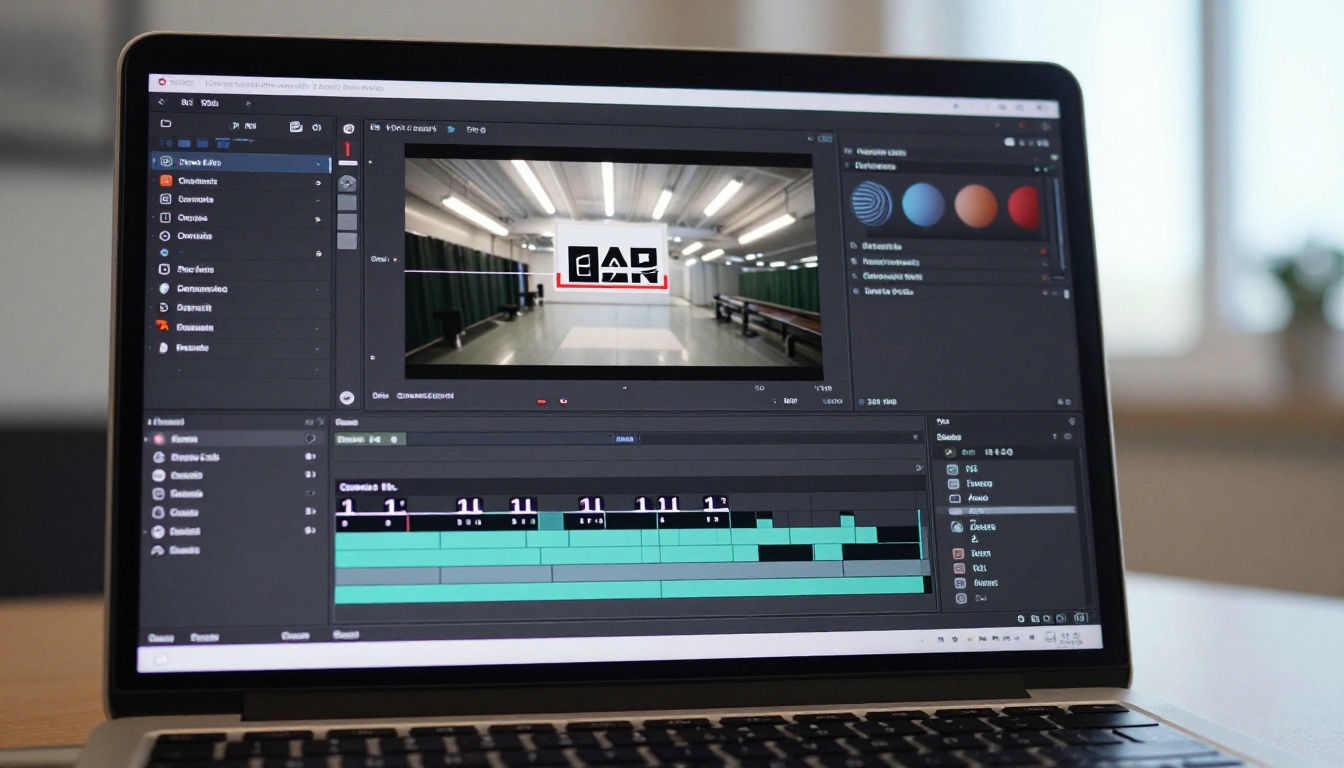
How to Use Video Erase Object on PicassoIA
The Video Erase Object model by Bria is the most direct tool for this job on the platform. It accepts a video input and a mask, then reconstructs the masked region across all frames with temporal consistency. Here's exactly how to use it.
Step 1: Upload Your Video
Open Video Erase Object on PicassoIA. Click the video upload field and select your source file. Supported formats include MP4, MOV, and WebM. For best results, keep clips under 60 seconds per run. Longer videos can be split into segments first using the Trim Video tool, then recombined after processing with Video Merge.

💡 Tip: Export your source video at the highest available quality before uploading. Re-encoding a heavily compressed file will compound any reconstruction artifacts in the final output.
Step 2: Draw Your Mask
After upload, the interface shows a frame preview. Use the brush tool to paint over the watermark region. You don't need pixel-perfect precision; the AI refines mask edges automatically. For a static logo in a corner, paint a slightly generous area covering the entire watermark, including any soft edges, drop shadows, or semi-transparent halos around the main graphic.
For a timestamp that changes position over time, use the keyframe mask feature: set the mask position at frame 1, then again at any frame where the watermark shifts. The model interpolates the mask between keyframes automatically.

Step 3: Process and Download
Click Run. Processing time scales with video length and resolution: a 30-second 1080p clip typically takes 60 to 90 seconds. When the job finishes, preview the output in the built-in player. If you spot residual artifacts in high-motion sections, re-run with a slightly larger mask targeting those frames. Download the result as an MP4 when satisfied.
Step 4: Refine with a Second Pass
For challenging watermarks, like animated badges over busy backgrounds, a single pass may leave faint residual patterns. The fix is straightforward: download the first-pass output, re-upload it to Video Erase Object, and run again with a tighter mask targeting only the remaining artifacts. Two passes consistently solve cases that one pass cannot handle alone.
The difference between a watermarked clip and AI-processed footage is striking when you see them side by side. The background texture, whether it's a moving sky, a crowd scene, or a textured wall, flows through the previously masked area as if the watermark was never there.

Static Logo Removal
For a bottom-right logo on a travel video, results are typically near-perfect in a single pass. The AI fills the area with correct background texture and color, and with temporal consistency built in, the reconstruction holds steady even as the background moves beneath it across hundreds of frames.
Timestamp and Text Removal
Text removal is slightly harder because text edges are sharp and high-contrast. The AI handles this well when the background is a solid color or a gradual gradient, like sky or a plain wall. Busy, high-frequency backgrounds like dense foliage or fast-moving crowds can occasionally show faint residual patterns. Running the output through Video Increase Resolution afterward sharpens the reconstruction and reduces visible artifacts significantly.

After Removal: Sharpen and Upscale
Once the watermark is gone, the processed area may appear slightly softer than surrounding pixels. This is a normal byproduct of reconstruction, and it's straightforward to address with a post-processing pass.
Upscale to 4K After Cleaning
Running your cleaned video through an AI upscaler compensates for any softness introduced during inpainting. Three strong options on PicassoIA:
- Crystal Video Upscaler by Philz1337x: excellent for natural footage with fine texture detail
- Video Upscale by Topaz Labs: professional-grade sharpening at 4K and 120fps output
- Real ESRGAN Video: fast 4K upscaling with strong artifact reduction at no quality cost
Any of these bring the reconstructed region up to the same perceived sharpness level as the rest of the frame, making the removal invisible to even attentive viewers.

Fix Compression Artifacts First
If your source footage was heavily compressed (common with phone recordings or downloaded clips), the inpainted region can look inconsistent against the lossy background. The solution: upscale first using Video Increase Resolution before running watermark removal. Working at a higher resolution gives the inpainting model more pixel data to work with, producing cleaner fills with fewer visible seams.
💡 Workflow order: Upscale first, remove watermark second, export at target resolution. This sequence consistently produces the sharpest results for compressed source material.
3 Common Mistakes to Avoid
Getting clean results on the first try depends on avoiding a few predictable pitfalls that trip up most first-time users.
Wrong Mask Size
Too small: Leaving even 1-2 pixels of the watermark edge outside the mask causes the AI to preserve those pixels, producing a faint ghost outline after removal. Always paint 3-5 pixels beyond the visible watermark edge, including any glow or shadow the watermark casts.
Too large: An unnecessarily large mask forces the model to reconstruct more background than needed, increasing the chance of visible artifacts in the fill area. Match the mask as closely as possible to the actual watermark footprint once you have confirmed full coverage.
High-Motion Scenes
Watermarks overlapping fast-moving subjects (a logo over a running athlete, a timestamp over ocean waves) are harder to remove cleanly because the background the AI needs to reconstruct is also changing rapidly. For these cases, use the Trim Video tool to split the clip into shorter segments at motion peaks, process each separately, then recombine with Video Merge. Shorter clips give the model fewer frames to track at once, improving temporal consistency.
Re-Exporting at Low Bitrate
After removal, exporting at a low bitrate re-introduces compression artifacts that make the inpainted region look blocky and different from the surrounding pixels. Always export your final video at a bitrate at least equal to your source file. For 1080p content, 10-15 Mbps is the practical minimum for clean results. For 4K, aim for 40-50 Mbps or use a lossless codec for any intermediate files you plan to edit further.

Not every watermark situation calls for the same approach. Here's a practical reference for the most common scenarios:
| Situation | Recommended Approach | Notes |
|---|
| Static logo in corner | Video Erase Object, single pass | Best results, fastest processing |
| Moving timestamp | Video Erase Object with keyframe mask | Set mask at each position shift |
| Low-resolution source | Video Increase Resolution first, then erase | Improves fill quality significantly |
| Long clip (5+ min) | Trim Video into segments, then Video Merge | Prevents processing timeouts |
| Final output in 4K | Erase first, then Crystal Video Upscaler | Sharpest final quality |
| Complex animated badge | Two-pass Video Erase Object | Second pass cleans residual patterns |
Watermarks are a visual obstacle between your content and your audience. Whether you're publishing travel footage, a product demo, a family video, or a short film, clean footage lands differently. The difference between a corner logo and a pristine frame is subtle, but viewers feel it even when they don't consciously register it.
Every tool in this workflow is available right now: Video Erase Object for removal, Video Increase Resolution for sharpening, and the full range of upscalers, including Video Upscale by Topaz Labs and Crystal Video Upscaler, to bring the final result to 4K. No software installation, no steep subscription fees, no rendering queue on your local machine.

Upload your first clip, paint a mask over the watermark, and see what clean footage looks like. The whole process takes under two minutes.


